Demersus Devlog #18 - Contest Signup, Mocap Research + Pipeline, Huge Assets Progress, Milestones Update And More
Singing up for ZTGK, mocap research and final pipeline, big progress on IRL and clay assets, baking guidelines and, a milestones update.
- reading time
- 42 minutes
- published
- authors
- Eryk Darnowski
- series
- Demersus Devlogs
- categories
- Game Development
- tags
- #Ztgk #Unity
Trigger warning - fictional character suicide attempt!
We Signed Up For ZTGK!
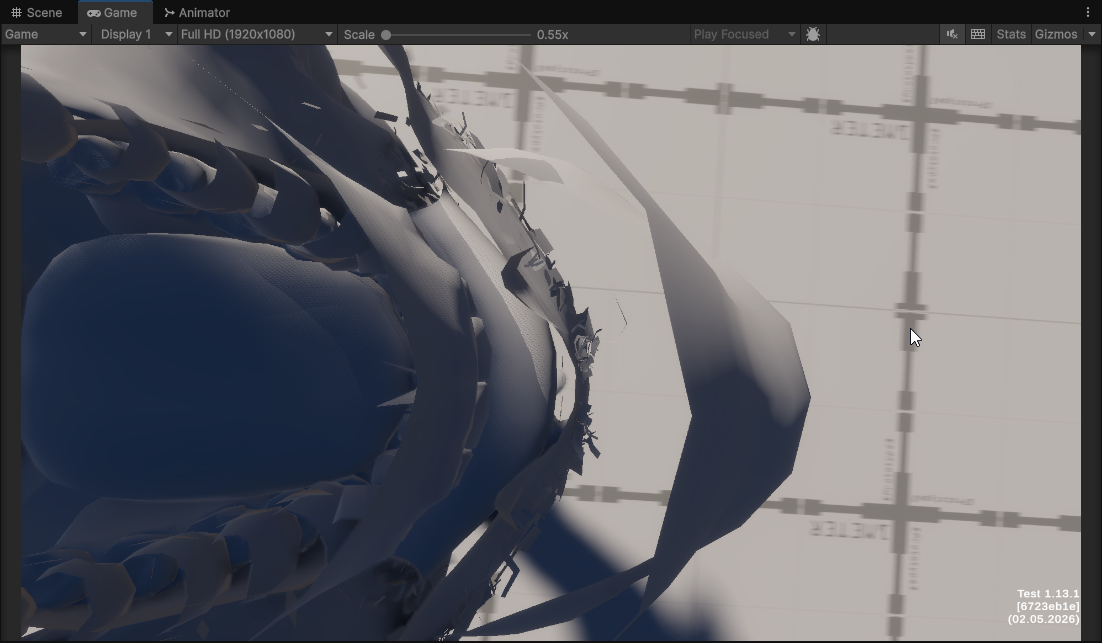
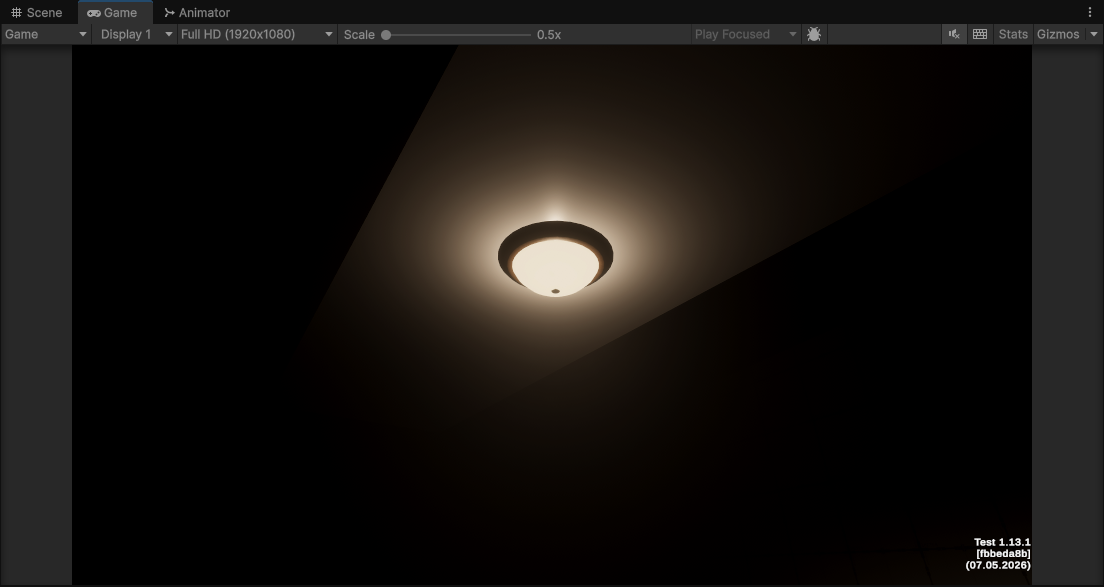
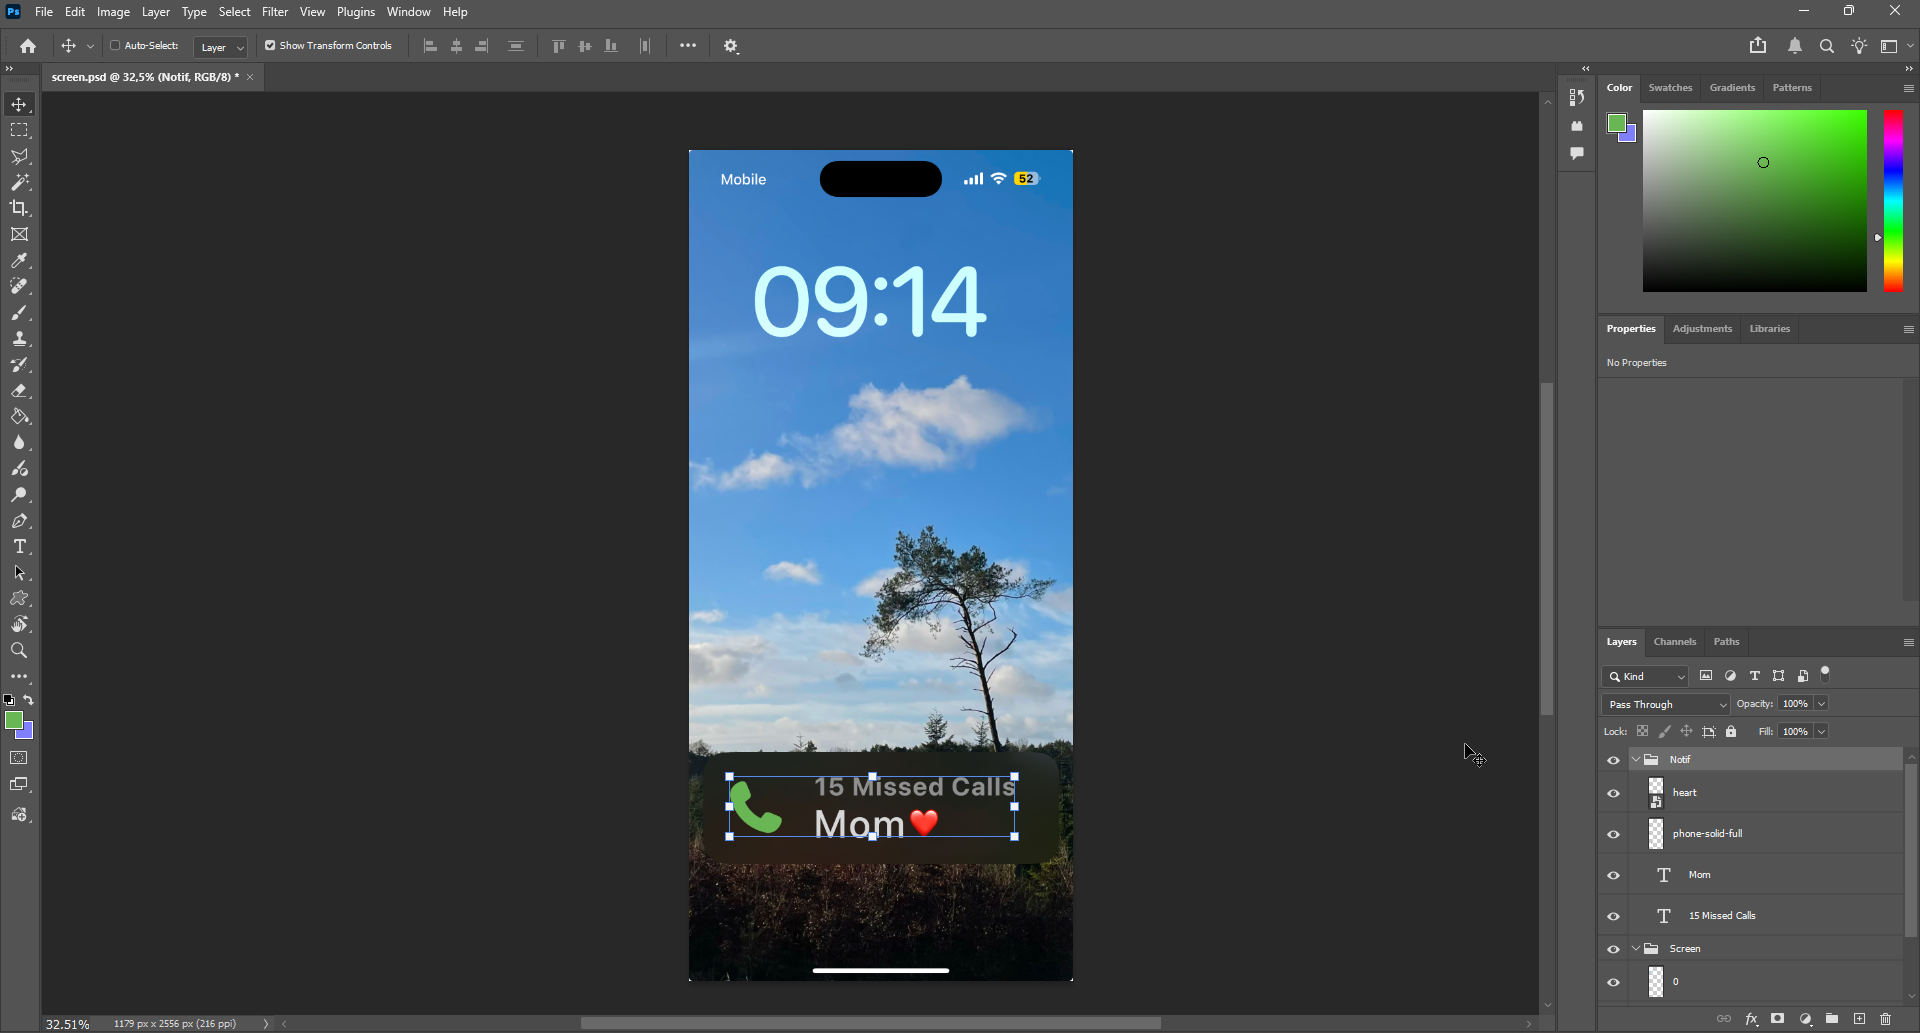
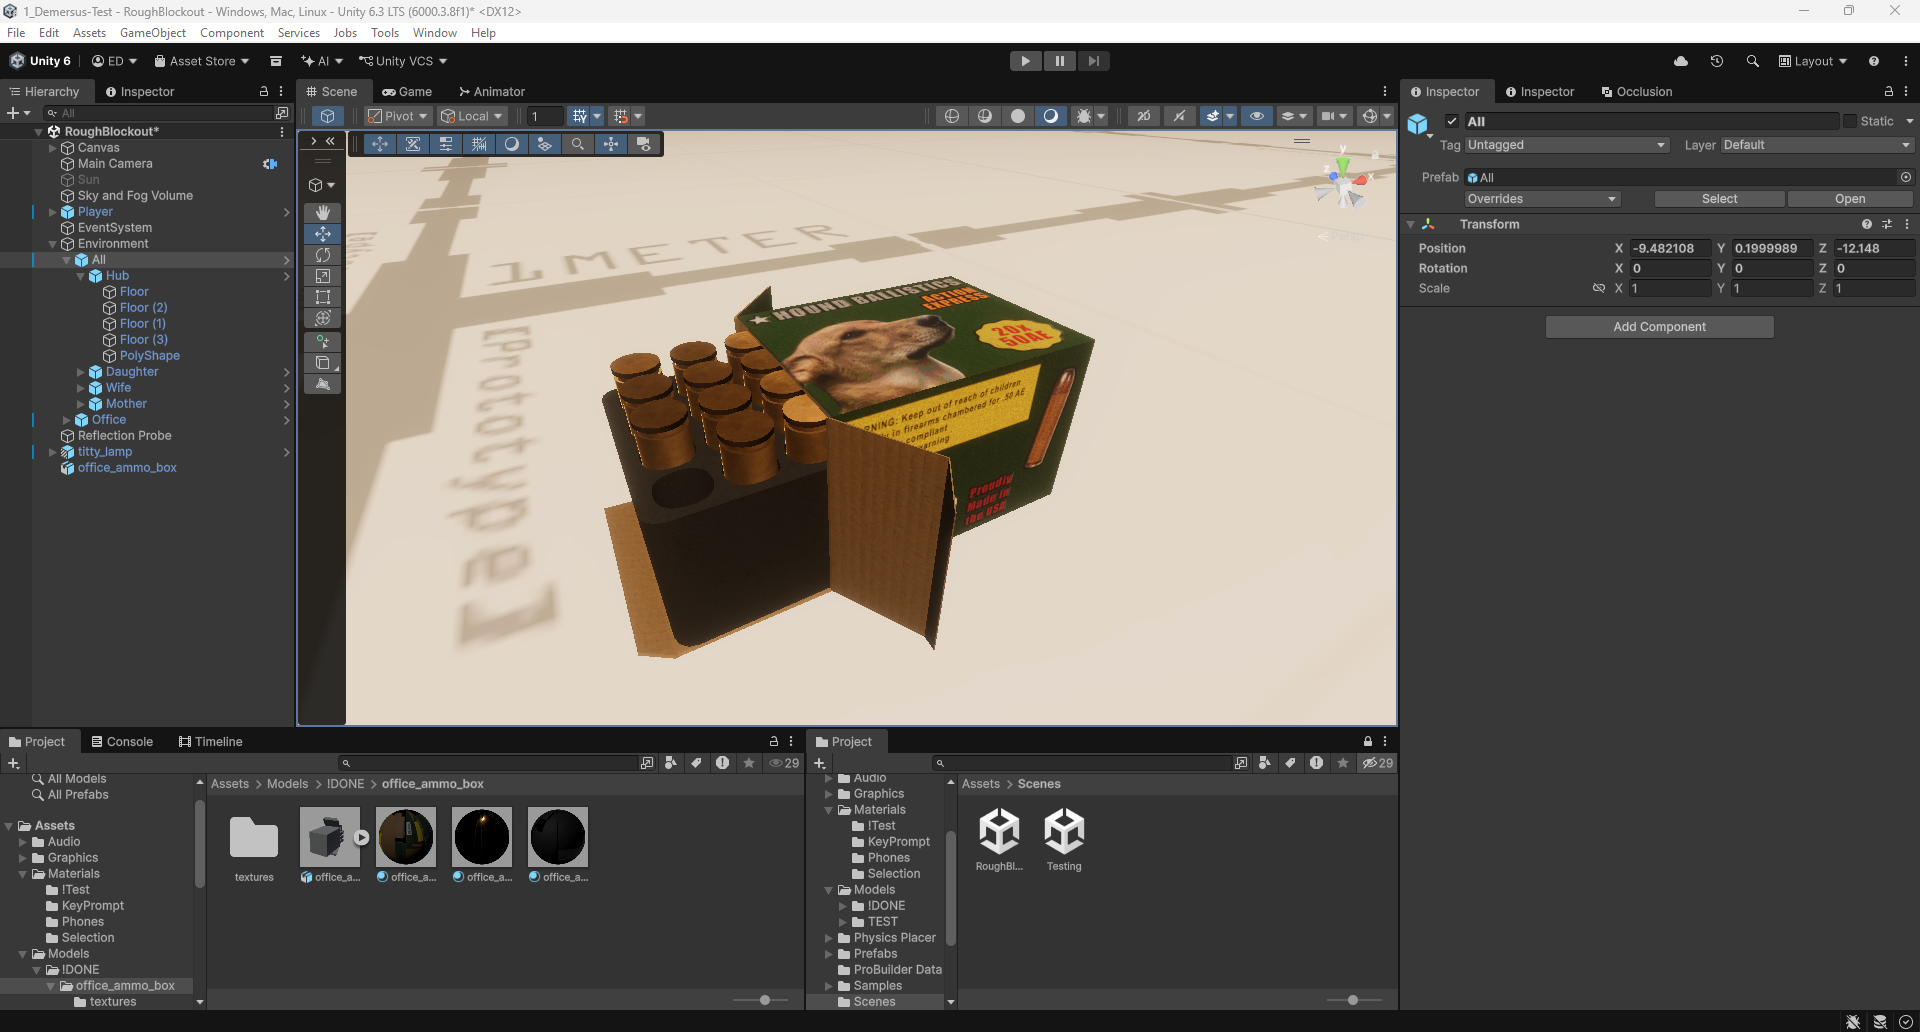
As the title implies, we took care of the first deadline of the ZTGK contest by signing the necessary documents, filling out the sign up form and providing some screenshots of the game!
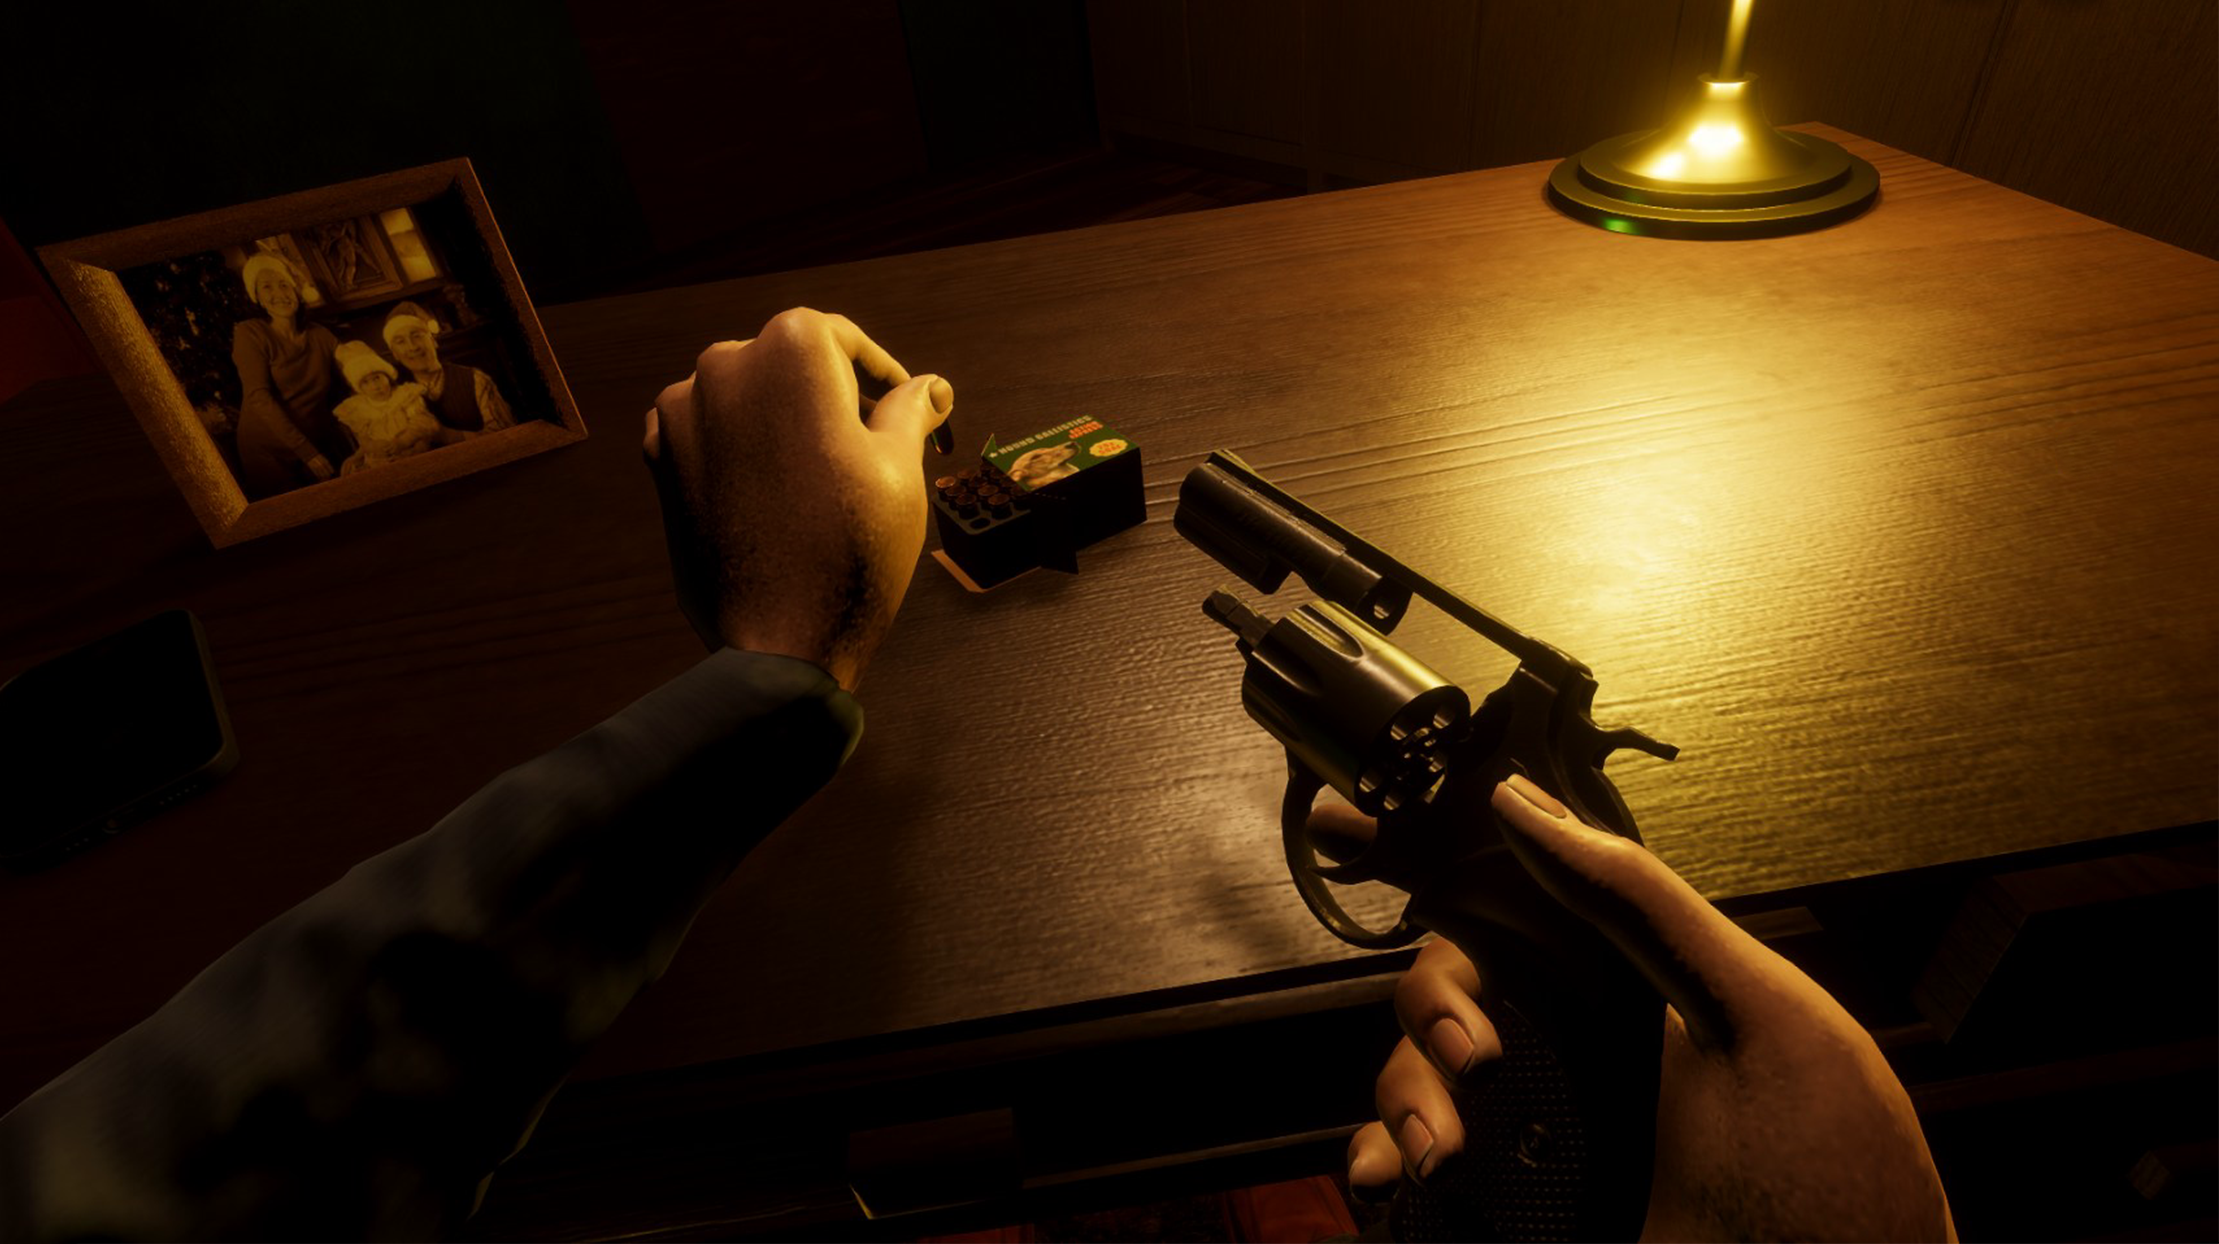
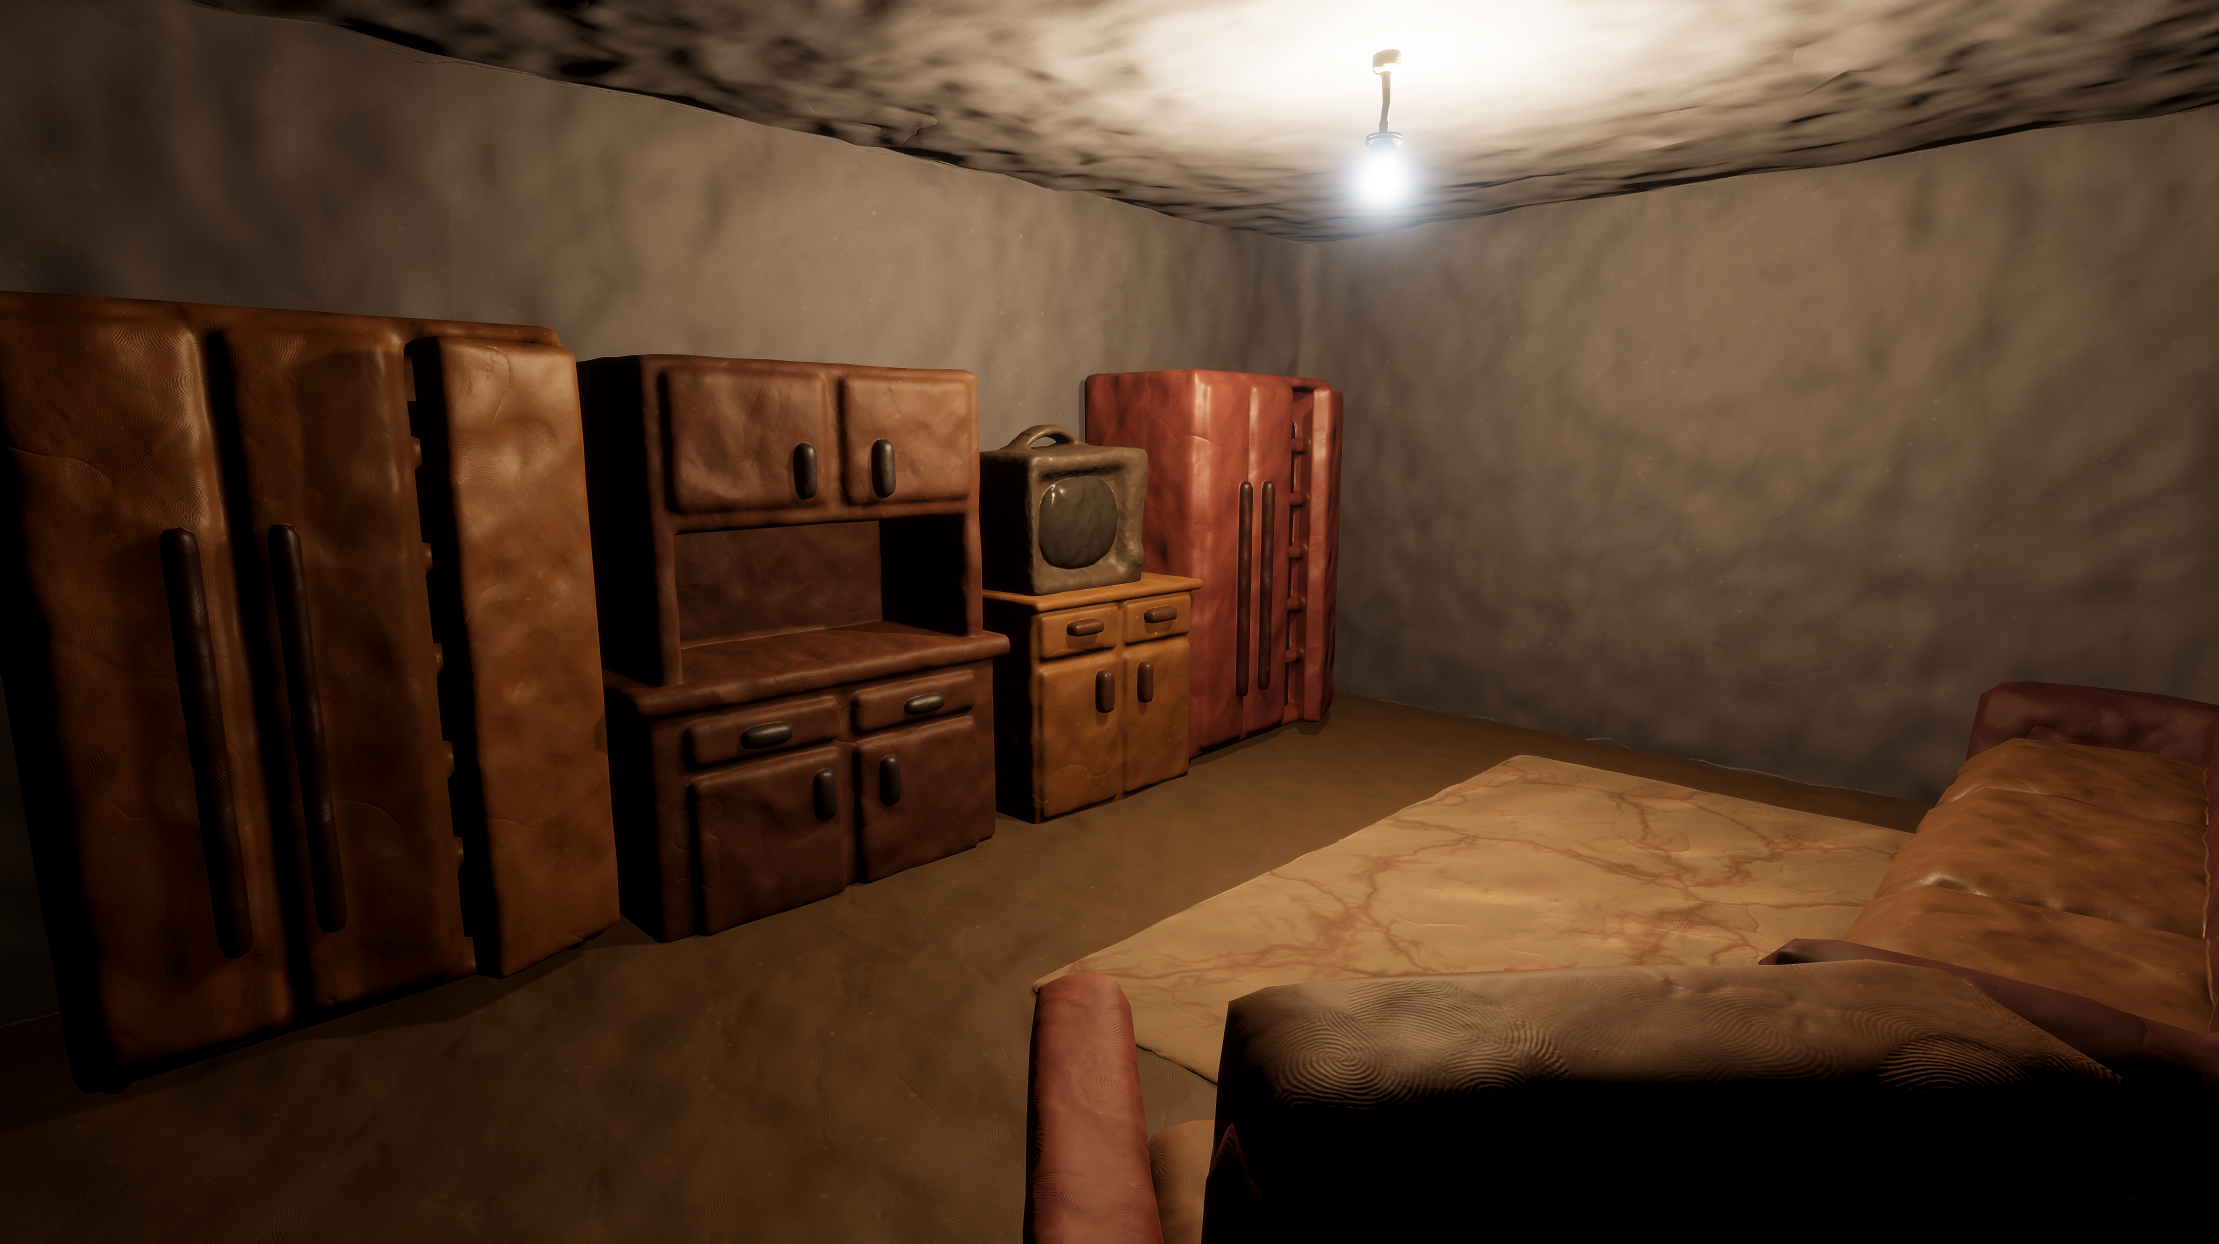
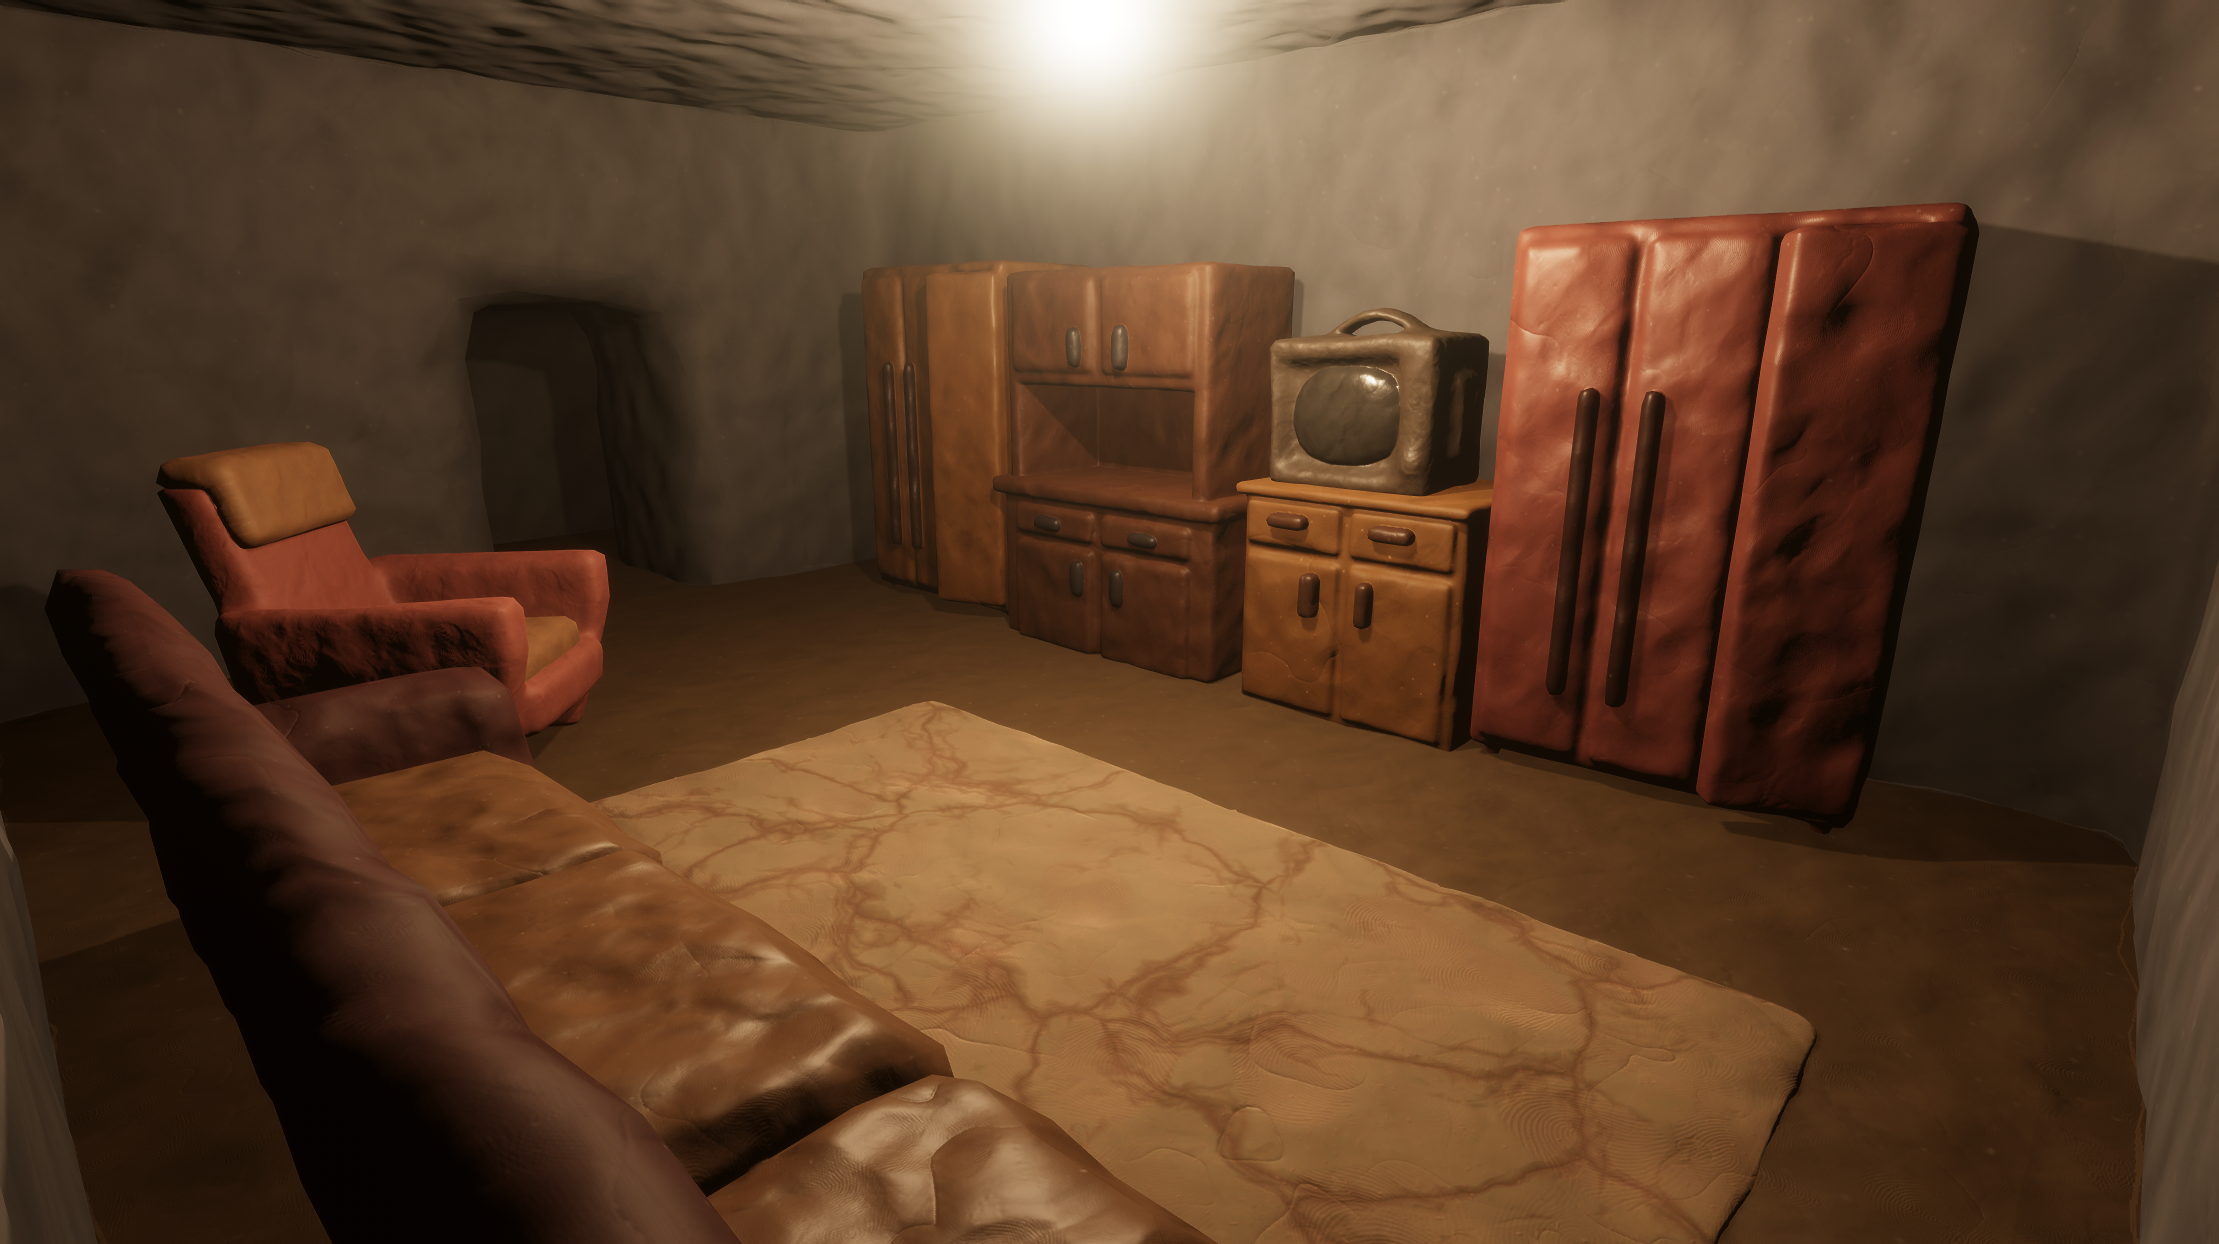
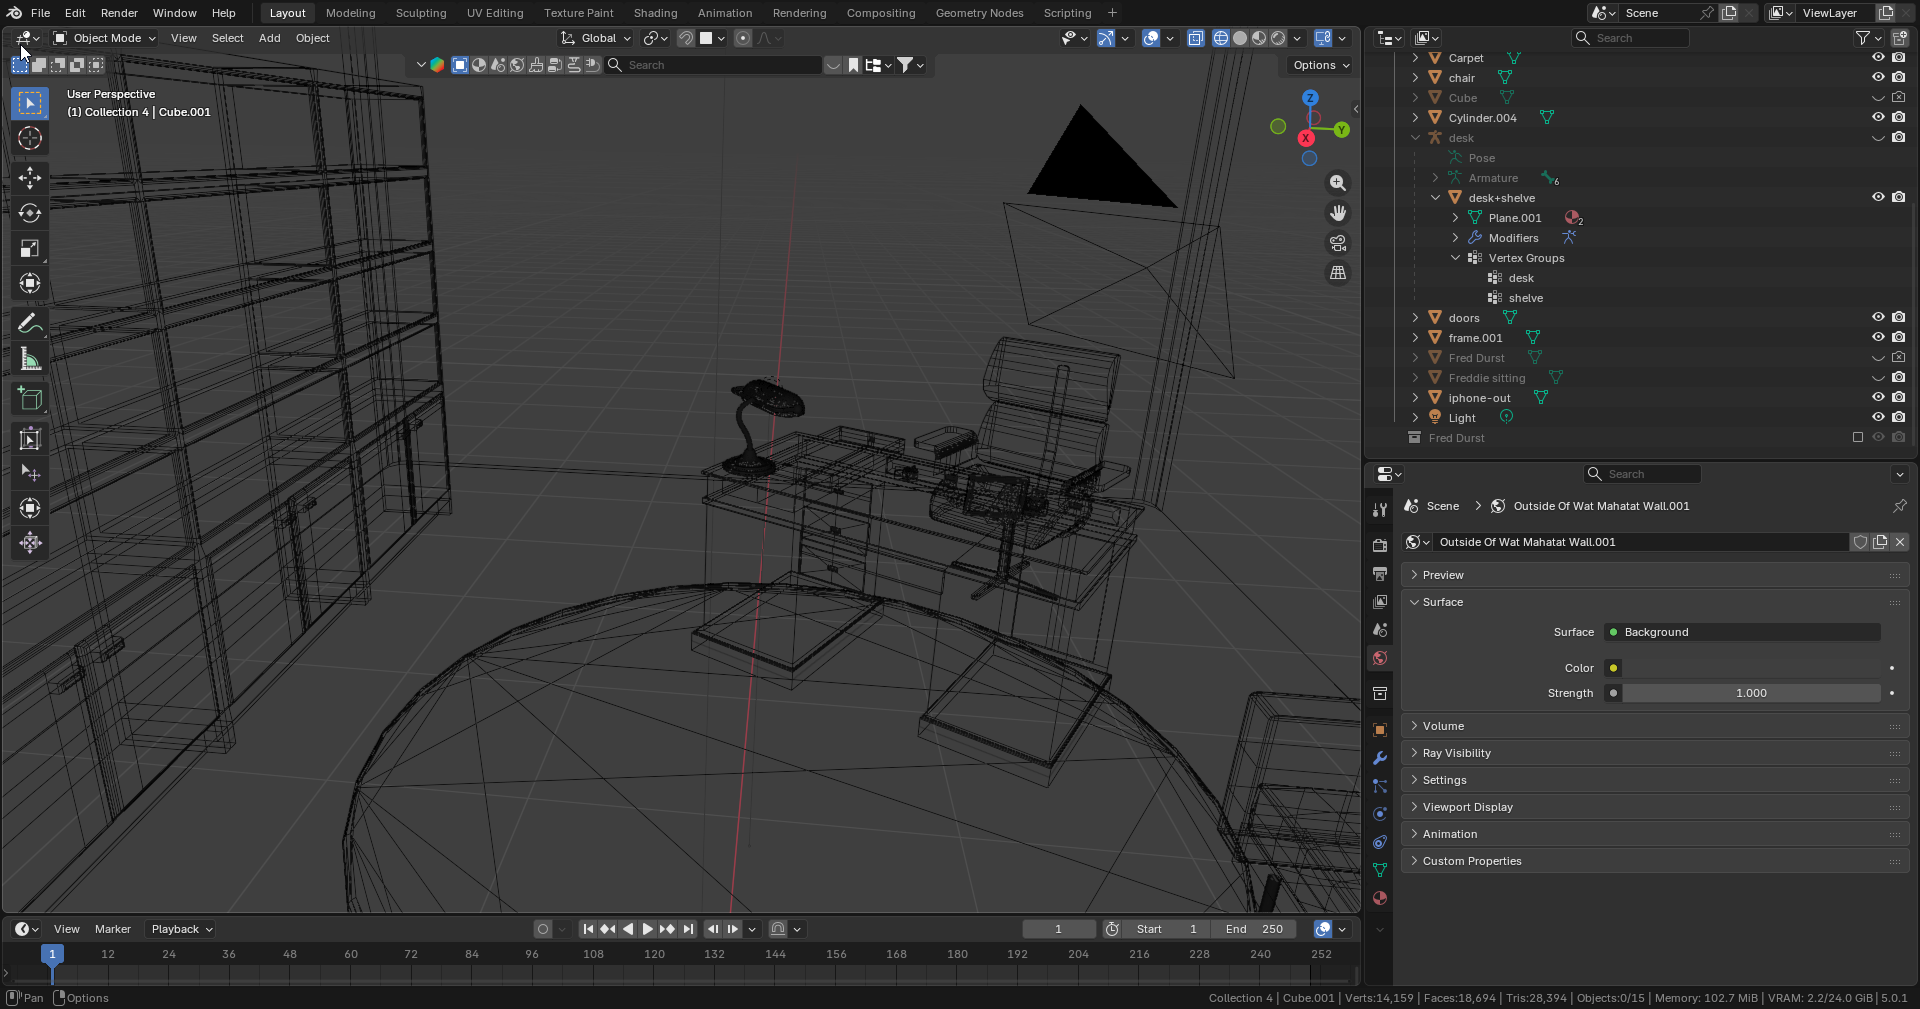
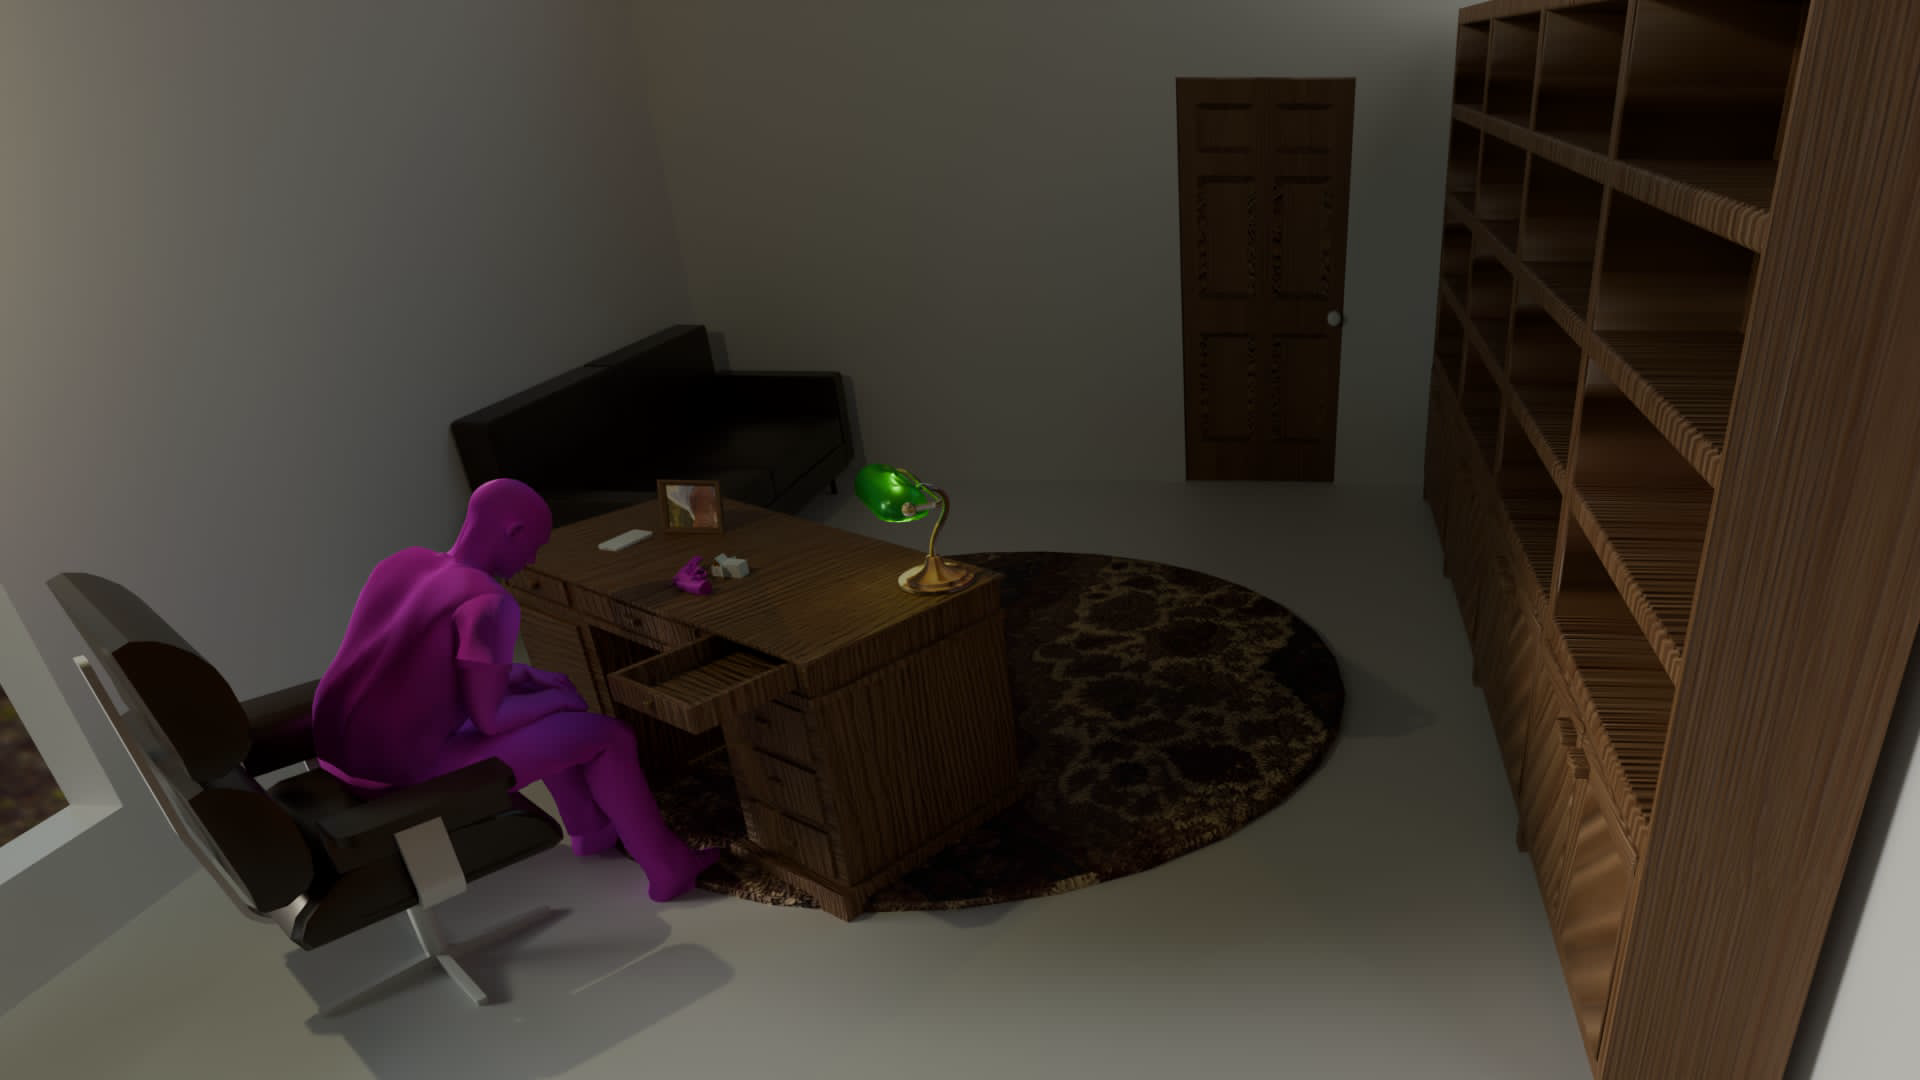
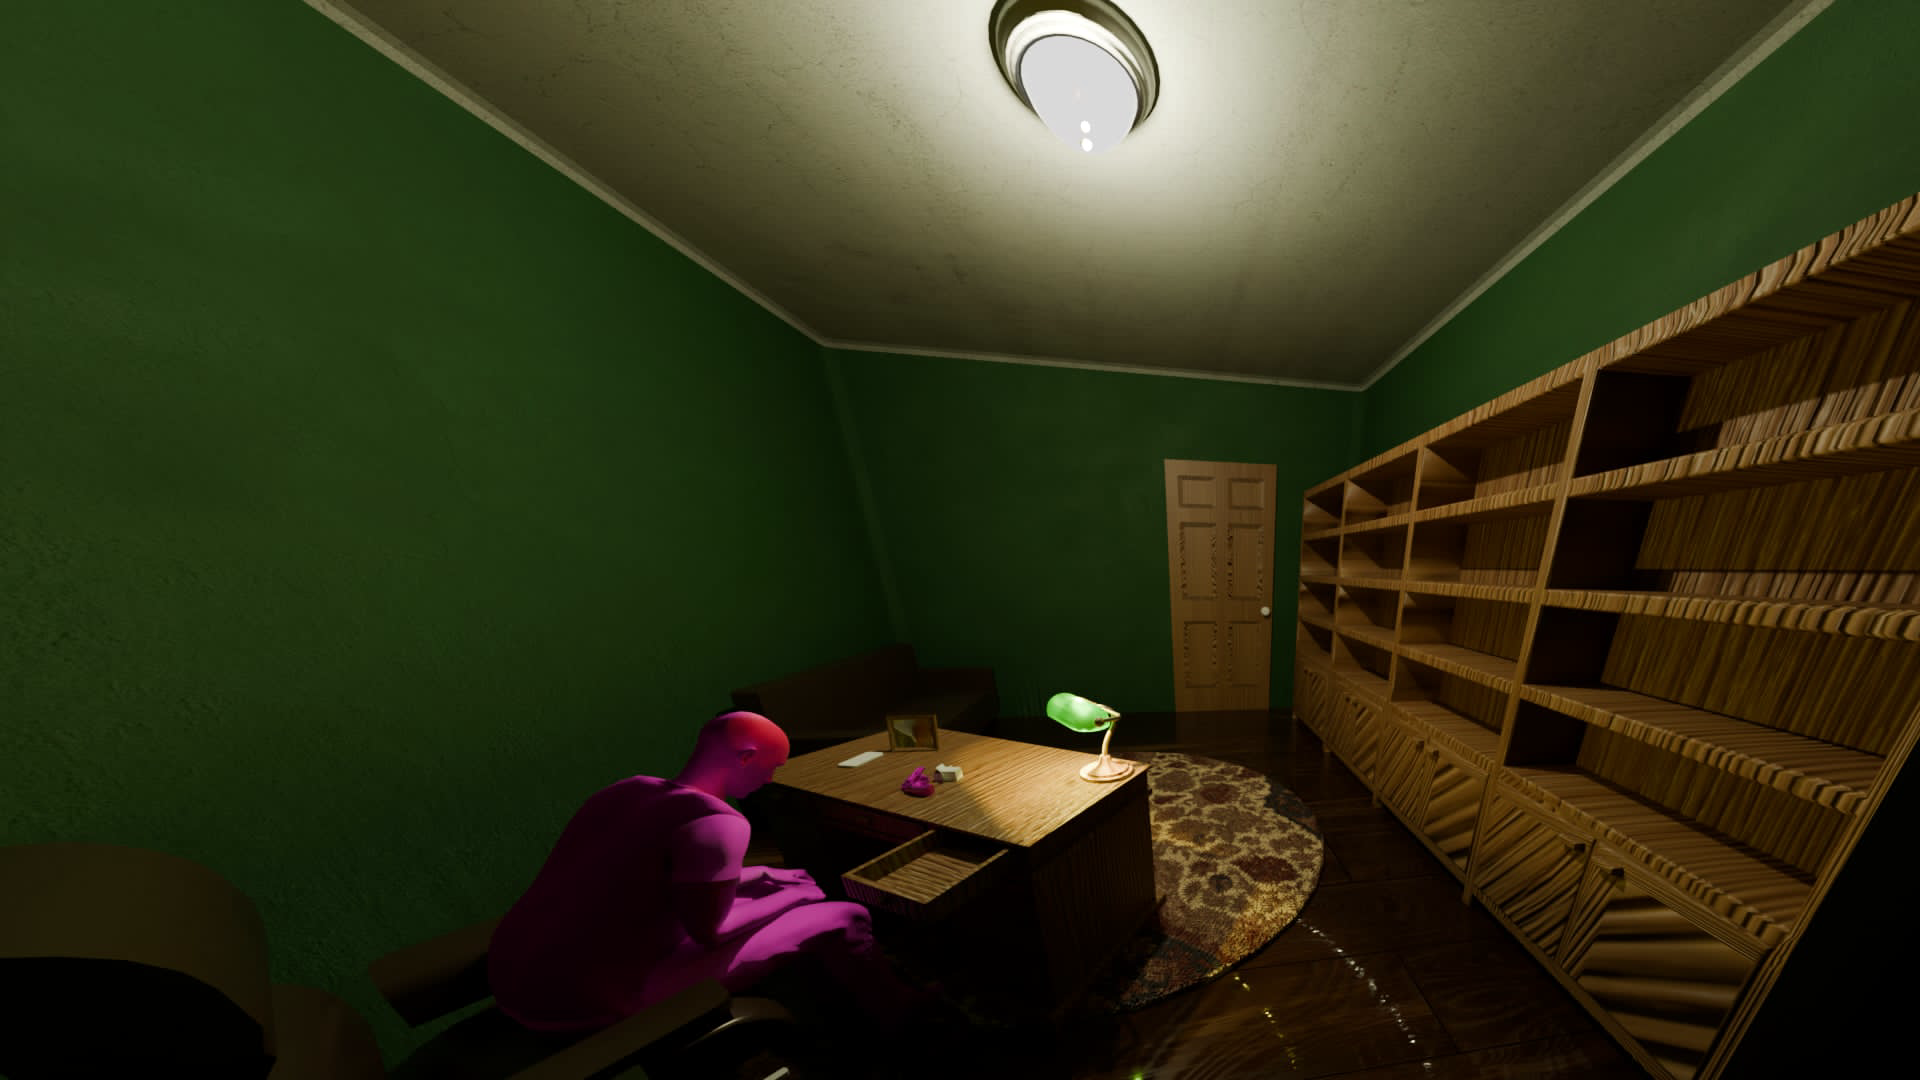
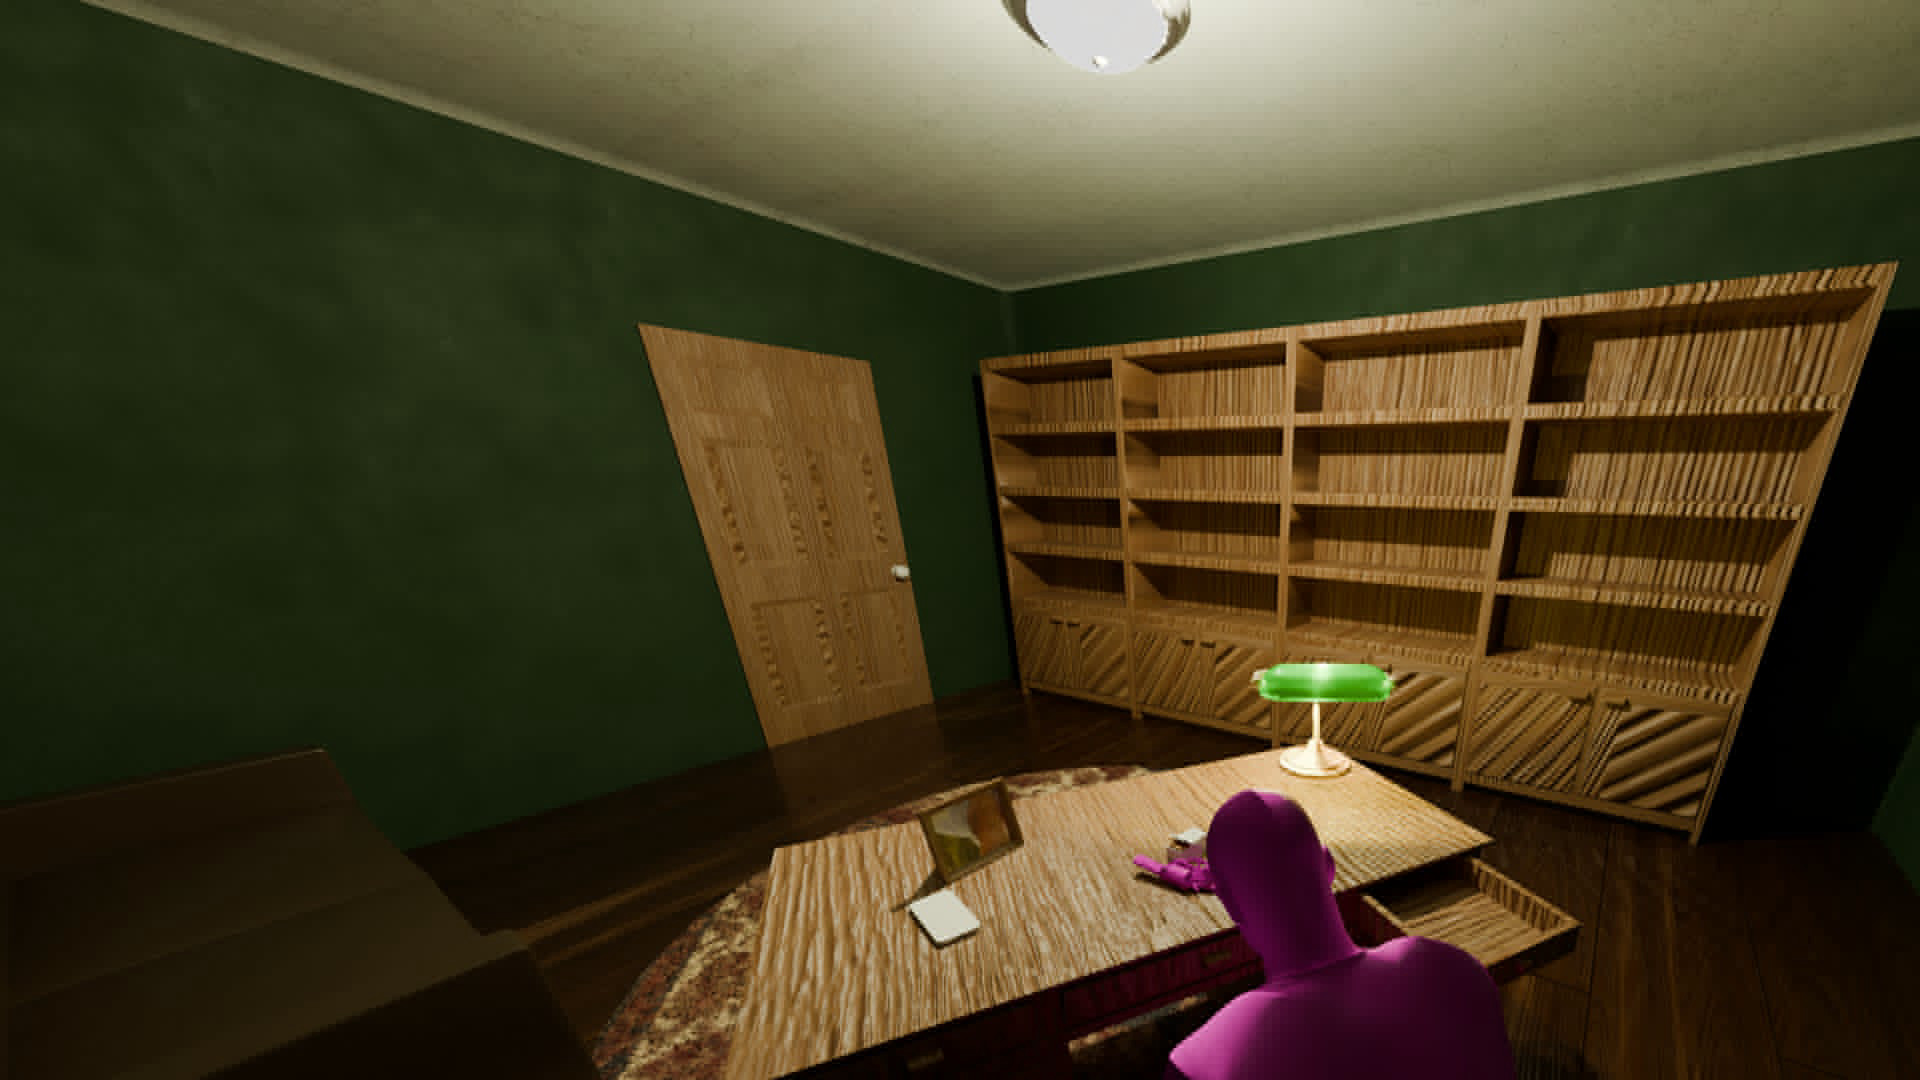
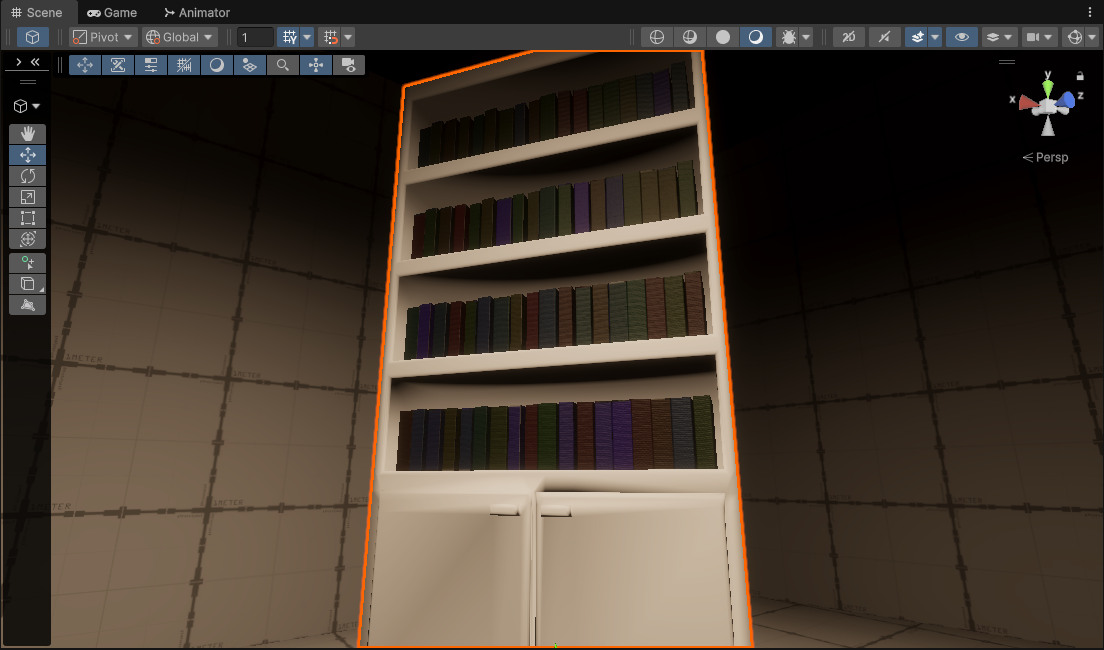
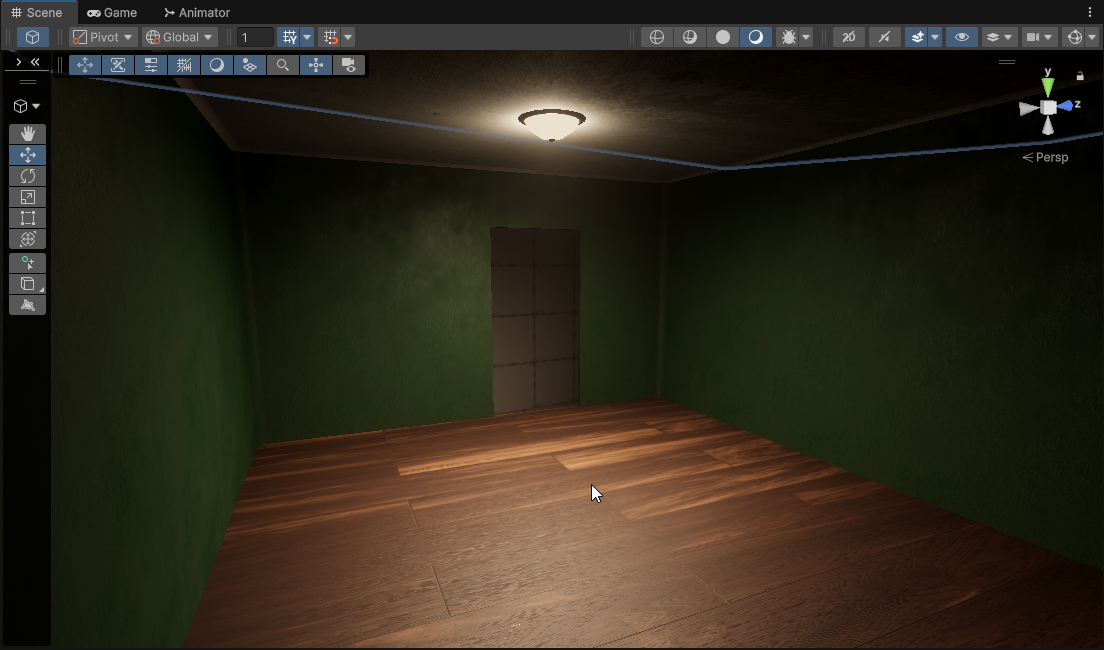
Here are the screenshots we provided:
There was some confusion with us not getting the confirmation email pretty late, but things got sorted out and everything is on track ;)
Mocap Research
Keep in mind that this is the RESEARCH section, this is where I tried things, failed, improved and came up with the actual pipeline written down below!!!
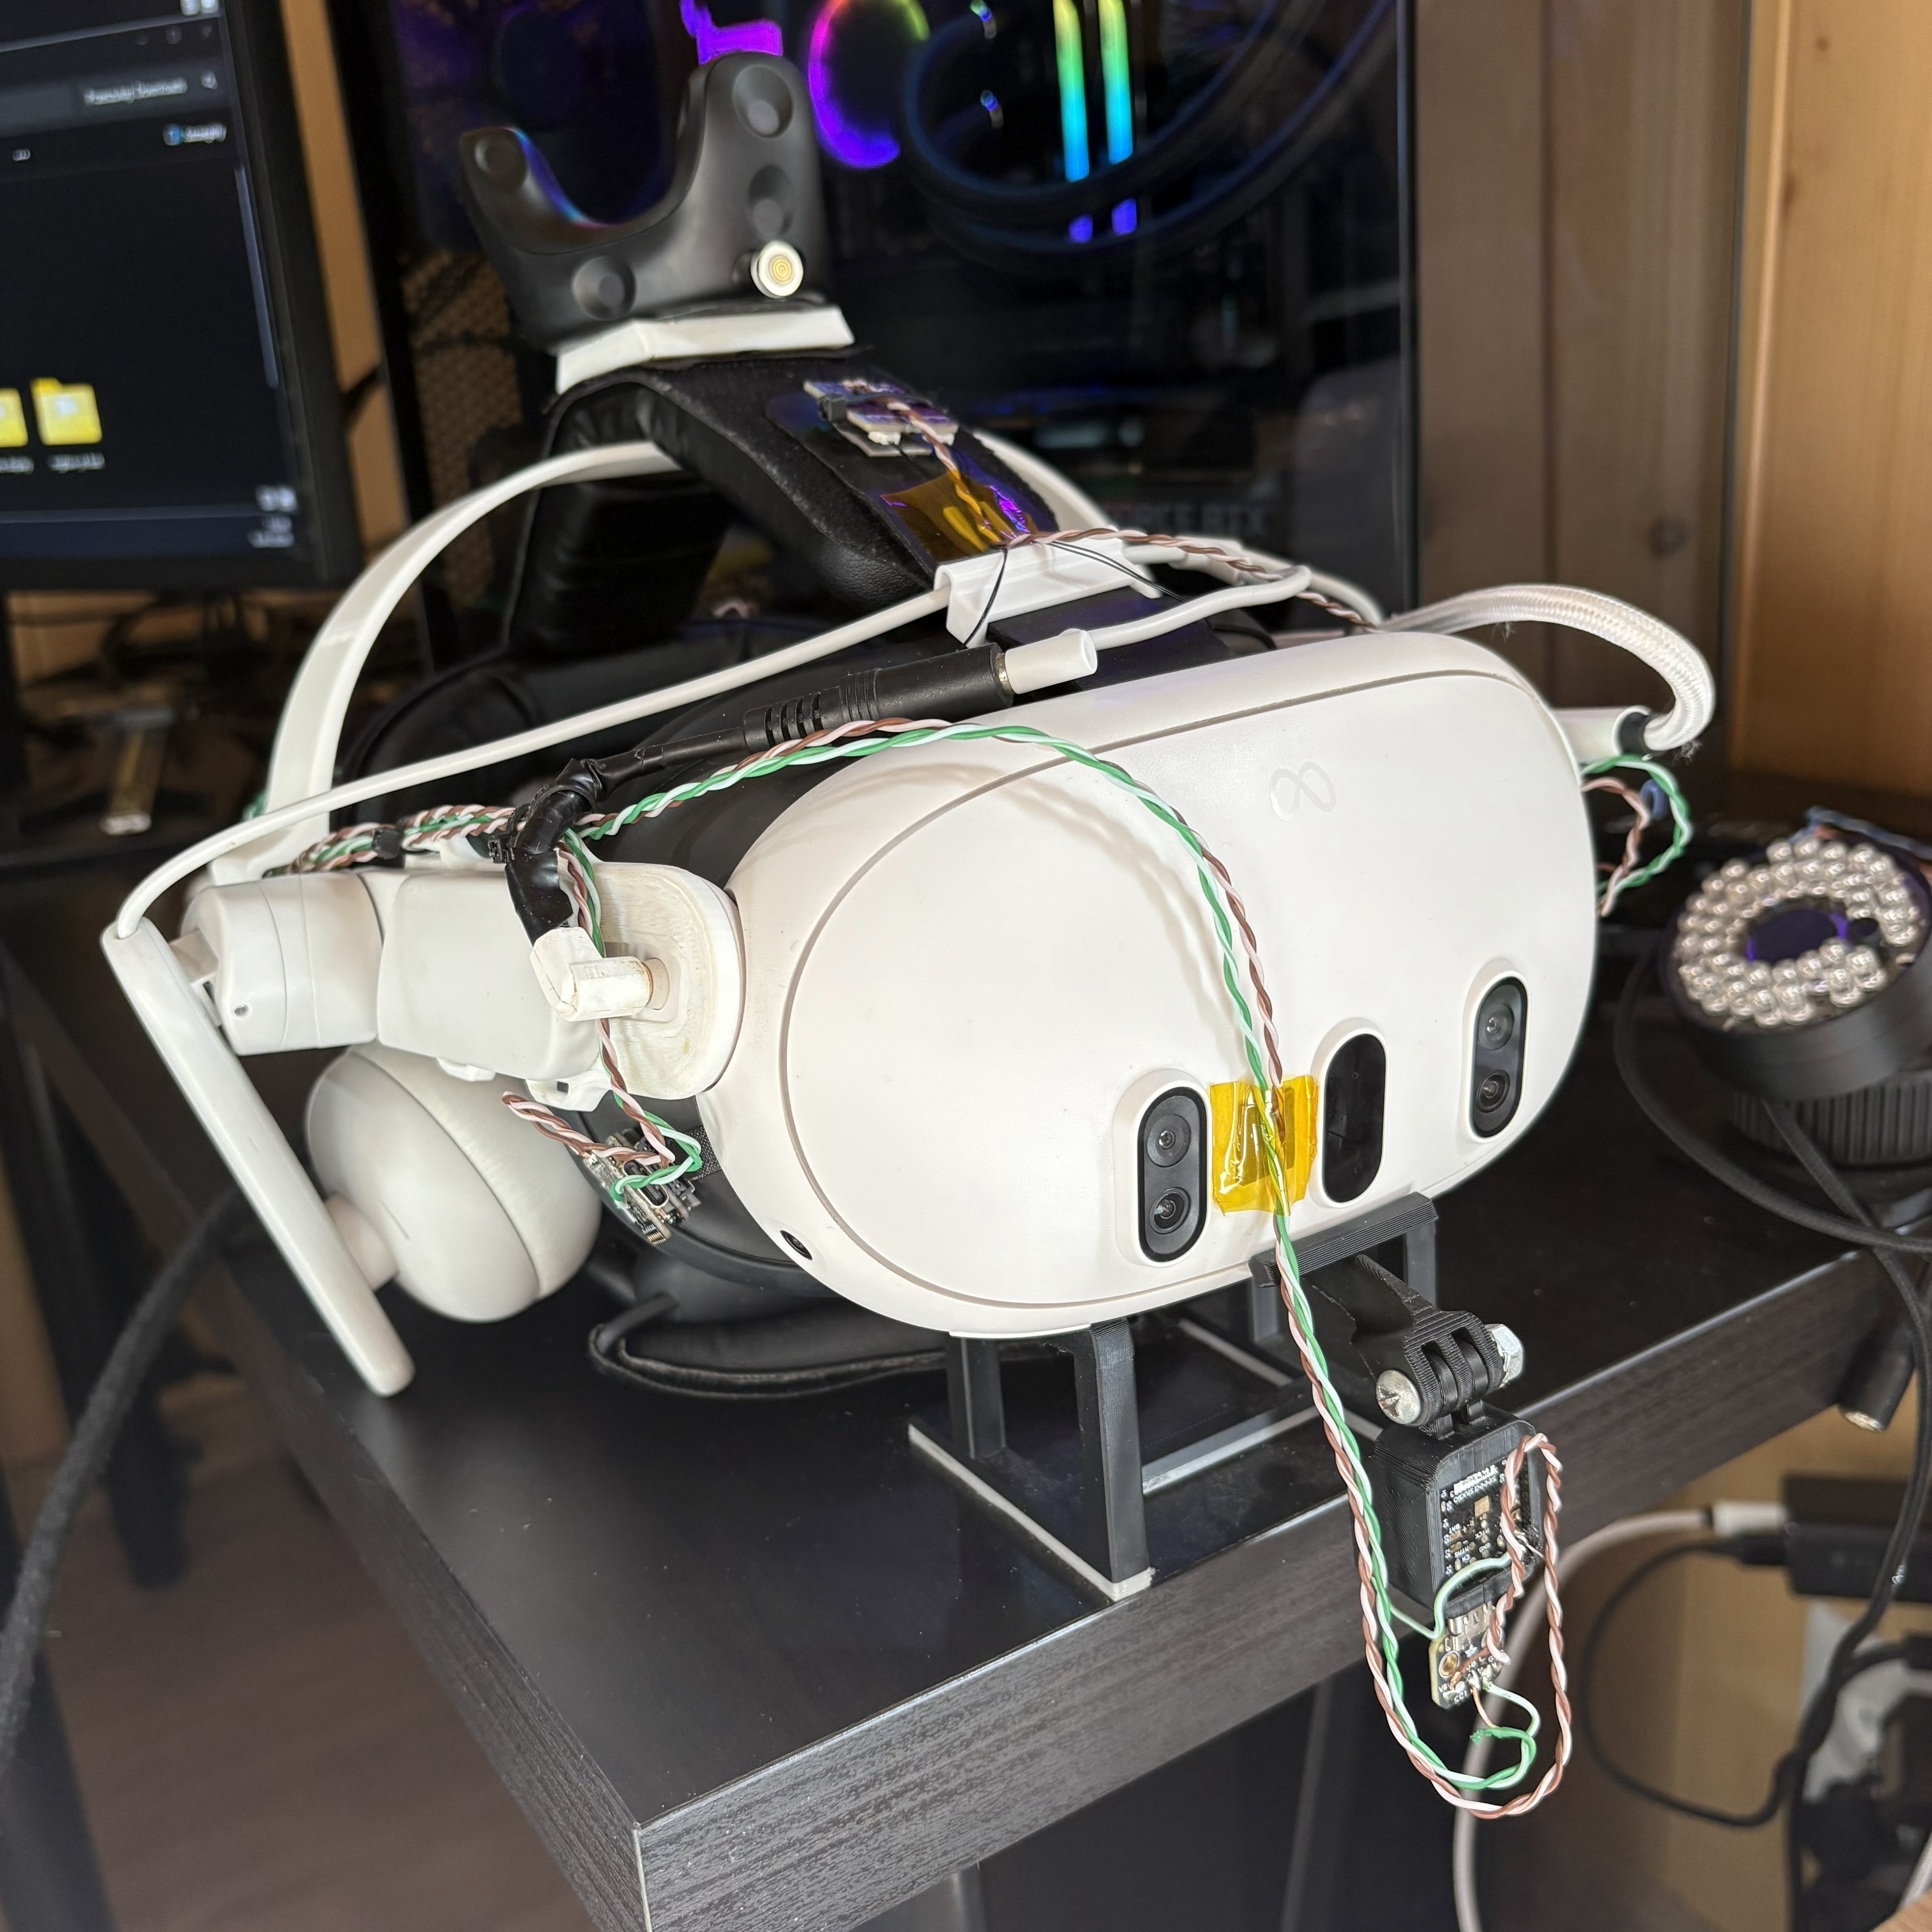
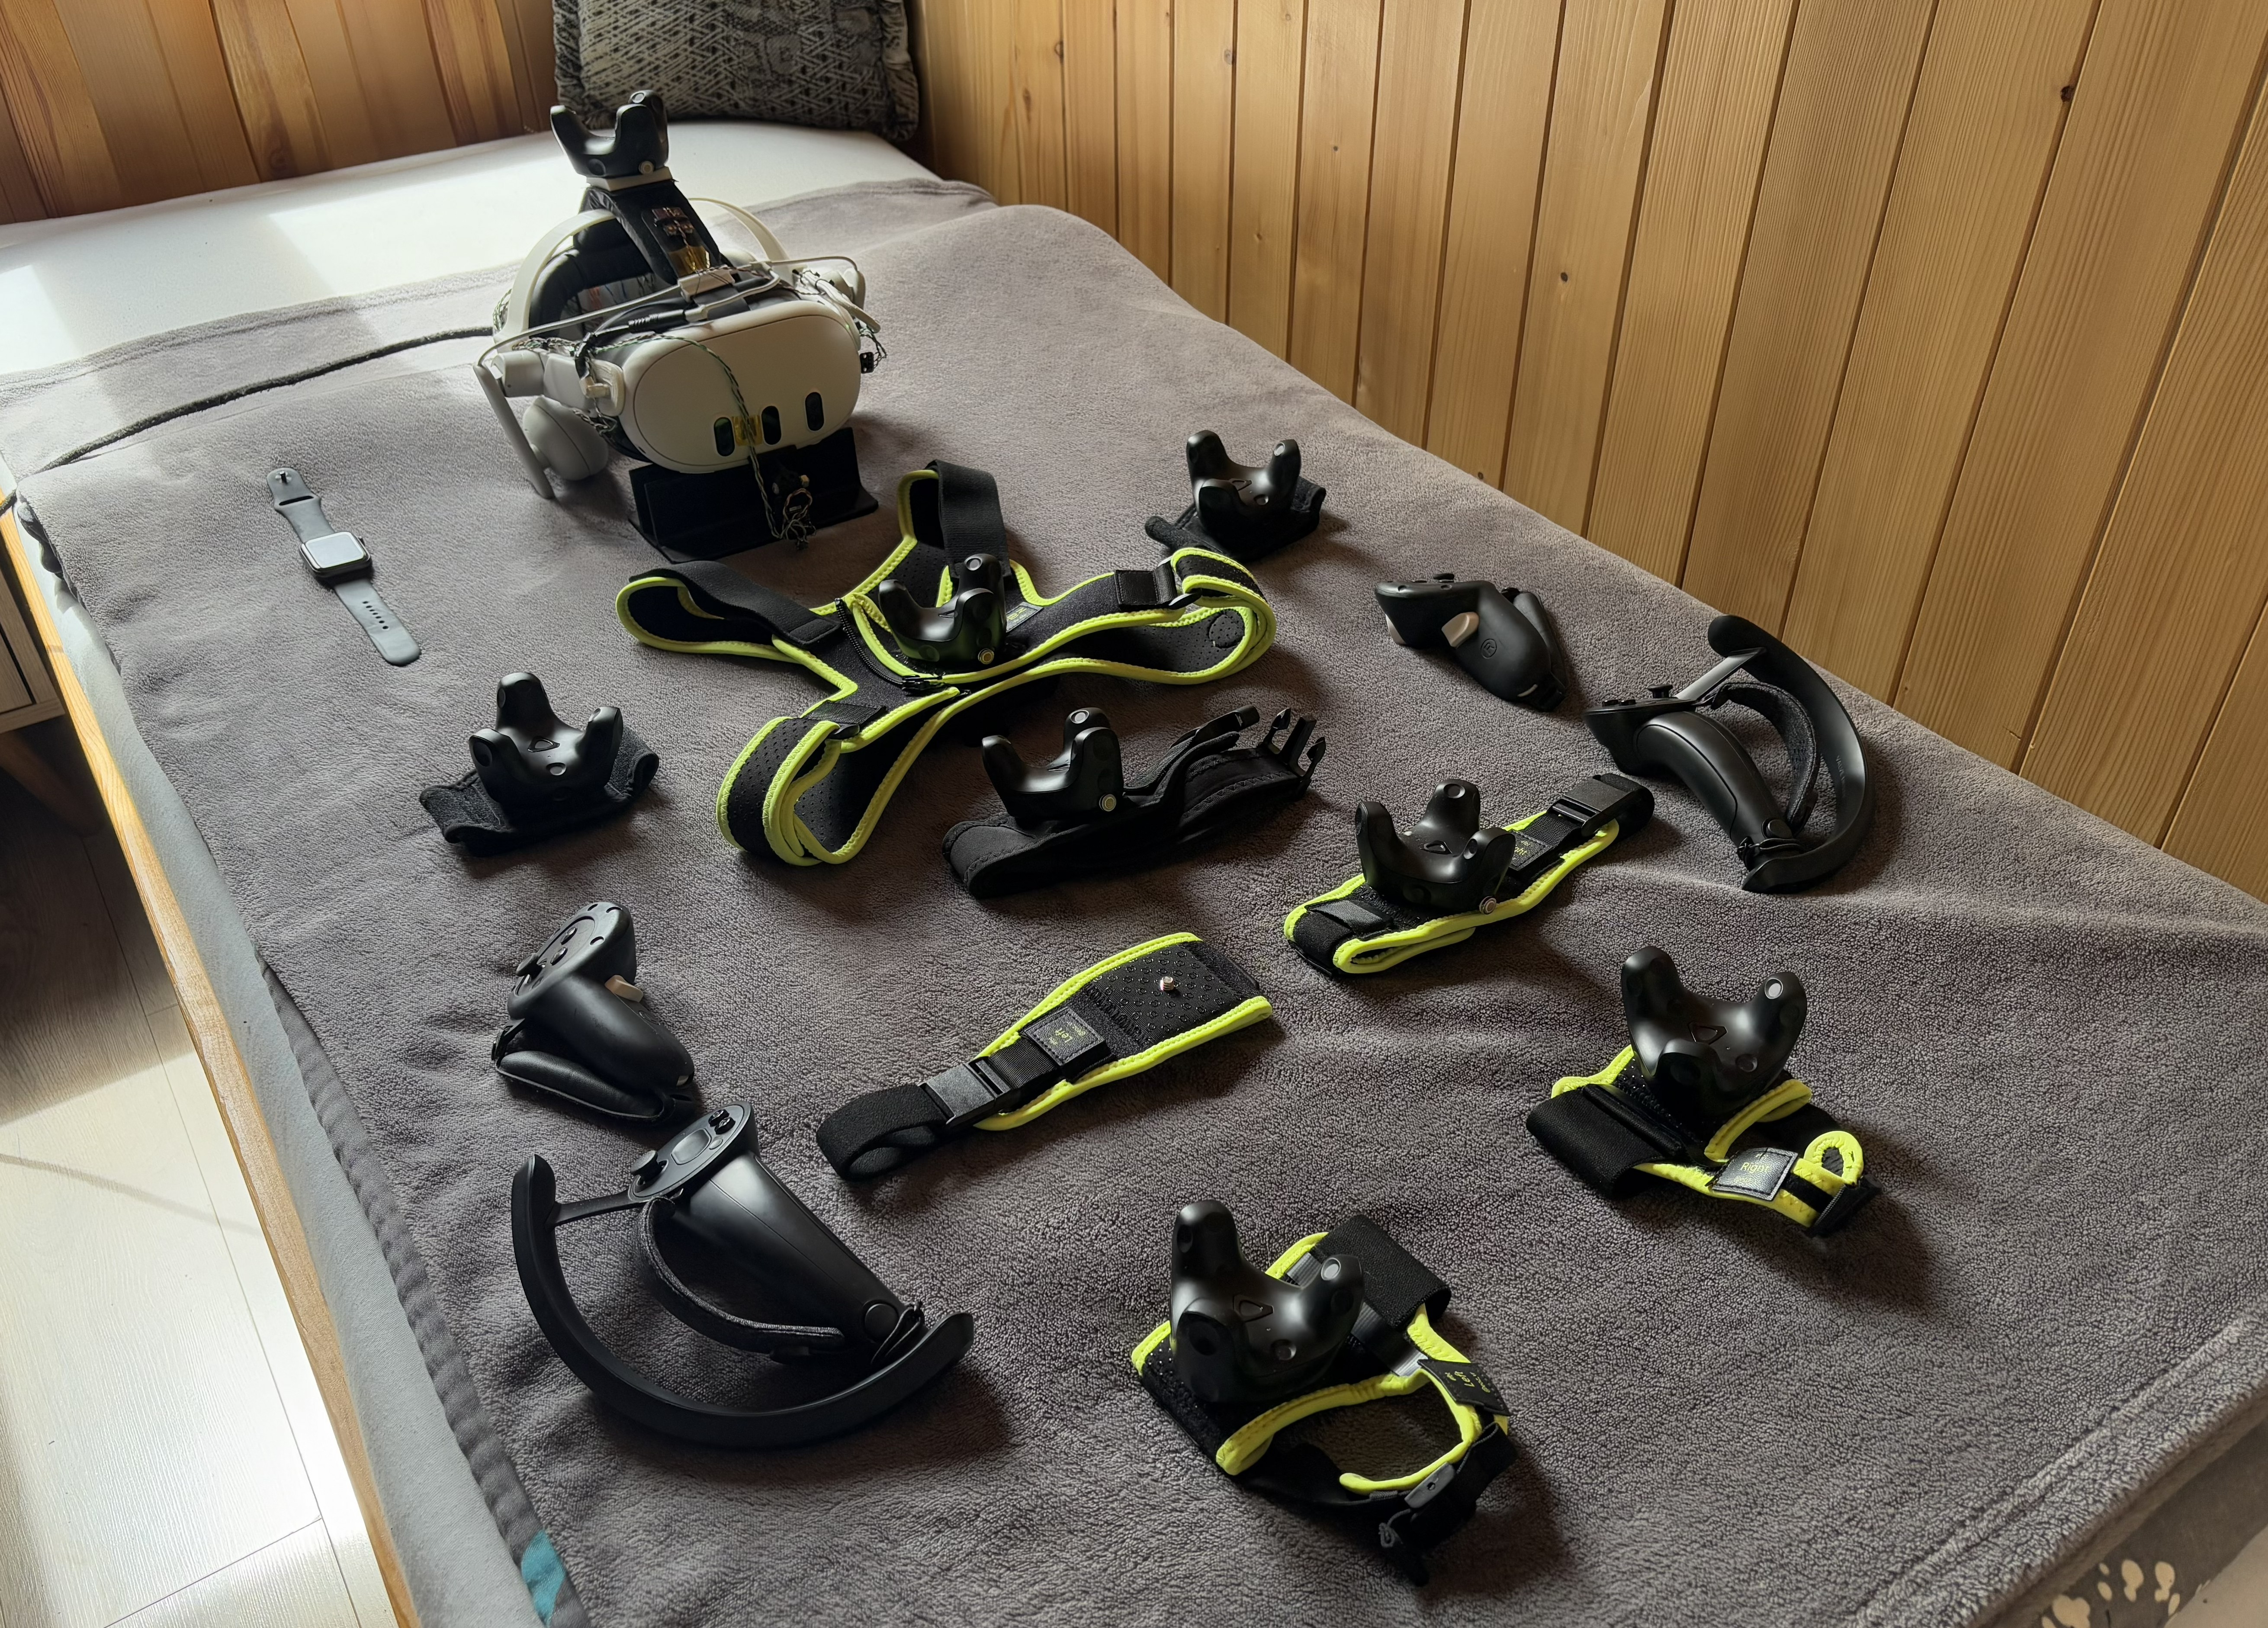
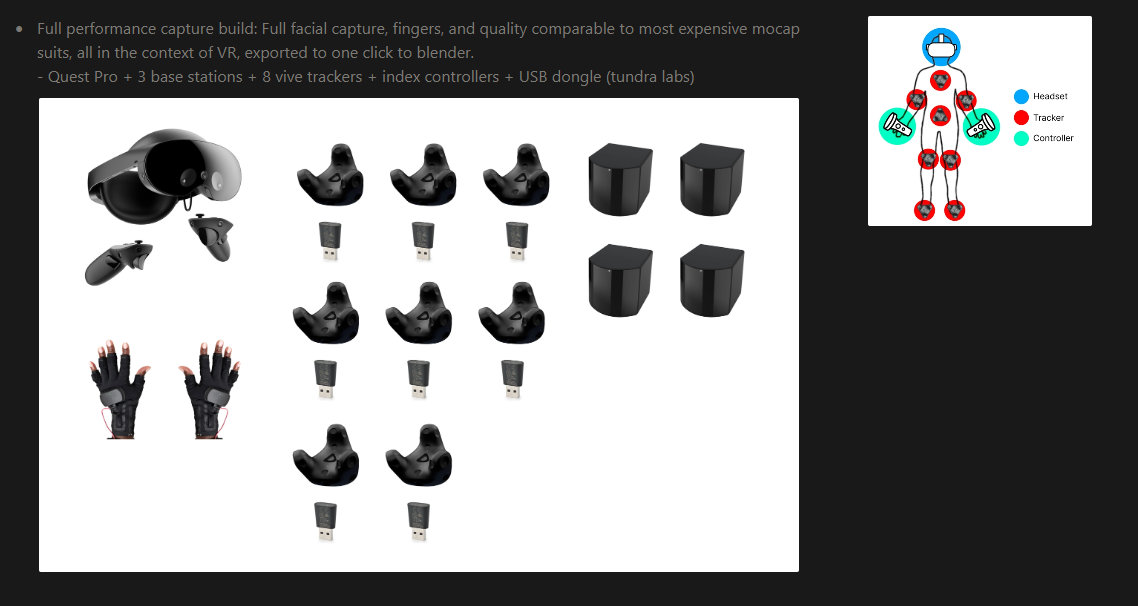
If you didn’t know yet, I am a huge VR nerd and own a full, custom SteamVR based VR + FBT + FT setup:
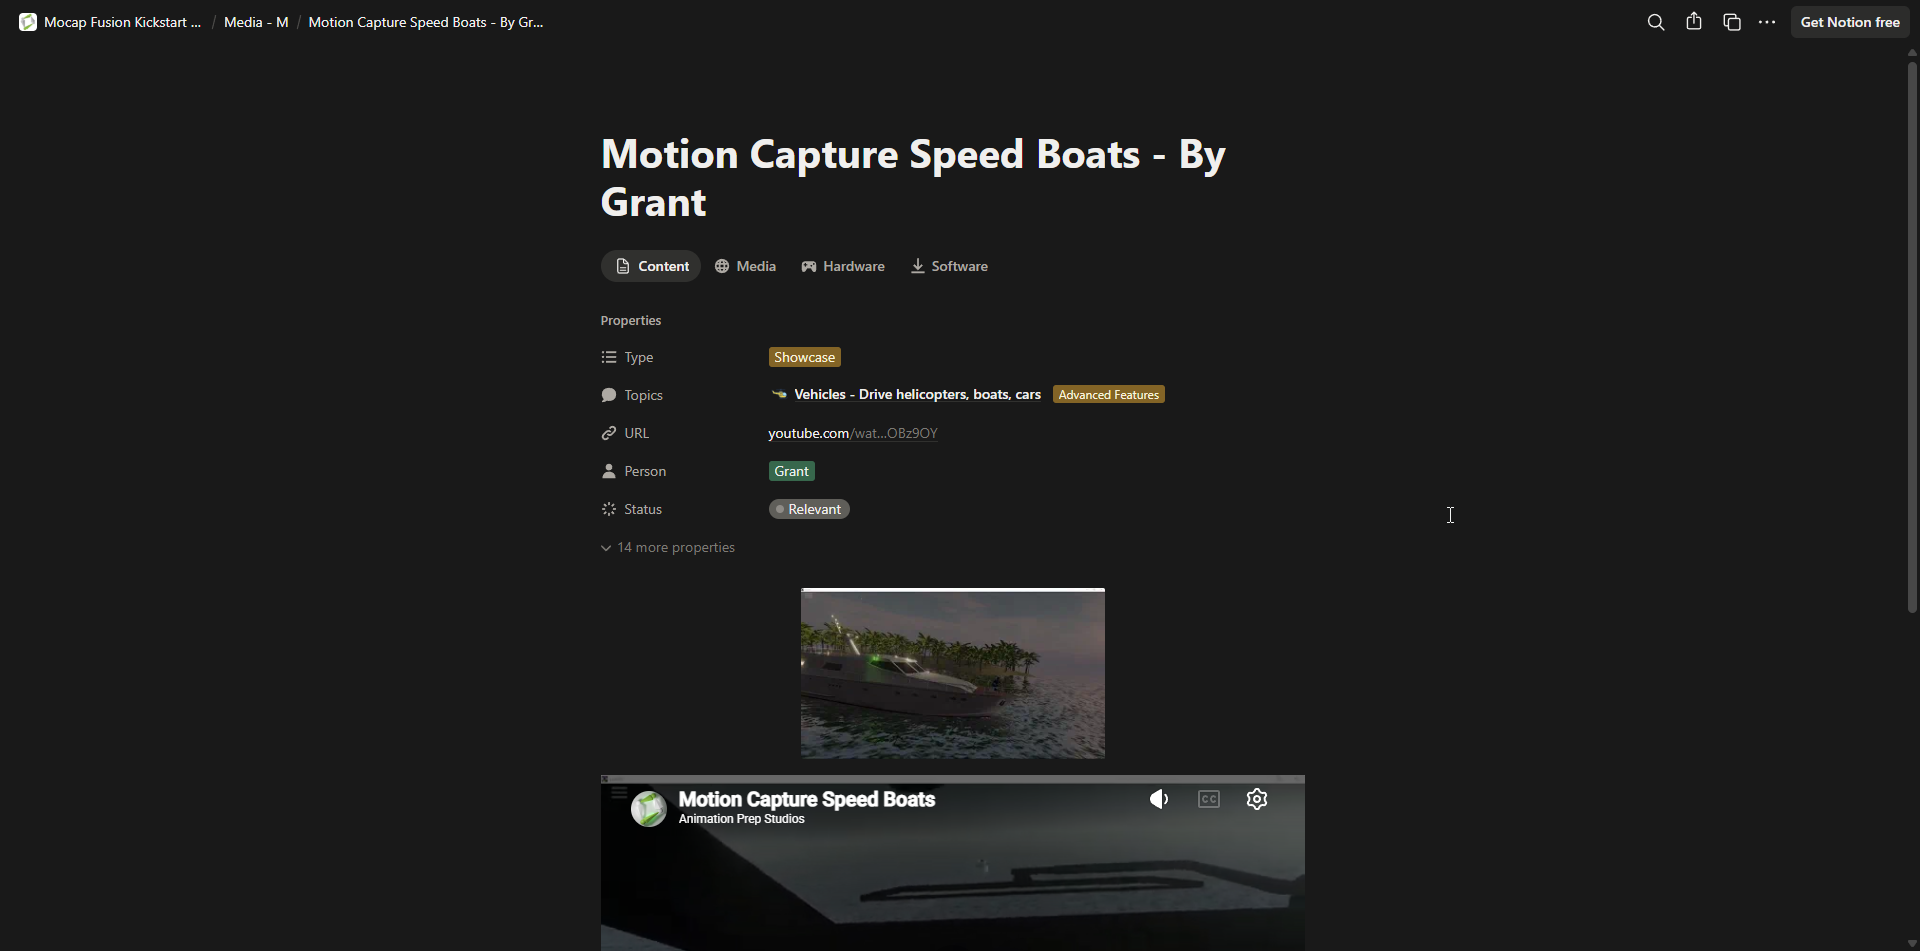
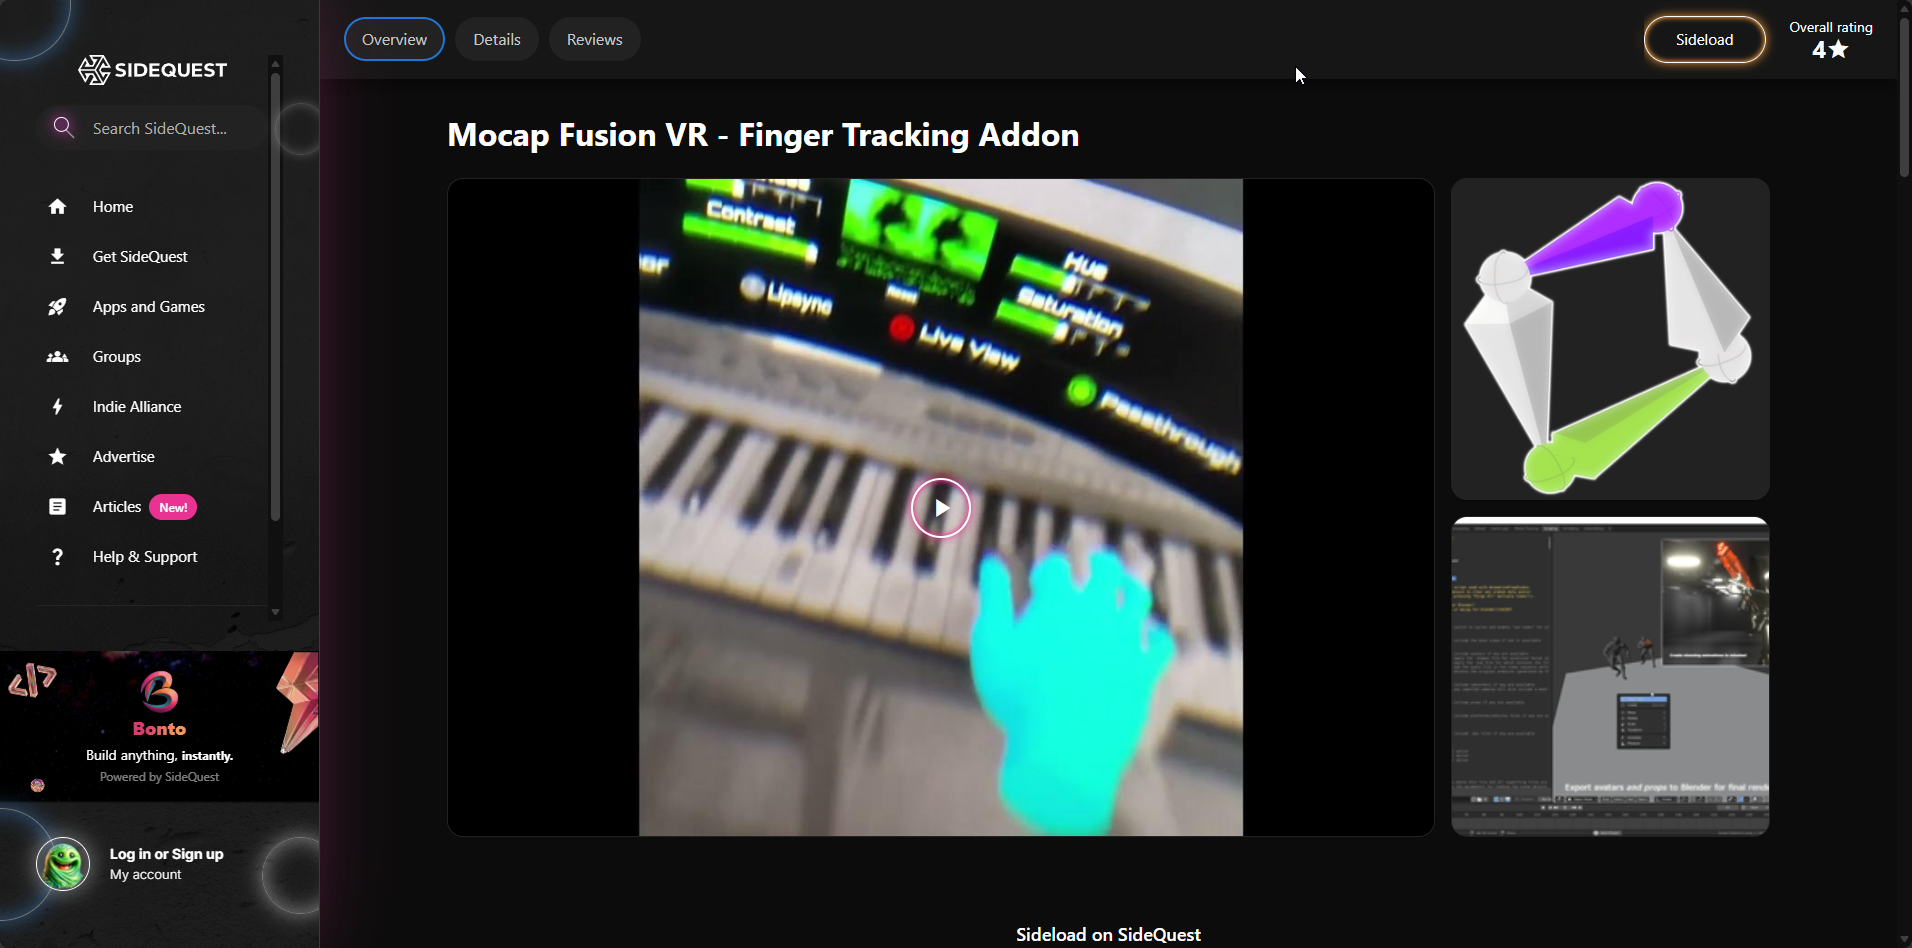
So, naturally (because of both experience and no meaningful additional cost) I gravitated towards Virtual Reality Mocap via Mocap Fusion a piece of software I’ve had the chance to lightly test out while working on my Animation and Rendering course final project a bit ago:
Scouring Through the Docs
The thing I started out with was reading the entirety of the Mocap Fusion docs (which admittedly were a bit hard to find at first). However, when I finally got to them… I have to say, they are a sight to behold, incredibly in-depth and extremely detailed!
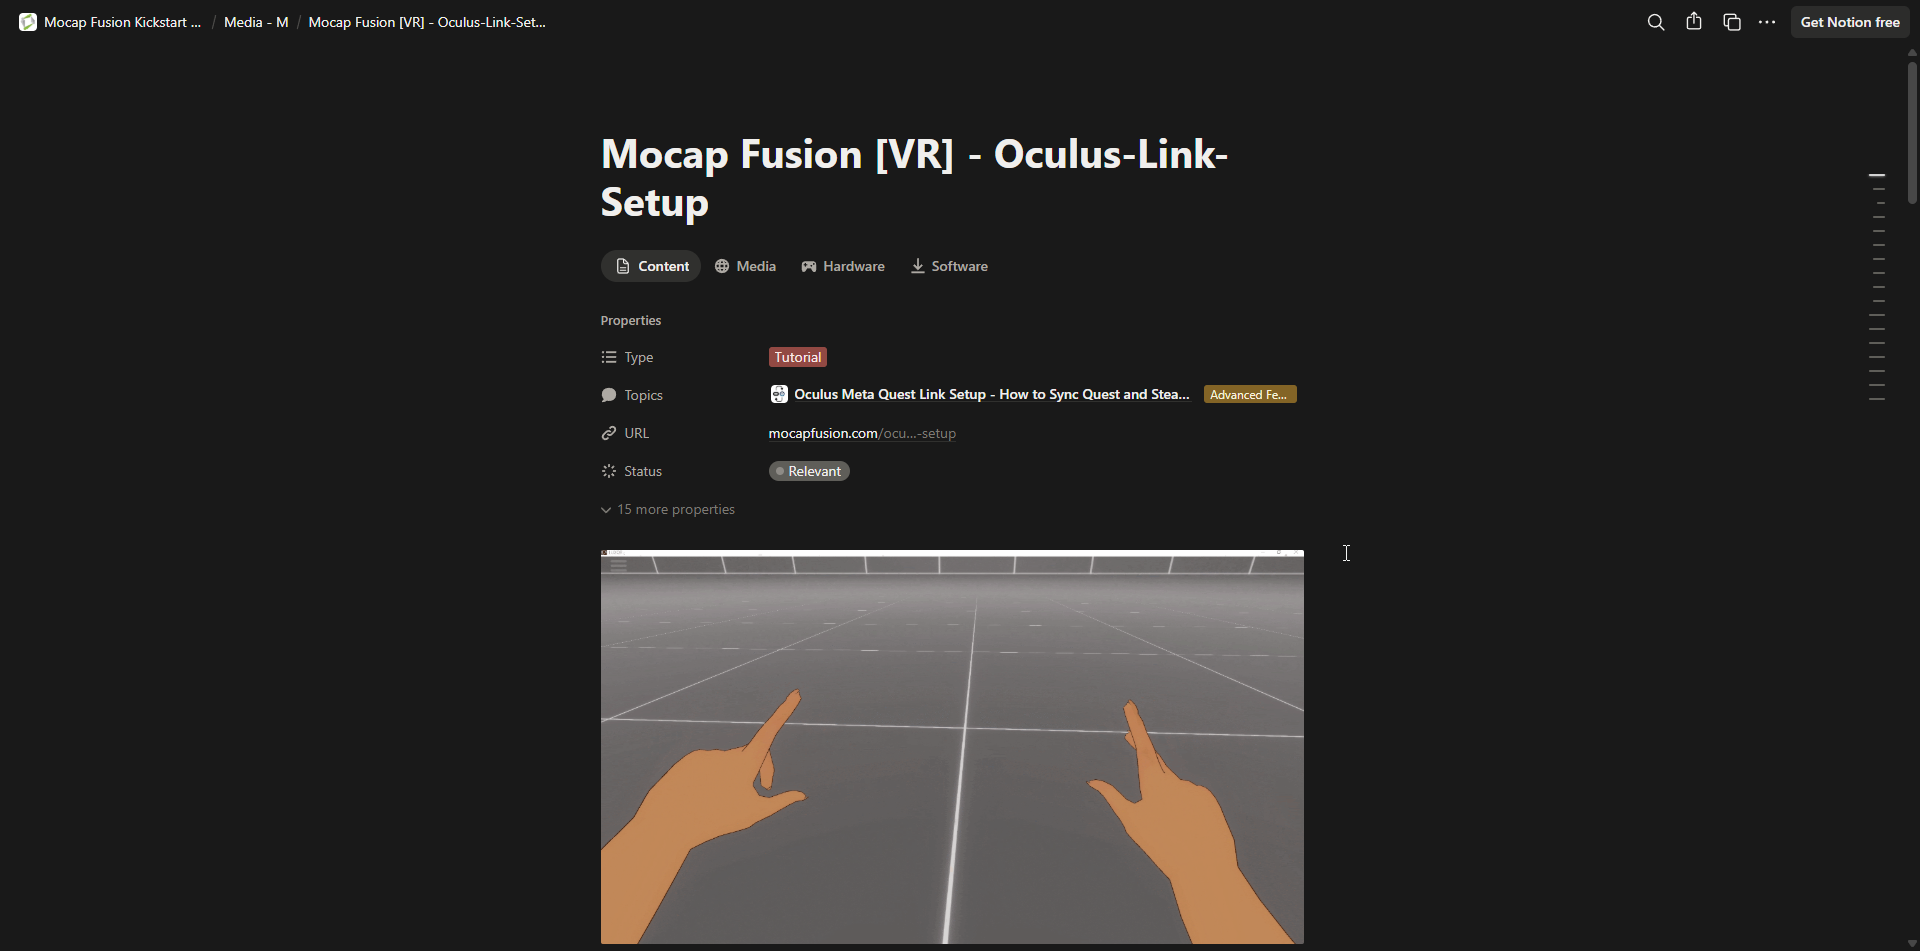
It has great notes on the actual hardware setup, technical details / how everything works, feature of the software itself and a bunch of tutorials on how to go about adding maps, avatars, simulating vehicles, adding props, physics, doing Live-Link , multi-computer / multi-GPU setups and more (I highly recommend anyone interested in mocap, or just VR in general to give it a read):

Initial Finger Track Tests
Something that I really put a lot of emphasis on here (especially because of the starting cutscene) was a more life-like and realistic finger animation. That’s why these pages in the docs really caught my attention:
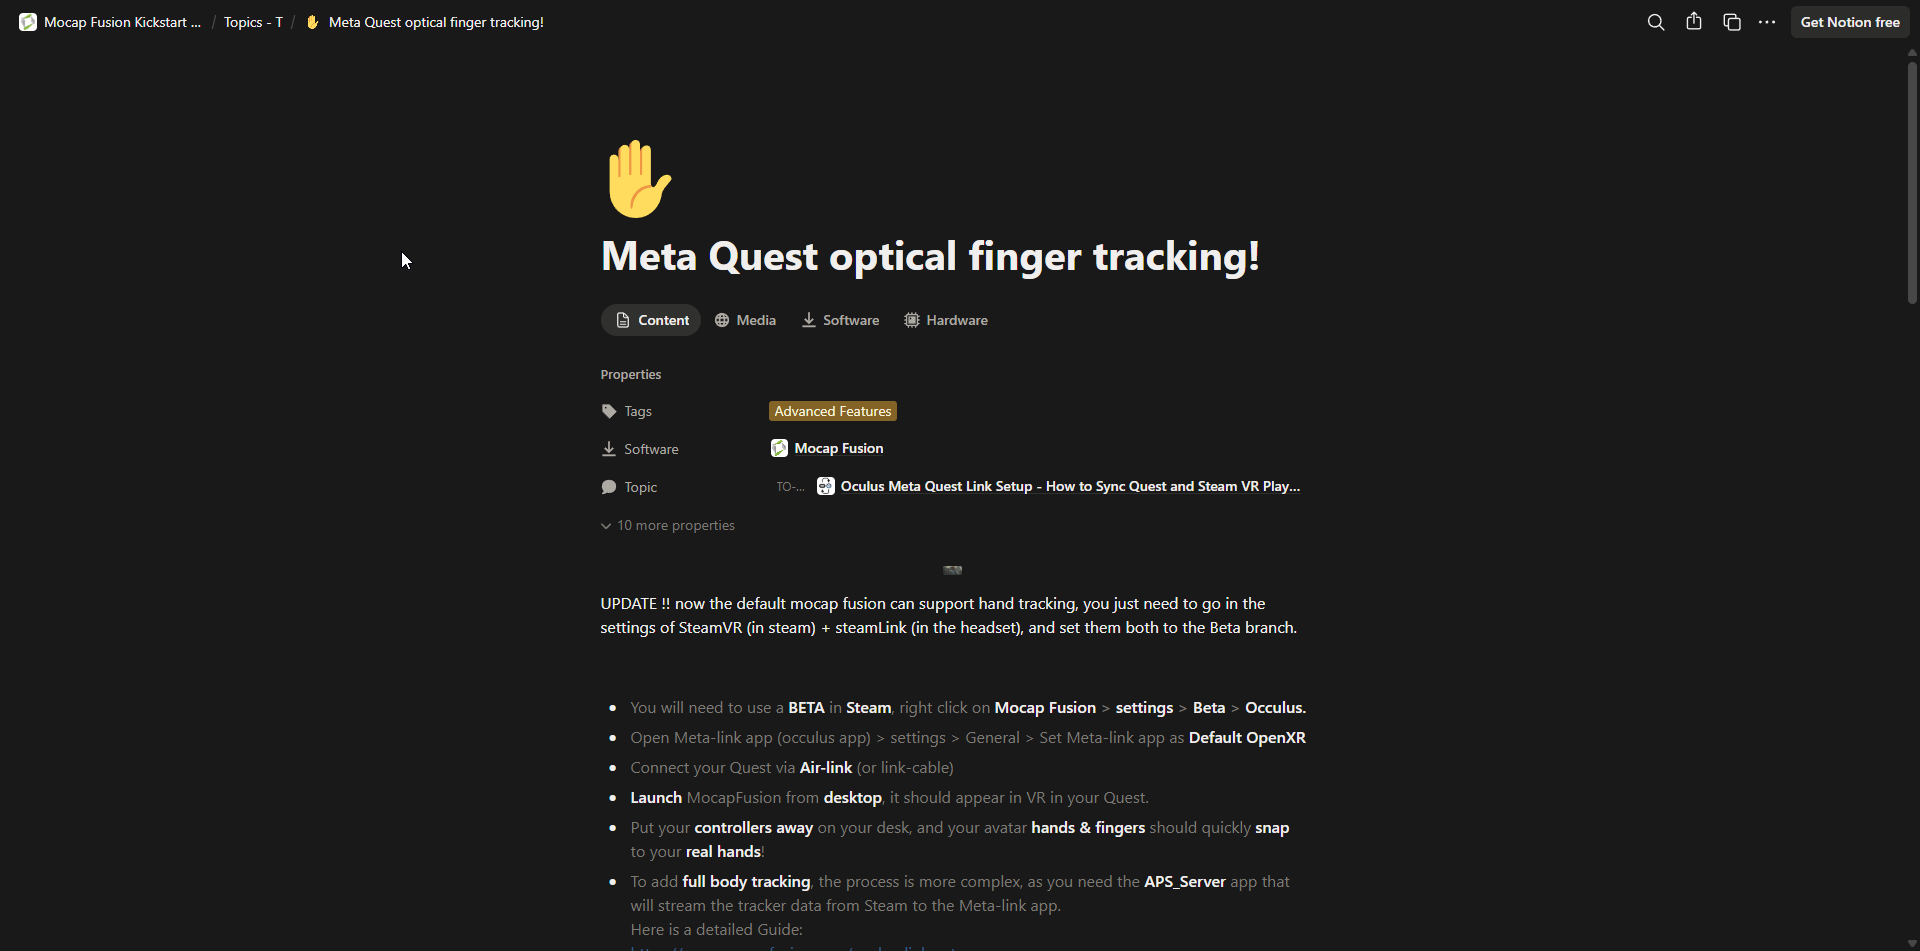
These confused and worried me a little, as they both seemed to reference finger tracking but at the same time offered quite different solutions (the dating of them was also a bit confusing). The thing is, my setup consists of:
- Meta Quest 3 (Wired = Meta Link)
- EyeTrackVR + Project Babble (Wired = USB)
- 3x Base Station 2.0
- 7x Vive 3.0
- Valve Index Knuckles
- Space Calibrator (for continuous calibration and merging of the two play spaces)
- Project Baballonia (for more optimized and lighter ETVR + Babble)
- VRCFaceTracking (for connecting Baballonia to VRChat)
I use this setup daily and it’s very important to me as I use it to talk to people that are very close and important to me on VRChat, therefore I didn’t really want to mess with anything too much in case I either break things or have to do a bunch of setup, every time I need to do mocap again. Thing is, this setup (because of the wire Meta Link) doesn’t allow for sending finger track data from the built in optical finger tracking system (meaning I’d be forced to use my Knuckles).
Luckily I heard that using apps such as Steam Link or Virtual Desktop does allow you to do just that, so even though it’s not my preferred way to do things (I go with wired for a variety of reasons) I temporarily installed and connected Steam Link to my PC and pretty much without changing pretty much anything in my setup (only had to switch the HMD ID in Space Calibrator), I was able to launch Mocap Fusion and easily switch from my controllers to Quest’s built in optical finger tracking, whilst using all of my Steam VR based gear, through the Steam VR runtime!
Here is the first test (Quest 3 + optical finger track + 6x Vive 3.0s using Space Calibrator - no offsets):
This test was done with some initial offsets for the hands:
Here are the same offsets as above, shown from a different perspective (using Mocap Fusion’s built in camera):
Initial Animation Test
After figuring out the initial setup to get optical finger track working I switched to one of the built in Mocap Fusion human models and tried doing an actual animation test.
Tracker Assignment Issues
One issue I’ve run in to was tracker to body part assignment (mostly with just elbows). I tried messing around with positioning of them on my body but that didn’t seem to change much. After ‘hard coding’ them to my elbows I kept getting weird artifacts, so I decided to do clavicles instead (which seemed to fix it):
Index Knuckle vs Optical Finger Track
This is just meant to be a little quick comparison of the tracking quality you can get from both systems, obviously both have their pros and cons (that’s why I daily the Knuckles) but for our use case, there is a clear winner (keep in mind that both of these are just screen caps of the SteamVR headset view not actual mocap + no clean up!):
- Valve Index Knuckles:
- Meta Quest 3 Optical Finger Track:
Mocap Fusion Export
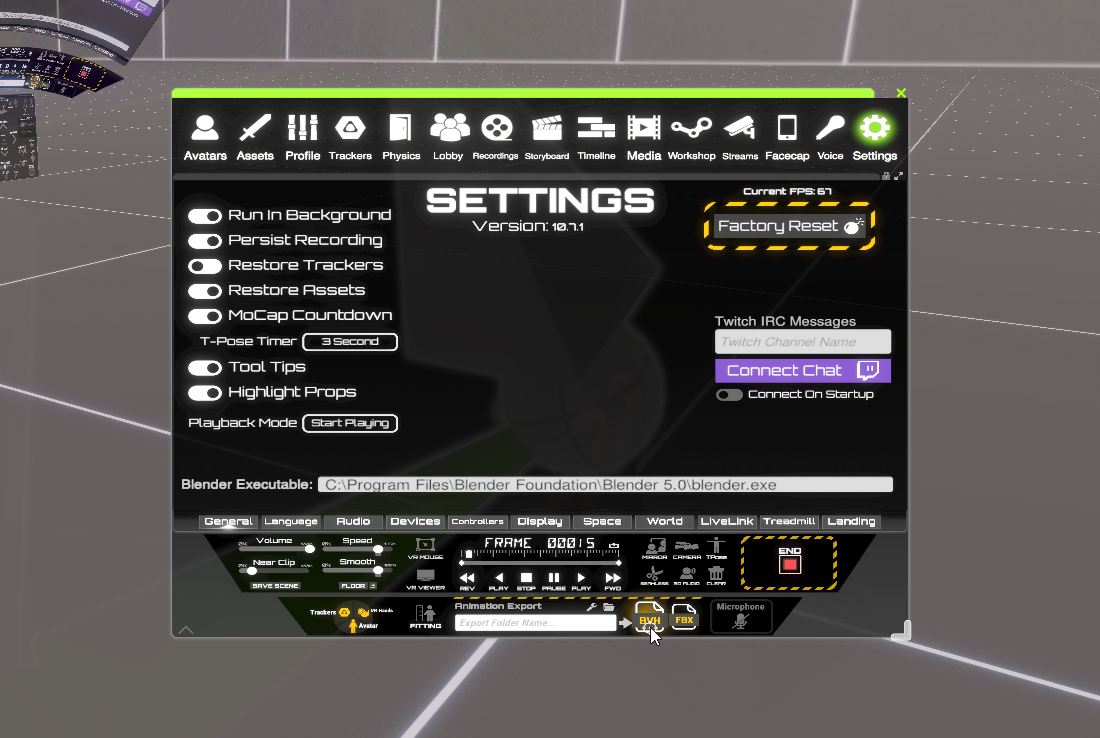
After actually recording the first animation test, I had to tackle the exporting. First I had to setup the path to the Blender executable (which might seem easy enough). However, because of the ‘weird’ input / keyboard situation in Mocap Fusion I had to close everything down, start it up in desktop mode and just paste it in that way:
At first I wasn’t sure if it’ll work correctly with Blender 5.0, but luckily, after exporting to BVH, opening the scene up in Blender and running the import script:

Here is what I got:
I decided to quickly parent and setup a rough FPP camera by straight parenting it to the head bone and rendered it in the solid viewport view (this is the raw result with NO clean up):
Looking pretty great if I say so myself ;).
Smoothing Adding a Prop and Initial Clean Up
Although, the results above are impressive, they do leave a bit to be desired (I mean, it was just the very first test). So, I did some more testing to ‘smooth things out’ and try working with props and here is how that went!
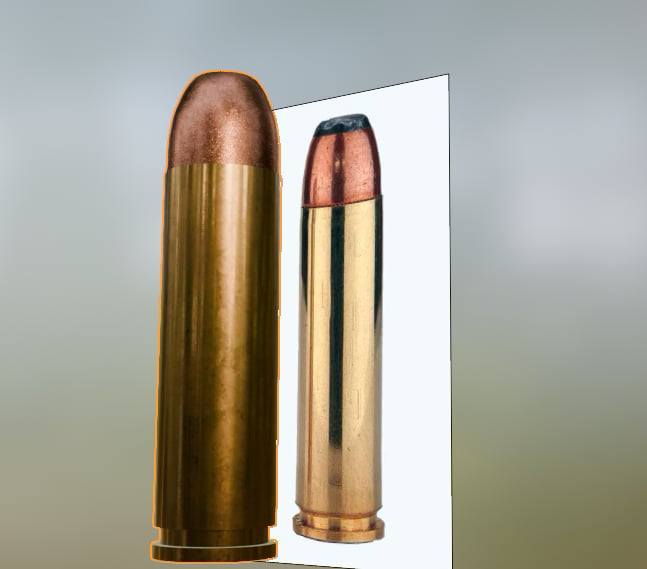
Adding a Prop
Something that I really wanted to utilize was the ability to import your own props in to Mocap Fusion, this would allow me to easily and accurately act out the movements that I want to do (for example with the gun) because I have the model, right in my hands!
So, I started out by downloading yet another (third) version of Unity on to my PC and proceeded to install the Mocap Fusion SDK (which for some reason took a surprisingly long time to download…).
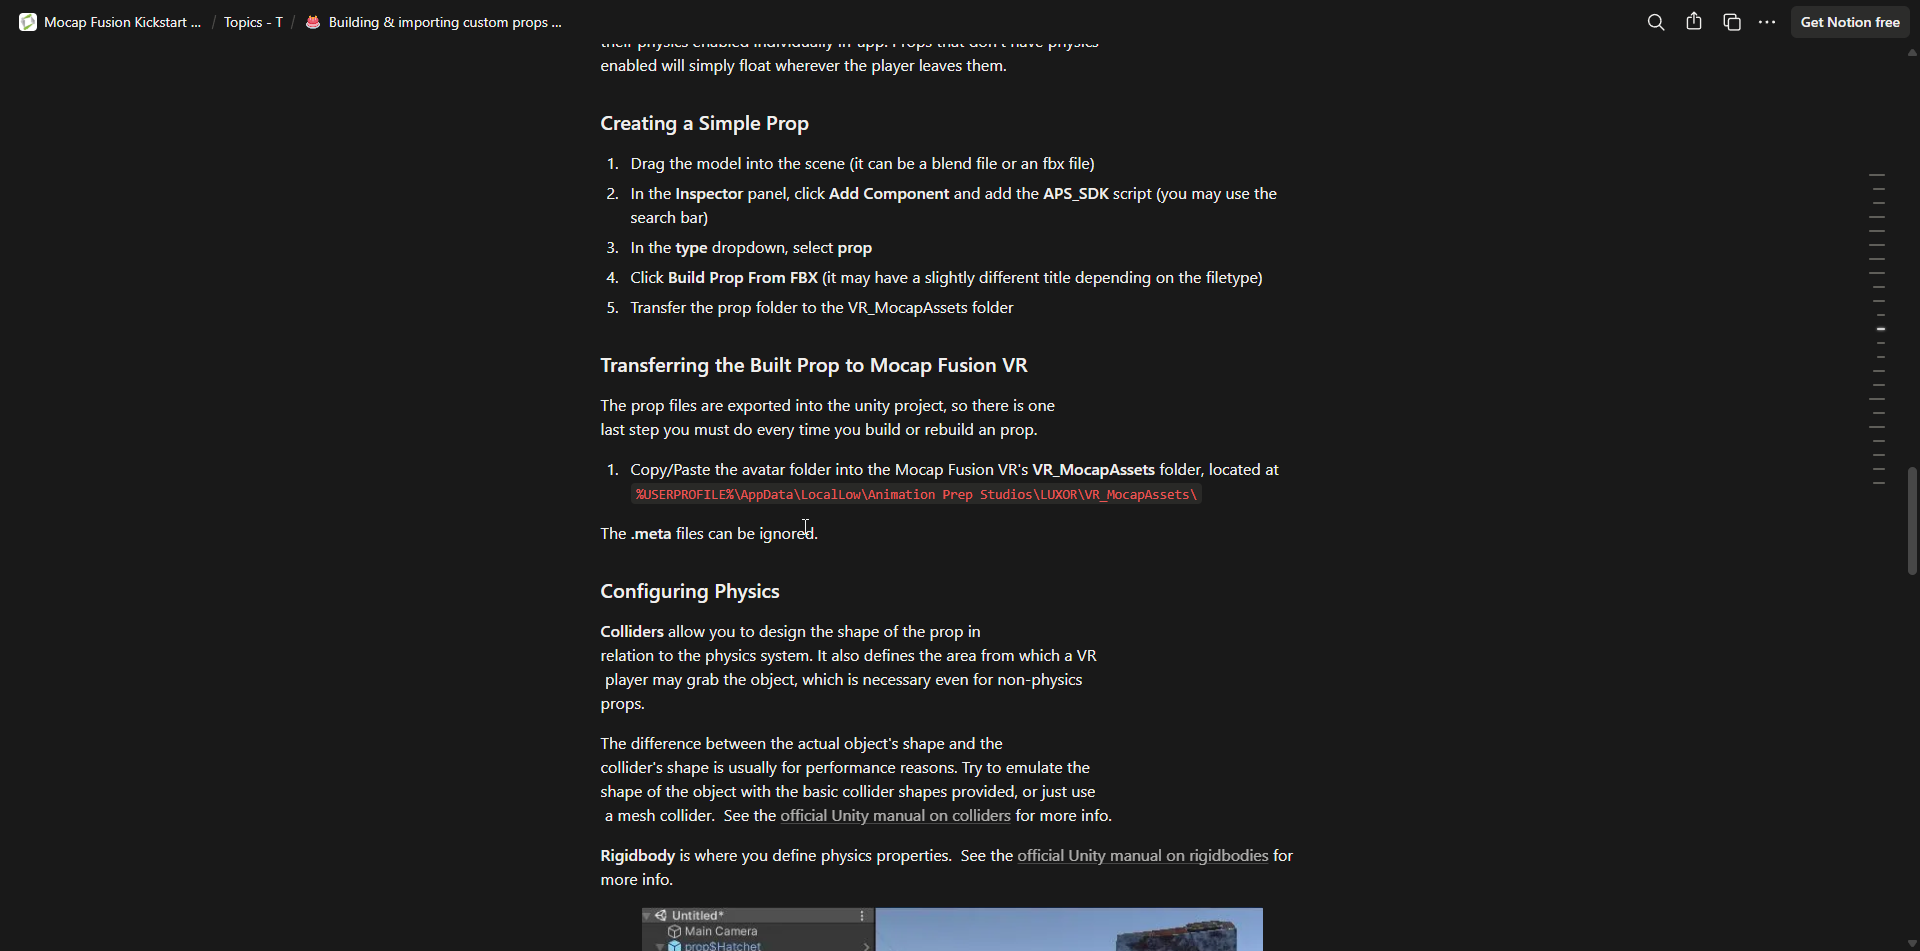
Next I read through the import docs of Mocap Fusion:
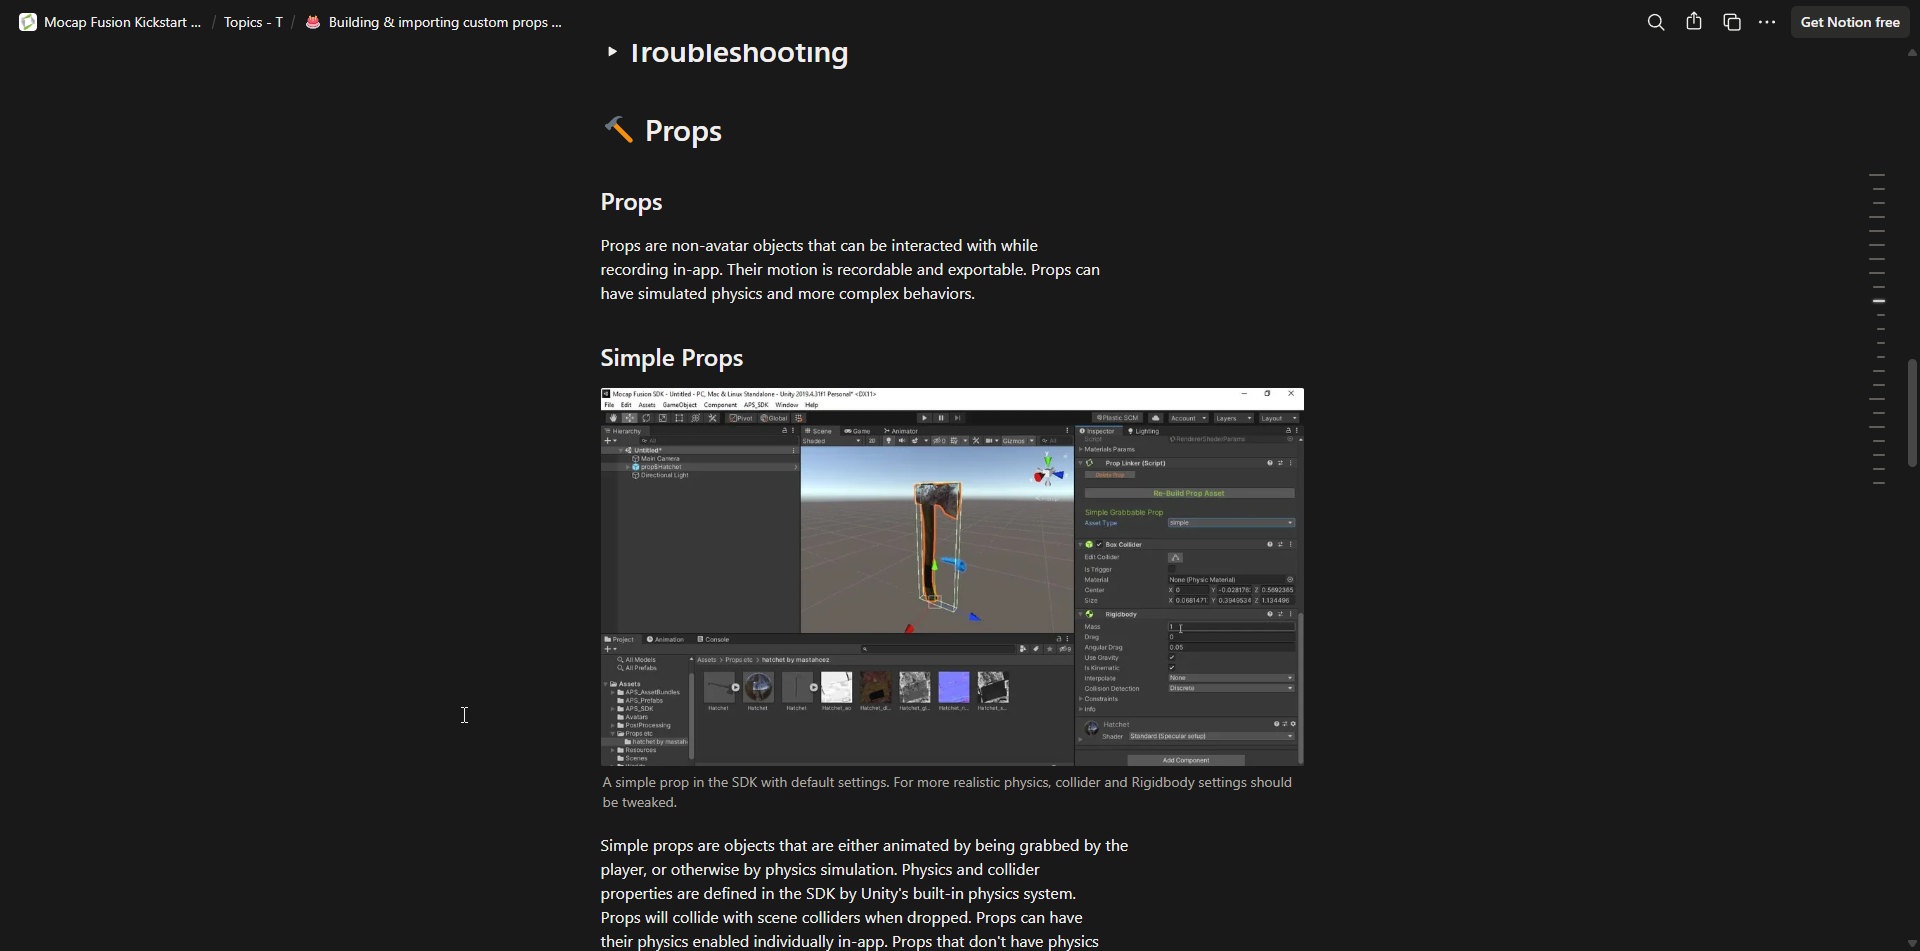
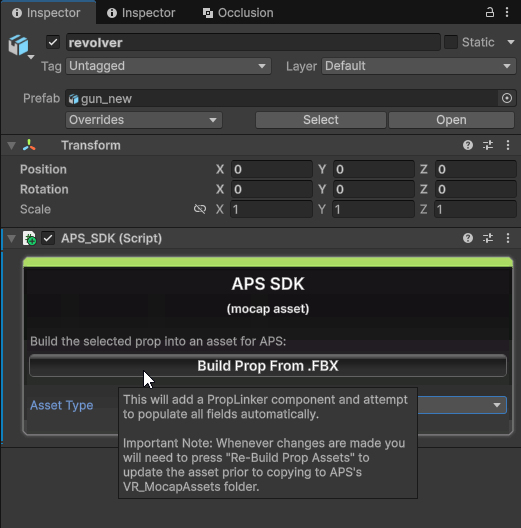
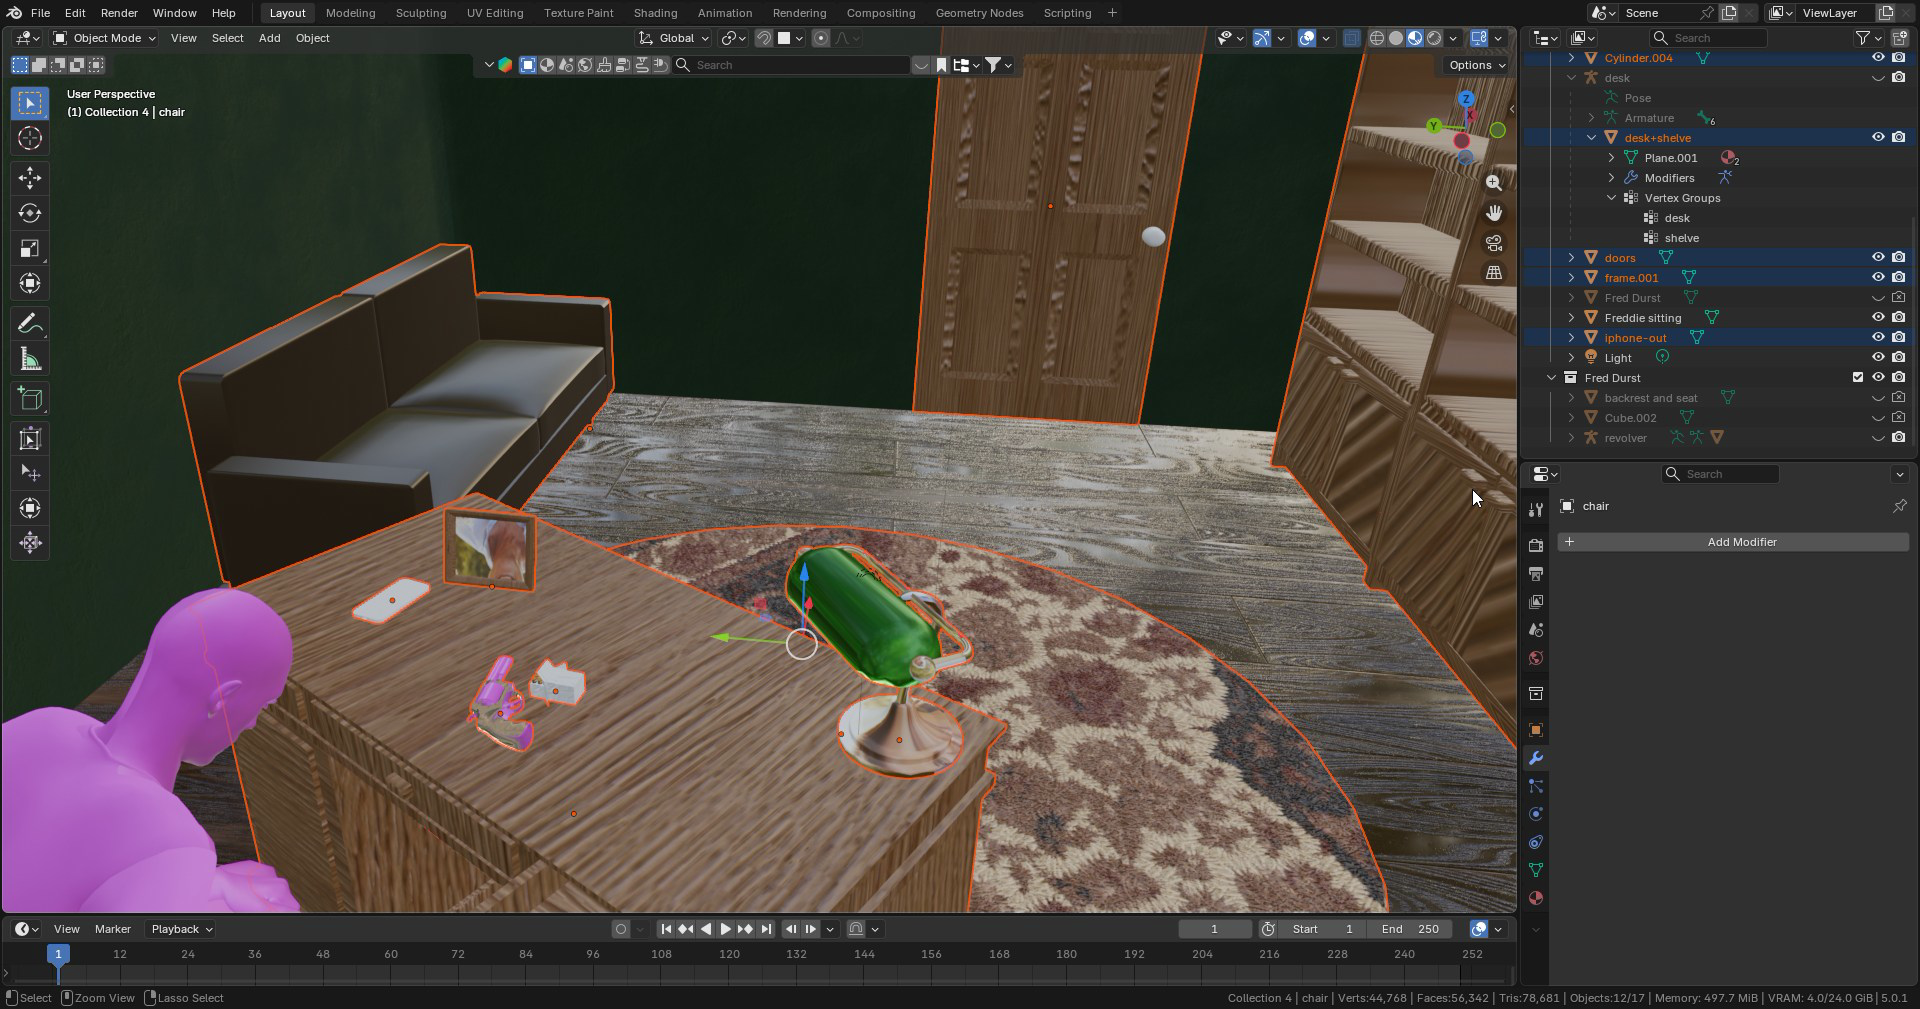
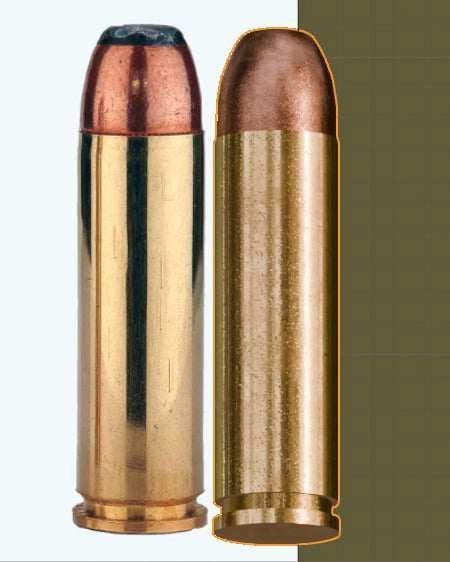
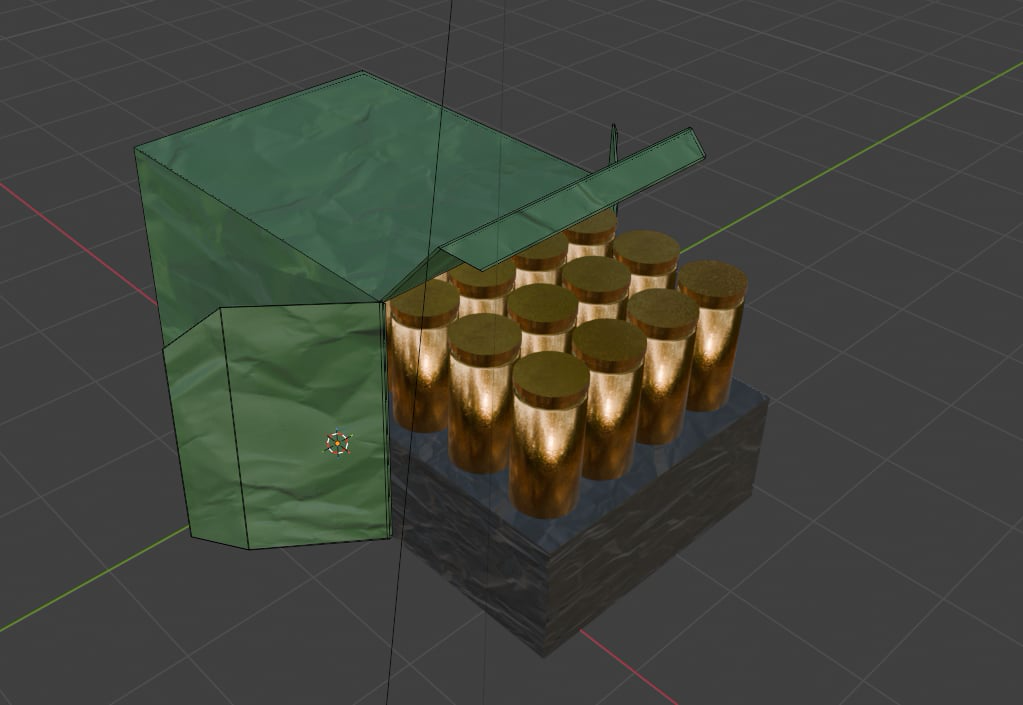
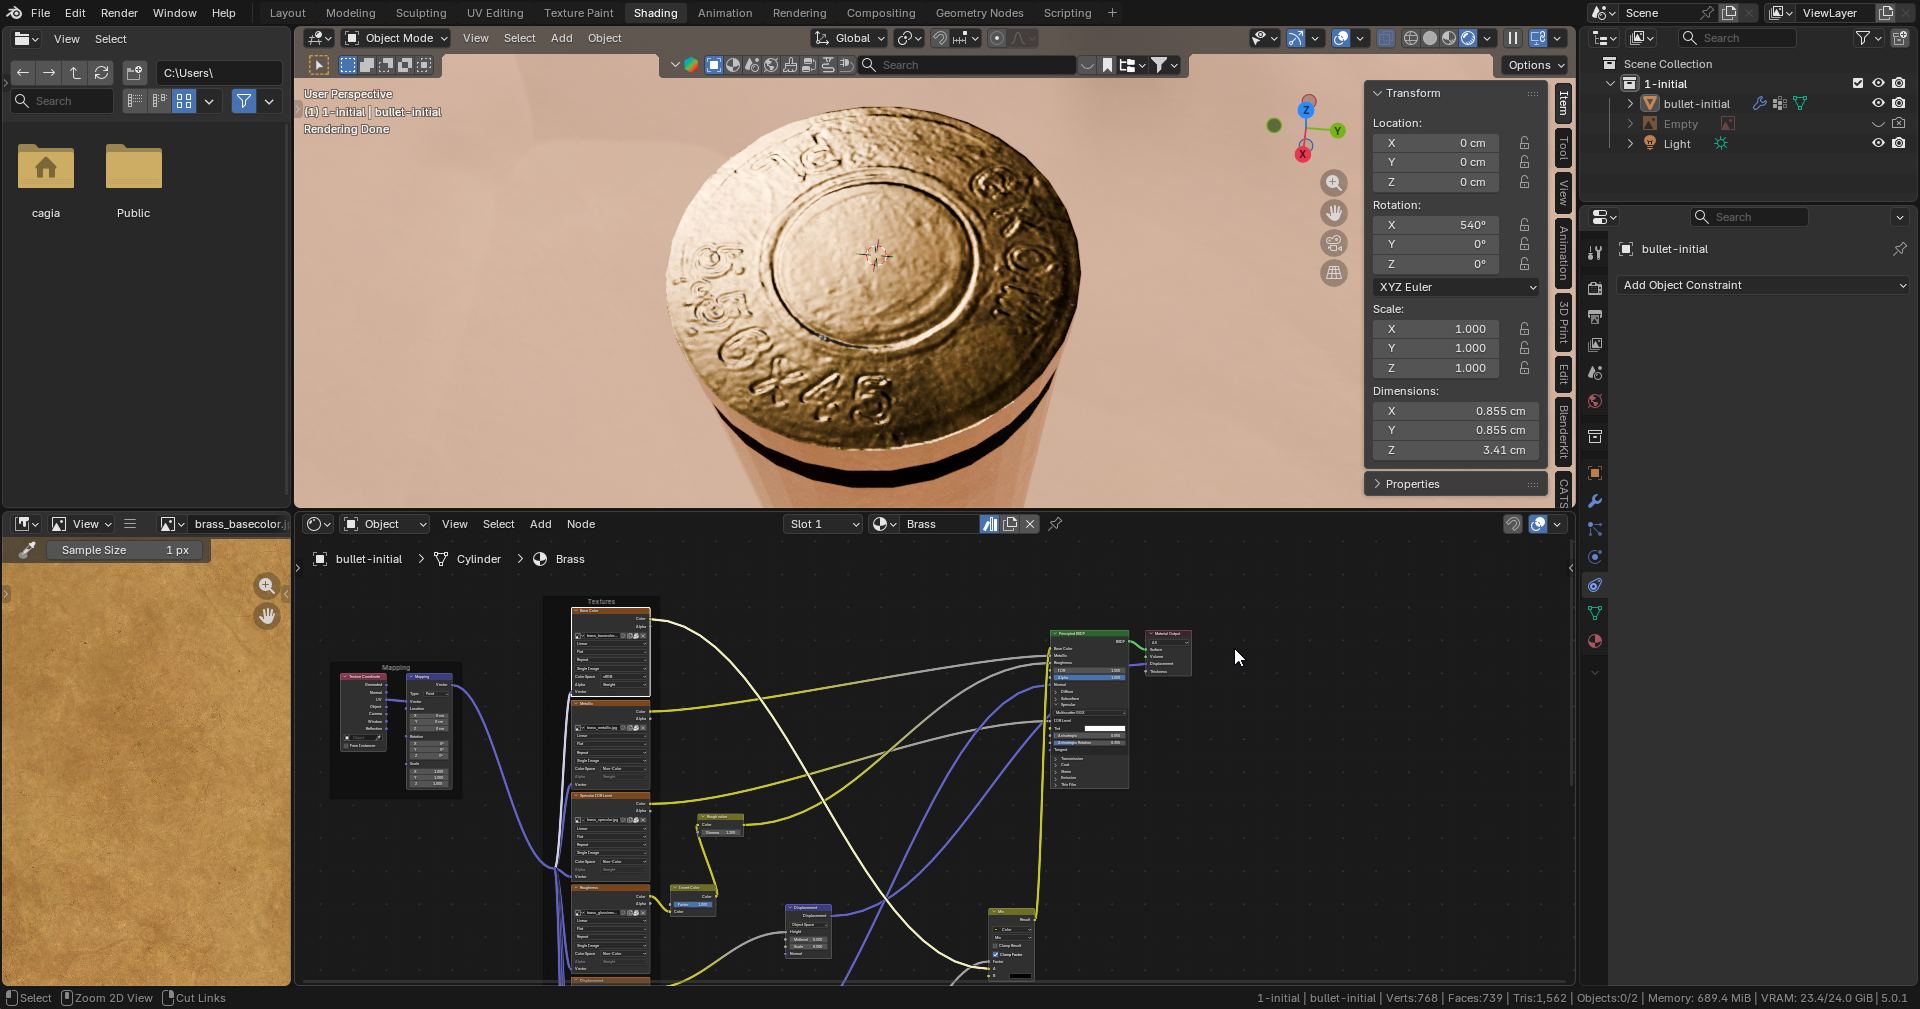
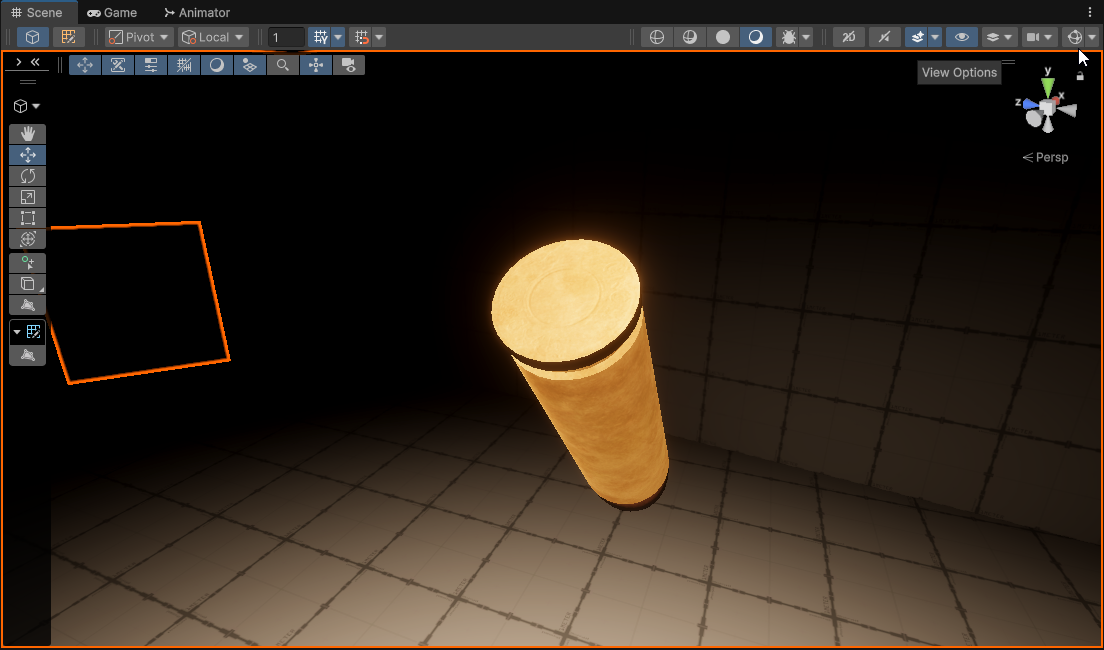
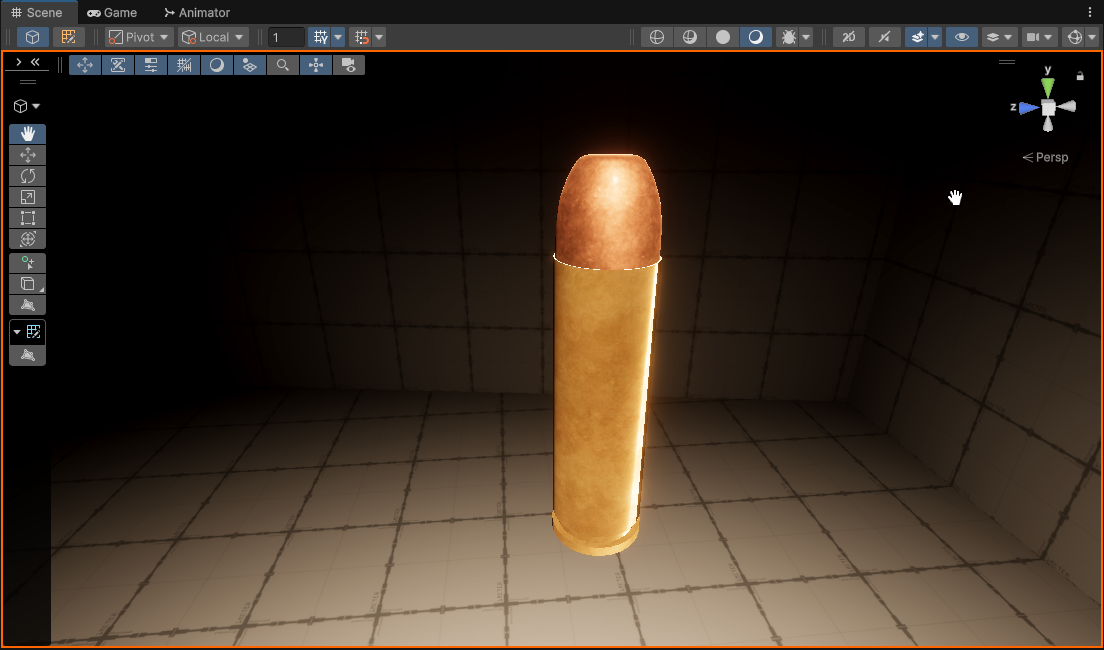
After that, I jumped in to Unity, created a new URP Universal 3D project, moved over the assets for the revolver from the game project (I made sure to leave the cylinder open as I didn’t bother making it actually interactive, but did want to have the reference available for when I’m putting in the bullet):

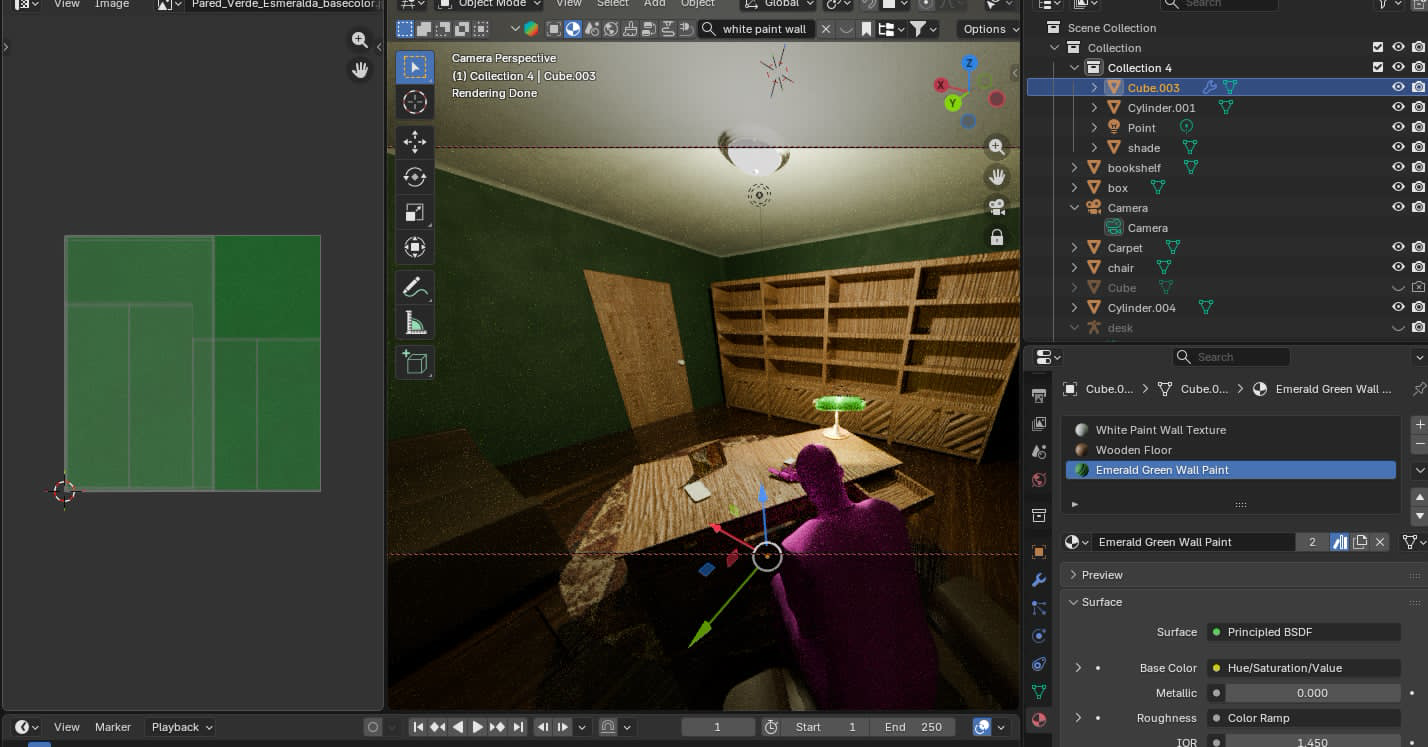
Something important here is that if you’re having magenta missing material issues here,
you should try doing APP_SDK > Render Pipeline Fixer > Set Build-in Render Pipeline!
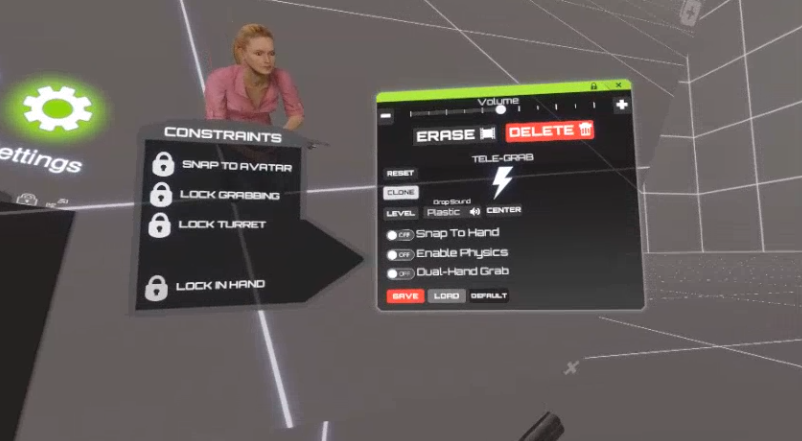
After that I took care of setting it up as a Mocap Fusion prop:
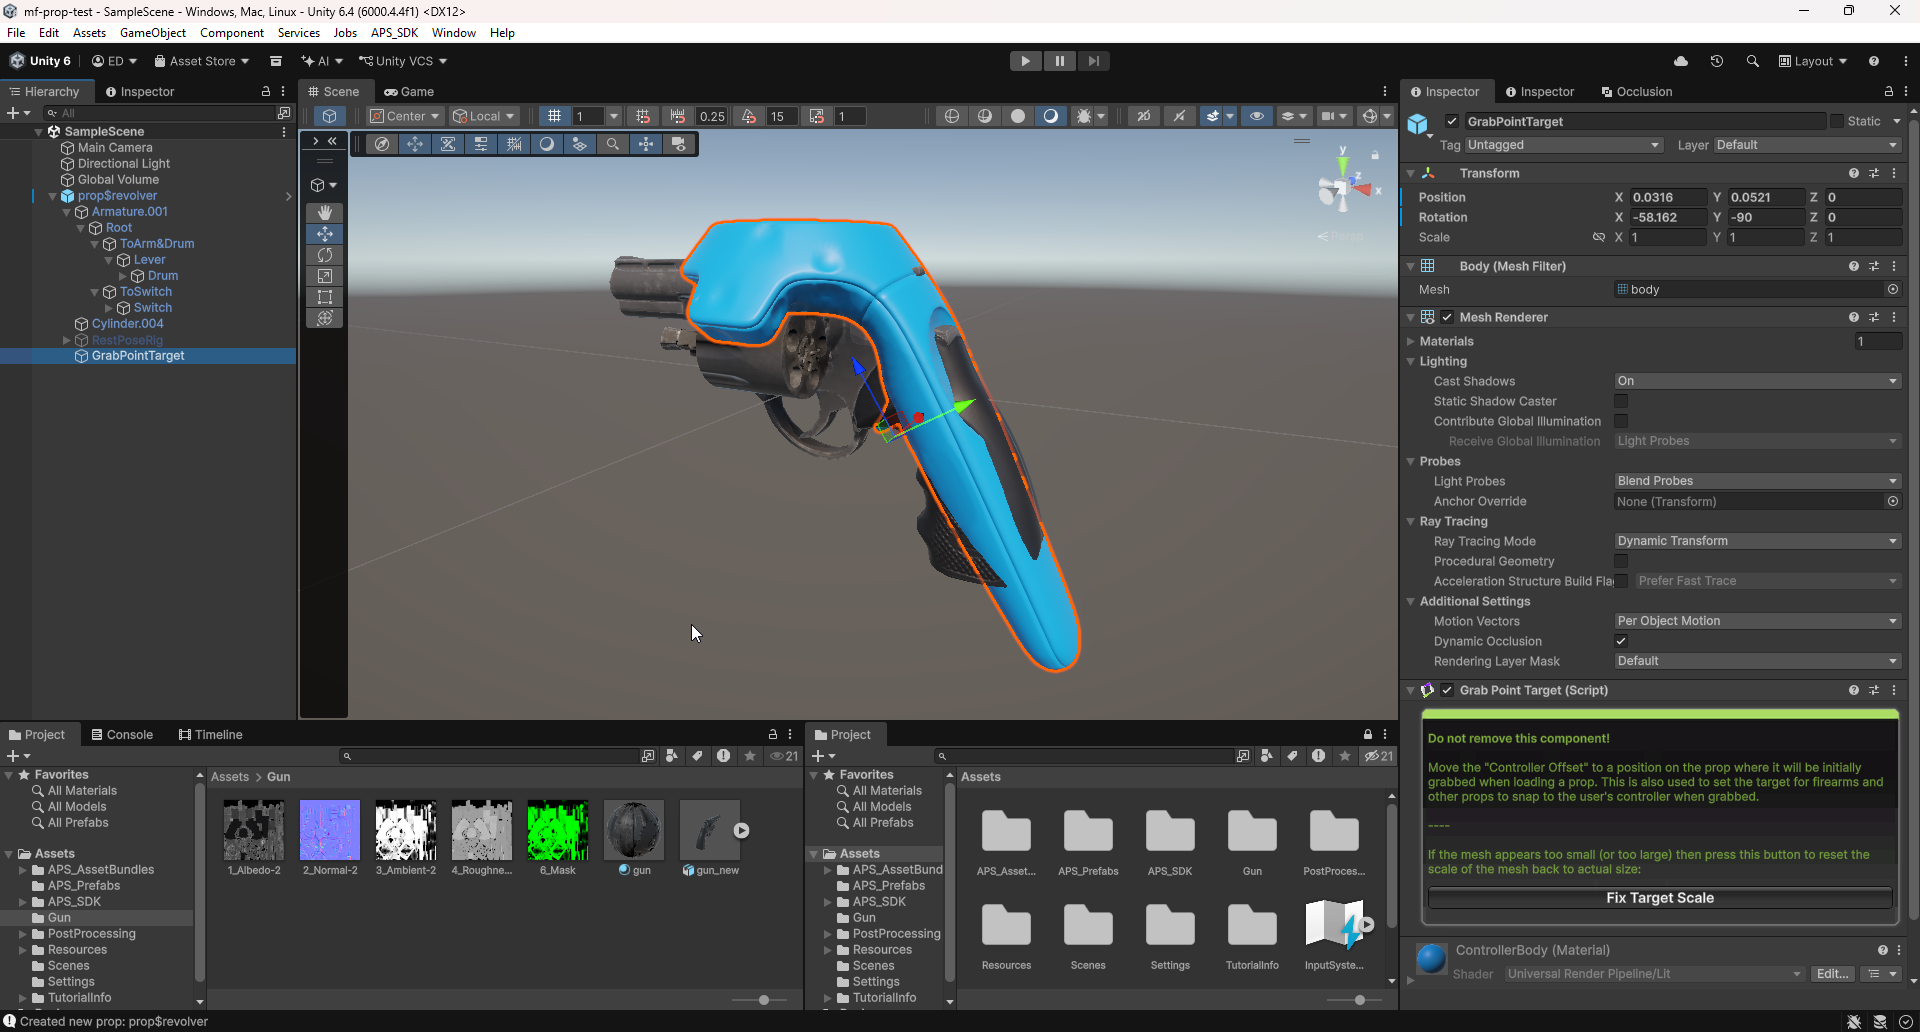
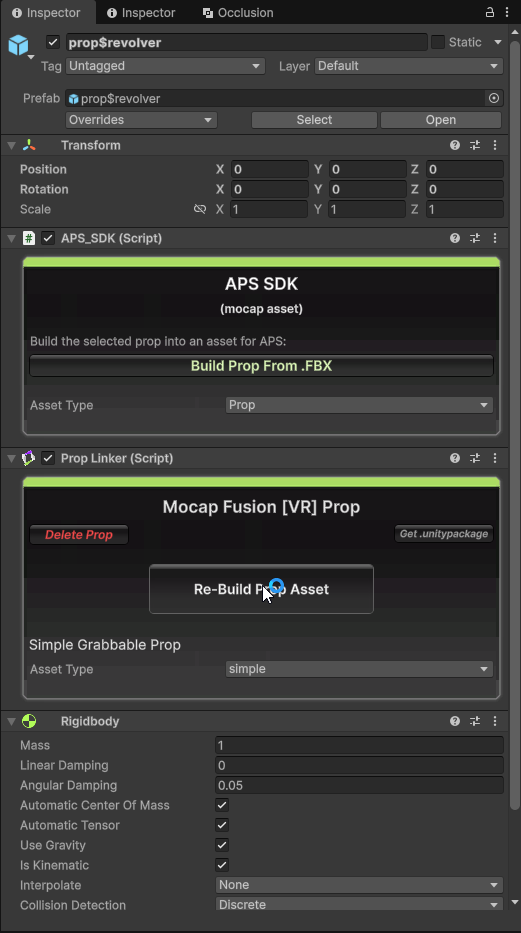
I set up the prop config and the initial ‘grab point’ (which is there pretty much only for spawning the prop and you’re able to grab it however you want later on). When that was all done I exported it to Mocap Fusion:
Something that worried me quite a bit here was the fact that I had to have my hand squeezed in to pretty much a full fist to be able to hold the gun which would make the clean up process much more complex for no reason, but luckily it turns out that there is a prop menu and you’re able to setup auto hold:
Initial Smoothing Tests
After noticing the bitterness and small tracking mishaps in the first animation test, I really wanted to try smoothing out (at least the camera) in the second test I did. Smoothing out just the camera turned out to be a bit problematic (as it would require to pretty much smooth out the whole neck, spine and so on), so instead I just smoothed out everything, which yielded quite good looking results if I say so myself!
This is basically the process I did:
- Select the armature with the animation you want to smooth.
- In the main layout (
Posemode)Pose > Animation > Bake Action(check Visual Keying and Clear Constraints) = This converts live animation data in to keyframes on the object. - In the Graph Editor, select the bones you want to smooth.
- In the Graph Editor
Key > Clean Keyframes= This removes redundant keyframes without changing the curve shape, which helps before smoothing. - Select the keys you want smoothed and press Alt + O a few times (2x or 3x have worked pretty well for me).
Important things to remember are:
- Perform this AFTER you’re done with clean up as that will make your work much easier.
- If you have a prop that your character is holding, you need to smooth out the motions of everything together for best results.
- There still needs to be a bit more testing done regarding
Clean Keyframesas I’ve noticed that it can cause a ‘floating’ effect on props being held by the character.
Here is how the first animation test looks after smoothing:
I did get some input saying that the shakiness adds to the realism as the person is about to take their own life, however the point where shakiness becomes tracking jitter is very thin, therefore I think we’ll most likely go with 2x or 3x smoothing for everything just to make everything a bit easier on the eyes although there is an argument to be had about a creative decision to go either way.
Initial Clean Up
Now, I’m not an animator, so as of now, the only ‘clean up’ I knew how to do was, removing problematic keyframes and fixing up the movements / positions manually for the problematic duration. I’ve already done some research, and I’m pretty sure I should be able to do it better. This person has a really great, informative video about working with mocap in Blender !
So the approach I described above is basically what I did here, just removed or replaced some of the problematic movements (mostly to fix clipping with things such as finger and the grip and so on).
Oh, and of course I also manually animated the switch and cylinder of the revolver!

Final Result
Here is how all of these tests turned out:
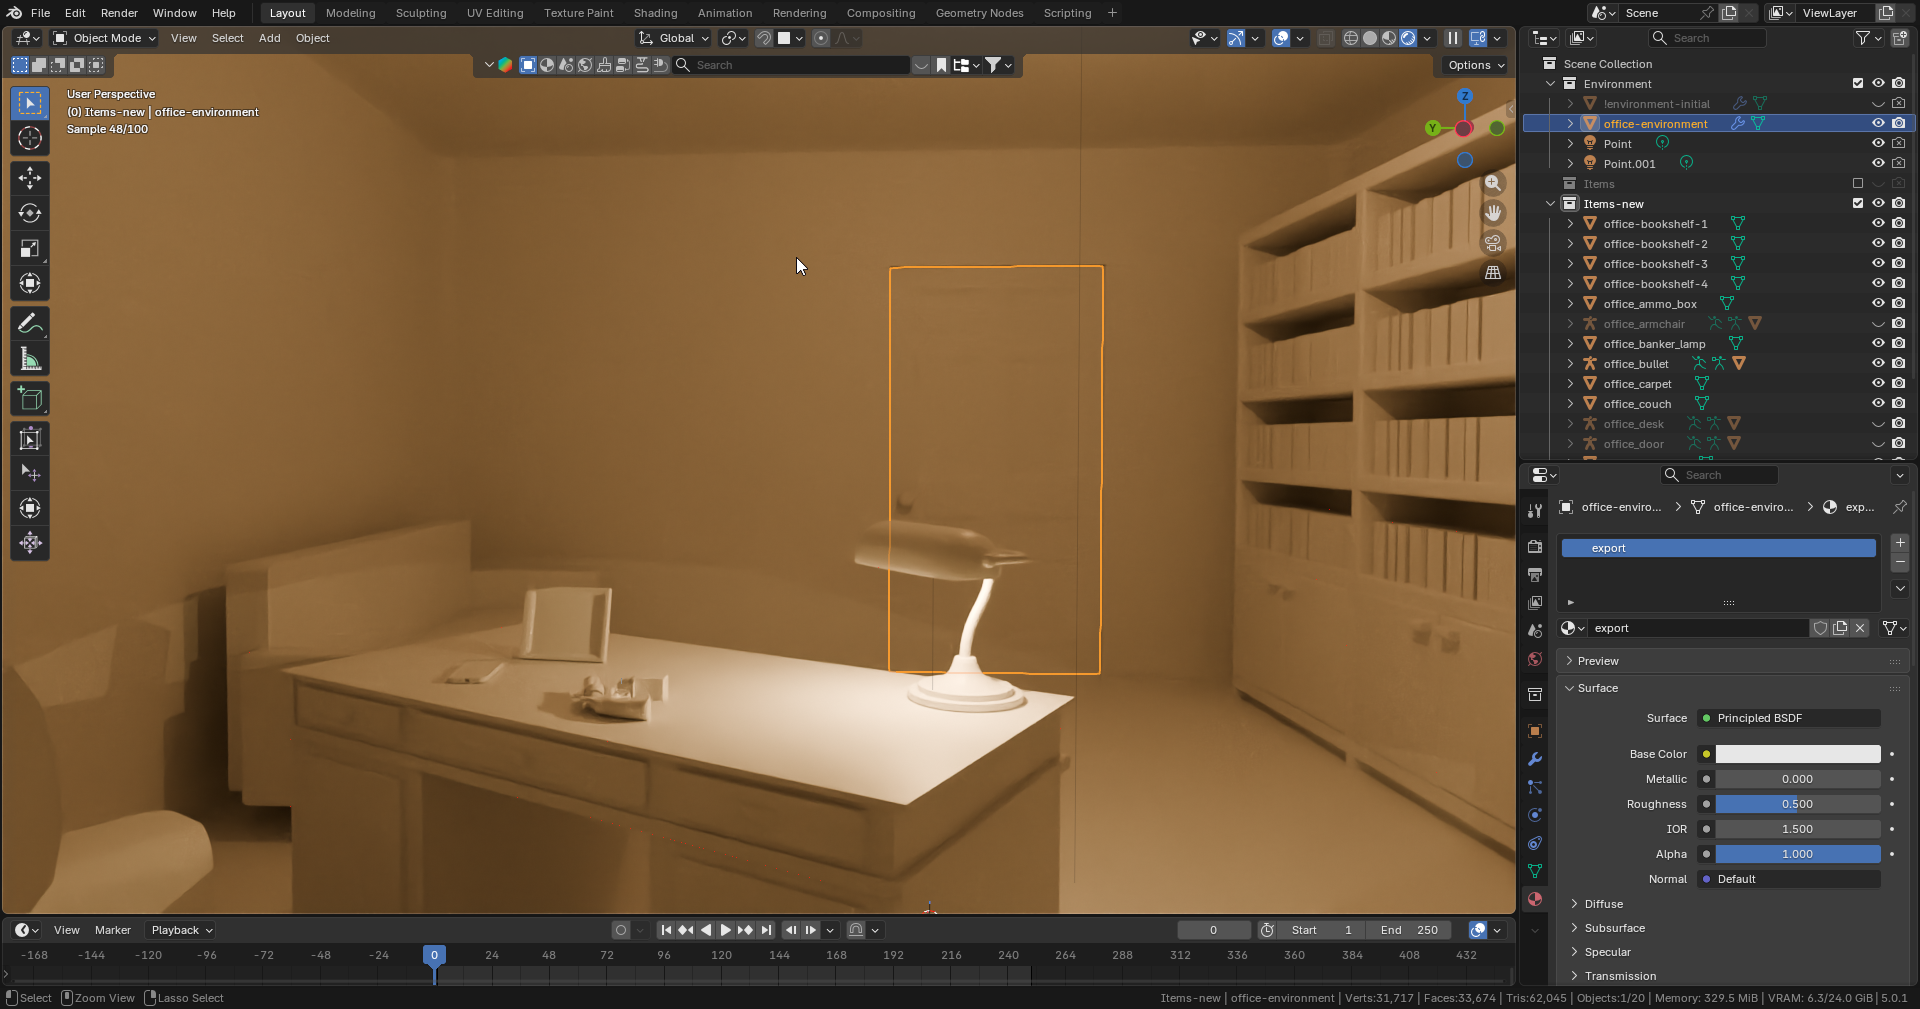
Initial Scene Import Test
Importing an environment consisting of models that were both prepared using Blender,
went surprisingly smoothly. I pretty much only exported everything as a single FBX,
imported it in to a fresh Unity project, positioned it at world origin, added a
simple cube collider so I can walk on the floor, added an APS_SDK component, pressed
Build Current Scene, imported it in to Mocap Fusion and that was it!
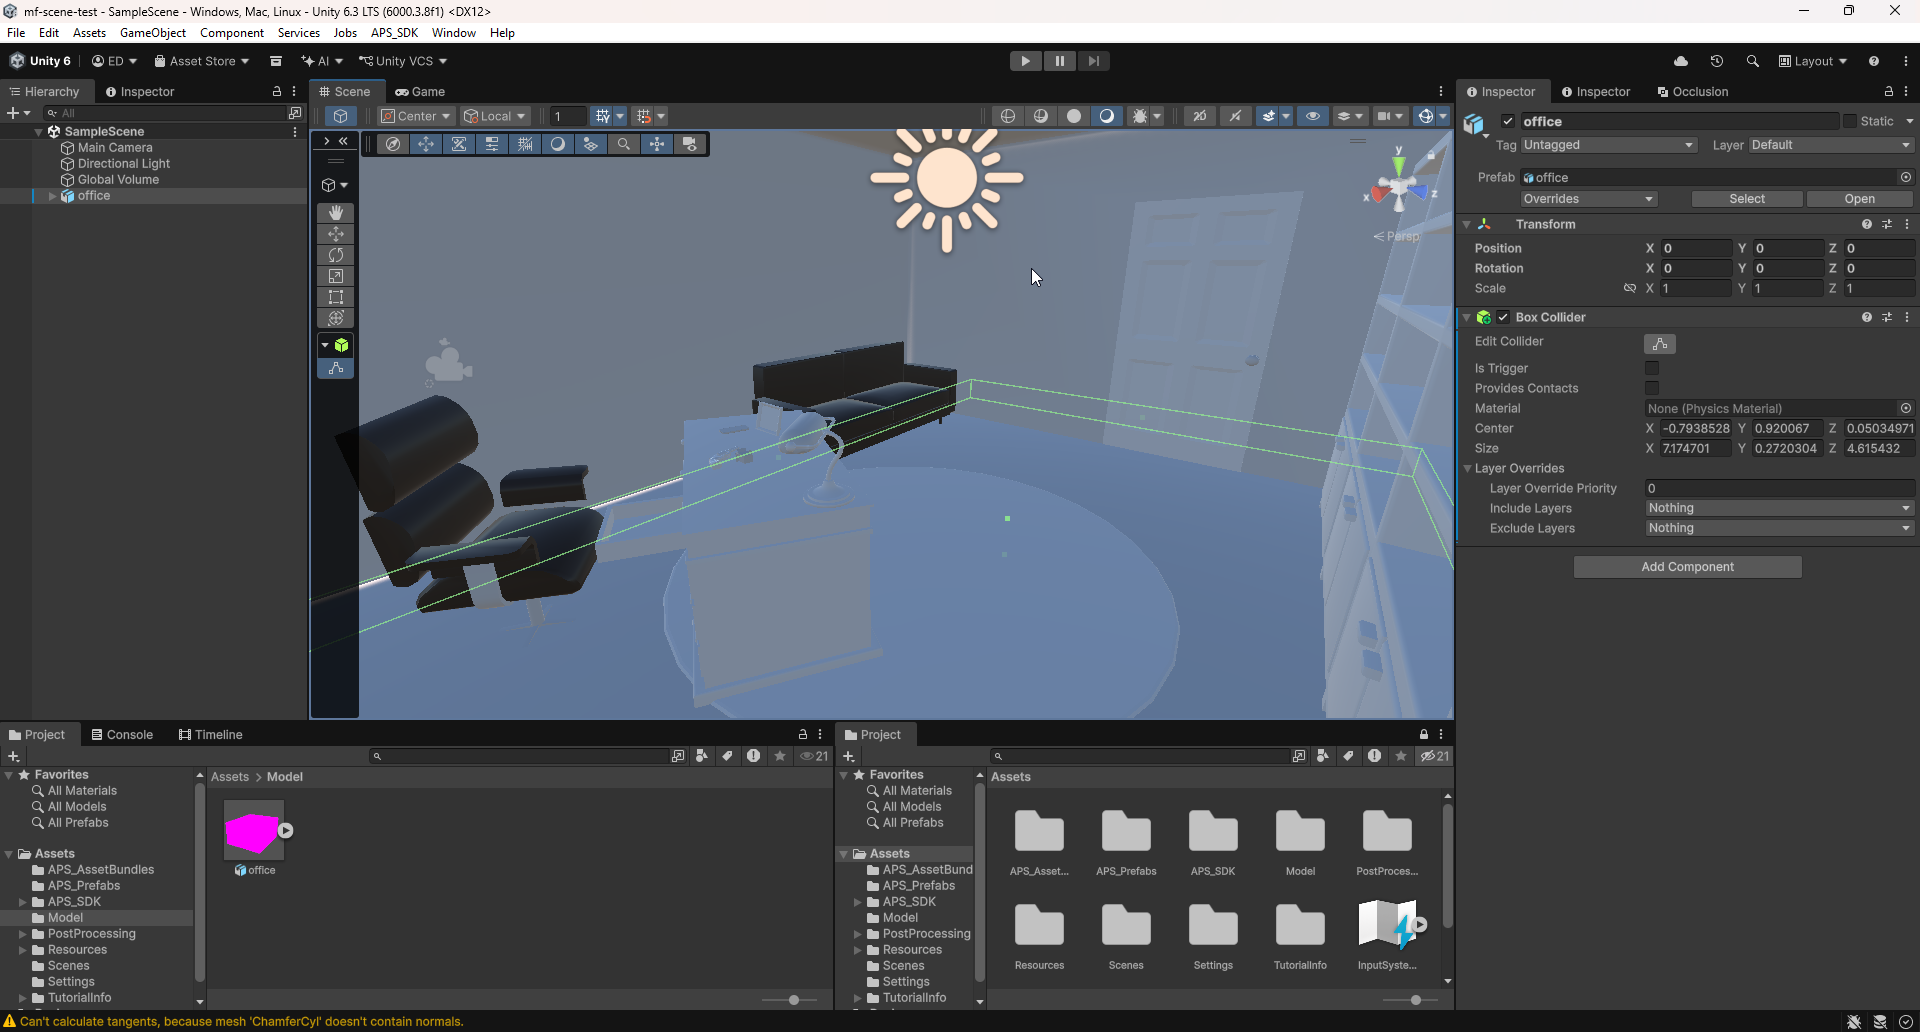
The only ‘issue’ (if you can even call it that) I’ve run in to, is it being too high up, but that was solved quite easily by doing an offset (this was most likely an origin issue from the Blender export).
Here is how everything looked loaded up in Mocap Fusion pretty neat!
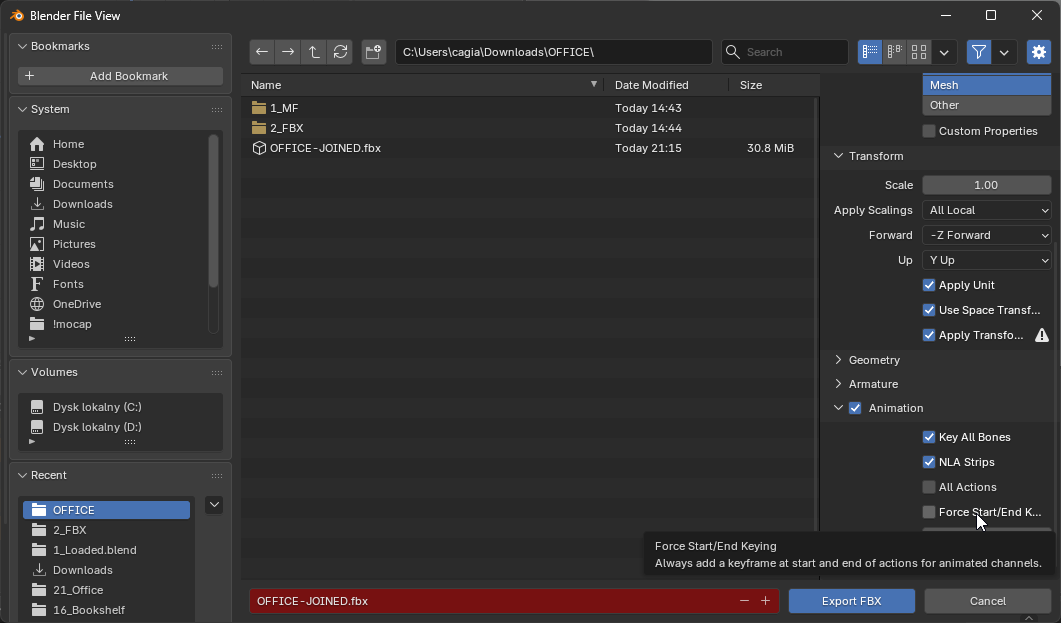
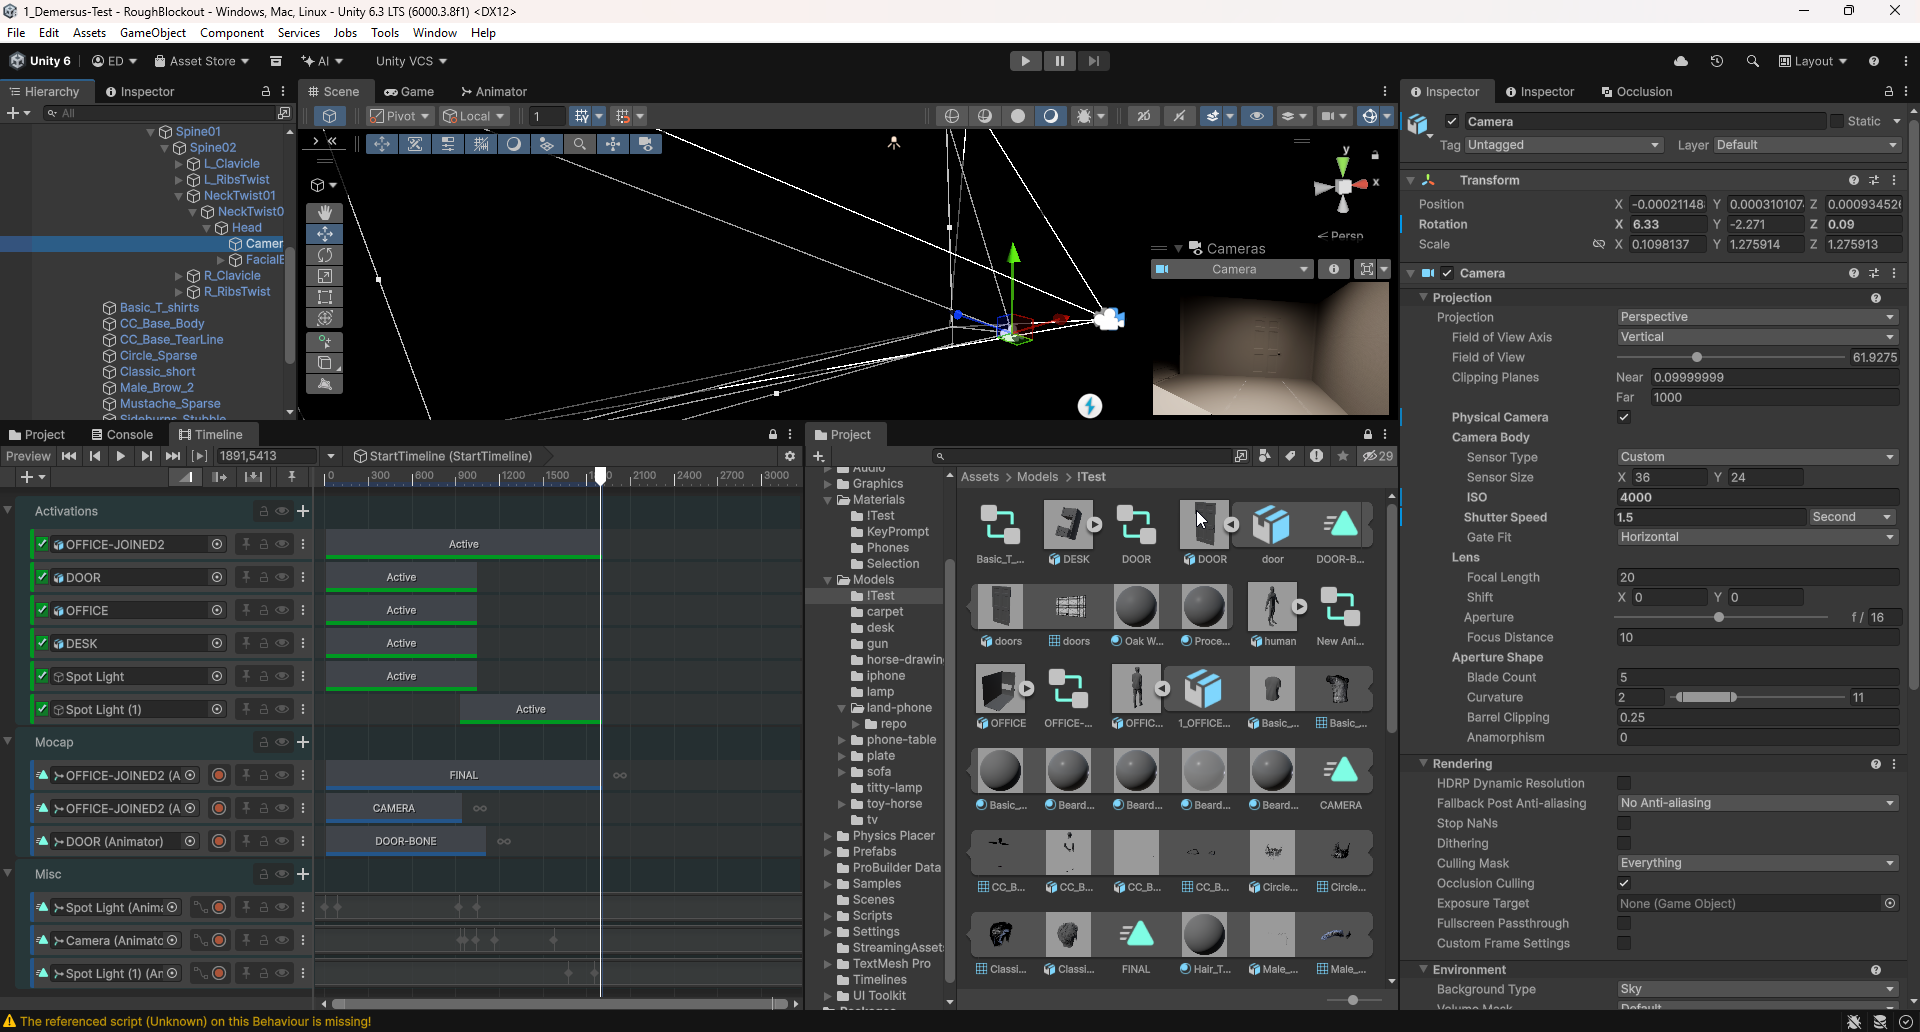
Testing Blender Camera Export
Something that I initially tried and later got away from was adding a camera to the armature, animating it in Blender and then exporting and trying to use it in Unity.
Something I learned is that, in order to be able to do this, you need separate animation clips for the body and camera and need to export them properly (without Force Start/End Keying):
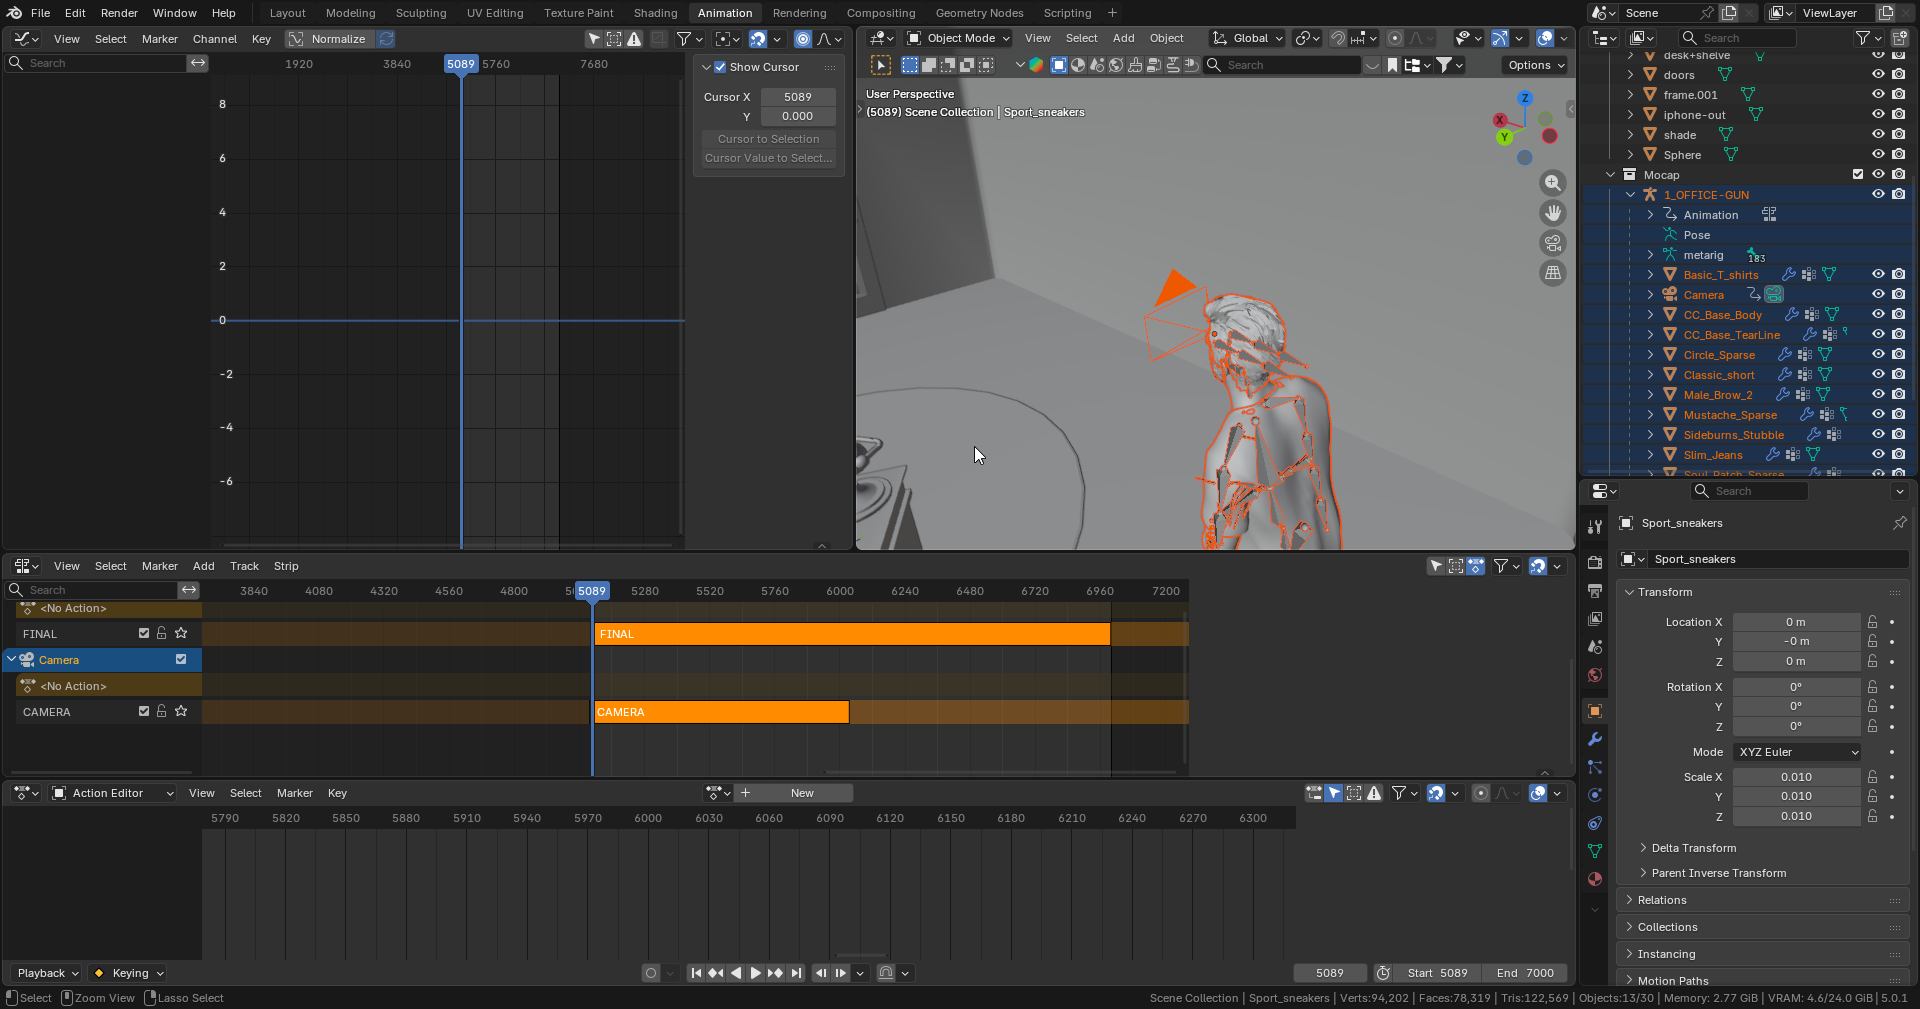
This is a frame from an animation without the second (camera) track and next an image showing a two layer (body and camera) setup in the Animator:

Here is how a successful (non Timeline) attempt looked in Unity:
The reason I got away from this approach, was the fact that, even though I managed to get it working with Animation Controller layers, I wasn’t able to get it to work in the Timeline editor, wasn’t able to blend between the cutscene and gameplay cameras, couldn’t change the camera parameters (as they were keyframed) and on top of all of that, had rig issues, when testing out a single ‘master rig’ approach (described below).
Of course, I wrote down a proper approach to handling cameras in the actual pipeline.
The Pain of Making Our Own Human Character
When preparing to tackle this problem I’ve quickly noticed that it will be very hard to solve.
Trying to Pick a Starting Point
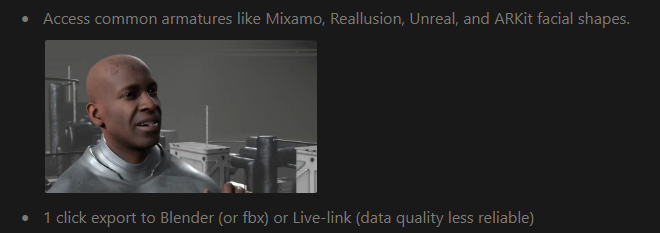
I looked for guidance in the Mocap Fusion docs but beyond getting a list of software that ‘should’ work (strong emphasis on should) with Mocap Fusion there wasn’t much information.
The above mentioned software was:
- MetaHuman = High quality but Unreal Engine native, problematic and/or costly to export and work with.
- Character Creator = High quality (although divided opinions on usability and quality), expensive.
- Daz 3D = Seemingly high quality, however does have a certain ‘adult movie star’ style look to most of the characters and seems to have an assortment of micro-transactions built in.
- MakeHuman = Lower quality, dated, open source / community driven, free.
- Custom = I think it’s quite understandable that we don’t have neither the time or manpower for this one…
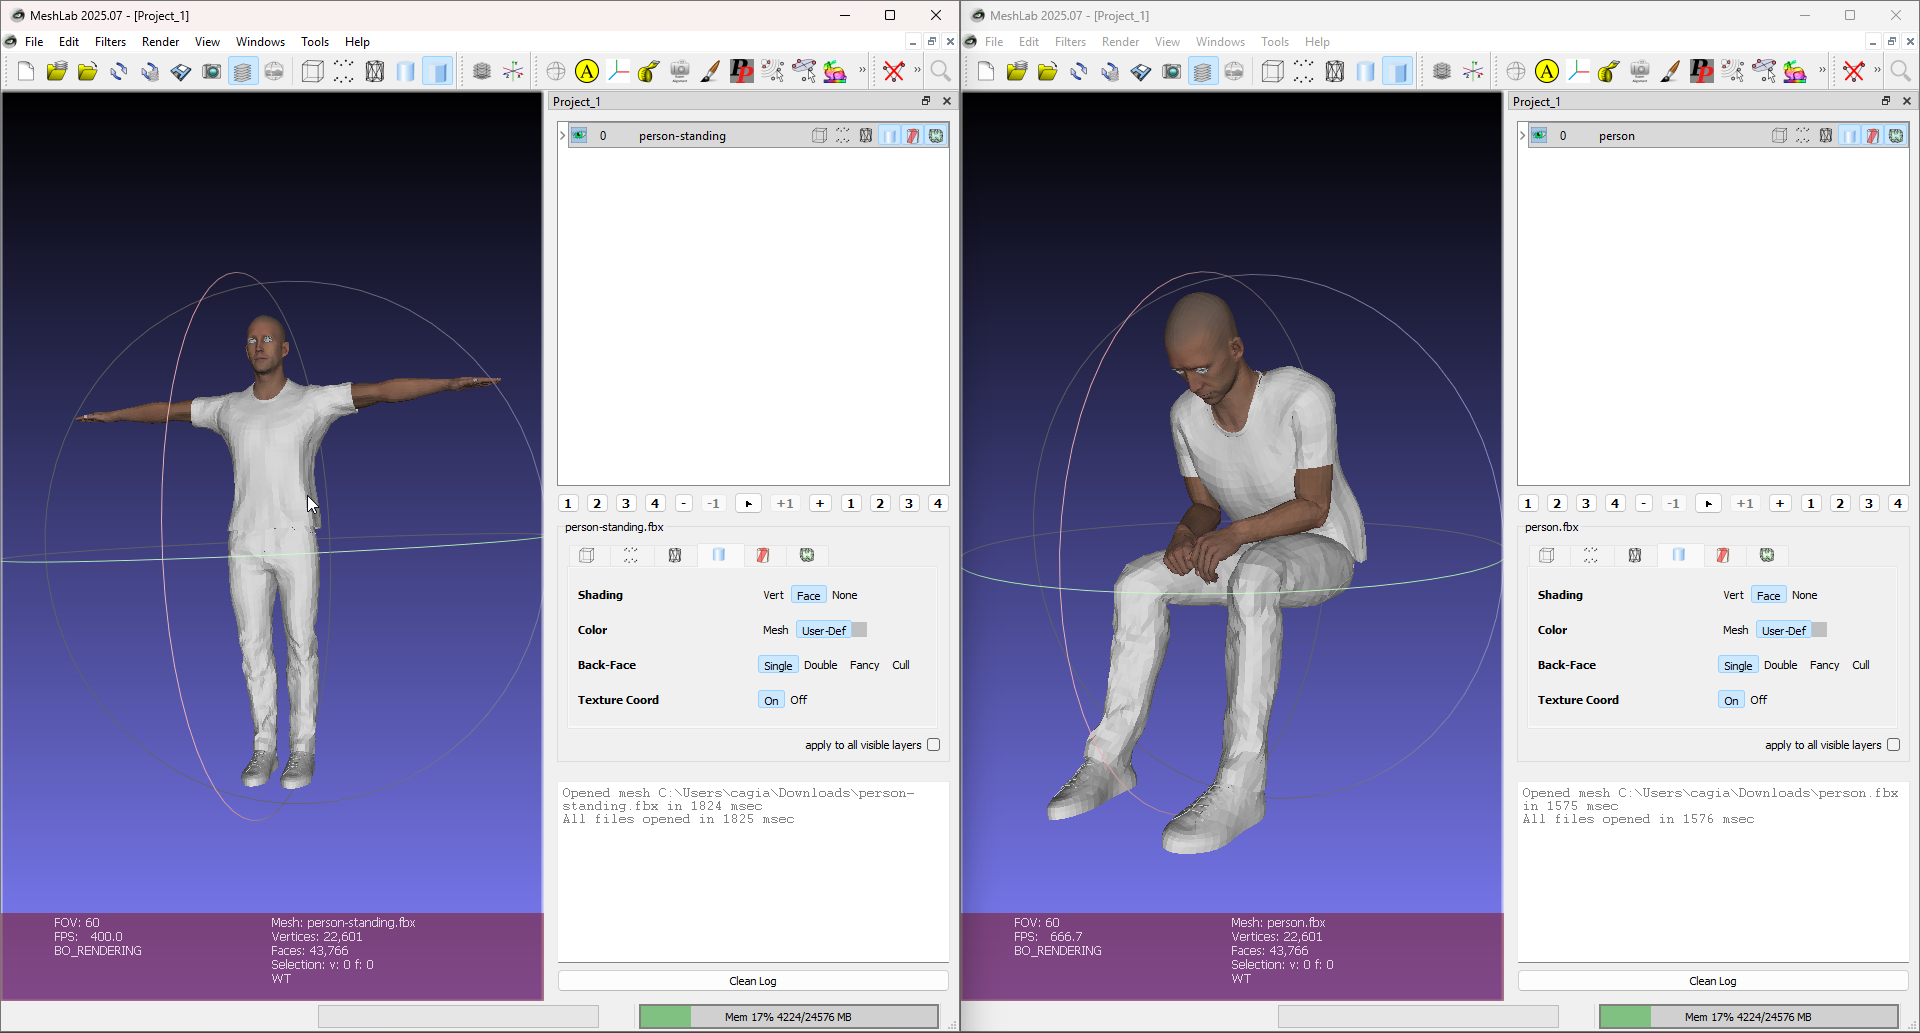
I was really considering going with MetaHuman however after seeing the headache or additional cost that would come with exporting and using one of those models I decided to go with MakeHuman instead:
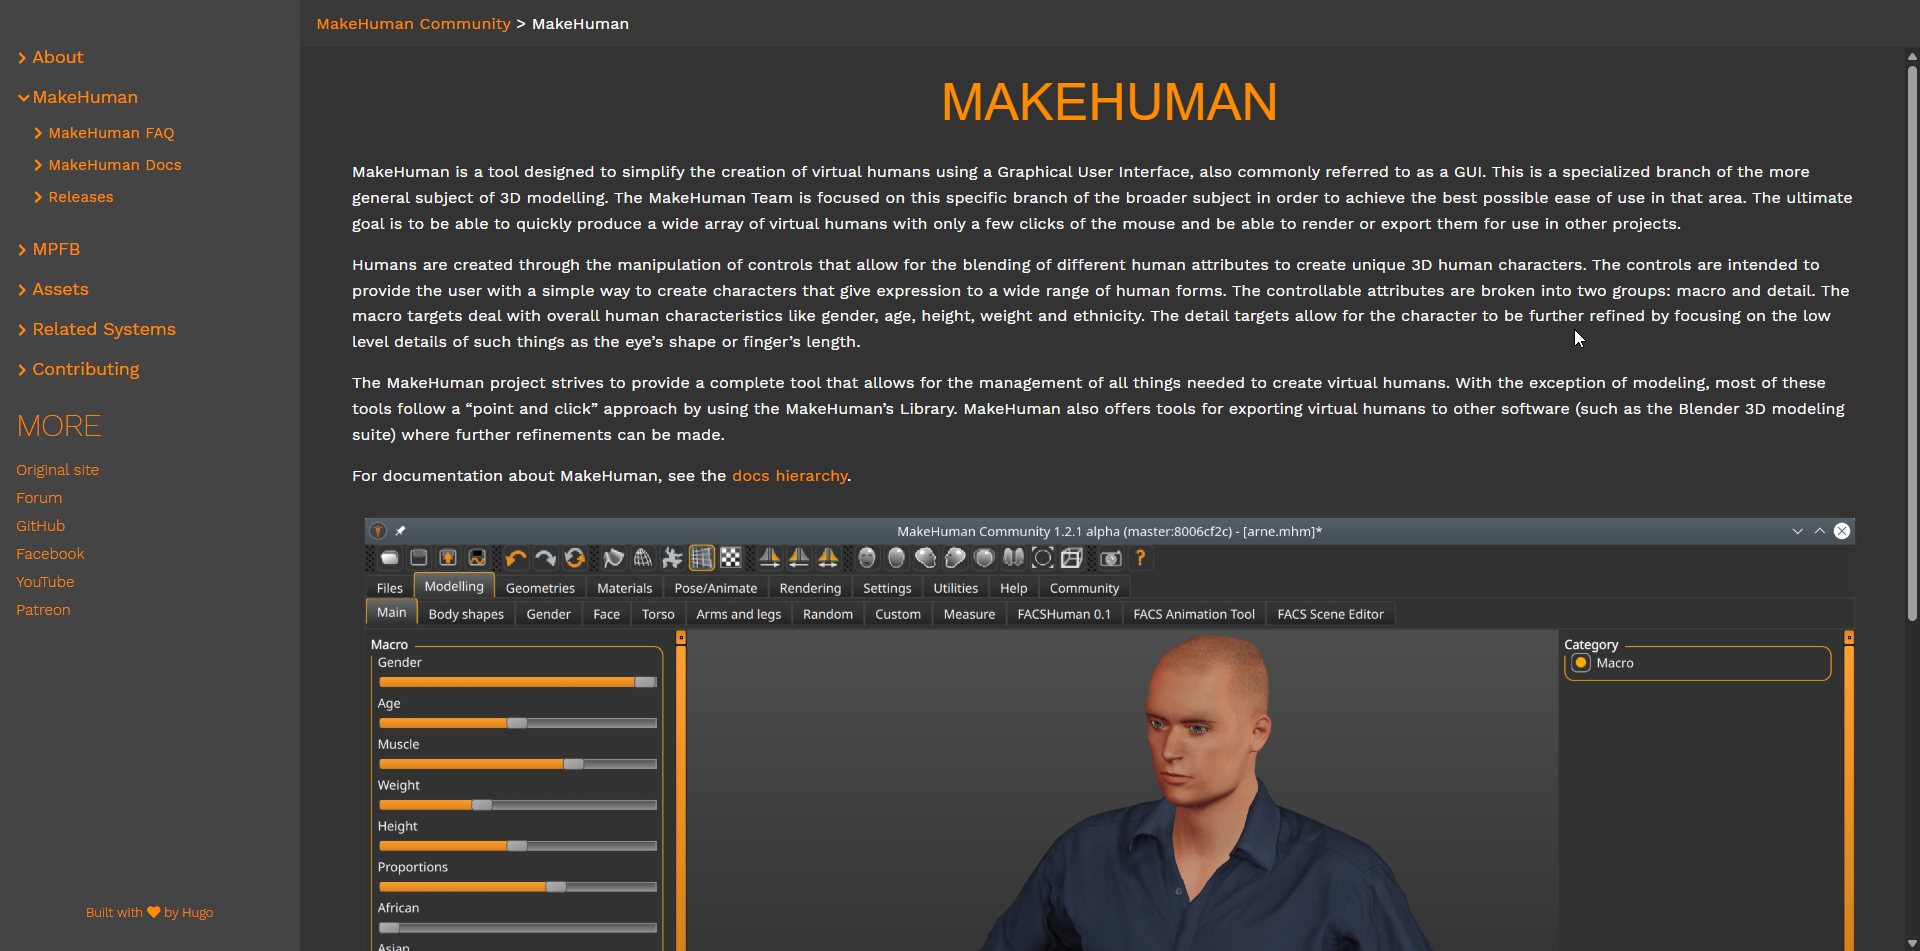
MakeHuman is Very Dated
Even though MakeHuman allowed me to quite easily and quickly jump in to character creation, and got me the look I was looking for, you can clearly tell it’s very outdated, I couldn’t really figure out how you’re supposed to get additional clothes and such (the entire process of downloading the database, abhorrent search UI and then having to manually download every single thumbnail is very unpleasant and unintuitive to use).
Another thing is of course the graphics fidelity (which leaves quite a lot to be desired), but we have to keep in mind, this software originally came out 26 year ago.
However, all things considered, it is free, and kind of (even with the restricted built-in library) got me the result I was looking for so I cannot complain too much.
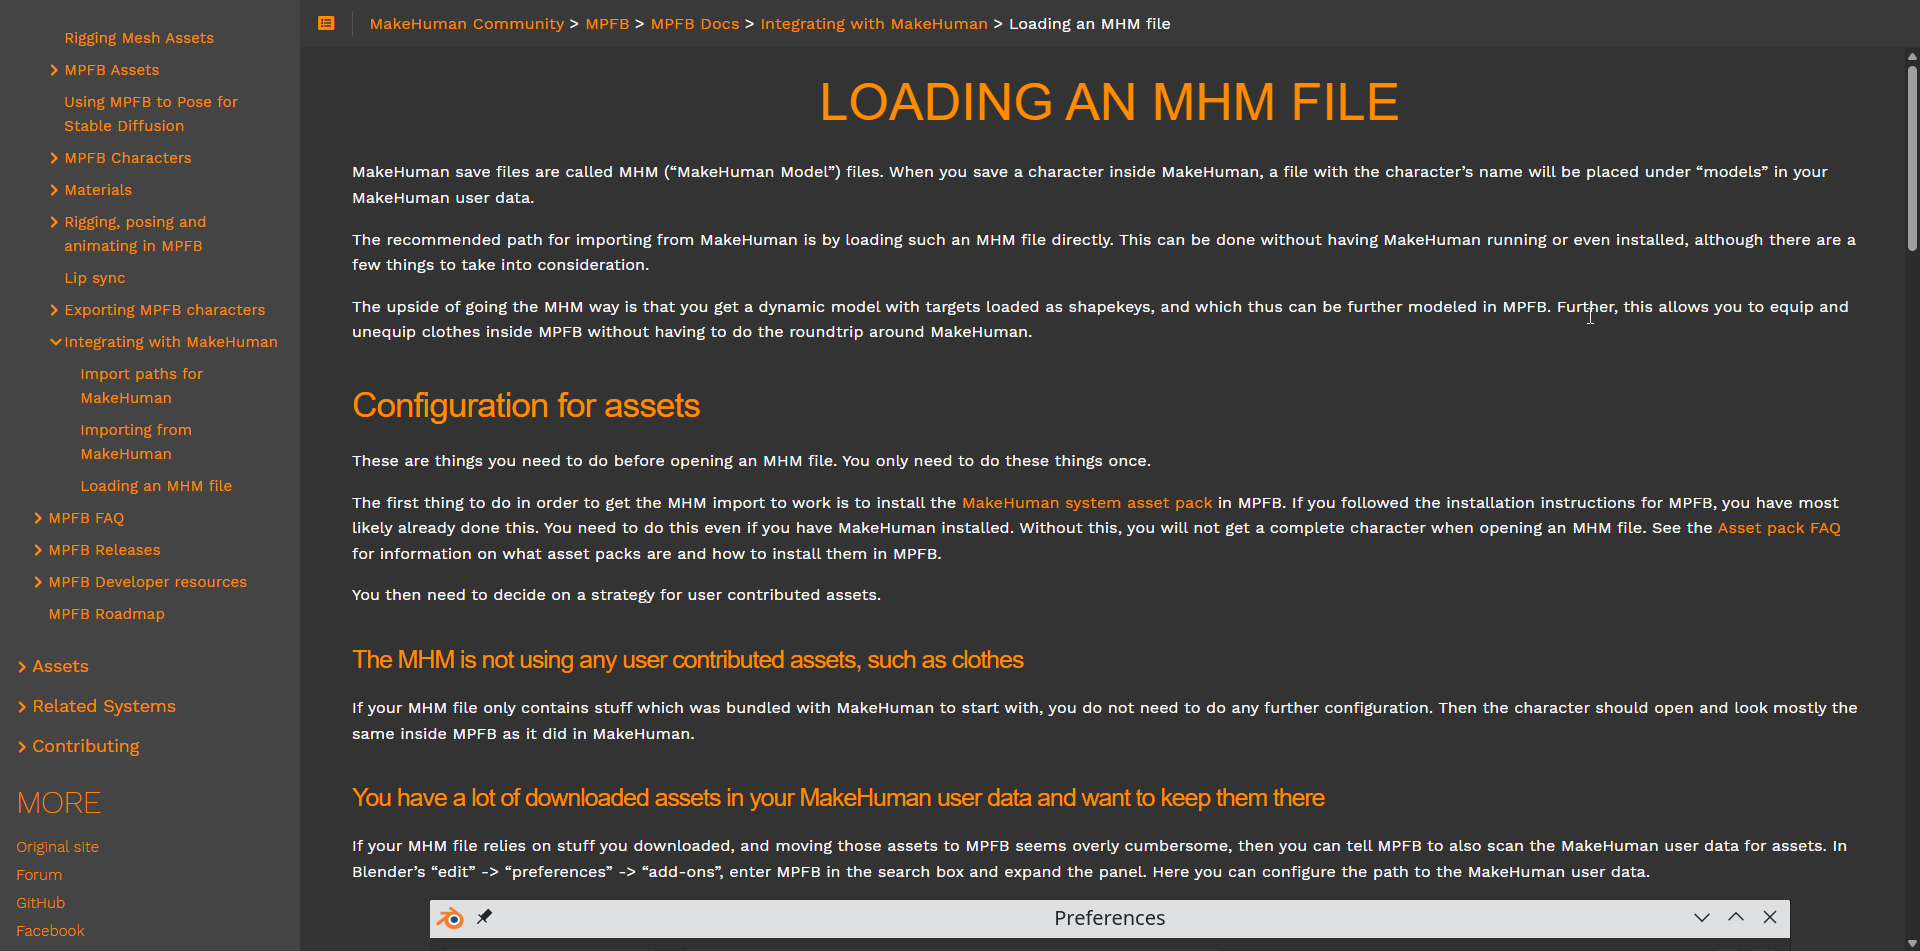
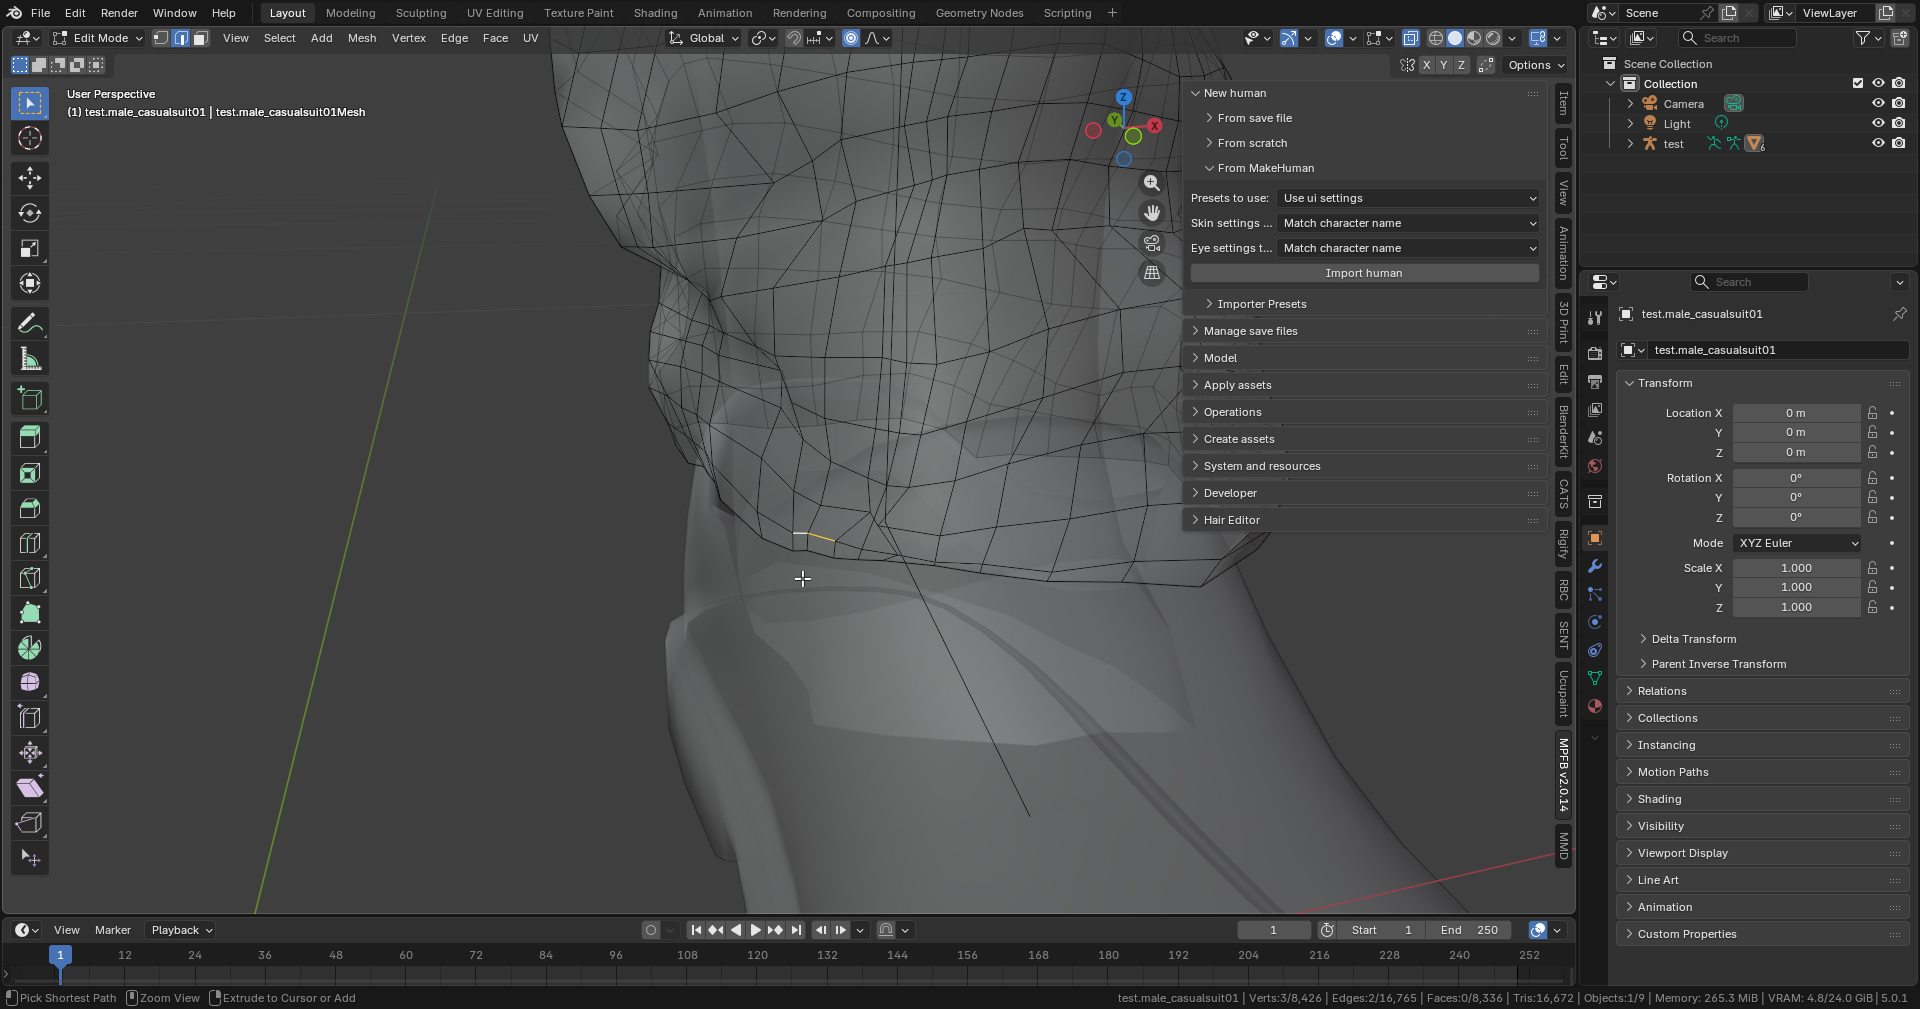
MakeHuman Export Issues
Something that surprised me is how problematic the model export was when trying to go from
MakeHuman to Blender, even though I read up on the documentation and installing the
suggested Blender plugin, the only way I’ve managed to actually get the model in to
Blender was using the ‘socket’ based Import human approach (which even that didn’t
work 100% perfectly):
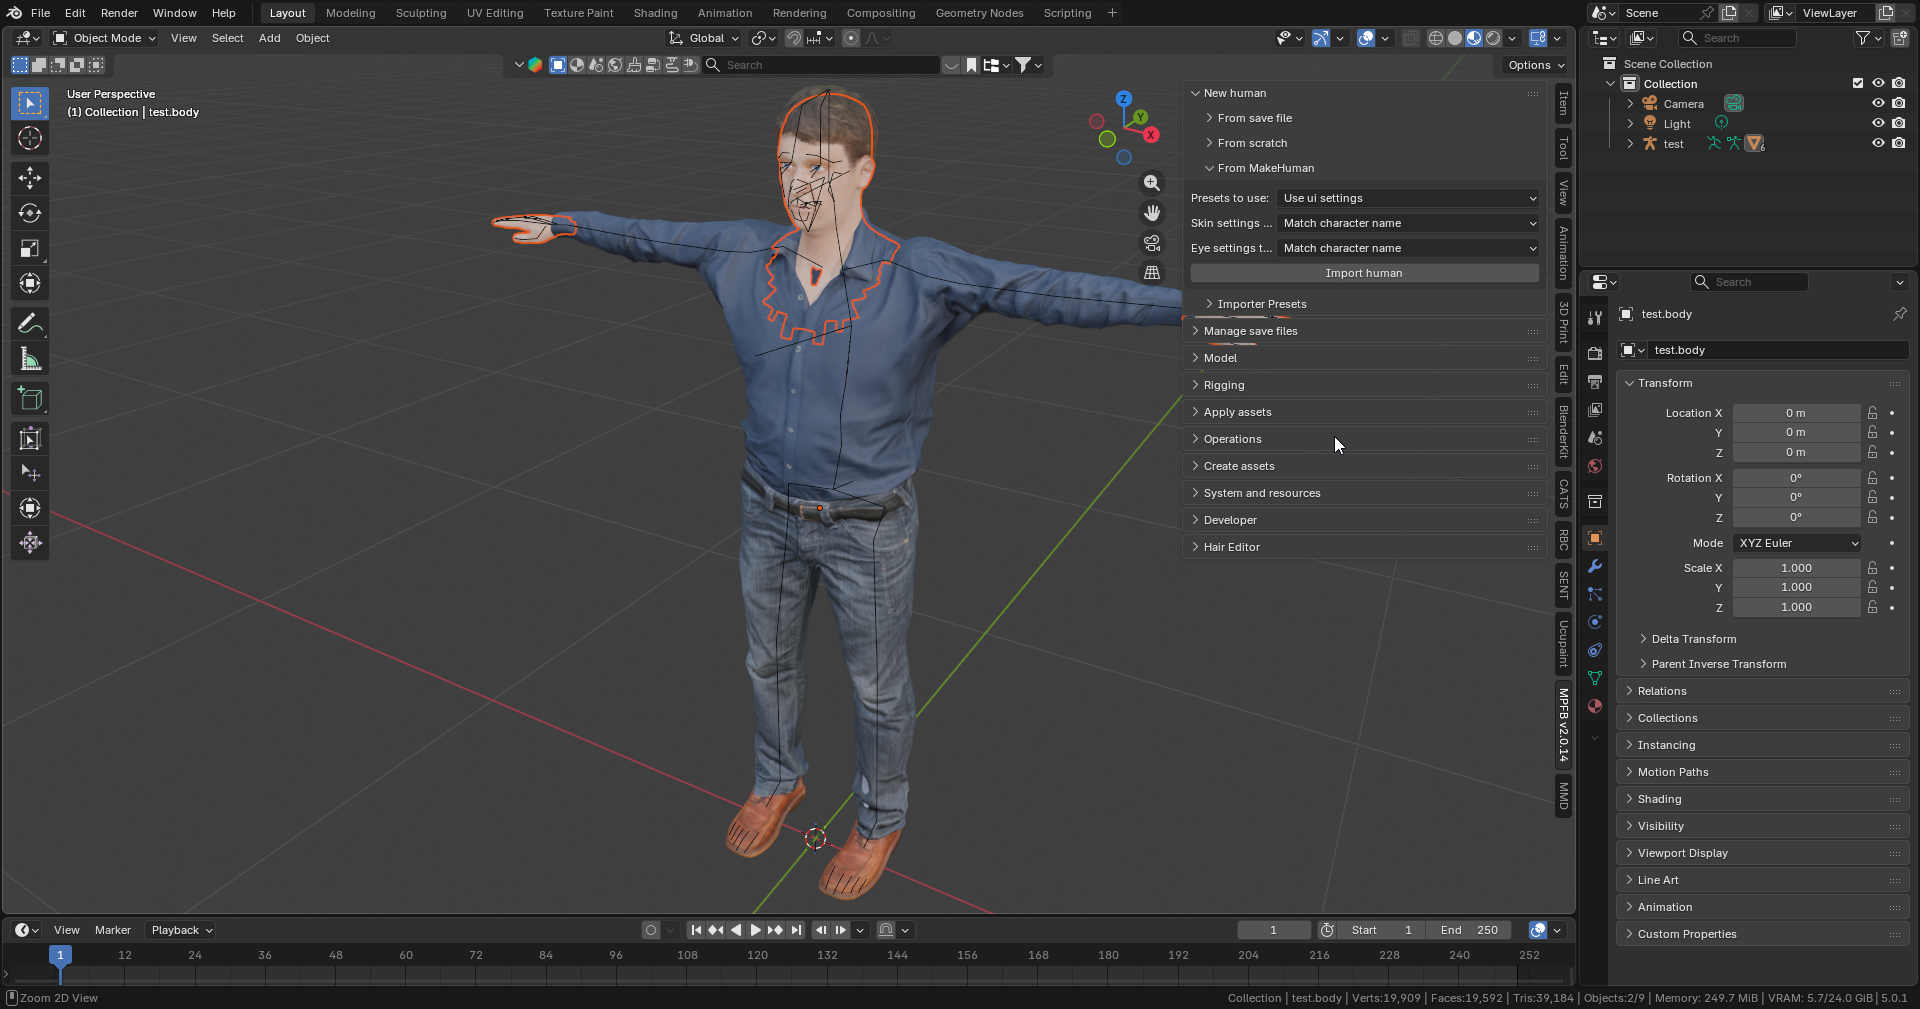
Not to mention the hedgehog that was created by the FBX import (which admittedly was mentioned in the docs, but come on, it’s 2026!). I guess this is just another way that this piece of software is showing it’s age…
Mocap Fusion Rig Problems
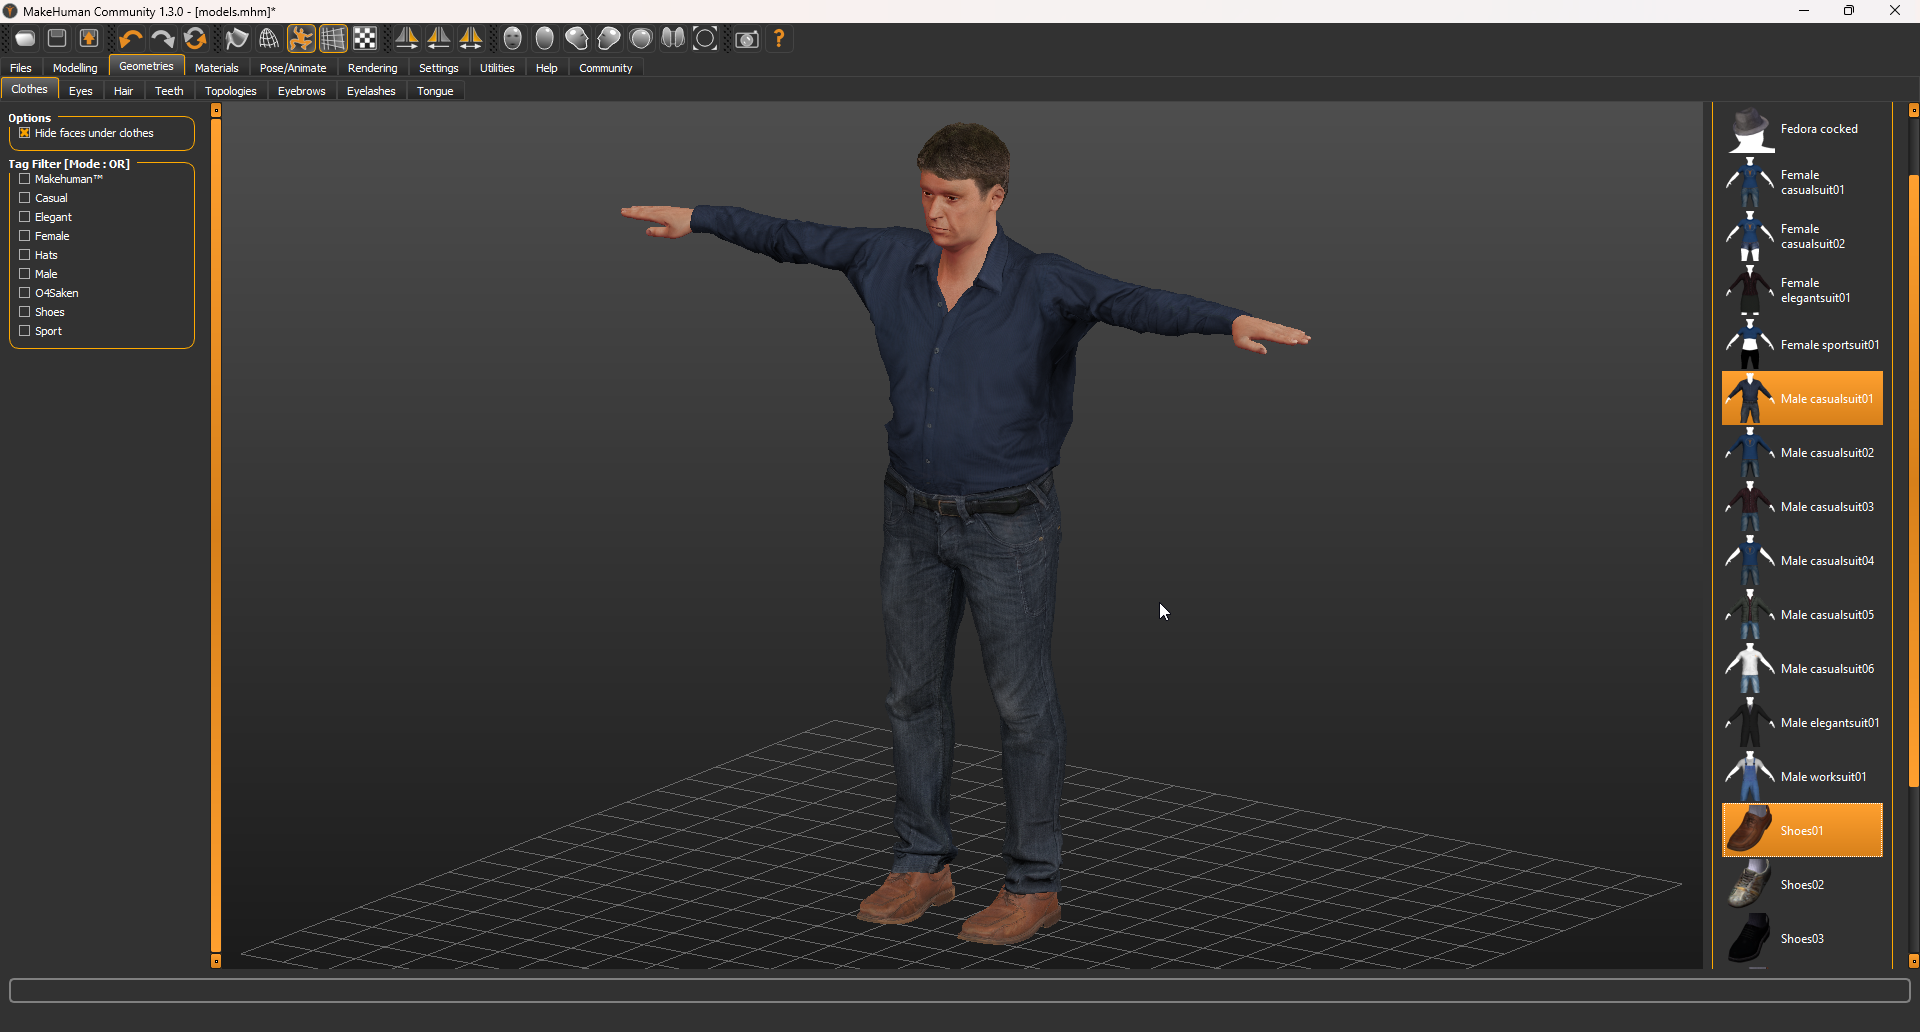
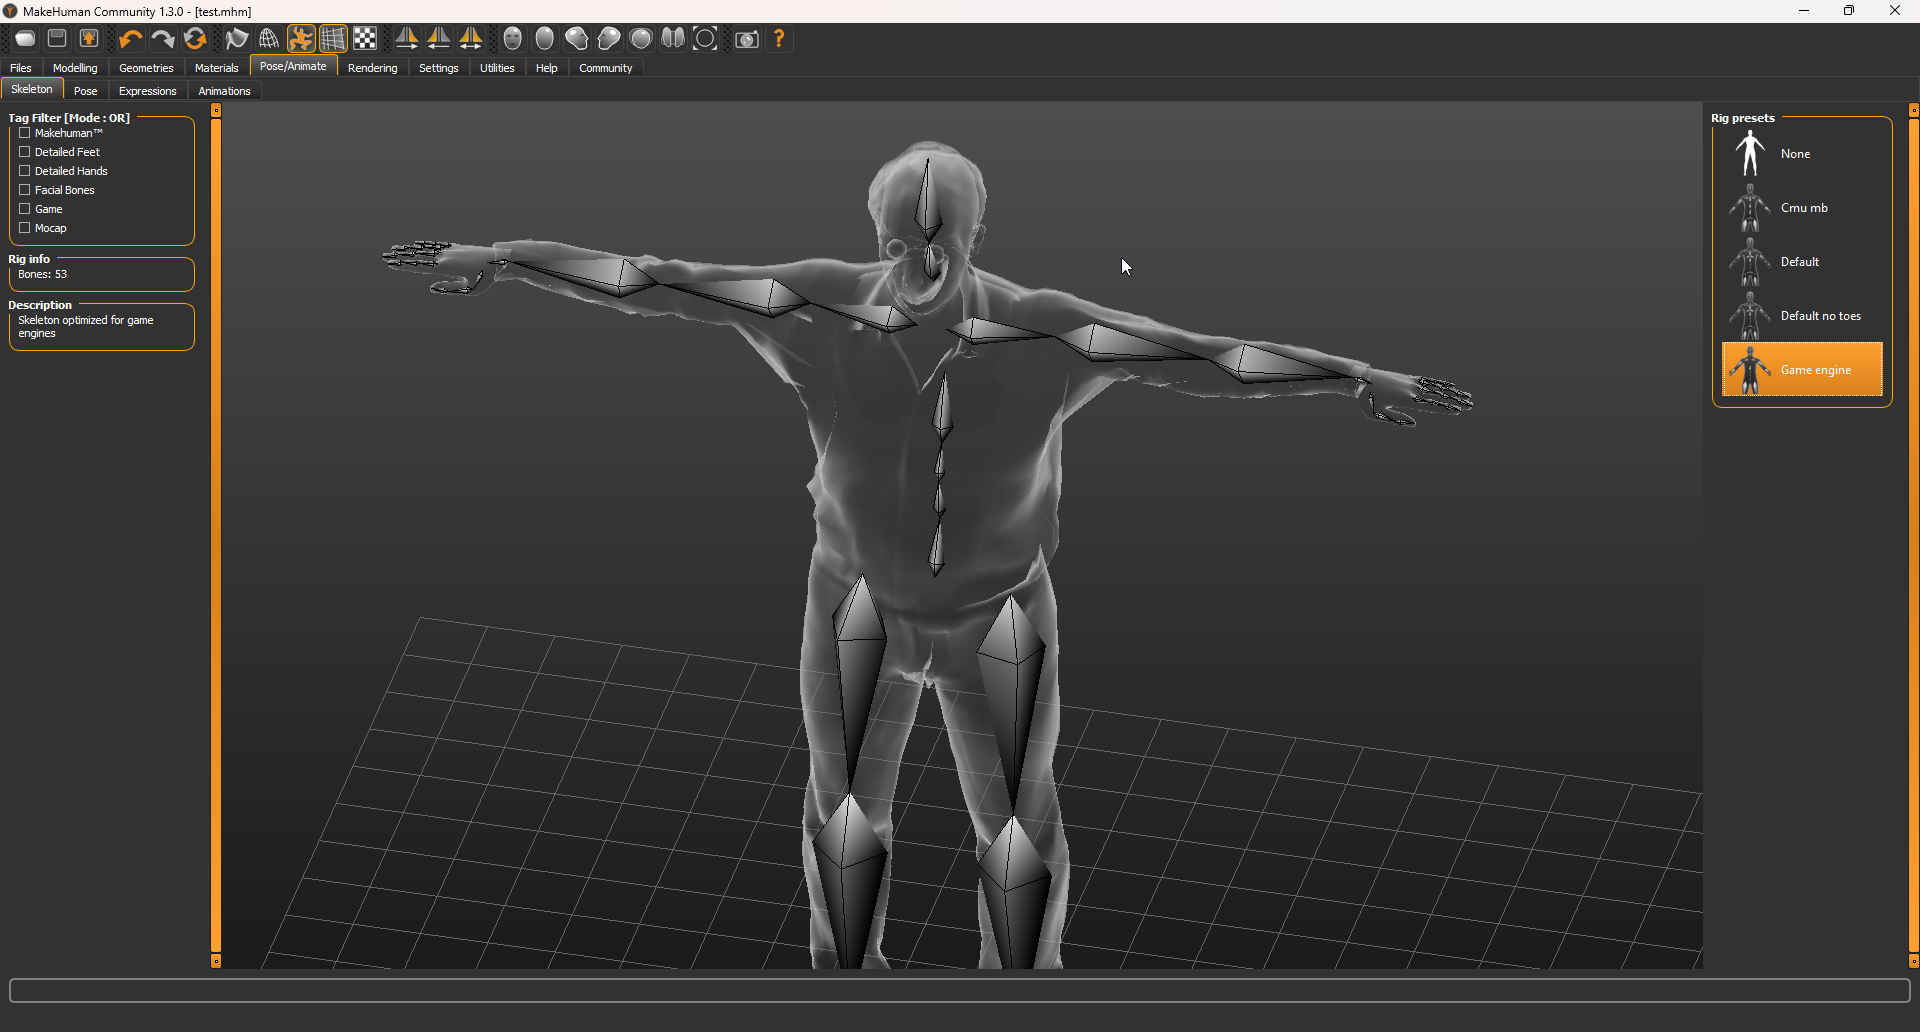
So, before getting the model in to Blender there was an important choice I had to make
in the MakeHuman software. I had to choose a rig that I wanted the character to have
(I first chose Default which turned out to not be the right choice…). I baked and
exported everything from Blender:
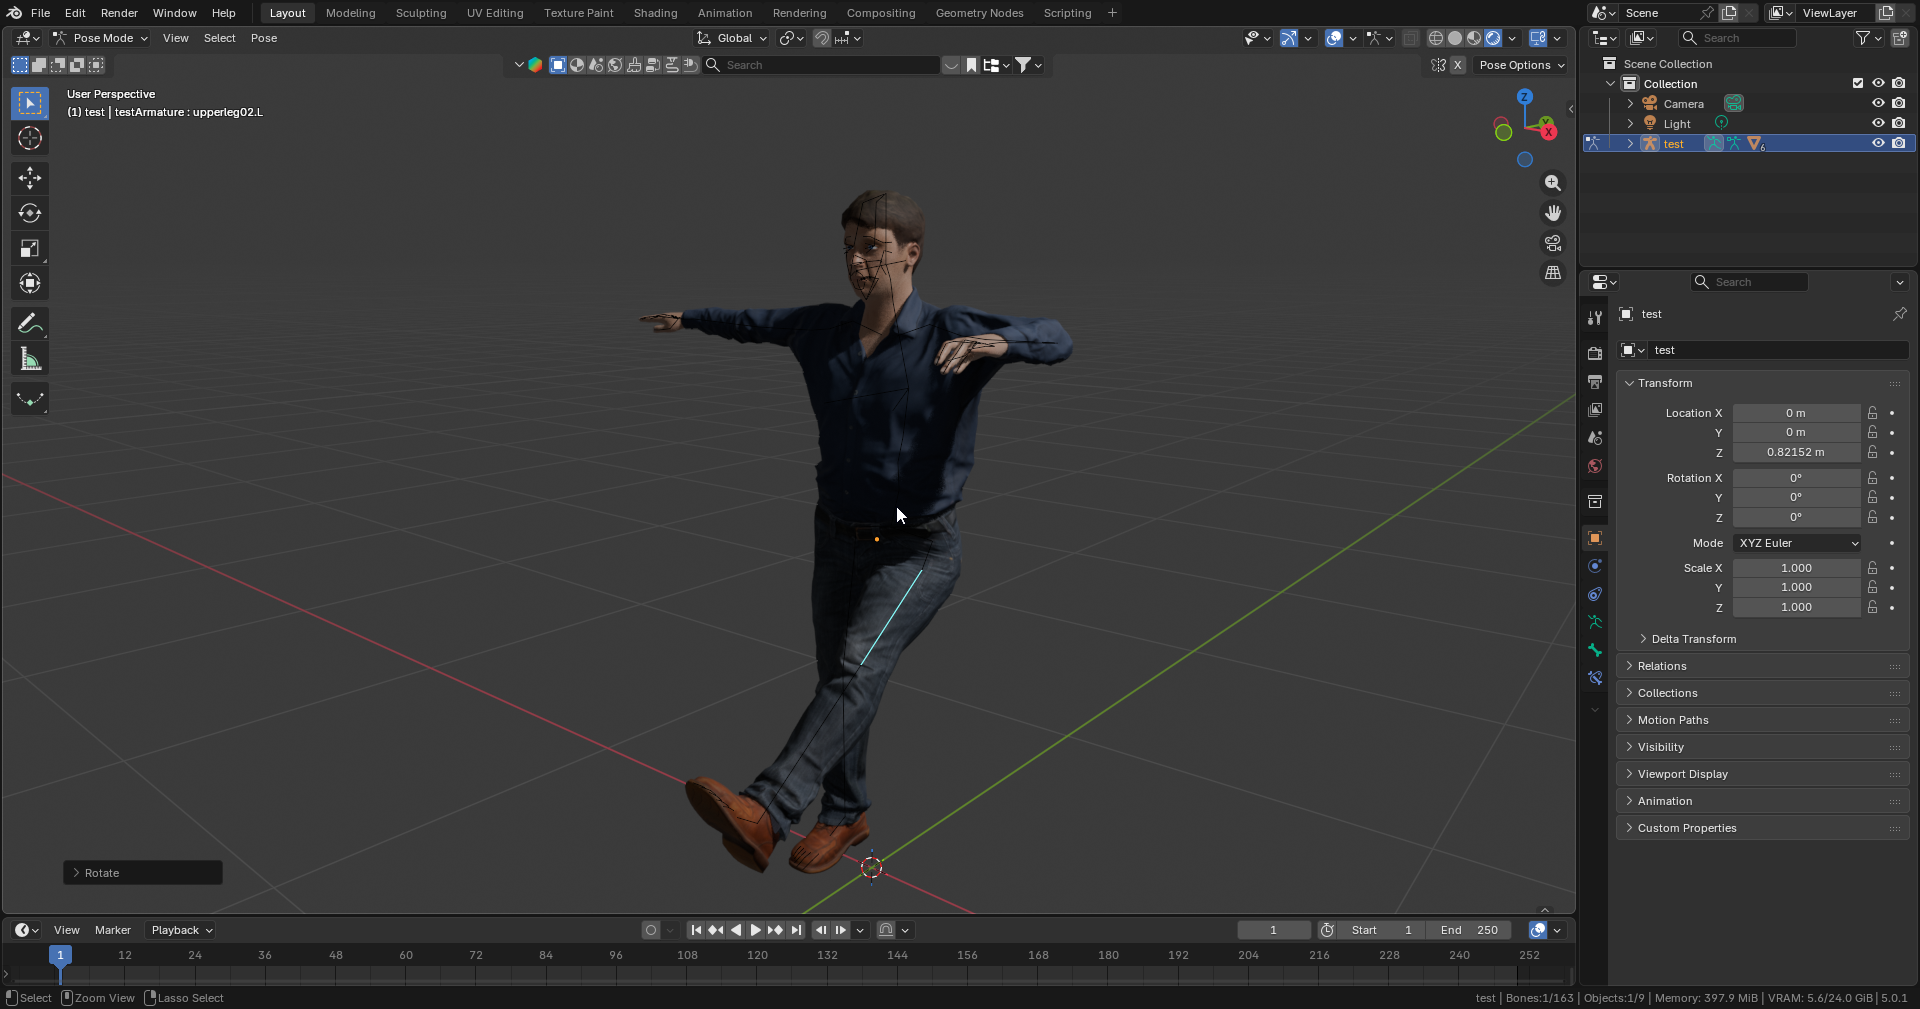
Next I prepared it for Mocap Fusion using the APS_SDK :
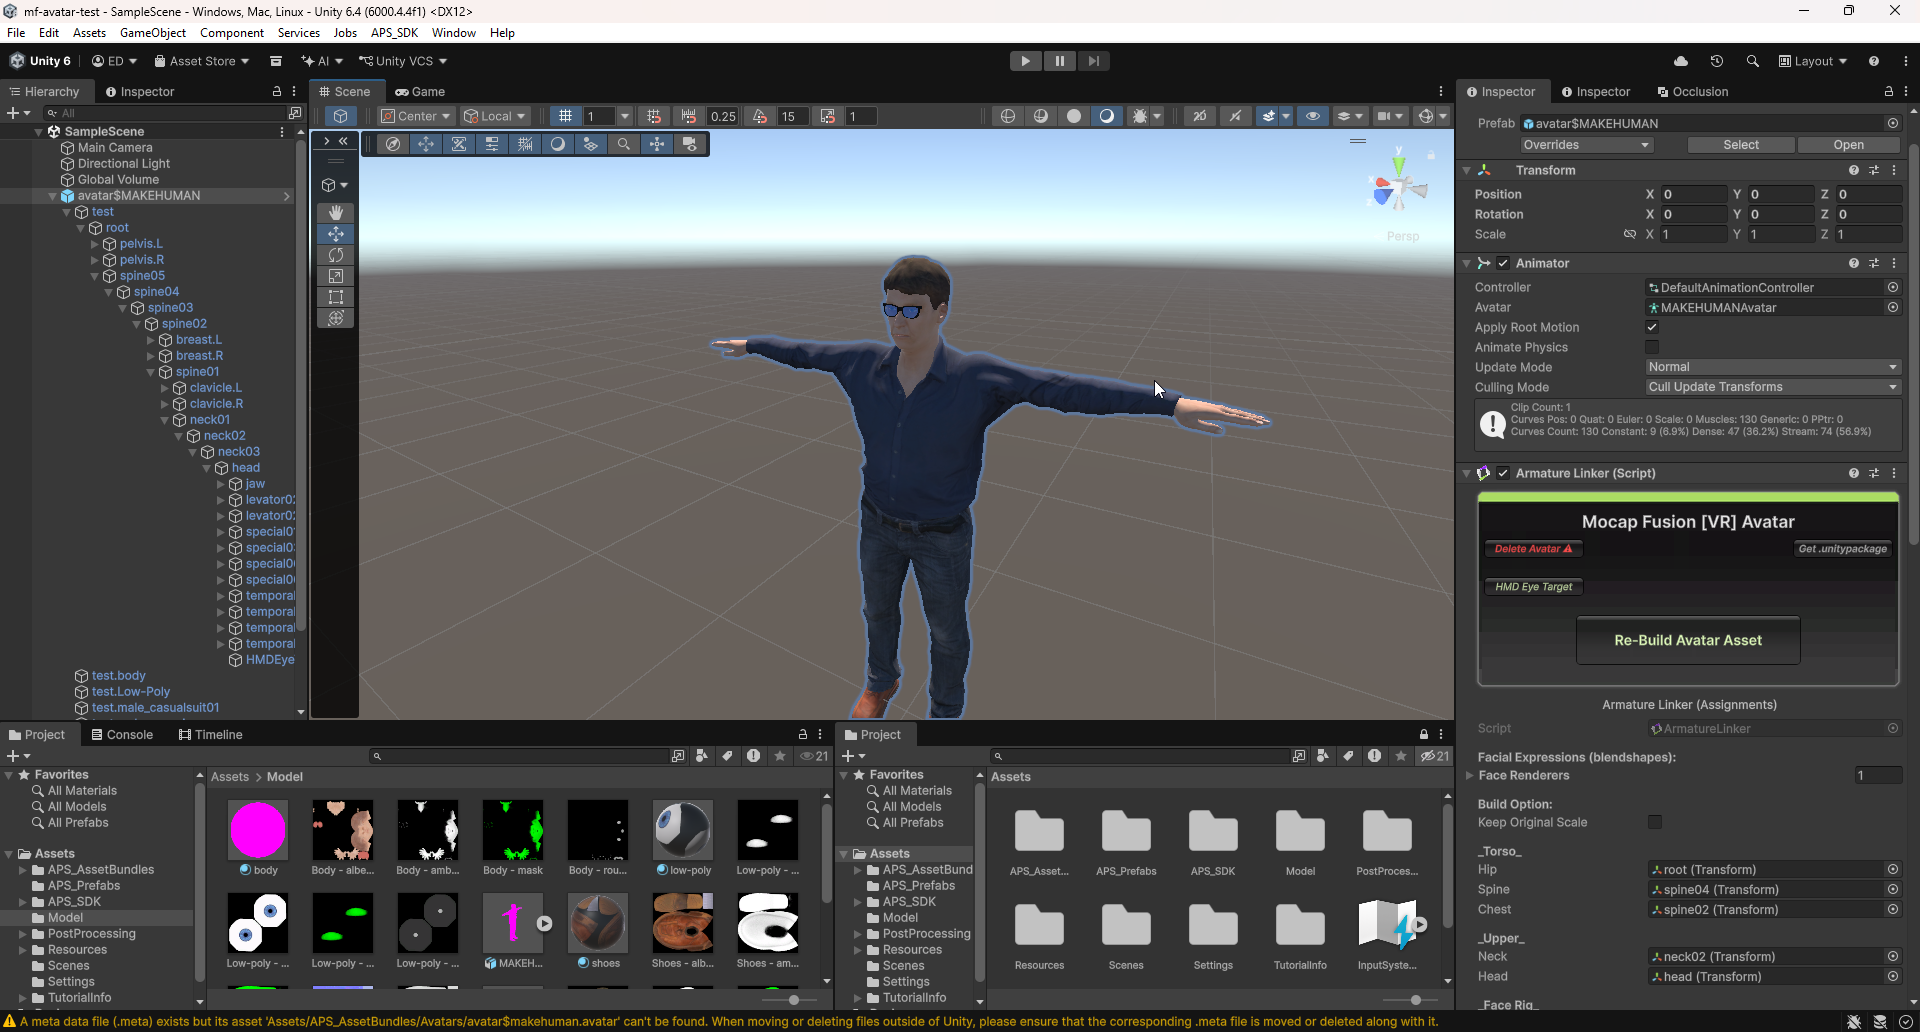
And I tried it out in VR:
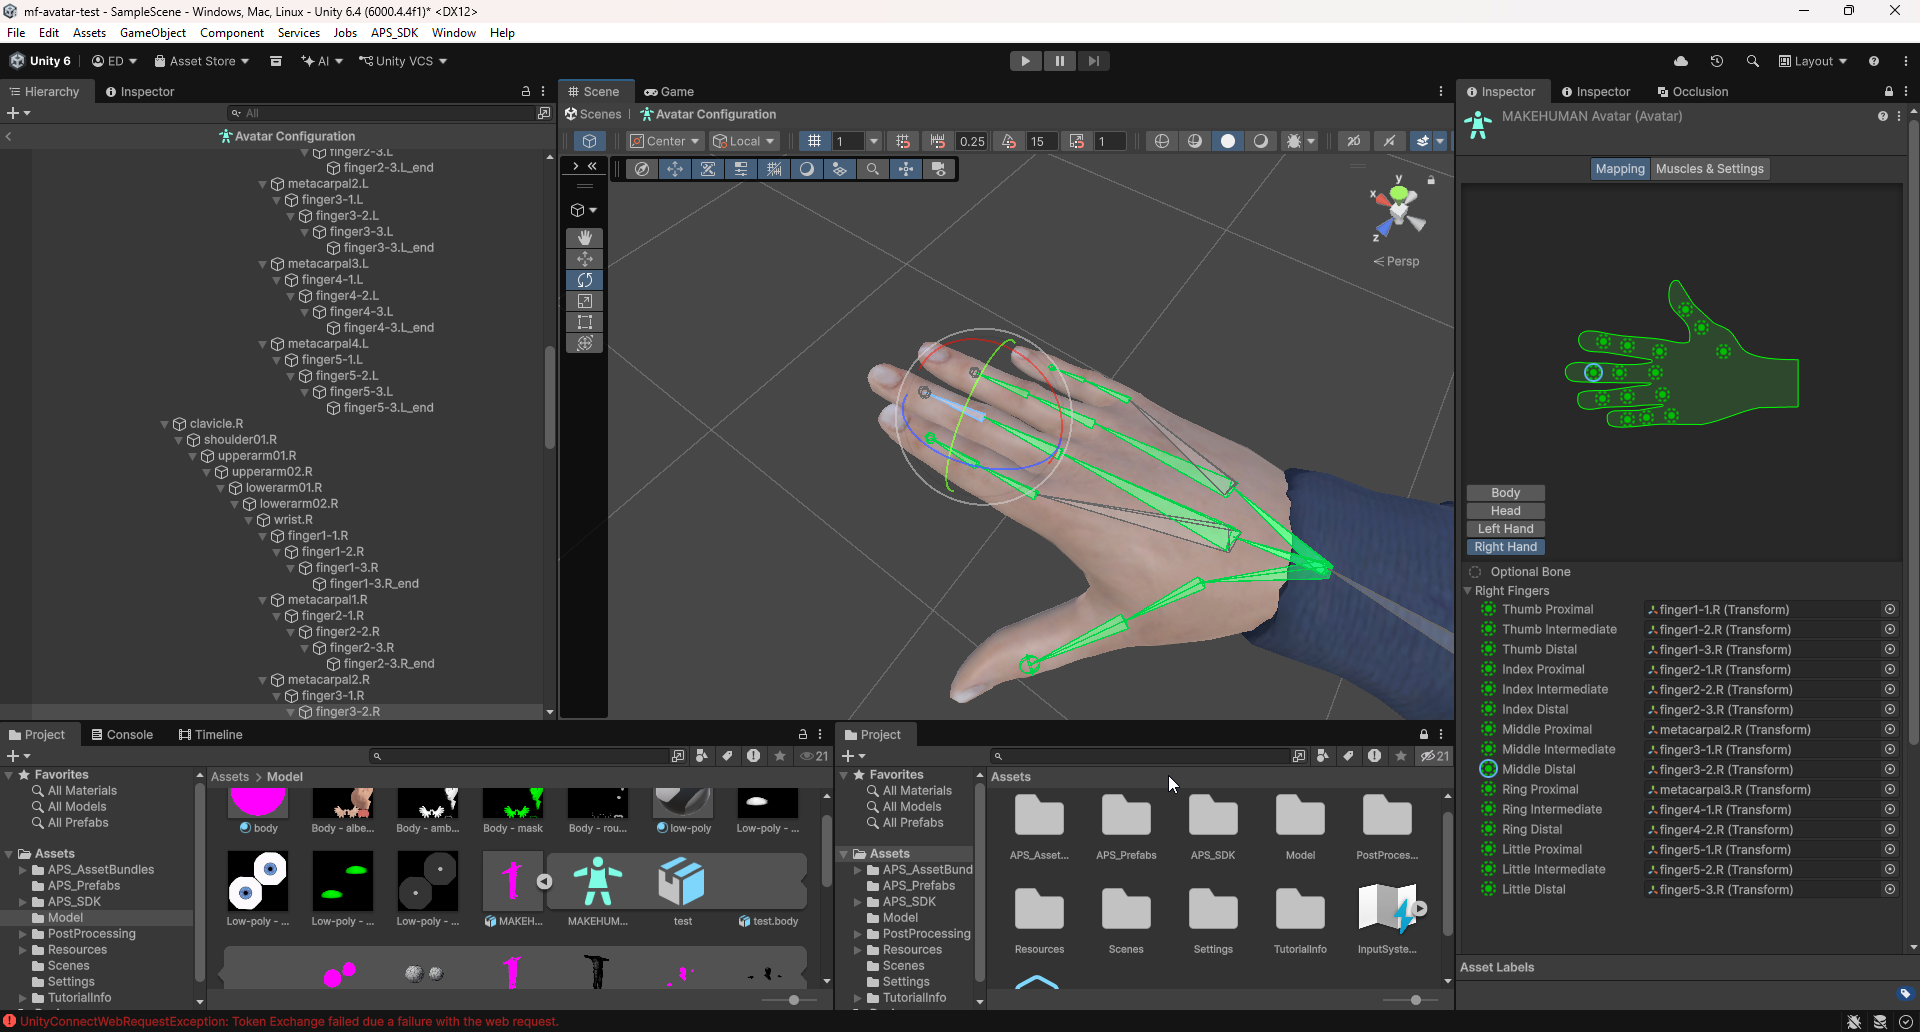
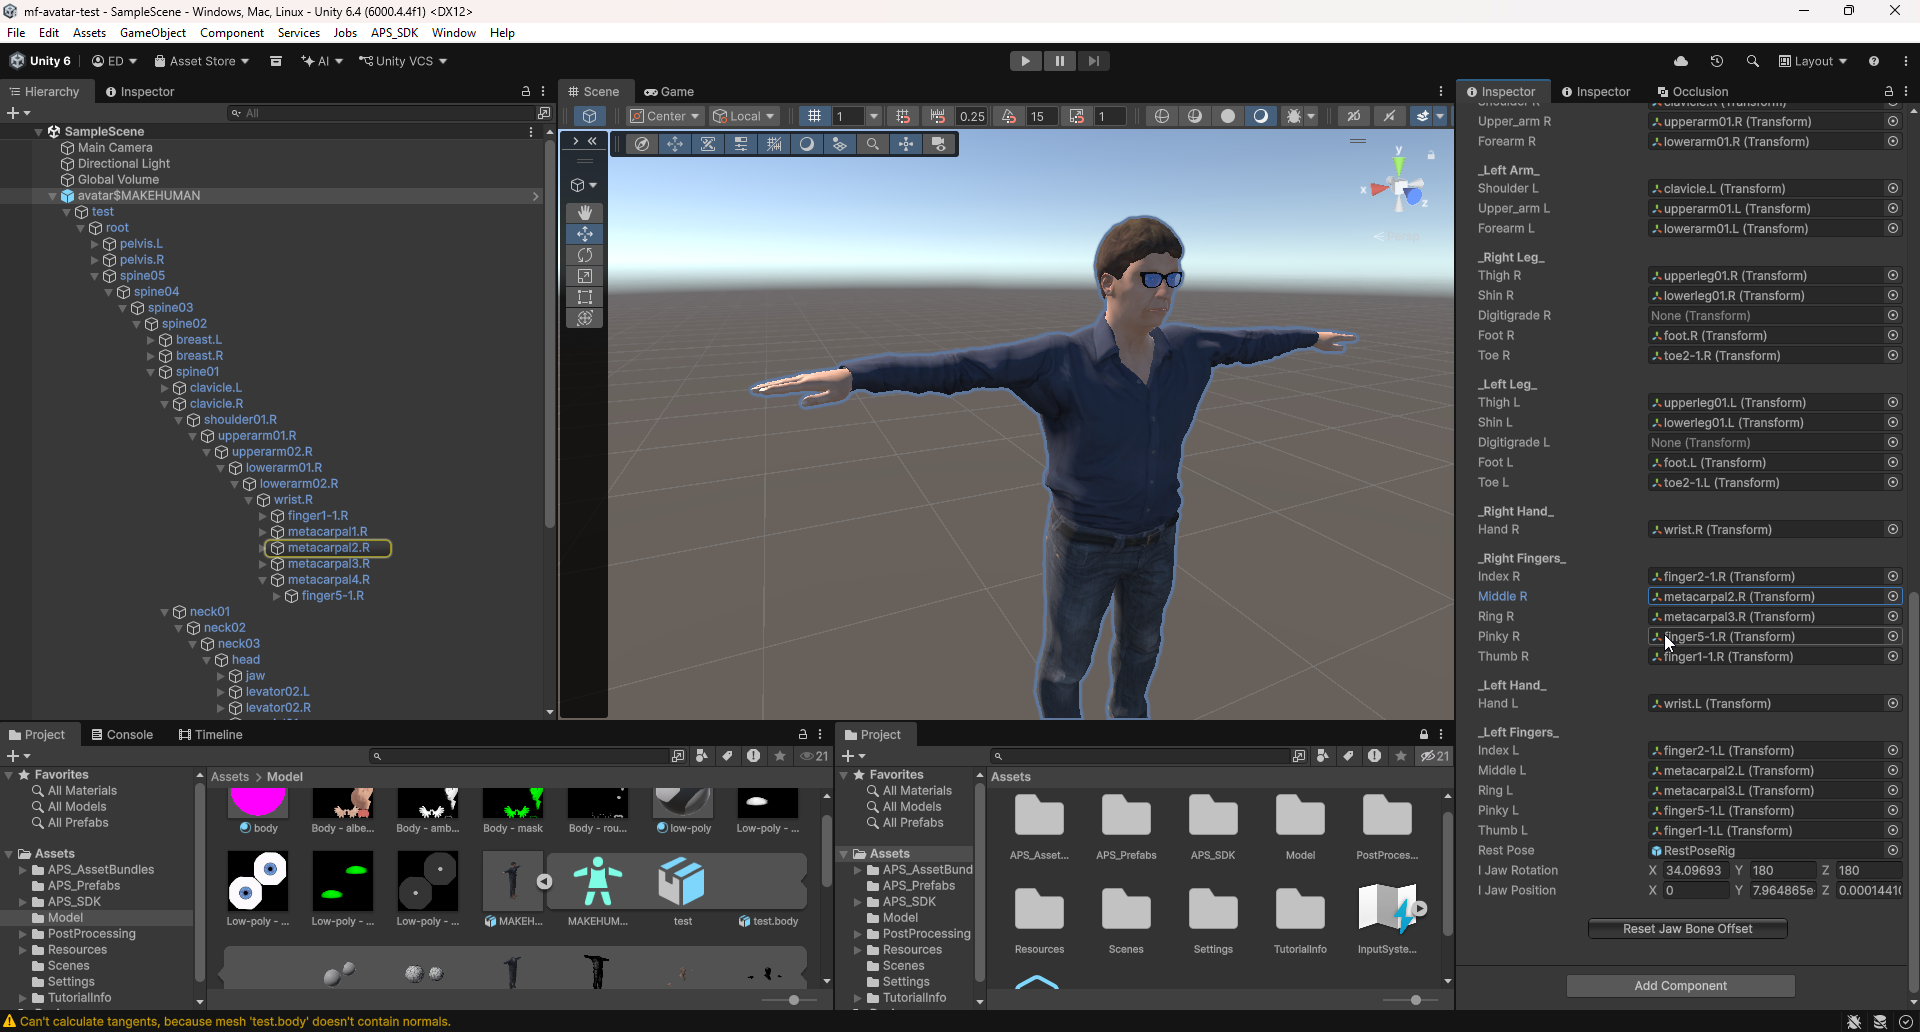
As you can see, something is clearly wrong, I initially tried reconfiguring the fingers in
the rig Avatar setup before going through the APS_SDK but that didn’t really fix it.
In the end, switching to the Game engine rig, before exporting from MakeHuman is what
did it:
Mocap Fusion Export Troubles
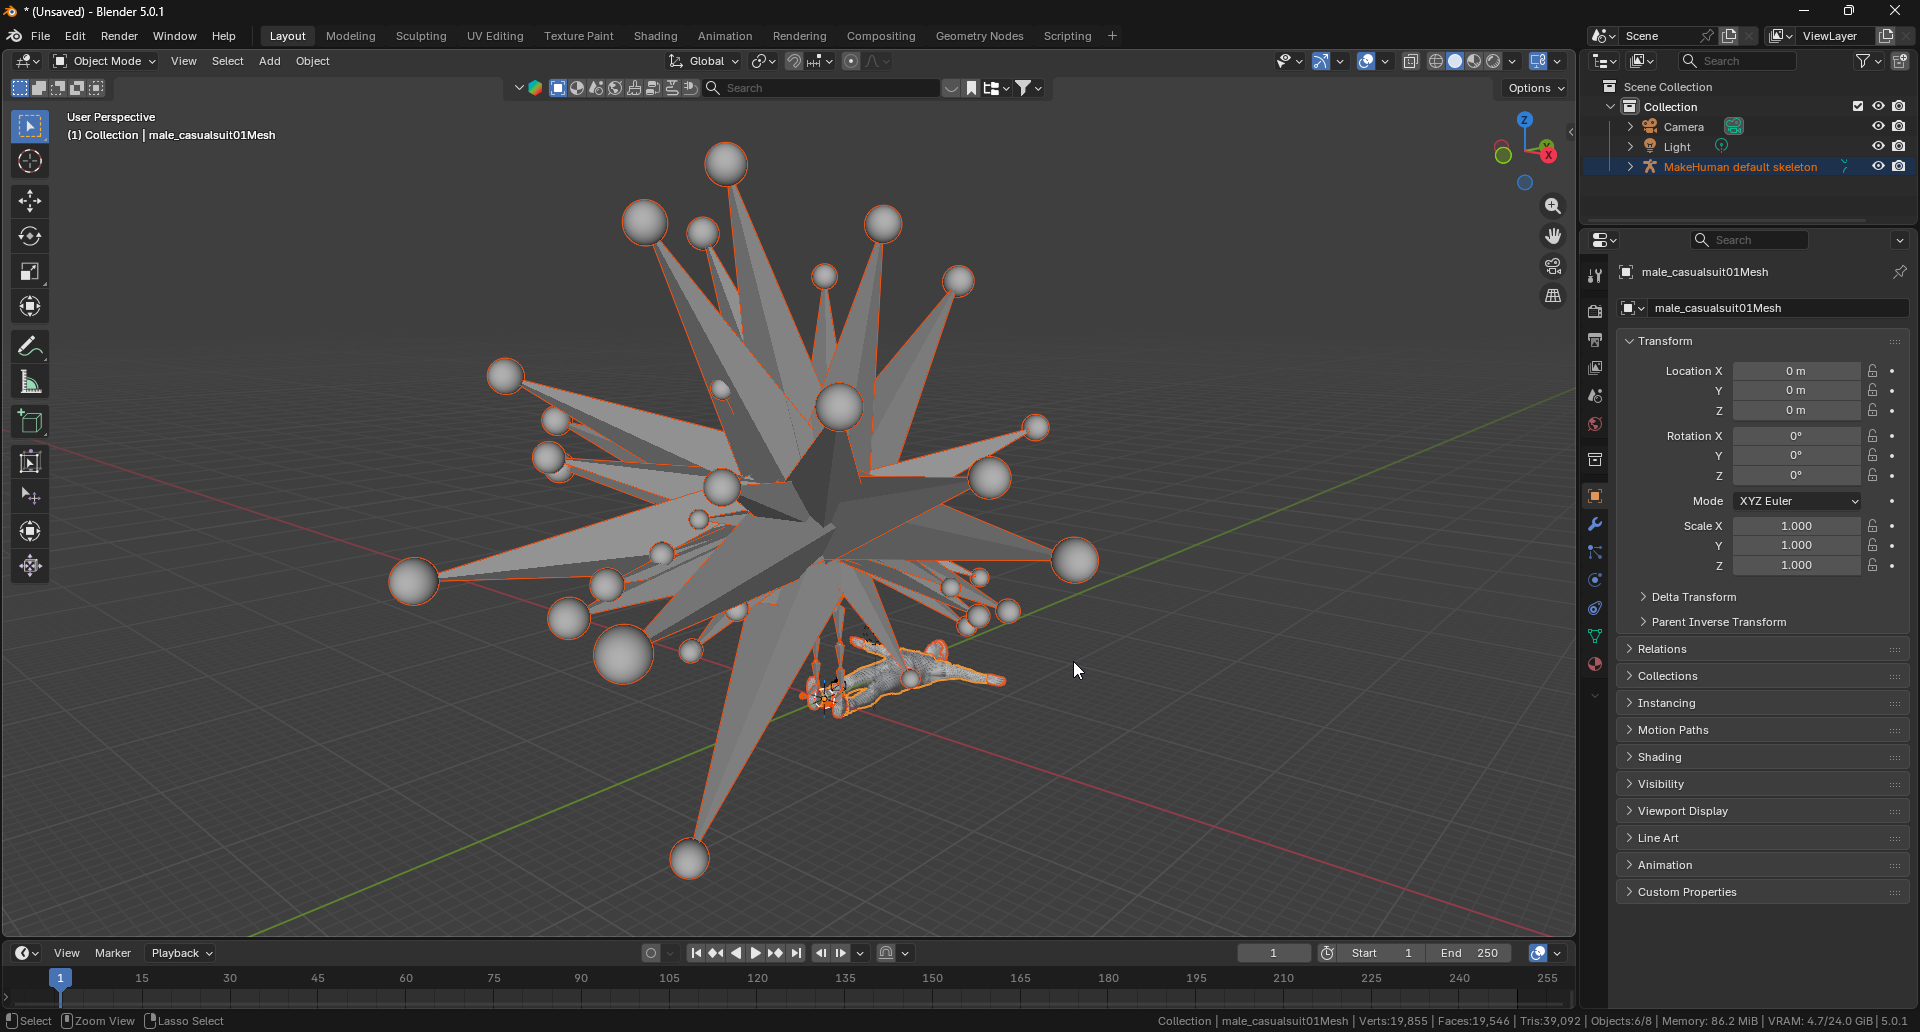
After thinking I finally got the armature to look right, and thought that everything should work correctly now (oh how foolish I was), I decided to test my hypothesis. After doing a recording session and opening up one of the BVH files and running the load script *it didn’t work right):
After doing a bunch of research and some help from a dear friend of mine, I managed to find that this piece of code from the loading script in the BVH file is what’s allowing the issue to manifest:
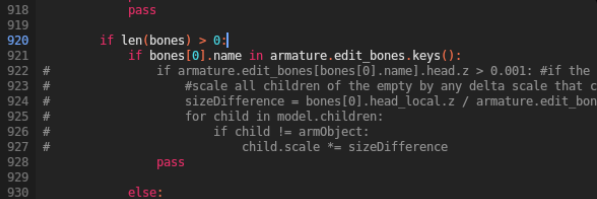
Working backwards from it, (if I things correctly), I think it could be two problems on
top of one another. First, the import script has a ‘size compensation’ routine that tries
to to match the armature’s scale to the mesh by dividing hip bone heights, but because
MakeHuman rigs store the armature at floor level with small local bone heights, this
creates a scale multiplier that is out of whack, blowing the mesh way out of proportion.
Second (more importantly), the Game engine armature had an extra root bone sitting above
the pelvis bone in the hierarchy and this is significant as seemingly, when Mocap Fusion
exports a BVH file, it writes hip translation data to whatever bone is at the top of
the hierarchy in this case root (not the correct one). The fix was to delete that root
bone in Blender so that pelvis became the top bone:
This took a while and I even tried contacting the main dev of Mocap Fussion directly and sadly couldn’t get much help, but, as you can see this luckily did fix the issue I was having and I was able to finally move forward…
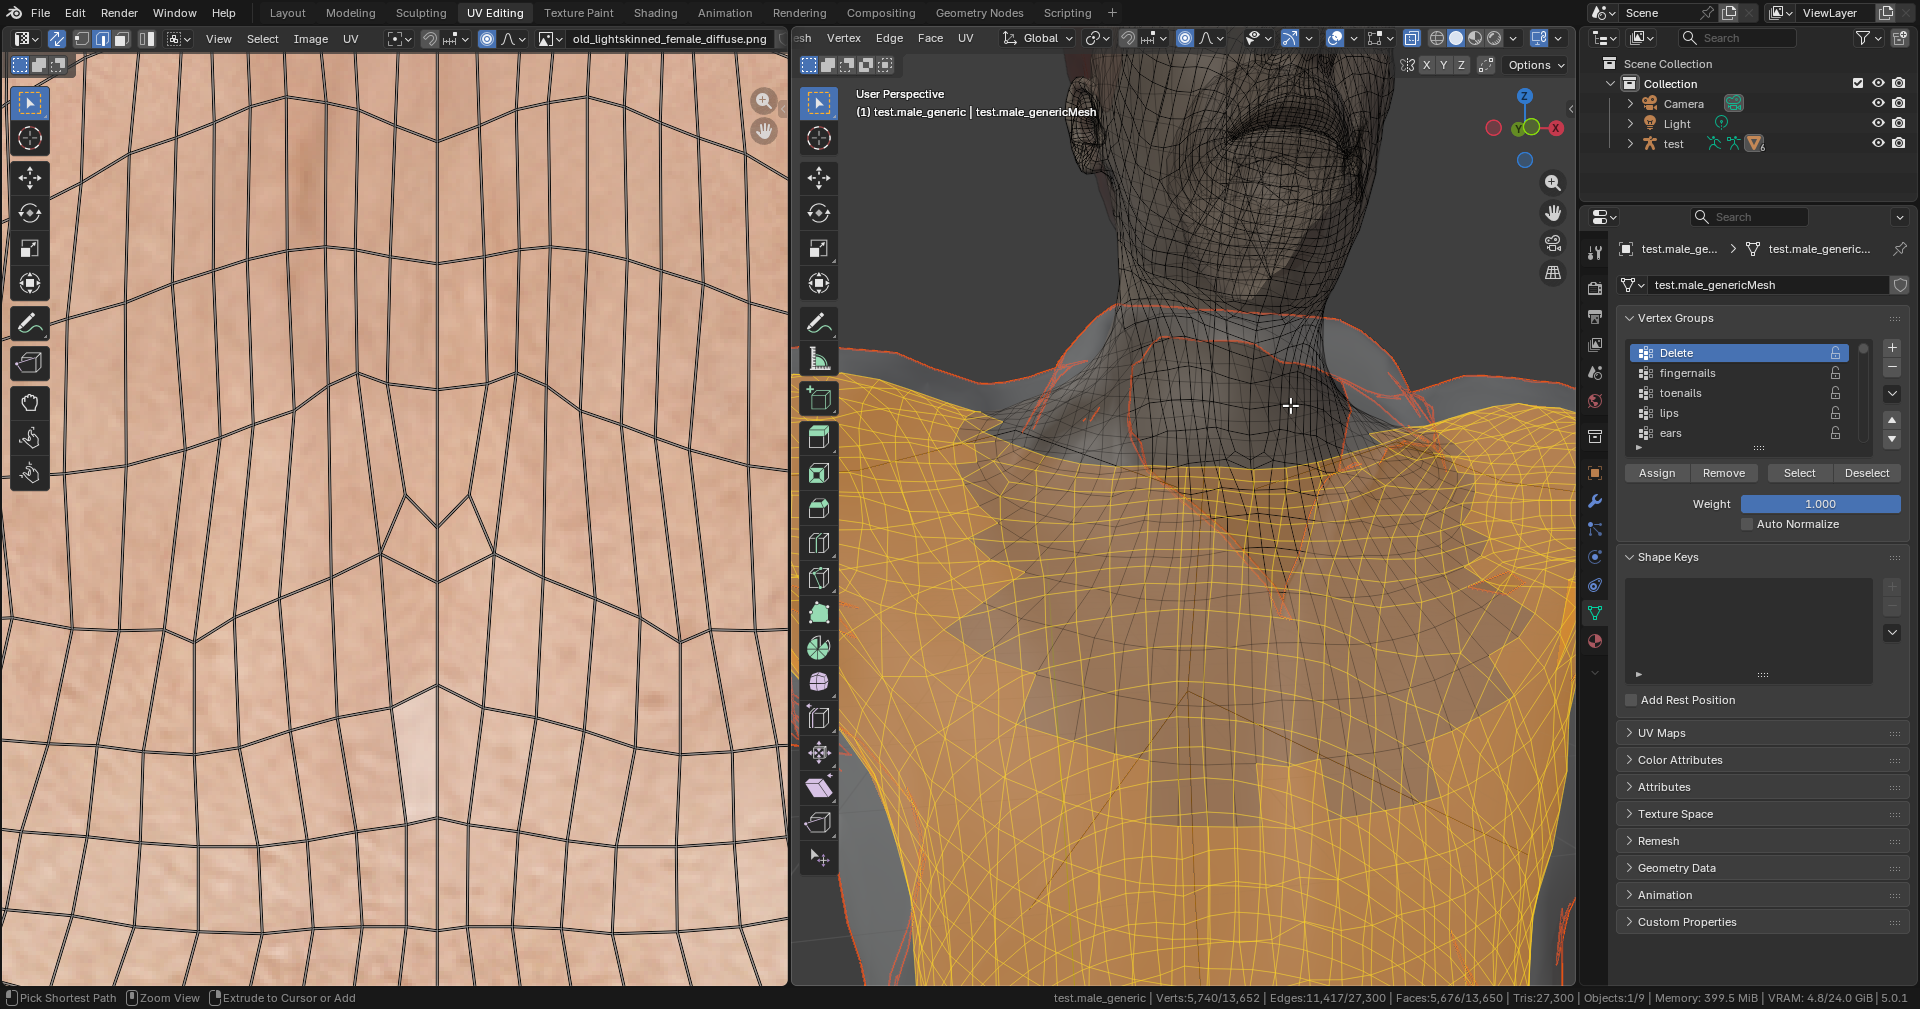
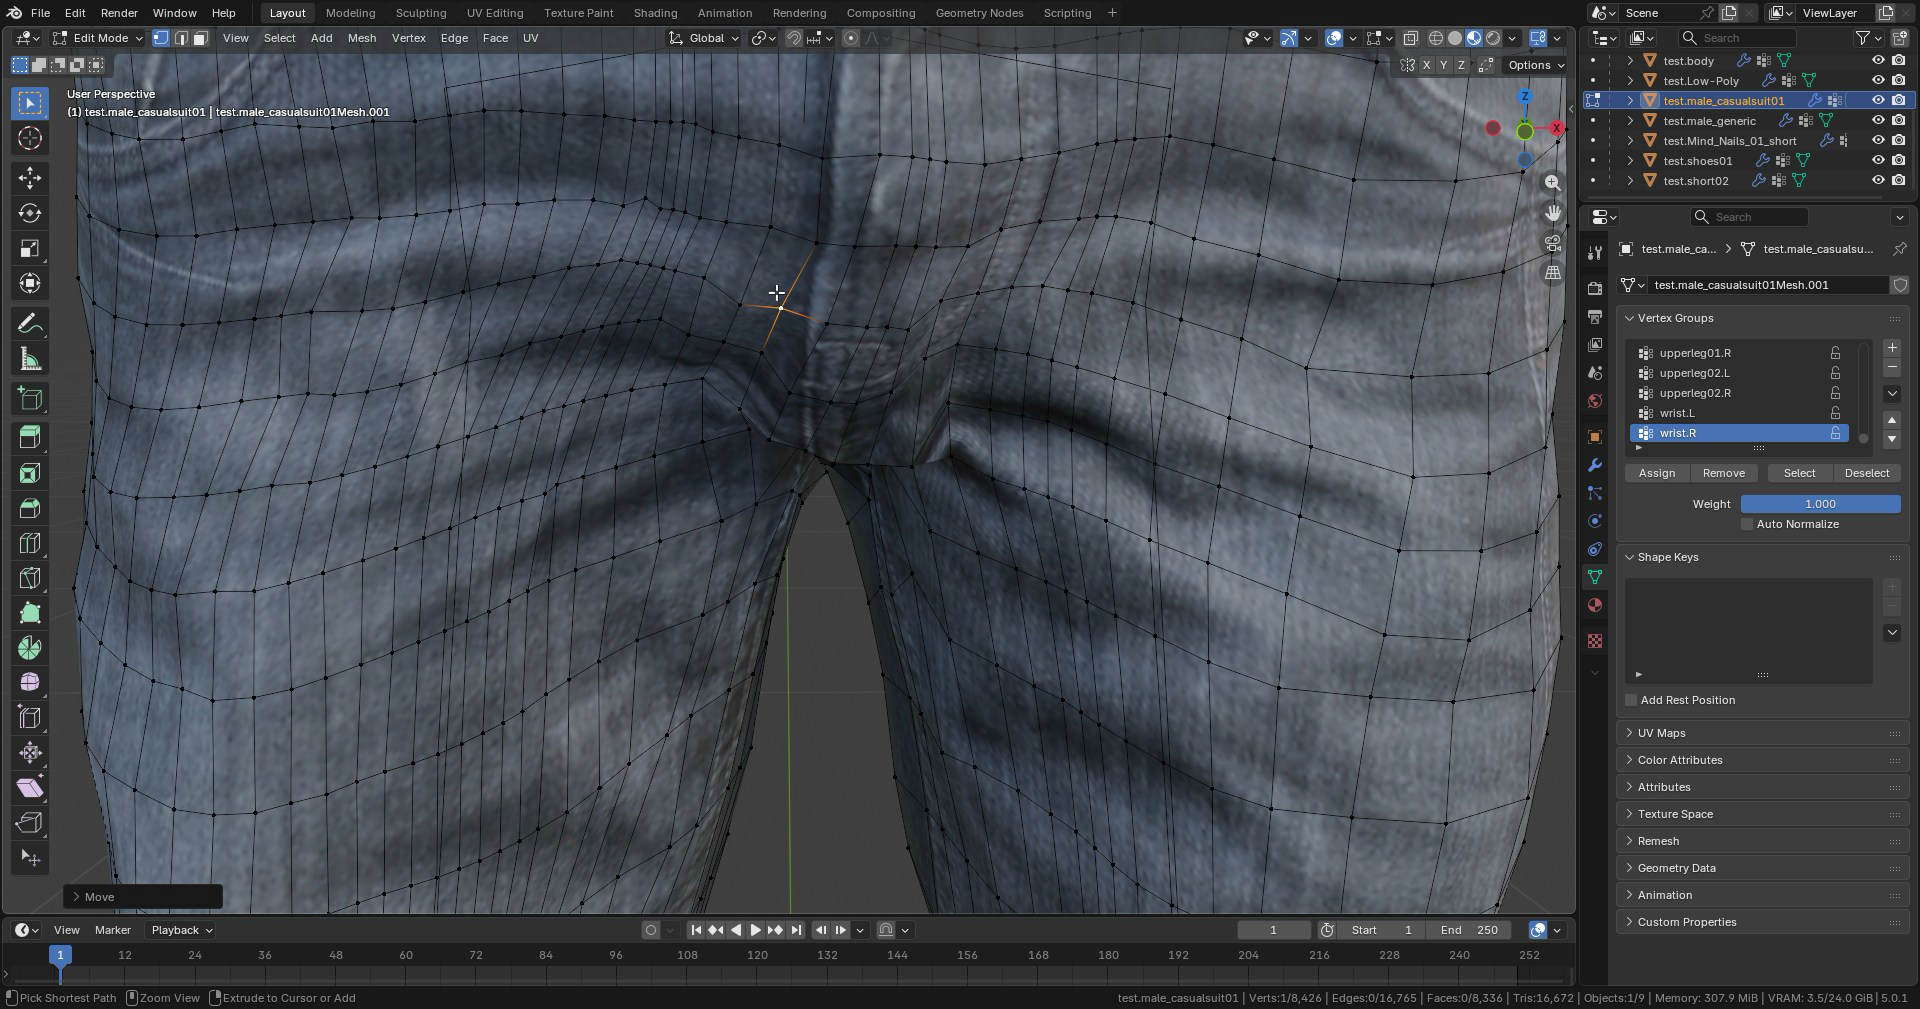
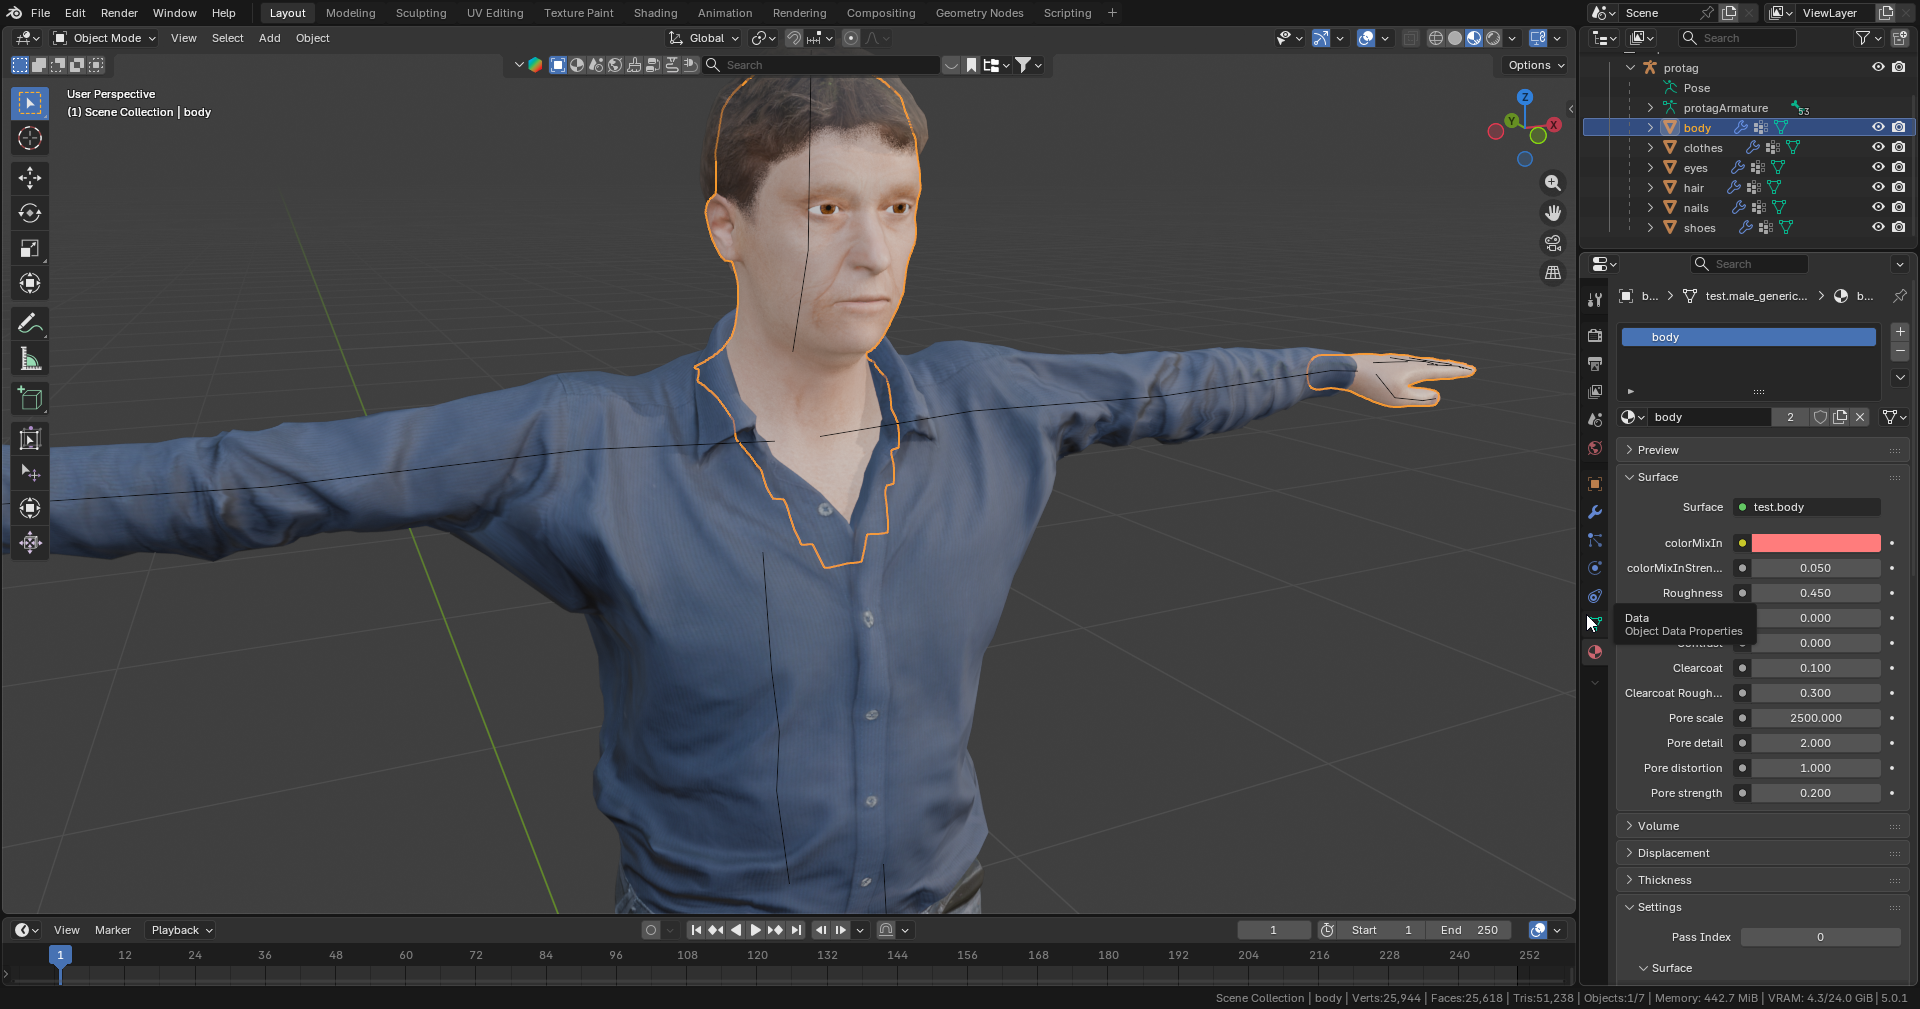
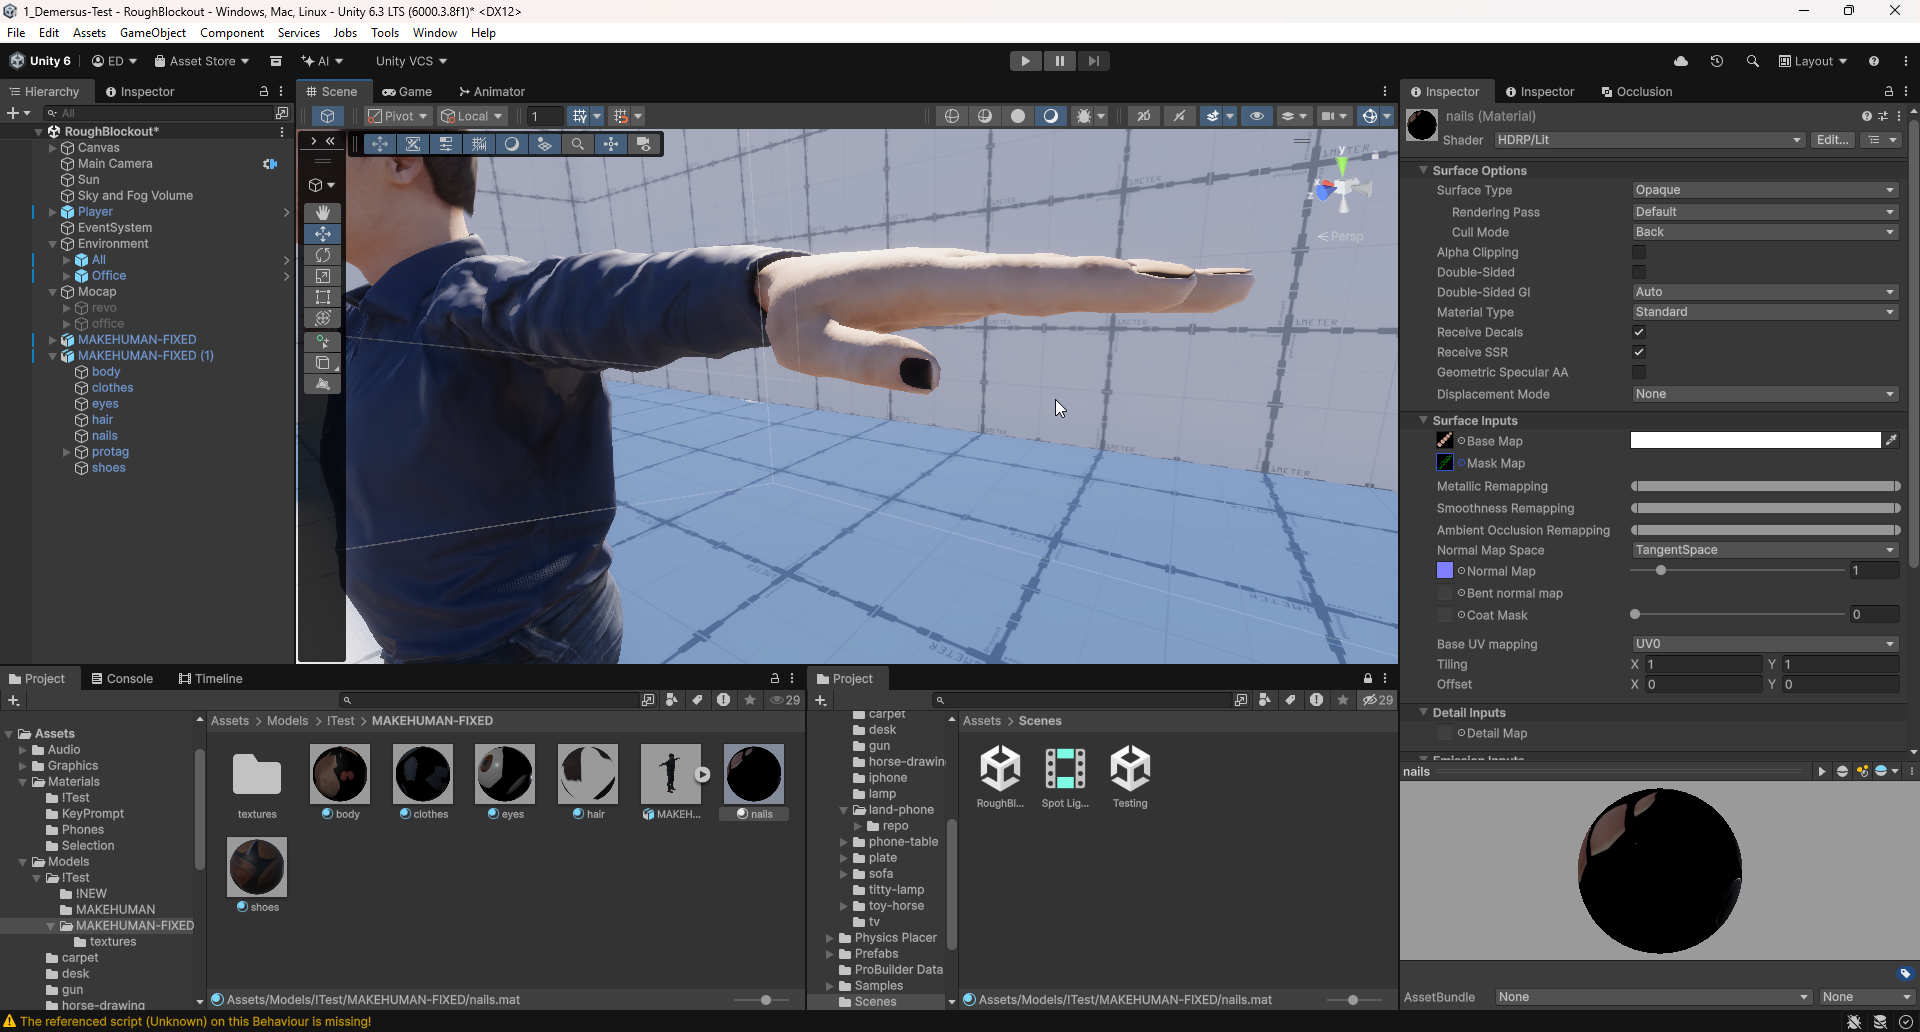
Small Mesh Fixes
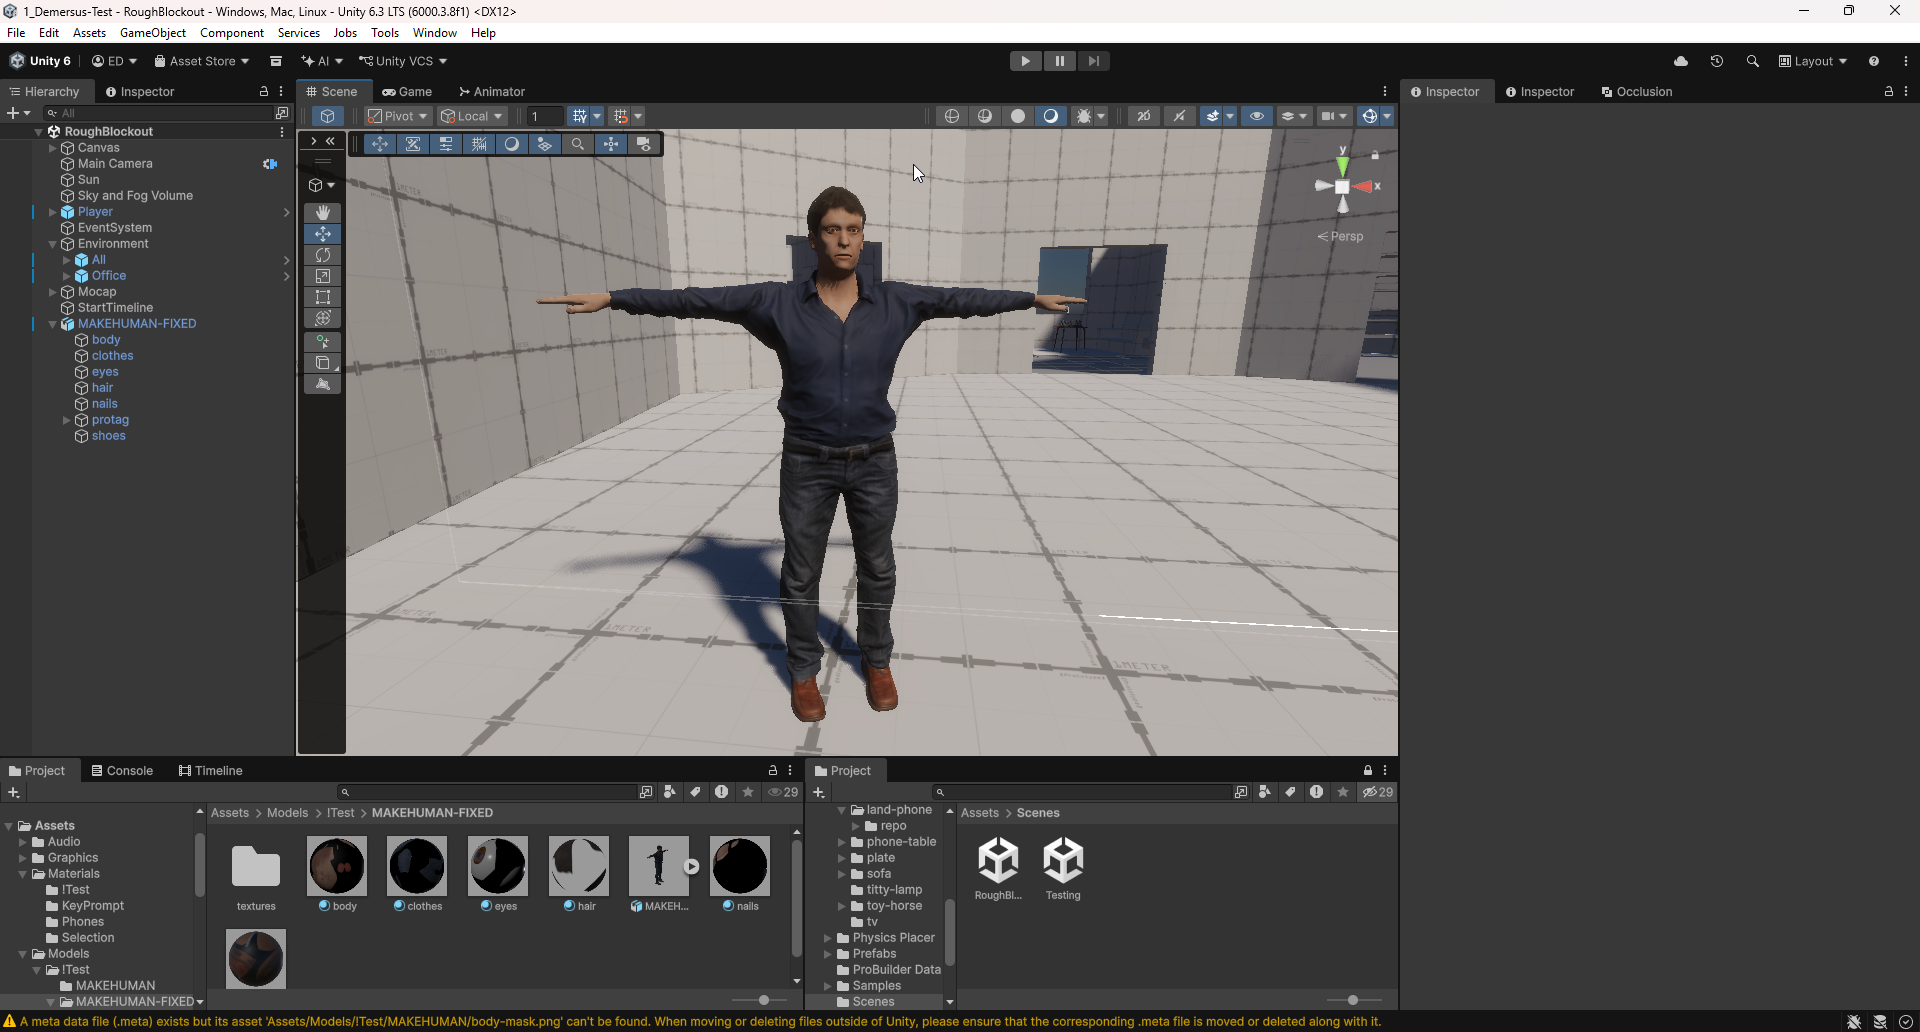
After everything was figured out with Mocap Fusion I came back around to fix up the MakeHuman avatar. Among other things I fixed how the body was hidden underneath the clothes, clothes clipping, geometry glitches, some weight painting artifacts (especially around the cuffs of the shirt) and finally fixed up the missing nails:
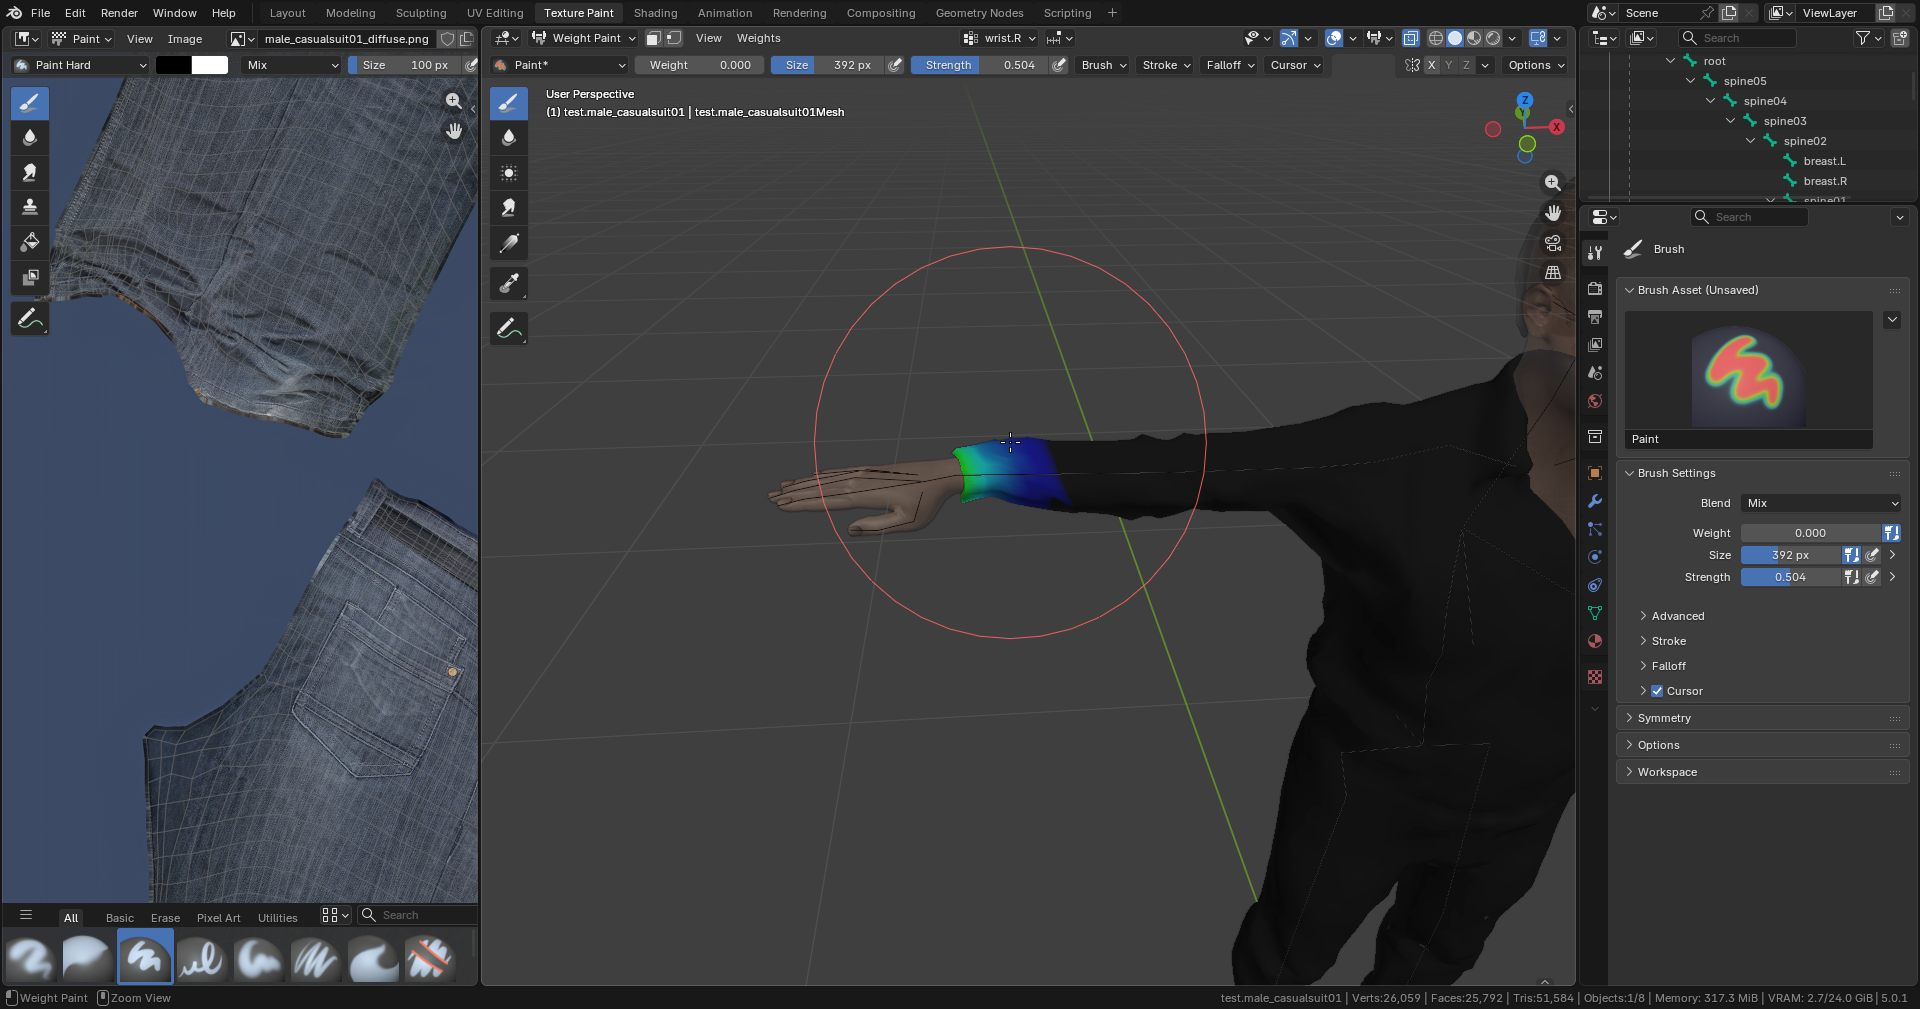
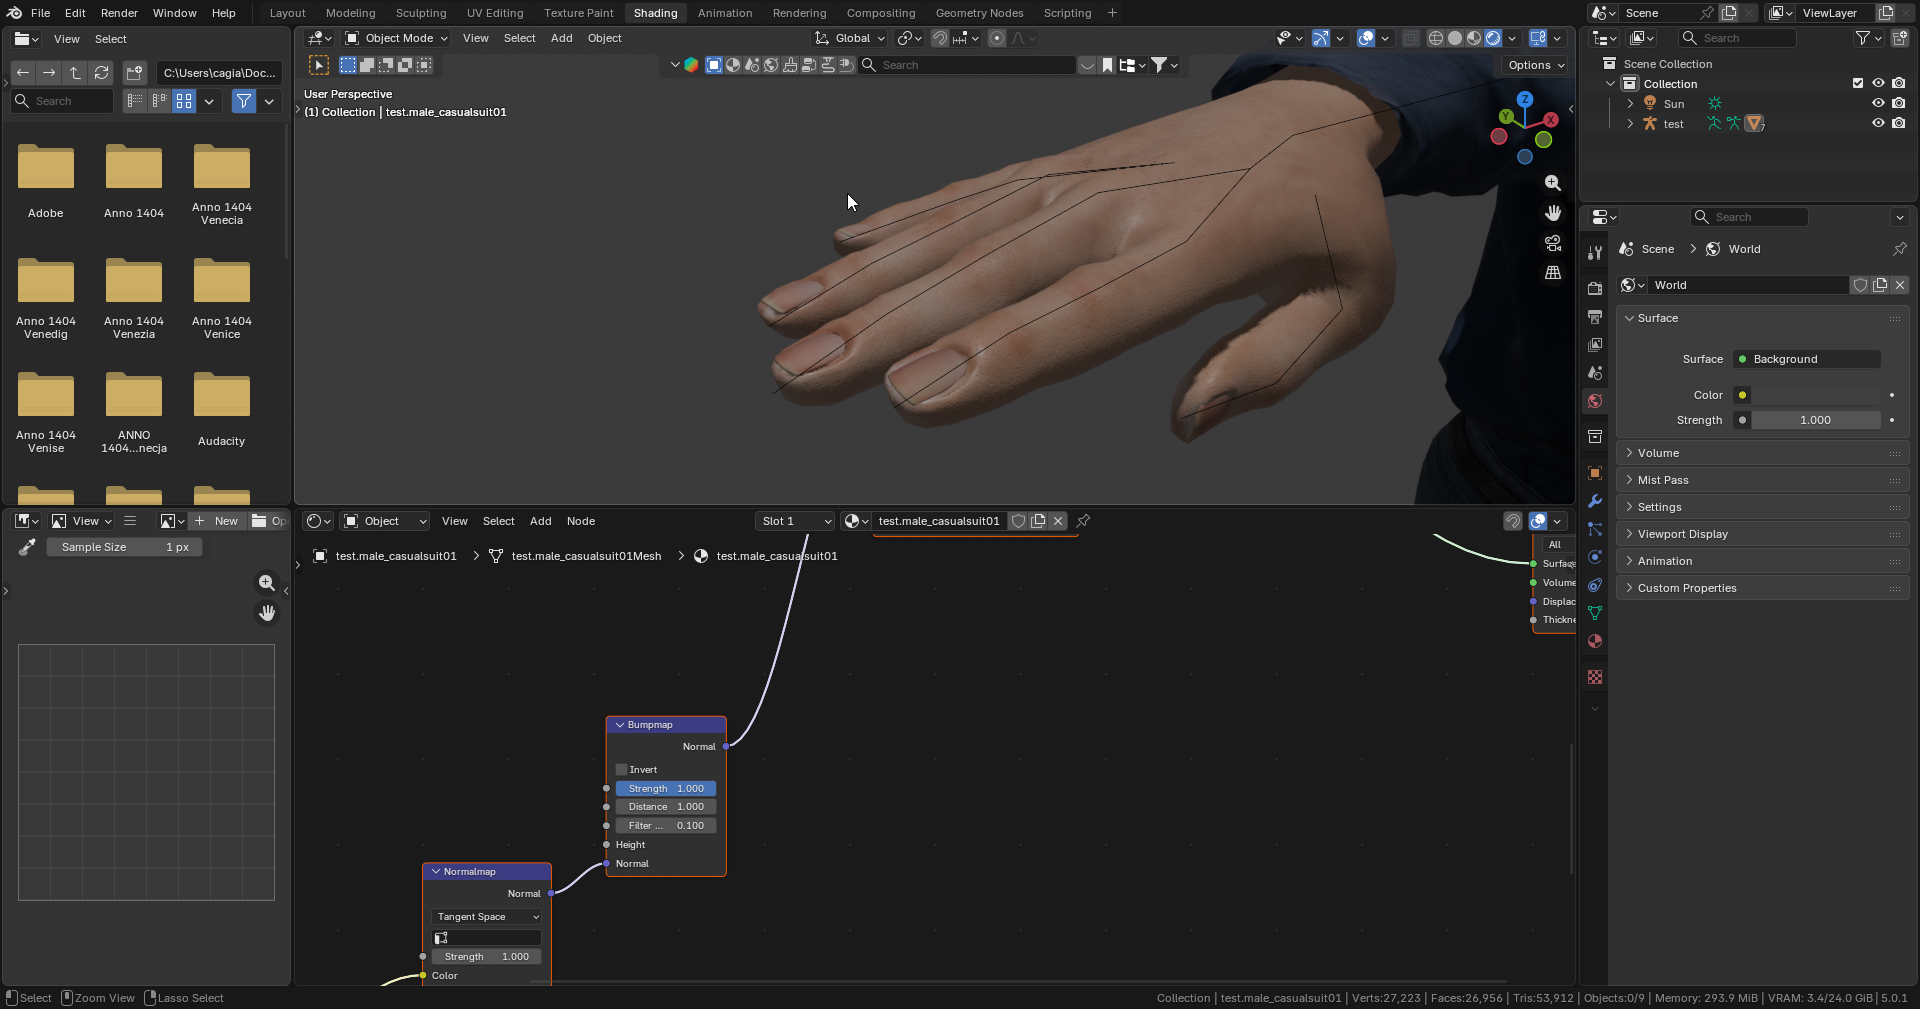

After all that was taken care of I re-baked and re-exported everything to prep it for usage in both Unity and Mocap Fusion (I also fixed a tiny black nails bug caused by the Ambient Occlusion texture that popped up in engine):
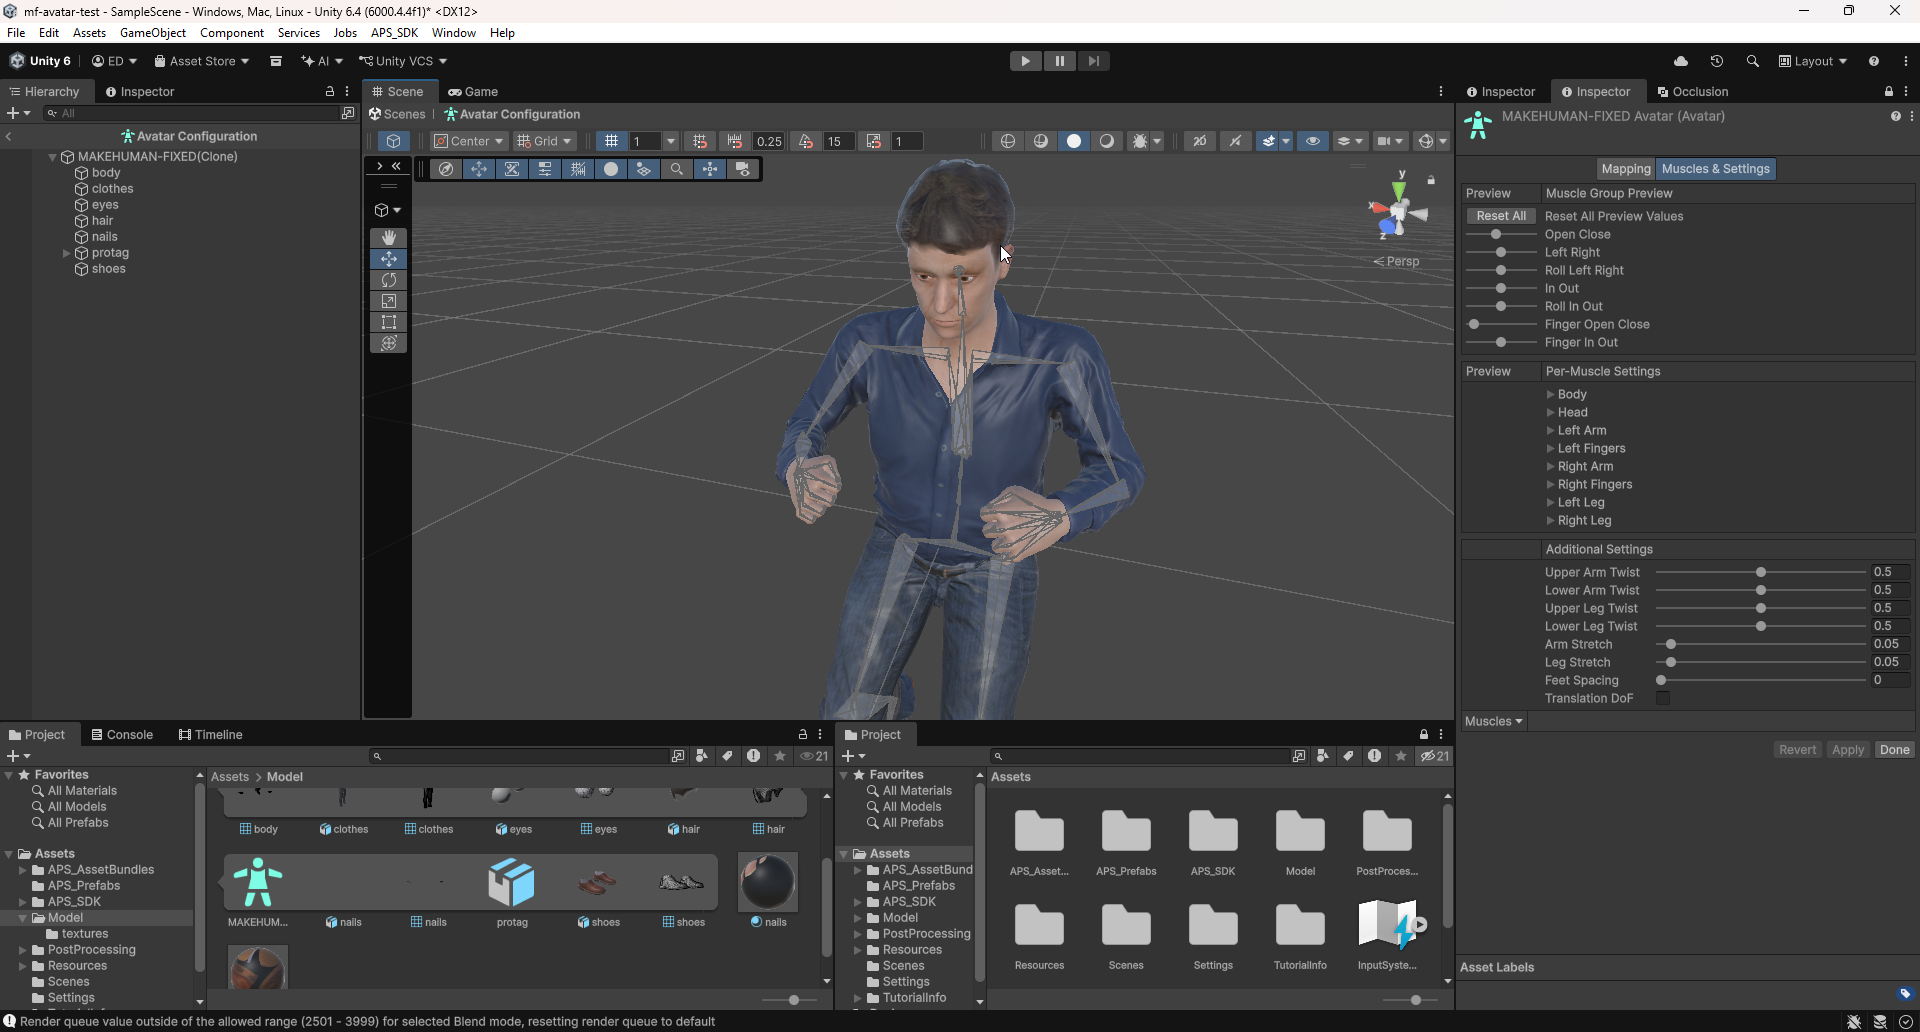
Here is how the final model look after importing in to Mocap Fusion with proper calibration:
Conclusion
Even though, in the end I managed to create and utilize a semi-custom humanoid character in our game through mocap thanks to MakeHuman, it’s not without it’s issues. Among other things, the main issues that bother me are the overall ‘dated’ look of the character, simplistic rig, poor quality textures, clipping and weight painting glitches and a problem riddled process.
Sadly, it looks like if you don’t want to pay exorbitant amounts of money, you don’t want to switch to Unreal Engine (where the MetaHuman system is native) and can’t create a fully custom character from scratch there aren’t many choices for you to pick from.
Helpful resources
Here I linked some helpful resources that I looked through during this process:
- How to use Metahumans in Blender FOR FREE
- NEW Unreal Engine 5.6 Metahuman workflow for BLENDER
- Unity - Mecanim humanoids
- MocapFusion - Importing Avatars
- MocapFusion - Importing Custom Avatars
- MocapFusion - Luxor mocap avatars from .FBX using APS_SDK - VRCMods tutorial
- MocapFusion - Adding Microsoft-Rocketbox avatars to Mocap Fusion VR LUXOR
- MocapFusion - Mixamo mocap avatar - Tutorial
- MocapFusion - Speed Build3
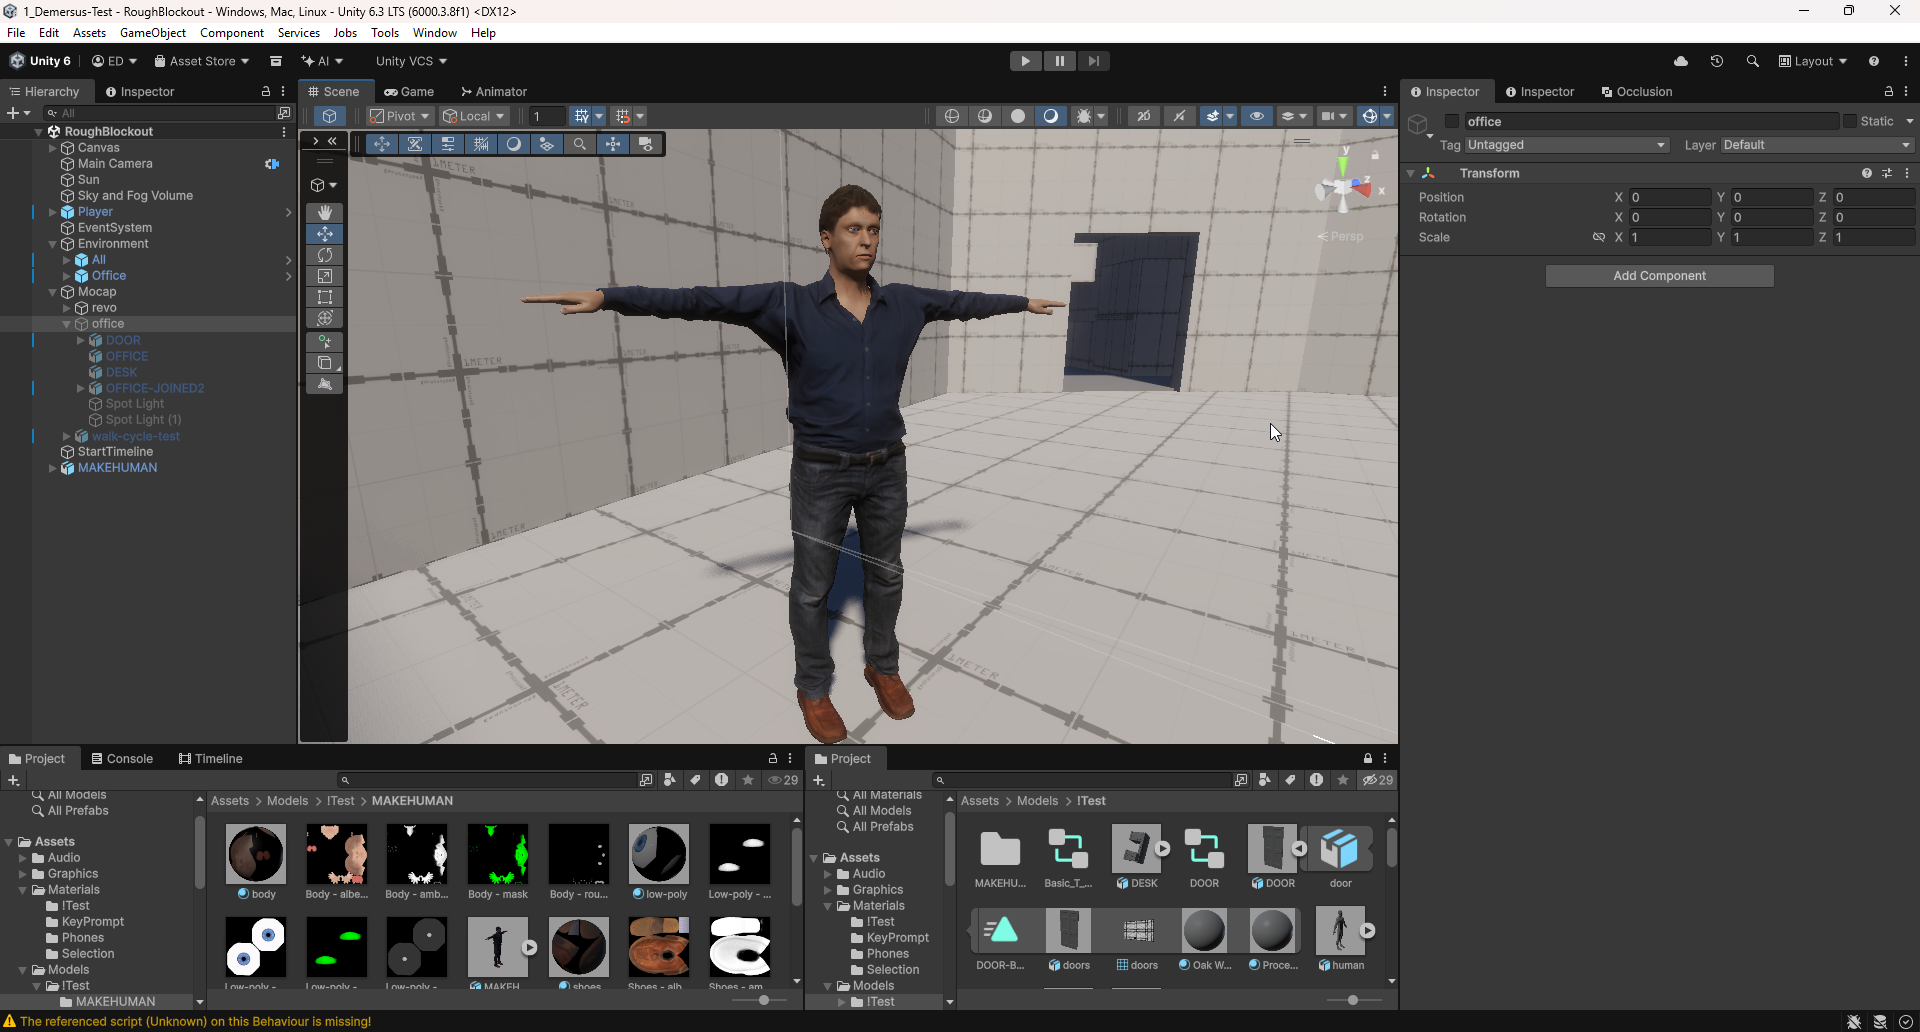
Trying to Use a Master Rig in Timeline
Of course, in order for this to have a chance of working, you need the ‘master’ and animation rigs to be the exact same!
The ‘master rig’ and animations are both exported using the Mocap preset, however the ‘master’ is both Armature + Mesh (Animation OFF) where as the animation is exported as Armature (Animation ON)!
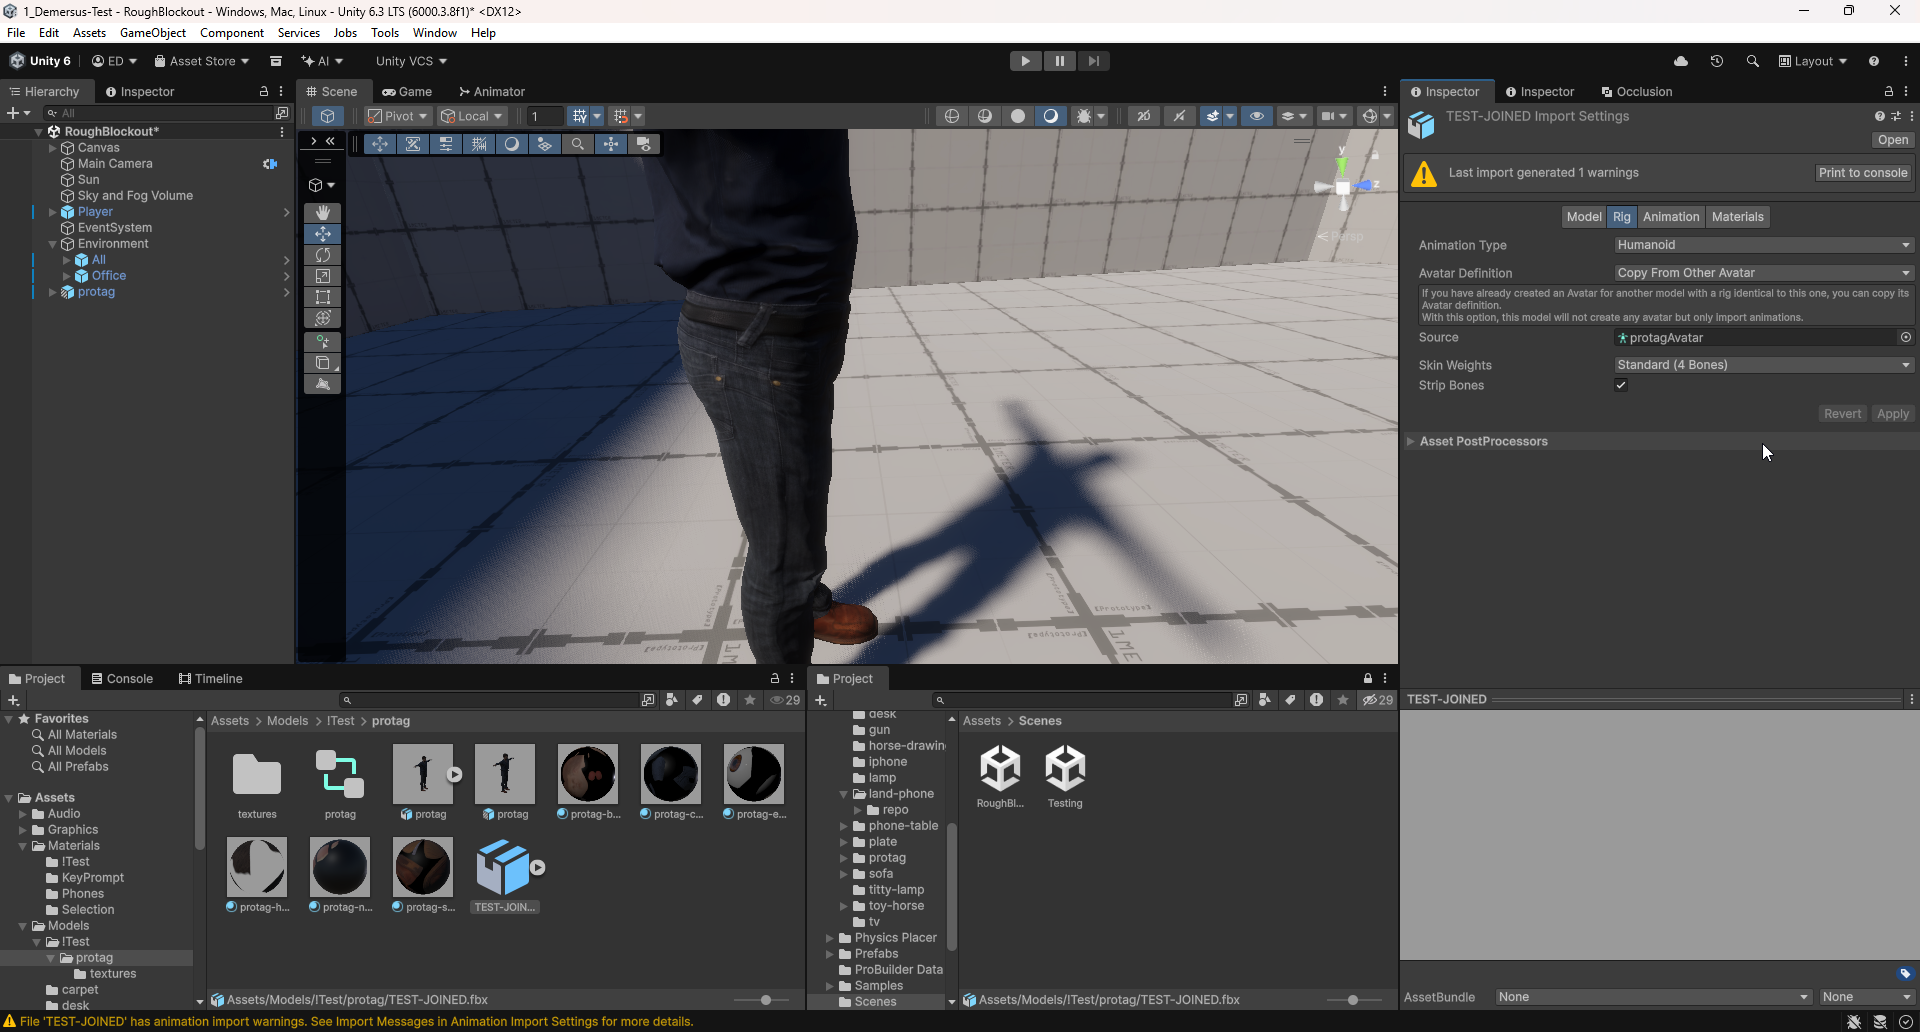
Another approach that I really wanted to get working, but in the end got away from, was using a single ‘master rig’ (meaning, a single ‘master’ mesh + armature FBX of the humanoid protagonist) for all cutscenes and other gameplay and having separate, only animations FBX files imported in to the engine.
This was done by creating a Humanoid
Avatar
from the ‘master’ (to explain to Unity how the rig is supposed to work) which later gets
set as the Source for the only animation FBX files. Next, with either the
Animator ; Timeline editor or even just an Animation Controller component,
playing the separate, only animation FBX files on the master rig:
If you’ve done things correctly up to this point, in order to have the position and movement
of the character be appropriately represented compared to the origin point, you have to
change the Root Transform Rotation ; Root Transform Position (Y) and
Root Transform Position (XZ) settings like so in the Animation
section of each animation only FBX file:
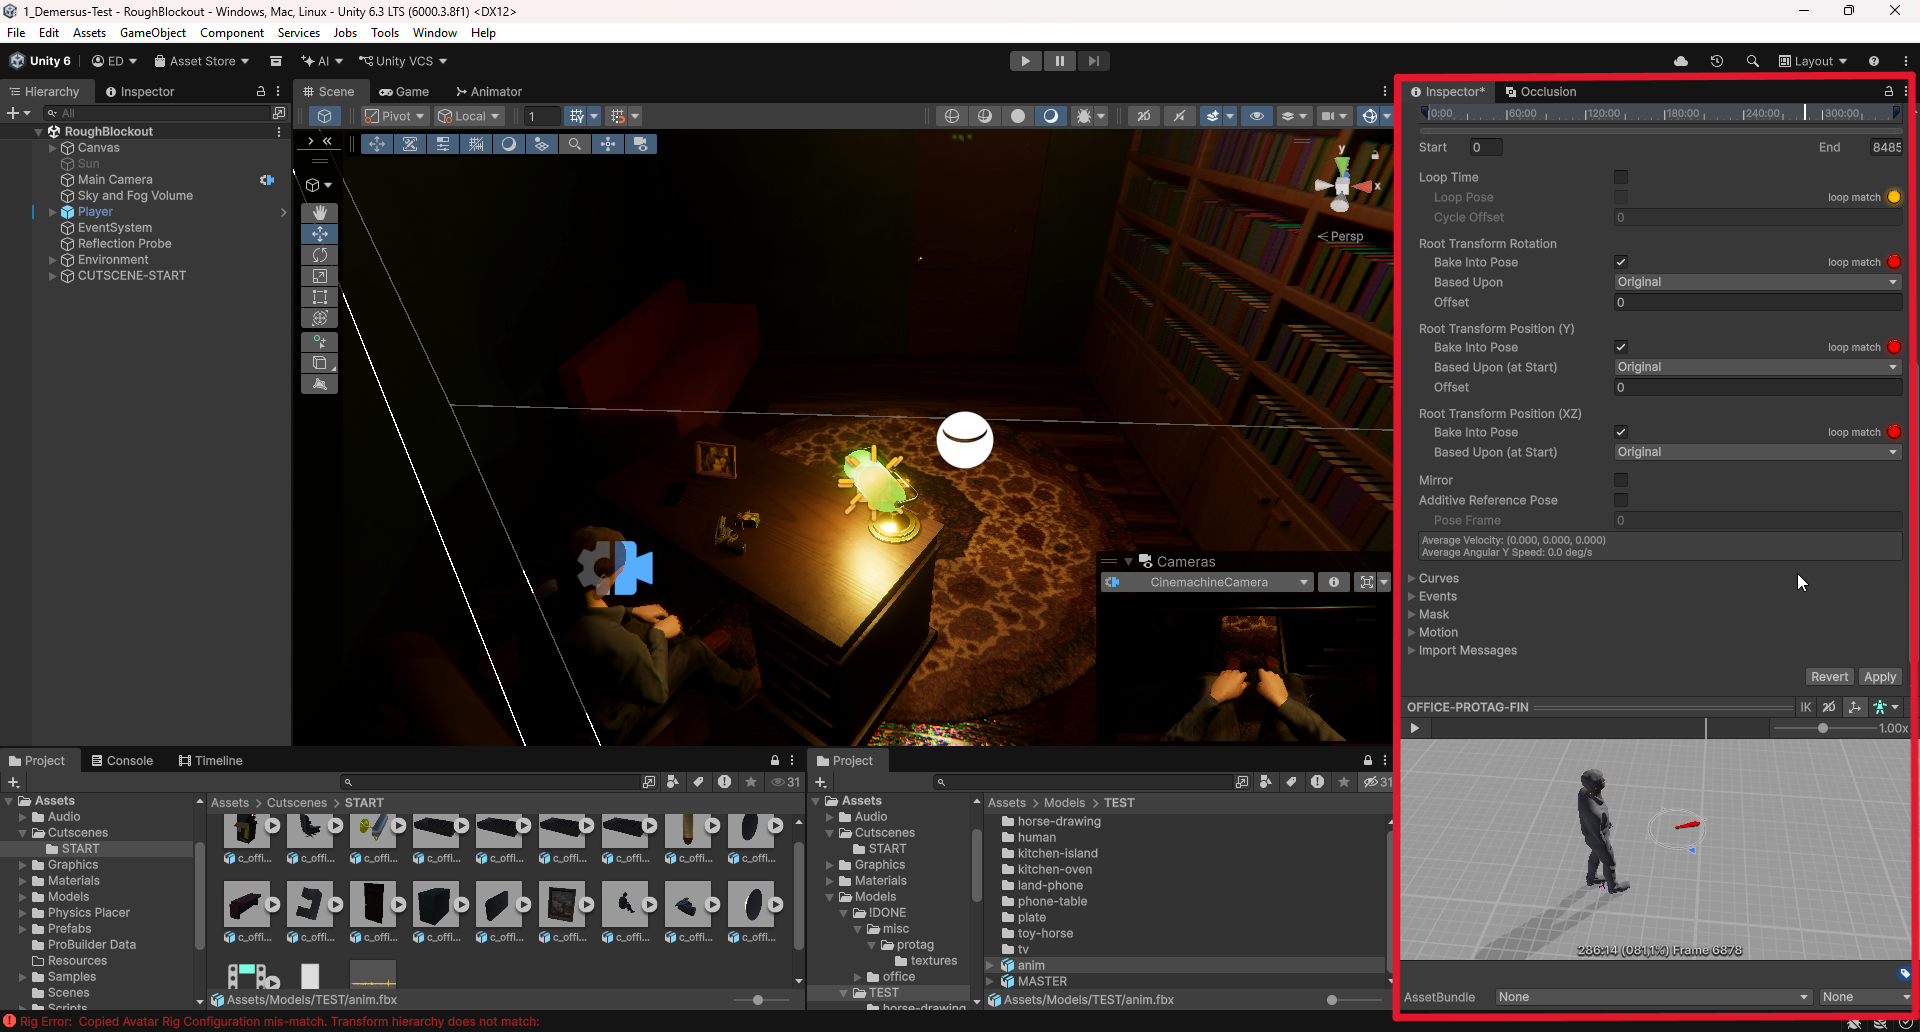
Sadly, finicky t-pose calibration plus slight scaling issues caused by Mocap Fusion,
the missing bone problem with Generic rigs (objects), and most likely (in some part),
my lack of knowledge, pushed me to get away from this admittedly more
streamlined and cleaner approach to having a separate mesh + armature ‘master rig’
for each animation sequence as otherwise I’d be having some of the issues I described
below (in the actual pipeline) with things like positioning mismatches and so on:
Floaty Animation Issues
A peculiar issue I’ve run in to that surprised me quite a lot was animation ‘artifacts’ or ‘glitches’, where, even though the animations looked correct and aligned perfectly in Blender they looked somehow ‘offset’ once imported in to Unity:
After doing some research I’ve found out that two things were at fault:
- Blender’s Export = In Blender’s FBX export settings, the Simplify parameter (under the Animation section) not being set to
0.00. - Unity’s Import = In Unity’s FBX import settings, the Anim. Compression parameter not being set to
OFF.
From what I understand, these algorithms join forces in both pieces of software, to simplify the animation (reduce the amount of keyframes) causing the movements and positions of objects to be slightly offset / delayed, ‘out of whack’ to one another (especially as in out pipeline every object has a separate animation track).
Of course, I also wrote about how to avoid this issue in the actual pipeline.
Cutscene Progress Stages
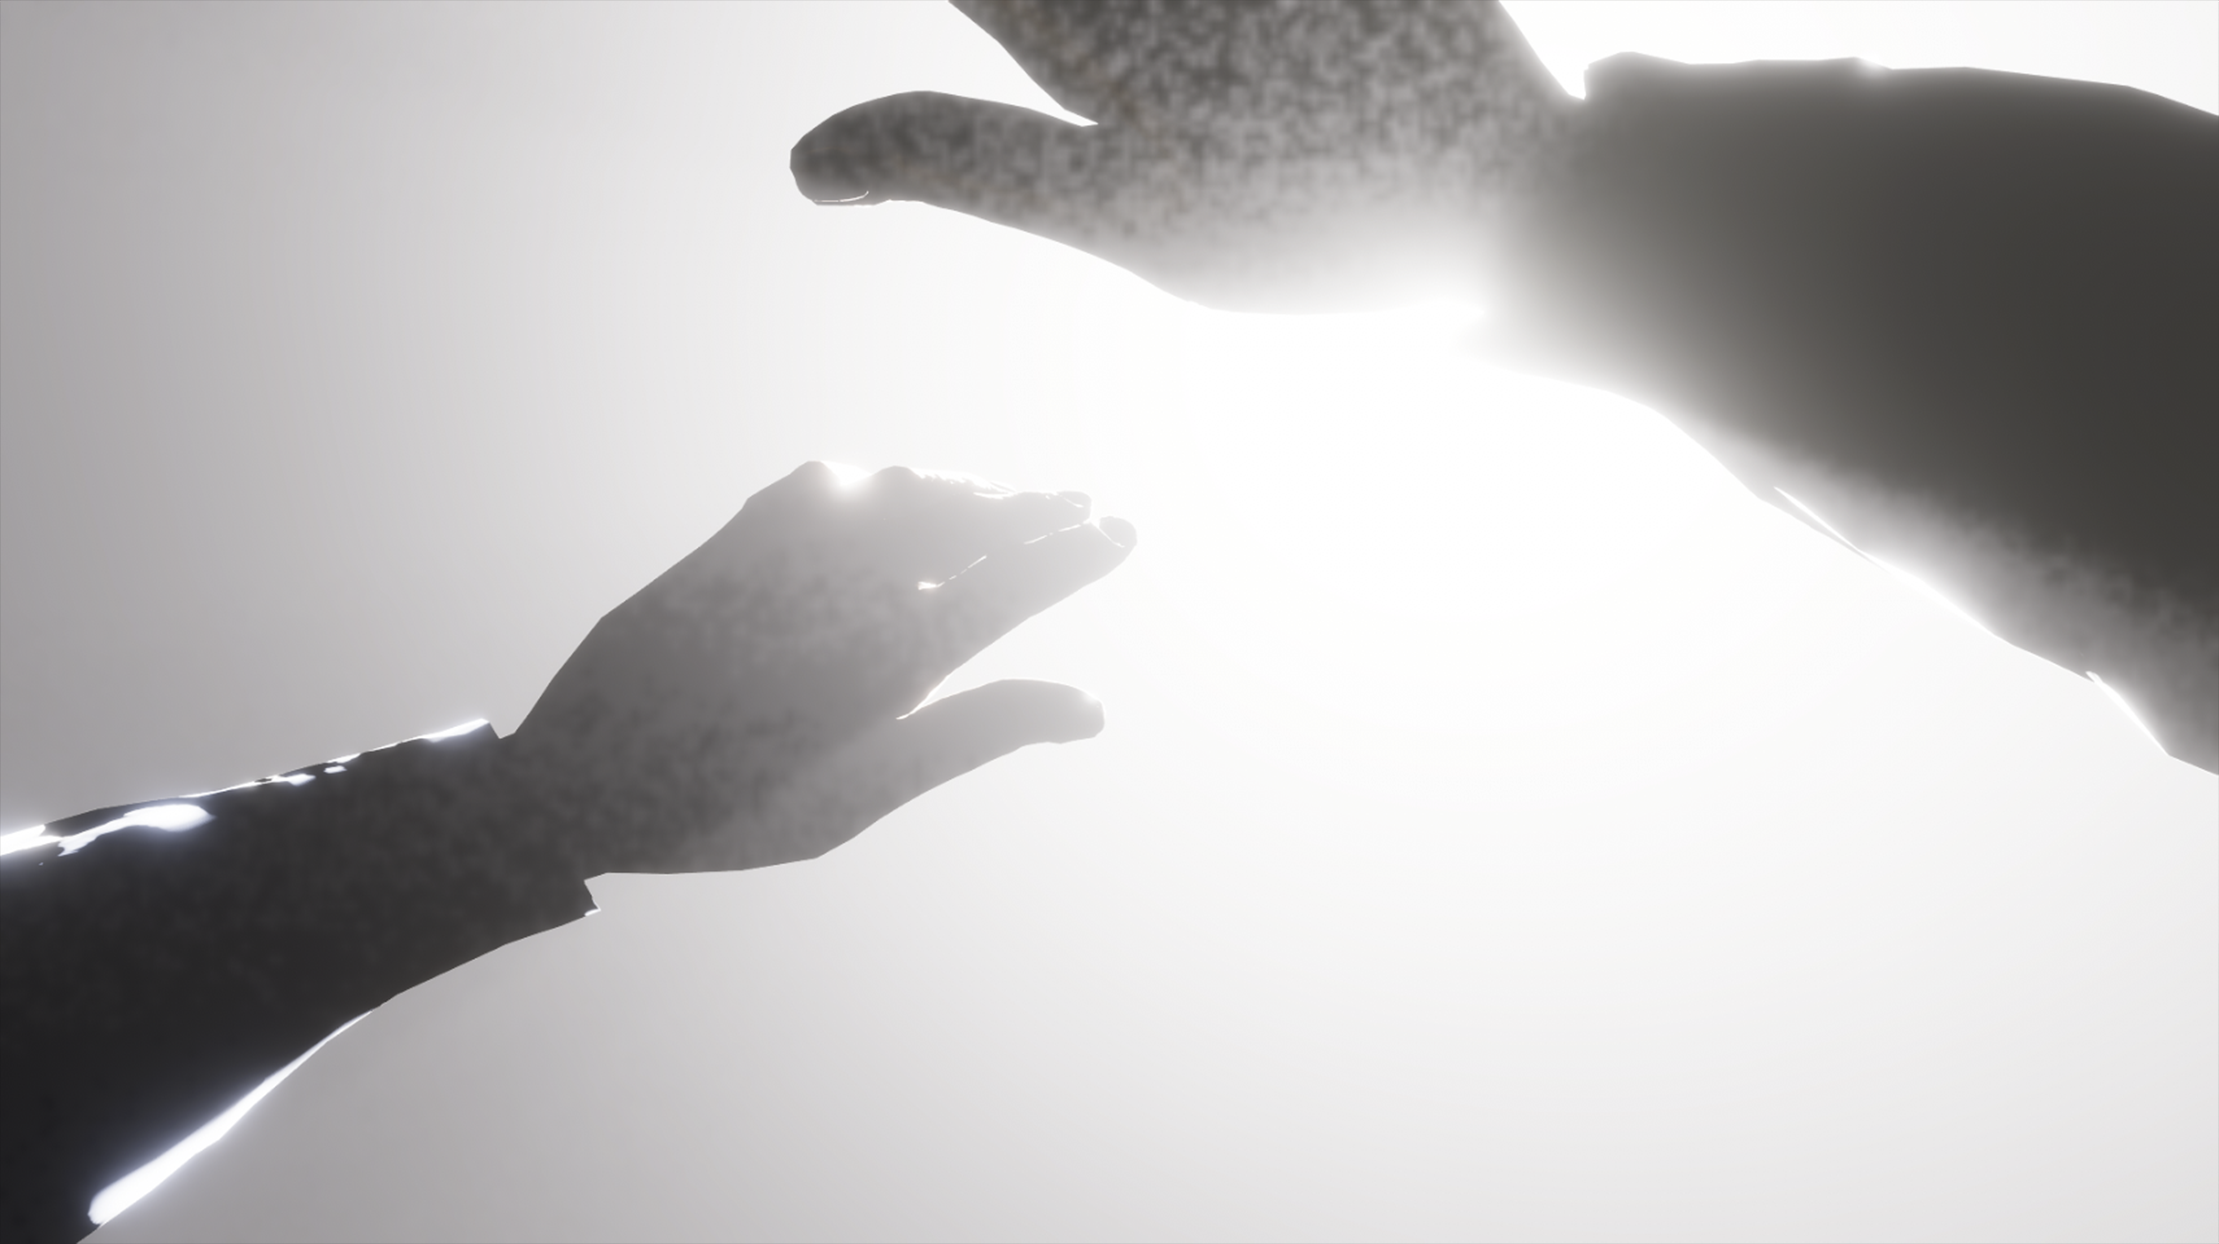
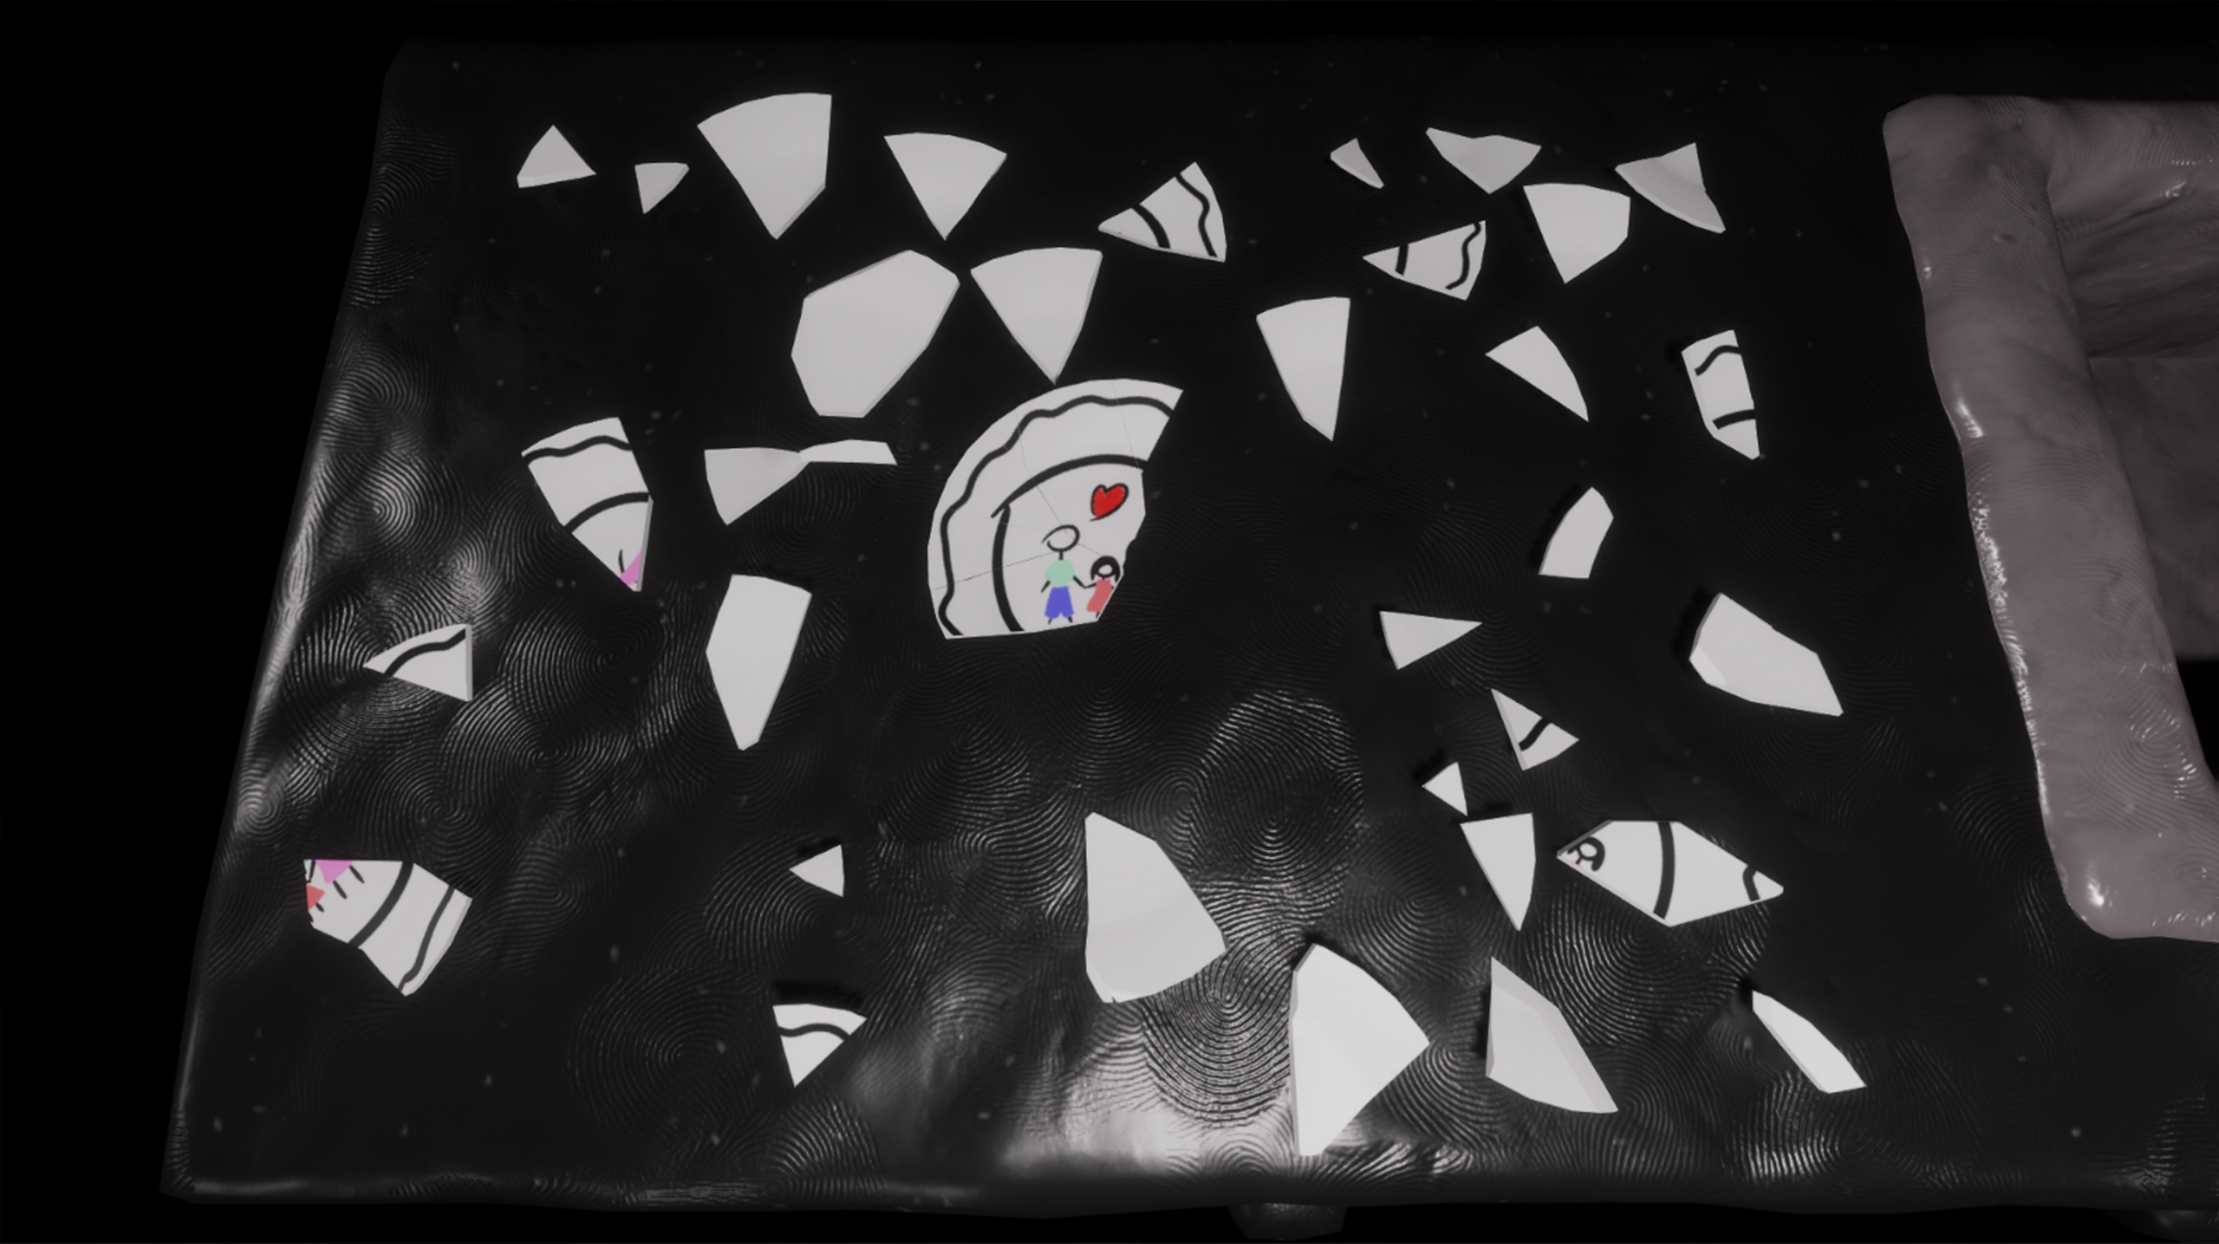
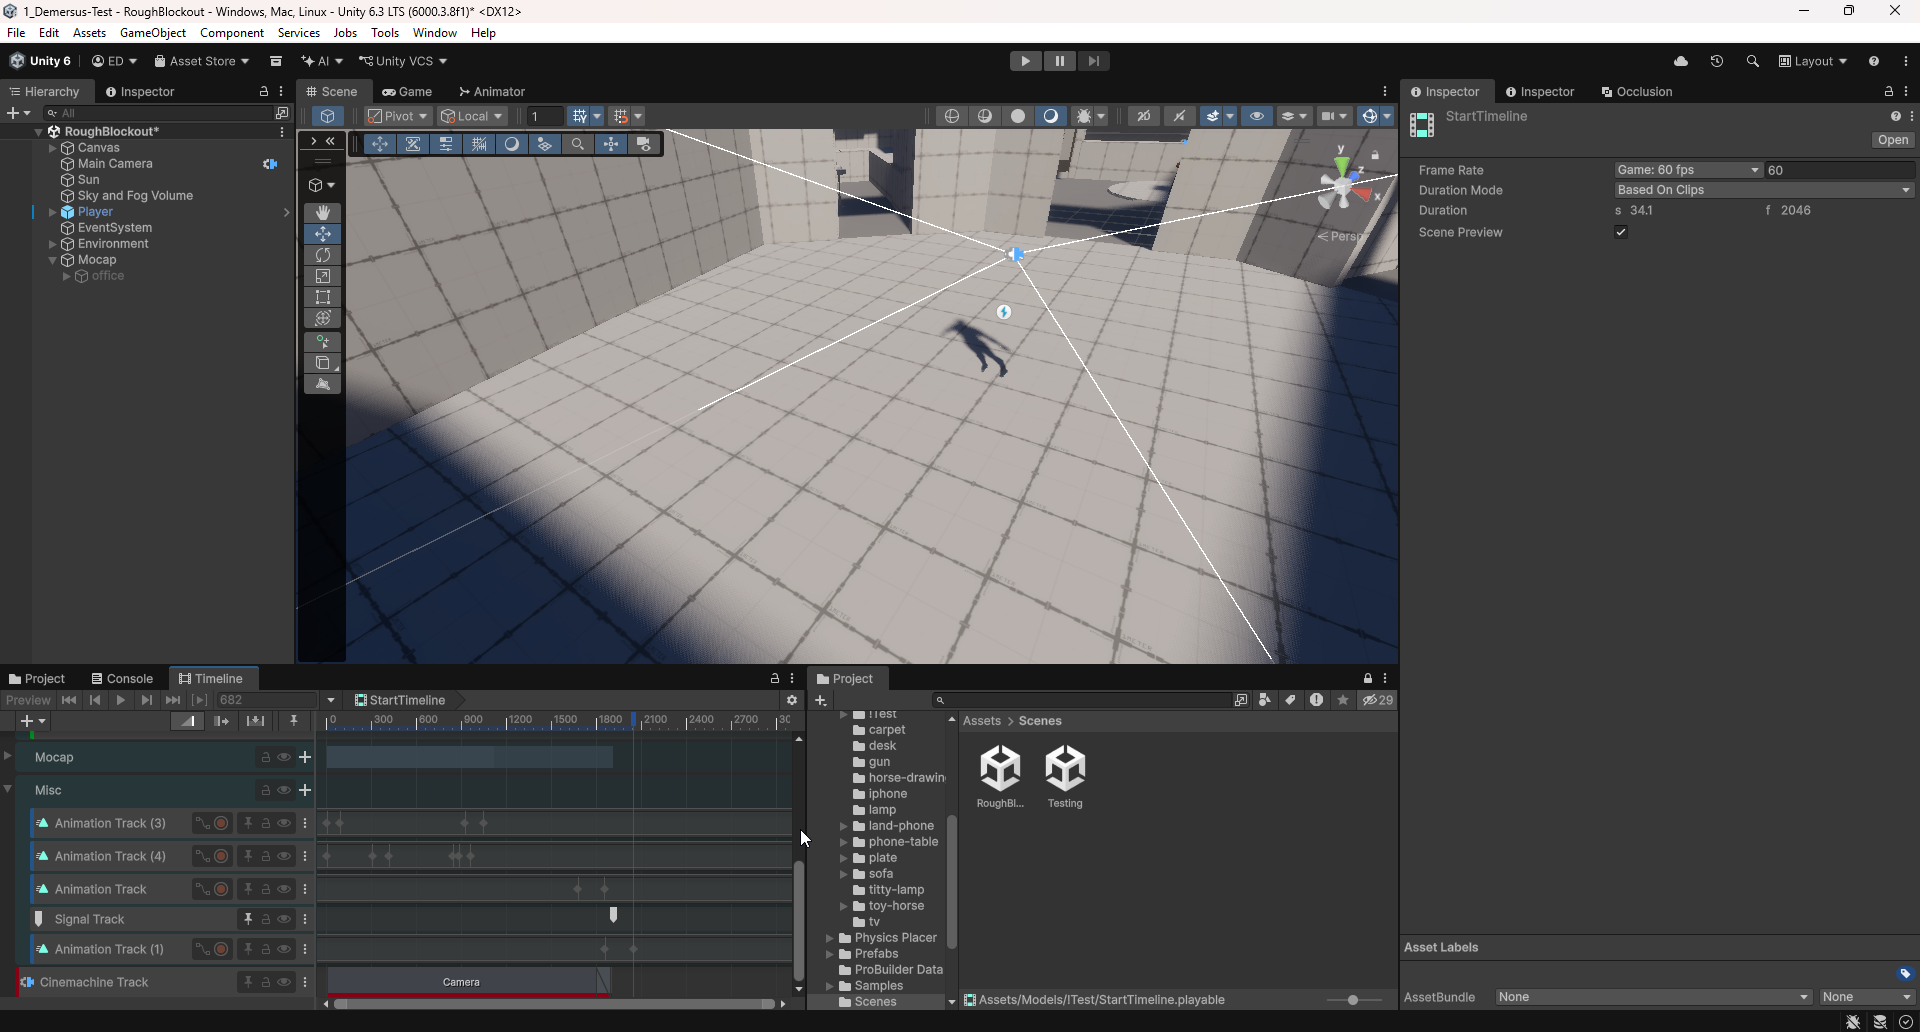
This section might seem a bit out of place, but I really like the progress videos I’ve amassed over this process so I wanted to also include them (in chronological order) as I found them really interesting, here they are:
Mocap Pipeline
Keep in mind that this process is NOT how AAA would do it, but it’s the best we can do and if I may say so myself very impressive for the manpower and cost!
Because of time constraints, tight deadlines and not a lot of manpower, this pipeline is a summary of a lot of research and trial and error that went in to figuring this all out. There was a lot more content, but sadly I simply didn’t have time to go through all of it in detail, but nonetheless, this should hopefully be sufficiently informative.
So, without further ado, this is the whole pipeline for the process of recording, cleaning up, and importing VR based, motion capture animation in to the engine.
Overall Process
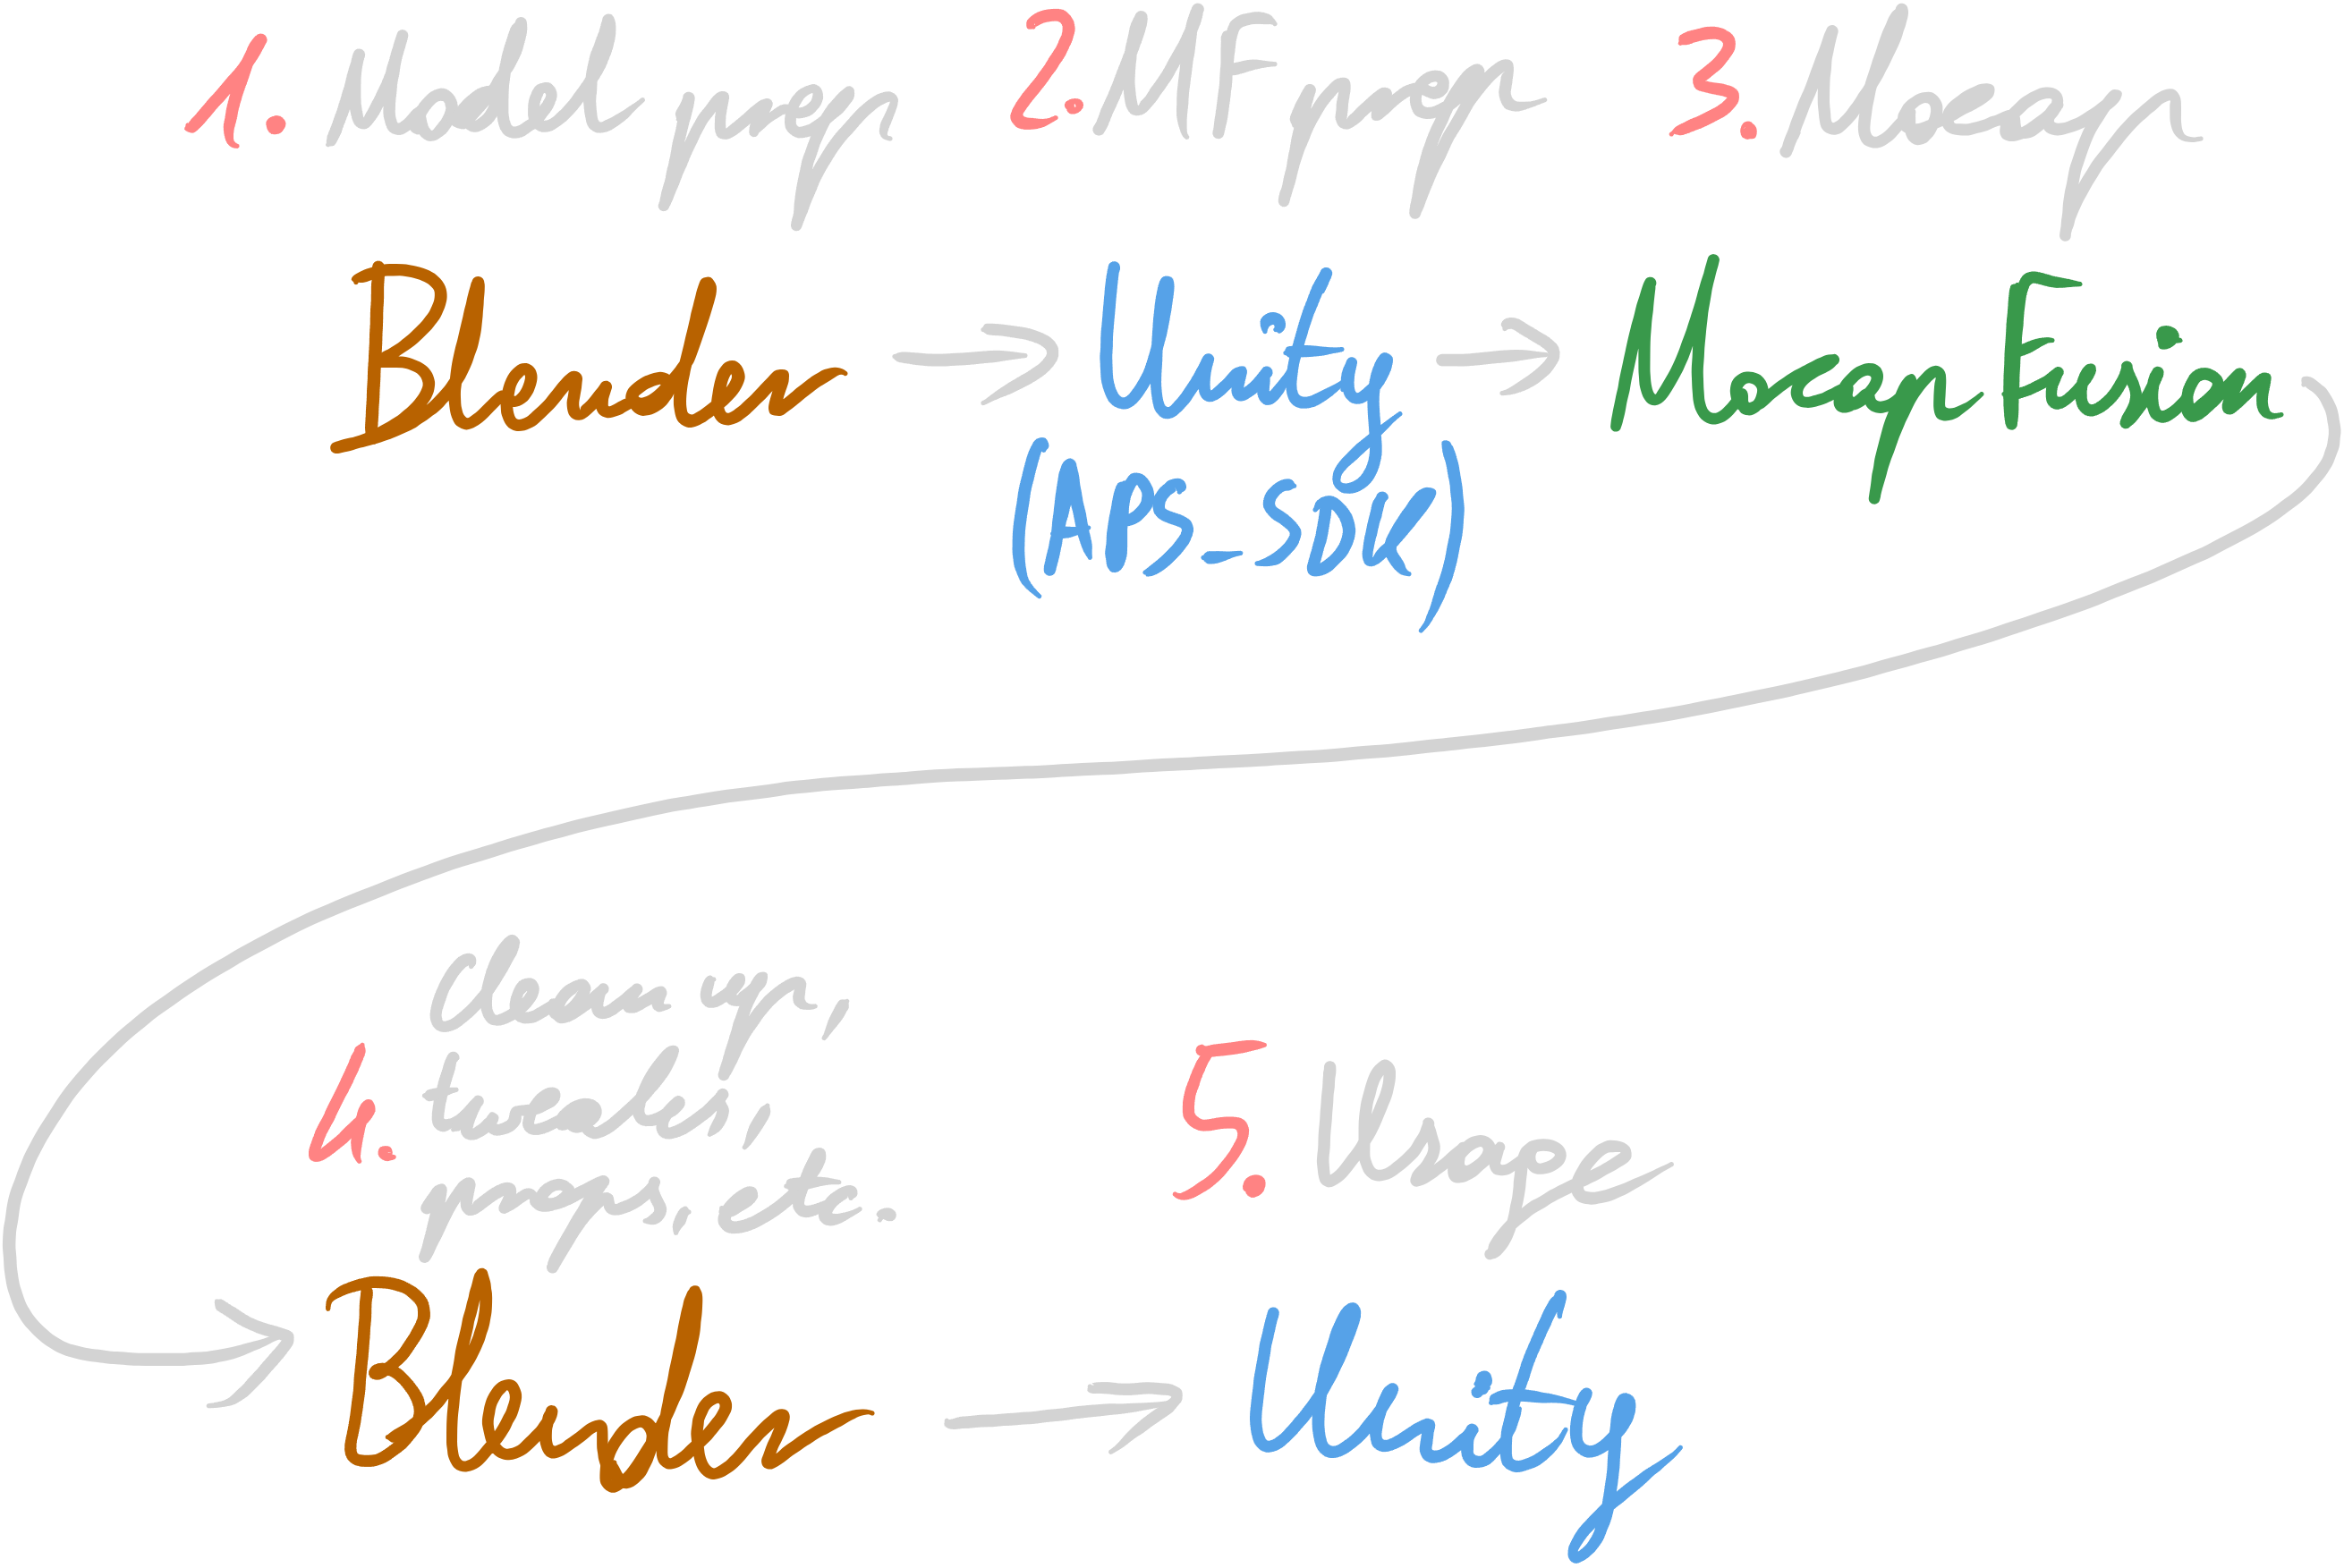
If we zoom out, the process consists of a few stages (shown in the image above):
- We start out by creating, texturing, rigging etc. our assets using Blender
- Next, we using Unity with the APS_SDK we prep the assets to work in Mocap Fusion
- After that, we perform the actual motion capture using VR in Mocap Fusion itself.
- When we’re done, we export each sequence in to a .bvh file, where we load up the motion capture data. Those get joined, cleaned up, tweaked and baked in a new Blender file.
- After exporting each model as an FBX file with both animation and mesh, these get imported in to Unity and thanks to the way we do origins, easily combined together in the Timeline editor where the magic happens (things like post processing and so on to finalize everything).
Justification
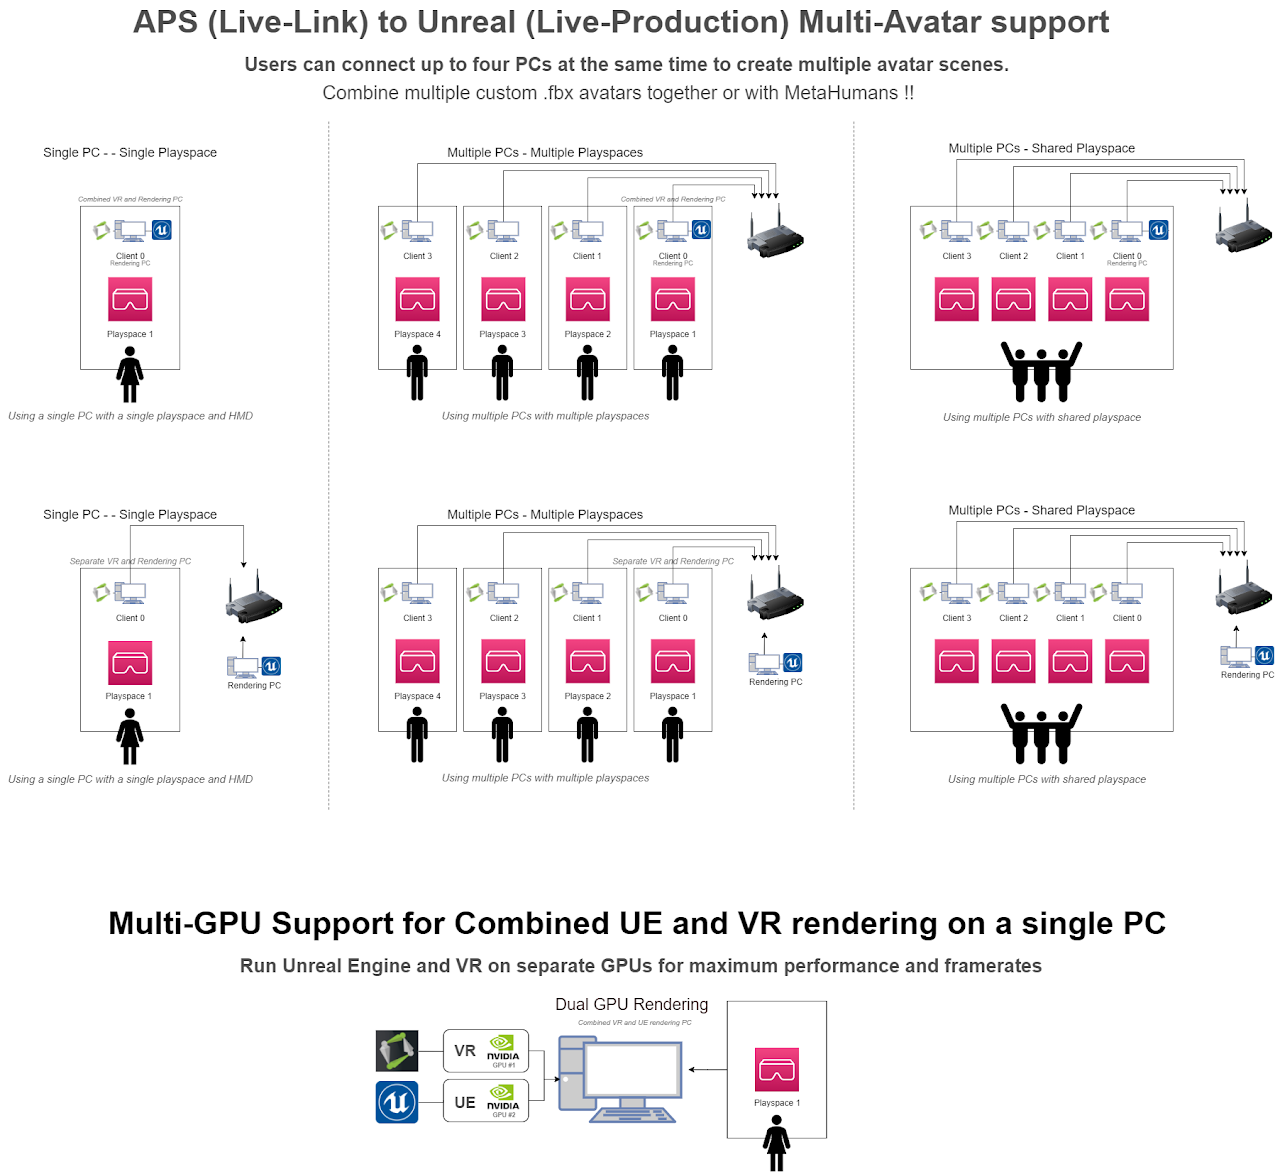
I’m aware that this approach is quite unusual, but it helps a lot with things like immersion, physical accuracy, and general scene reference, among other things. In my opinion, with additional funds, it could scale up nicely to even a multi actor setup, especially with how Mocap Fusion supports a multi-PC configuration as they describe in their docs.
Because of the fact, that we’re recording mocap directly on the same, exact model we’re using later, in engine, we don’t have to worry about things such as retargeting, misalignment and so on. Even though it may seem like extra work in the beginning, it ensures that distances, proportions, scale, movements and so on, match up correctly.
1. Prepping for Mocap Fusion
This step involves taking models / rigs made in software such as Blender, MakeHuman, etc. and with the help of the APS_SDK setting them up to work correctly, so we’re able to use them in Mocap Fusion.
This step is quite simple (aside from doing a custom avatar rig), so the only tip here is following Mocap Fusion’s docs and my findings in the Mocap Research section .
Avatars
Just as we did, you can also setup your own, custom avatar rig, and even though, at first glance the docs might seem extensive (they aren’t really that helpful) so, this is quite a problematic process (I wrote a bit about the issues we faced in this Mocap Research section ).
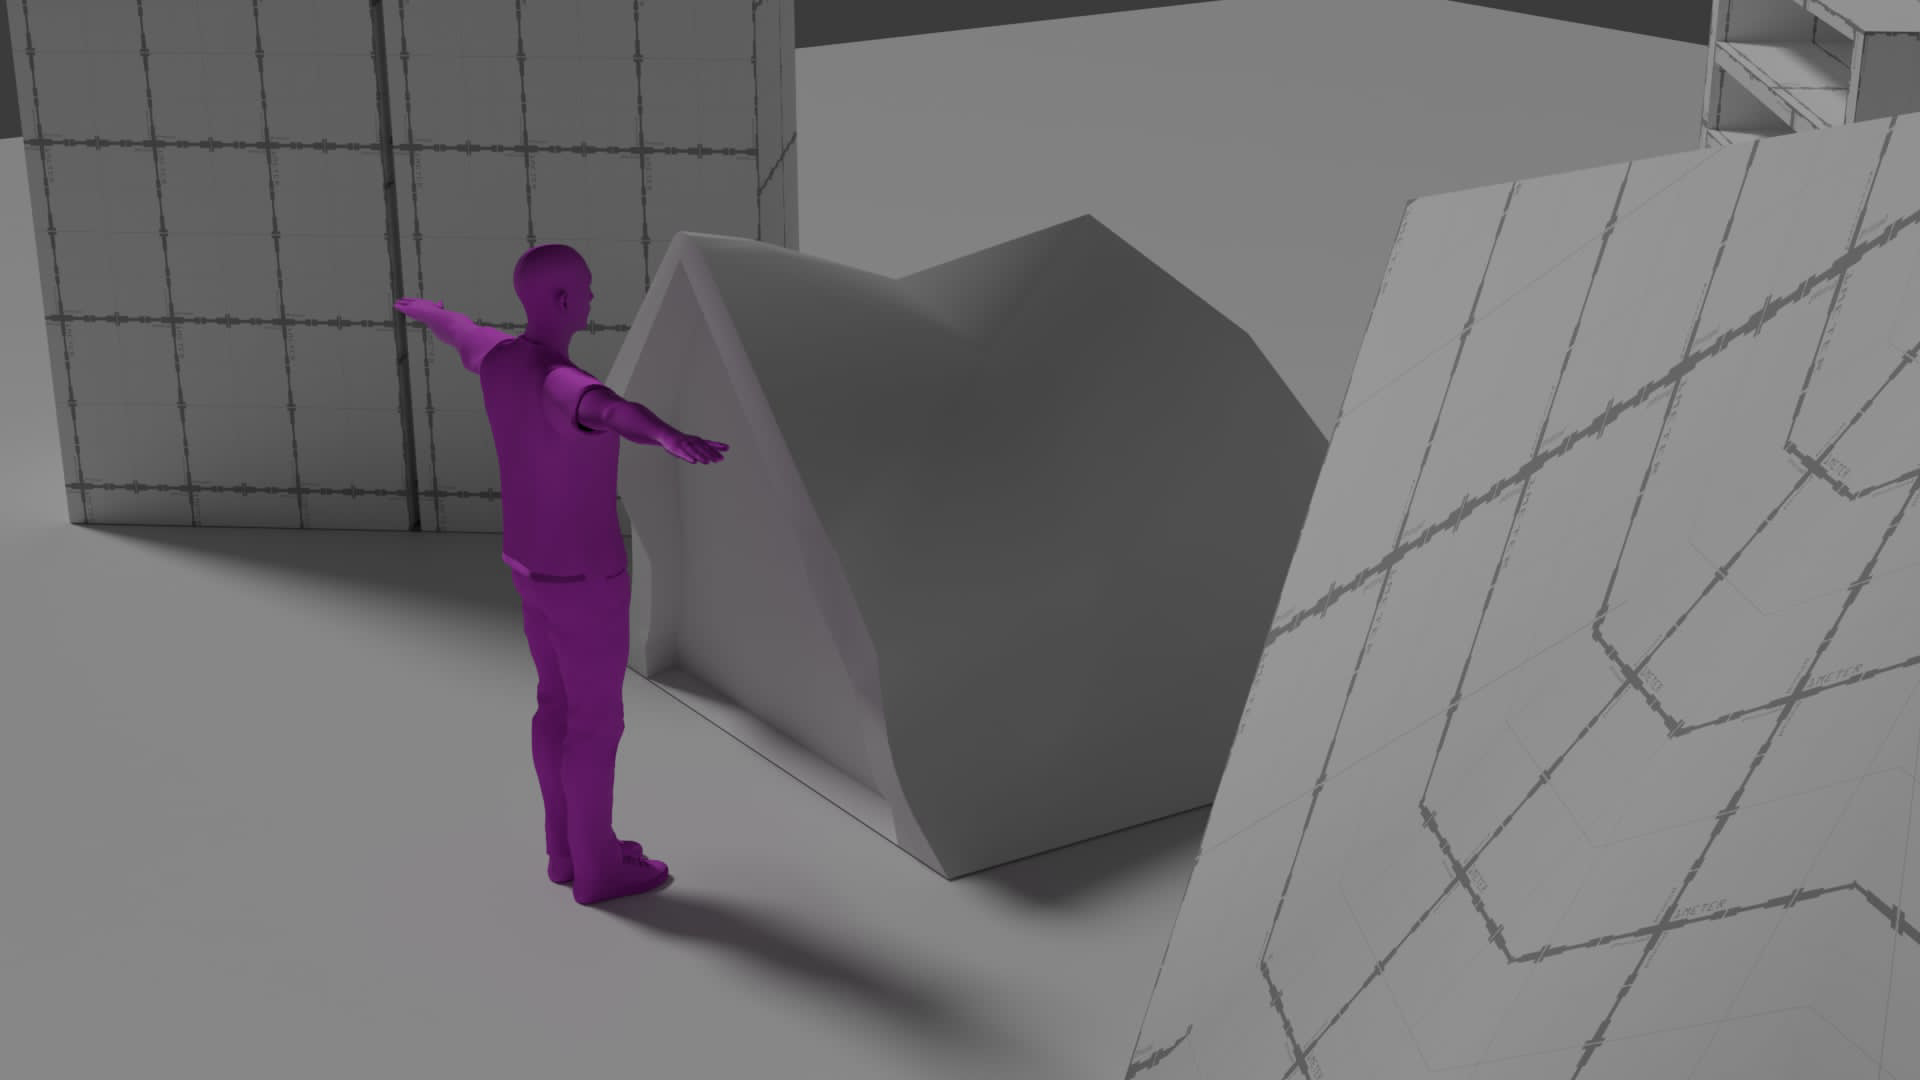
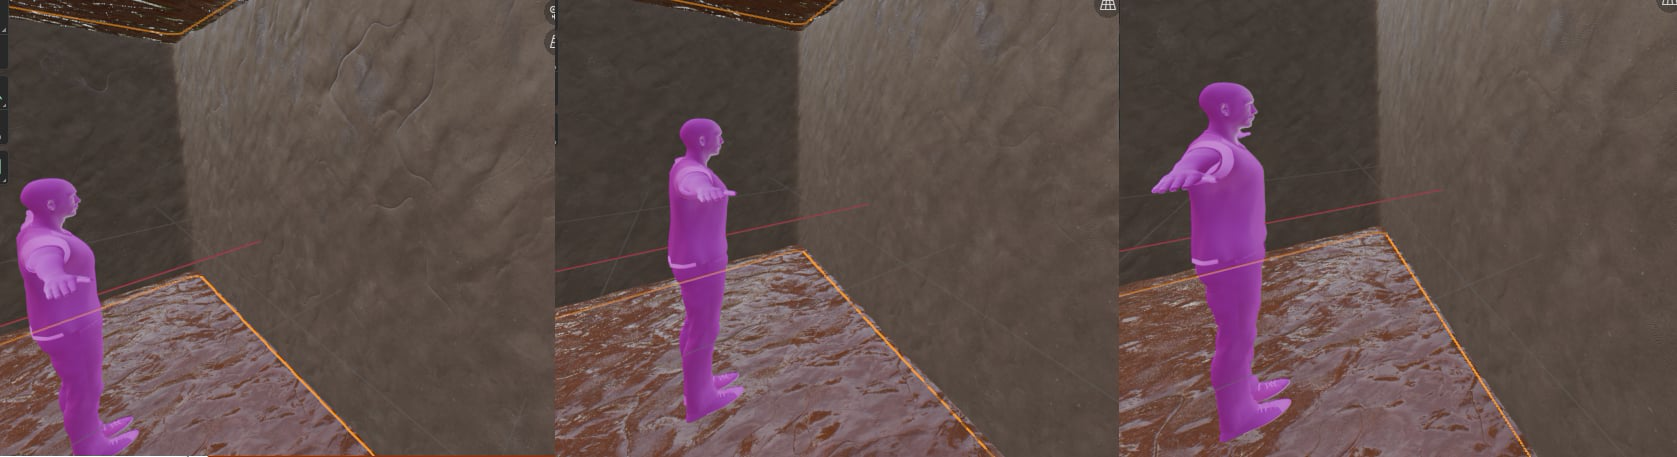
Scenes
Scenes are the environments the animation will take place in and can help you get more immersed and physically align with different objects in the space, you can quite easily just select and export a bunch of models from your environment file in to a single FBX and import them together in to Unity. Then, make sure it’s aligned to world origin. Add a collider for the floor so you can stand and walk around and such (either simple or geometry based, check the docs for the best approach for you).
I wrote about how I did a scene setup in the Mocap Research section .
Props
Props can be useful to be held and for better movement alignment, however they can be
quite problematic when exporting and such, therefore, in my experience, it’s just better
to use them as reference, remove them later on and instead add them back in later in
Blender and use the Child Of Bone Constraint on the root of the prop (I go in
to how to do both of these things below).
Simple Animations
If you want to animate simpler things such as a door opening, even though you might be tempted to just use transforms, that won’t allow you to have the world origin offset, making things unnecessarily hard. That’s why I recommended using a simple armature with a root bone that sits at world origin and keeps the offset saved. Here is how to add one if your armature doesn’t have it:
- Select your existing armature.
- Go in to Edit mode.
- Press Shift + A.
- Edit the newly created bone’s values so it’s stretched along one axis.
- (Still in edit mode).
- Select the existing ’top bone’ of the armature.
- With Ctrl being held, select the new root.
- Press Ctrl + P.
- Select
Keep Offset.
2. Recording in Mocap Fusion
To be able to use the built-in Quest finger tracking to record realistic finger animations, you will have to switch to using one of many available wireless streaming solutions (such as
Meta Air Link
;
Steam Link
;
ALVR
or
Virtual Desktop
). I used Steam Link which worked okay but it did also have some annoying bugs. This WON’T WORK over a wired connection!
After you did it the first time, DO NOT REDO THE T-POSE calibration as it will throw the ‘master rig’ for the sequence your recording out of whack, not to mention tracker assignment issues and tracker offsets getting reset (this is a huge and unfortunate issue)!
There is technically a way to save a ‘Mocap Suit’ or ‘Lock’ the trackers to supposedly make setup easier after re-launch but it seems to be quite problematic.
I couldn’t find a way of using the hip tracker on the back (for example when you’re recording laying down on your stomach) without the knees bending backwars / in weird ways. So if you experience this behaviour, position your hip tracker on the front!
I’m not entirely sure myself how this happens (even after talking to Mocap Fusions’s dev, but beware of SteamVR Playspace movers such as
OVR Advanced Settings
as moving your Playspace around can cause significant t-pose calibration issues ; though, to be fair this is very finicky overall)!
Depending on the situation and what you’re trying to capture, it may be beneficial to switch from the built-in optical finger tracking to the Valve Index Knuckles as they shouldn’t cause as many tracking glitches and jumps when recording more general animations such as walking for example where finger movements don’t really matter all that much / aren’t visible.
This is the step where we record our motion capture clips that later get exported and further processed later in to sequences. The idea behind this isn’t that hard however the abysmal UI and UX of Mocap Fusion, not to mention the awful t-pose calibration sure makes it a lot harder and more cumbersome than it should be… There are seemingly cool things you can do described in the docs, like actually functioning guns, exploding barrels, physical door and so on, but I haven’t used any of those in this process.
- Put on all your trackers and other VR gear.
- Launch your wireless VR streaming software of choice (I went with Steam Link).
- Open up Mocap Fusion
- Load the avatar you want to use.
- Load your preset (here is where you configure things such as wrist and hand alignment, arm stretching compensation, finger min / max values and much more).
- Do the t-pose calibration (if Mocap Fusion is bugging out just restart it and try again, you may also want to try configuring floor height first as well).
- Fix up your tracker offsets so the avatar looks correct when it moves (you can use the mirror to check that, remember you can use the lock icon in the right top corner to lock it).
- Load in your reference scene.
- Load in any props you might need (keep in mind you can edit things such as the prop getting stuck to your hand, the position of it and so on by pointing and clicking on the prop with your controller, which wasn’t mentioned in the docs btw).
- Place yourself correctly in the scene (you can use the built-in navigation for rough positioning and a Playspace mover for finer adjustment while keeping in mind whether you have enough space for the action you want to perform).
- Record a clip (make sure you don’t have the menu locked with the padlock so it disappears) and after you’re done (before pressing end) export to BVH, open it, load the mocap and make sure everything is good before pressing end.
- Now you can go on to record another clip until you get all of them.
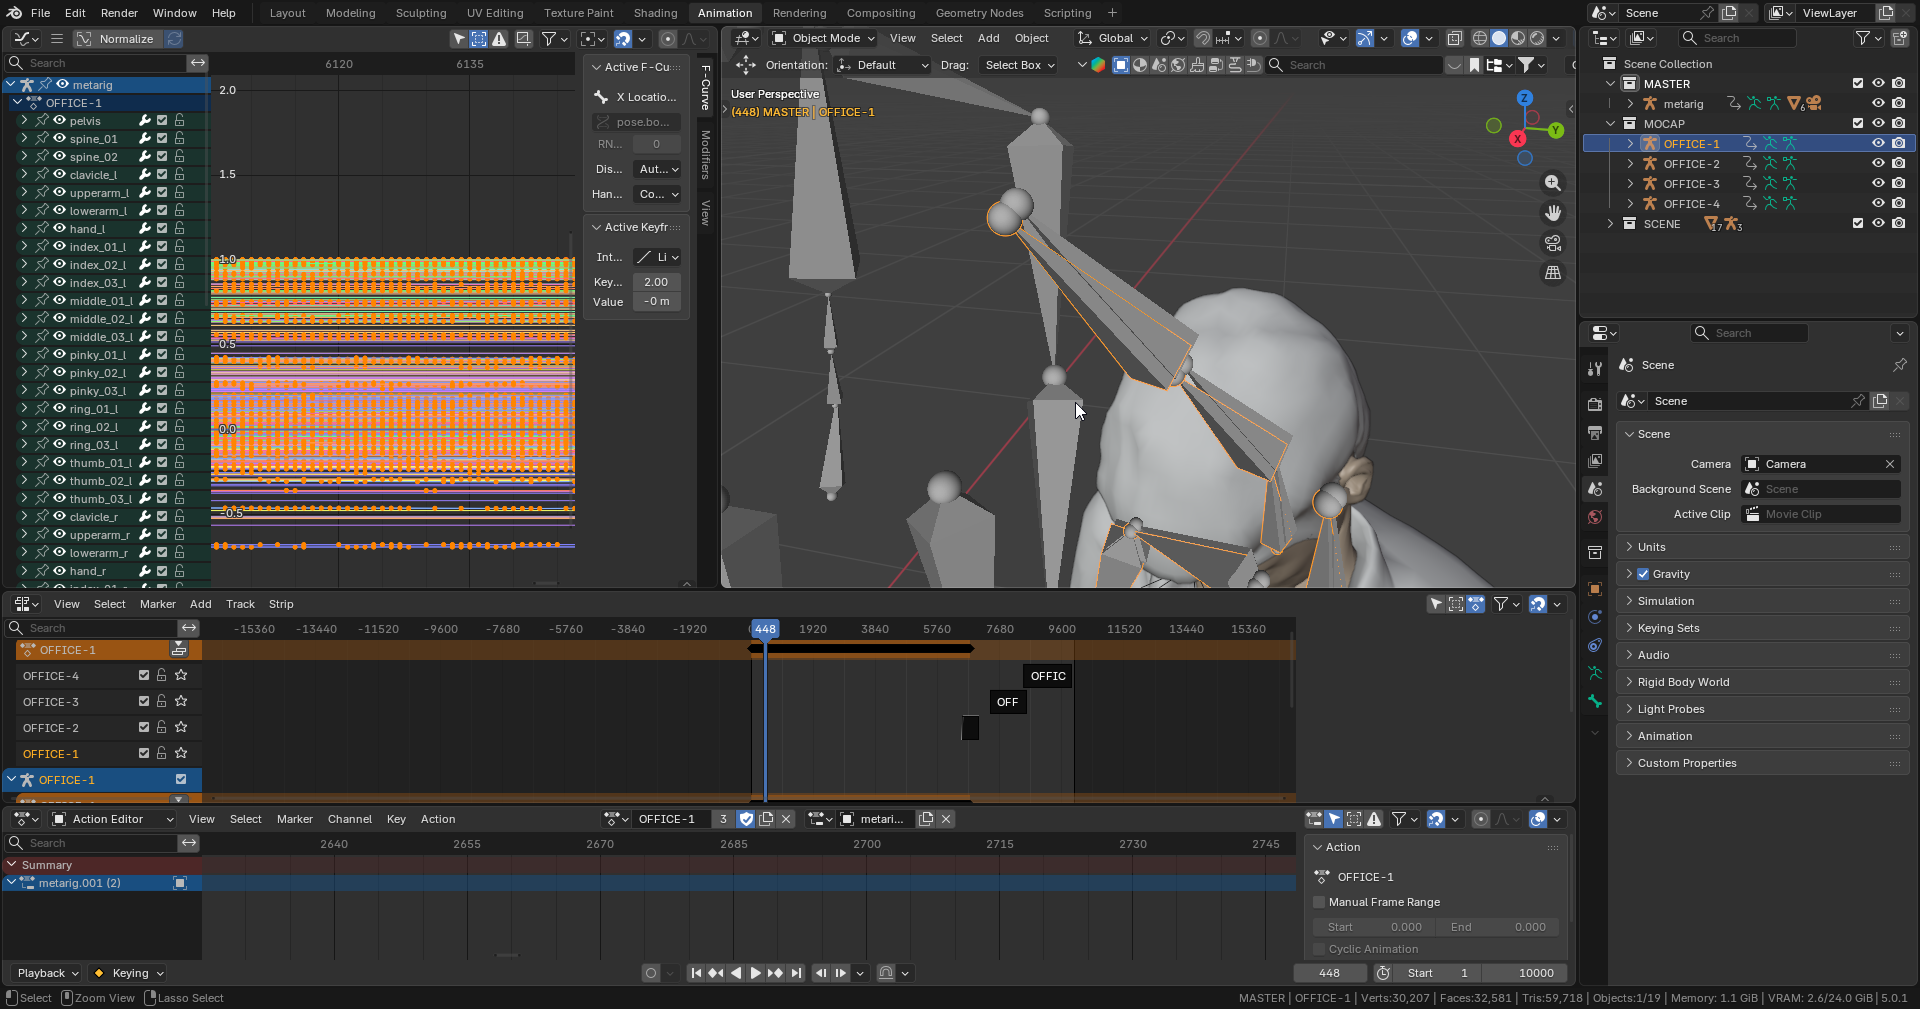
3. Post Processing in Blender
Tweaking mocap would be better done using IK influence like so , not to mention the goofy per sequence ‘master rig’ situation and the lack of retargetting, but I simply didn’t have the time or manpower to figure that out!
This step is quite extensive and can seem overwhelming and complex at first sight, it’s not as bad as it seems, however Blender’s horrible UI and UX, sure make it harder than it needs to be. It involves loading, importing, tweaking each individual mocap clip, then joining and blending them together, importing the reference scene / environment, animating additional things such as props, doors, etc. and finally baking and exporting everything for in engine use.
Post Processing
If you have issues with animation staying in place, not blending correctly or behaving weirdly, make sure to change the Extrapolation type to Nothing of the clip(s) in the NLA Editor!
DON’T add cameras in this step, unless it’s just for reference, they don’t really work in the Timeline editor and will be impossible to control or do smooth gameplay transitions with (I wrote a little about white in the
Mocap Research section
)!
In the Graph Editor you can use the pointer symbol button toggle to show all / only selected bones, try this if you’re NOT seeing the keyframes of bones you’d like to work with!
- Create a fresh Blender file for joining all of the mocap sequences.
- Set a proper framerate (FPS), remember that this can be influenced by imports, new cameras and so on, so don’t forget to change it back if that happens.
- Open up the first clip you recorded and export the mesh + armature (without animation), this is the ‘master rig’ for this sequence set (because of small scale differences from each t-pose calibration causing things to be shifted in space sometimes, you have to get a new ‘master rig’ from each sequence set you record).
- All the next clips in the same sequence (if the t-pose wasn’t updated in mocap fusion) should be exported as just armatures, meaning animation (these will be put on to the ‘master rig’ later for blending and so on).
- Open up the clip’s
.bvhfile. - Execute the script to load in the mocap data.
- Open up the Dope Sheet > Action Editor and NLA Editor panes.
- Set an identifiable name for the action that’s already present.
- Push it down on the NLA Editor (don’t trim anything yet)!
- Properly select the armature (children too) and use the proper (
Mocap) export preset (in this case we want to just export the armature, meaning animation). - Make sure to check the frame
0t-pose (if it looks correct) and make sure to export with the play head positioned on that frame (otherwise you’ll have glitches, tremors and so on, after importing and trying to apply the animation to the ‘master rig’ in the joining file)! - Export the animation in to an FBX file.
- Open up the clip’s
- In the Blender file where you join the sequences
- Import the ‘master rig’
- Import all of the clips you exported as animation FBX files (make sure to rename the armatures ; meshes and such to have a clean hierarchy).
- Open up the Dope Sheet > Action Editor, NLA and Graph Editor panes.
- Select the ‘master rig’ armature, in the viewport
- In the Dope Sheet > Action Editor, (in the top bar) pick the animation you want to push down on to the NLA Editor next (most likely the next one in your sequence).
- In the Dope Sheet > Action Editor, (in the top bar) pick the armature of the ‘master rig’ (make sure everything is working good), rename the action and push it down on to the NLA Editor.
- Hide the source armature of that clip in the hierarchy to clean up your workspace.
- After getting all clips set up in the NLA Editor, you can now trim, offset, blend between them and so on:
- Import all of the reference environment / scene models (objects, the environment itself and so on).
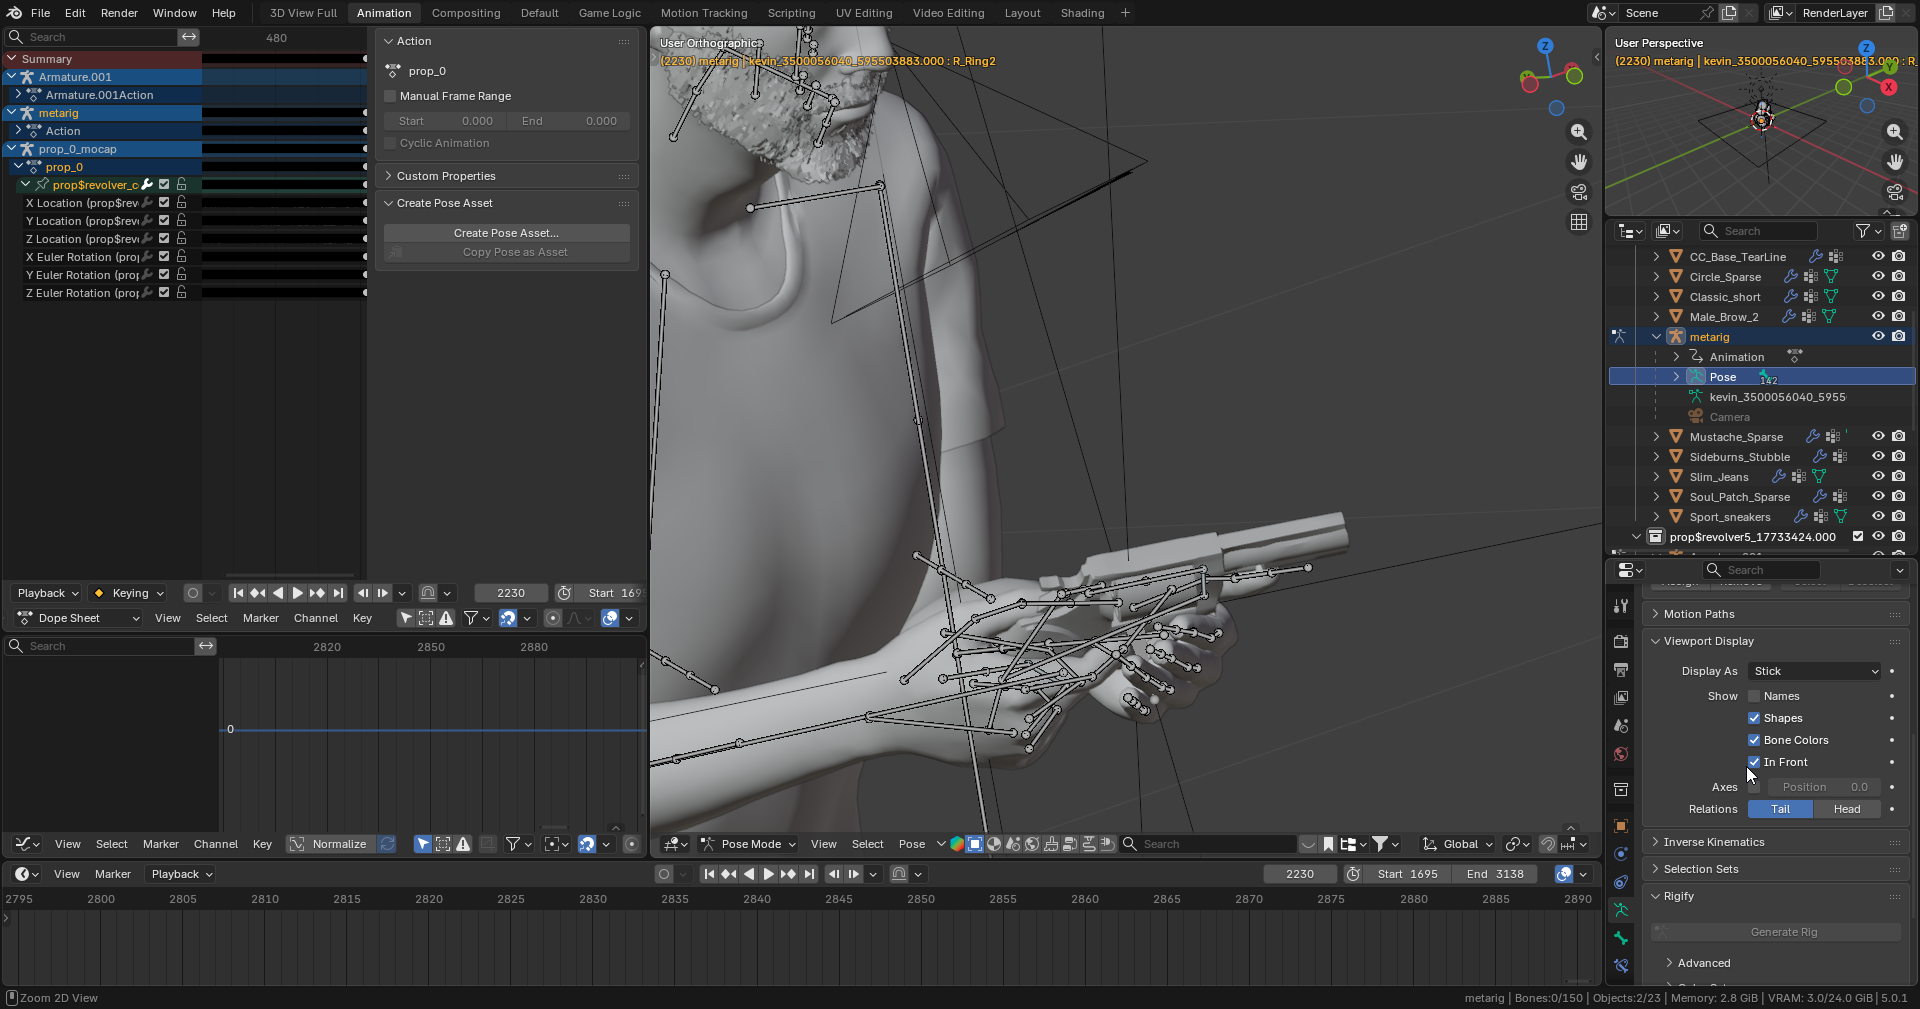
- Via the Tweak mode (Tab on an NLA Editor clip) combined with the Graph Editor, you can influence and / or fix up the clips by directly manipulating the keyframes of each bone (remember to have the proper armature and editing mode selected, meaning
Pose; beware that going in to Tweak mode, resets the clip’sstart/endvalues):
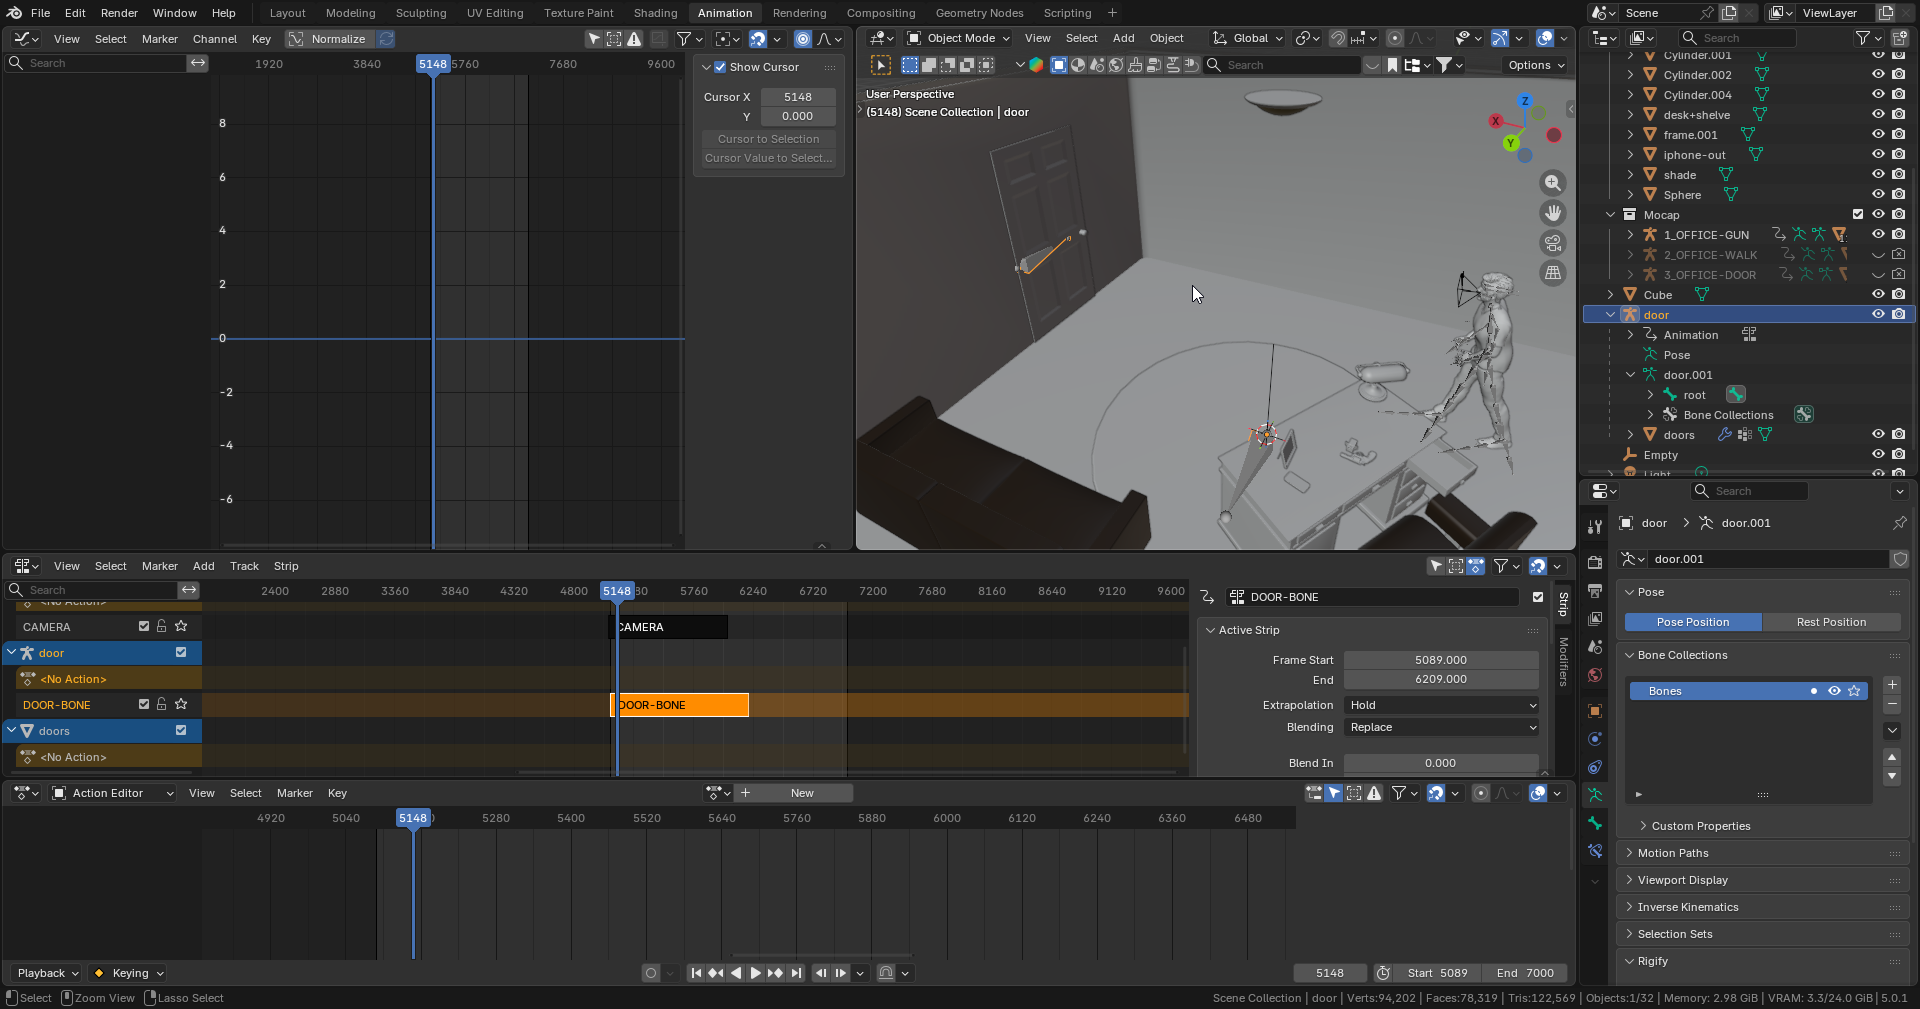
- Animate all of the simpler things (such as furniture, doors and so on) in the scene
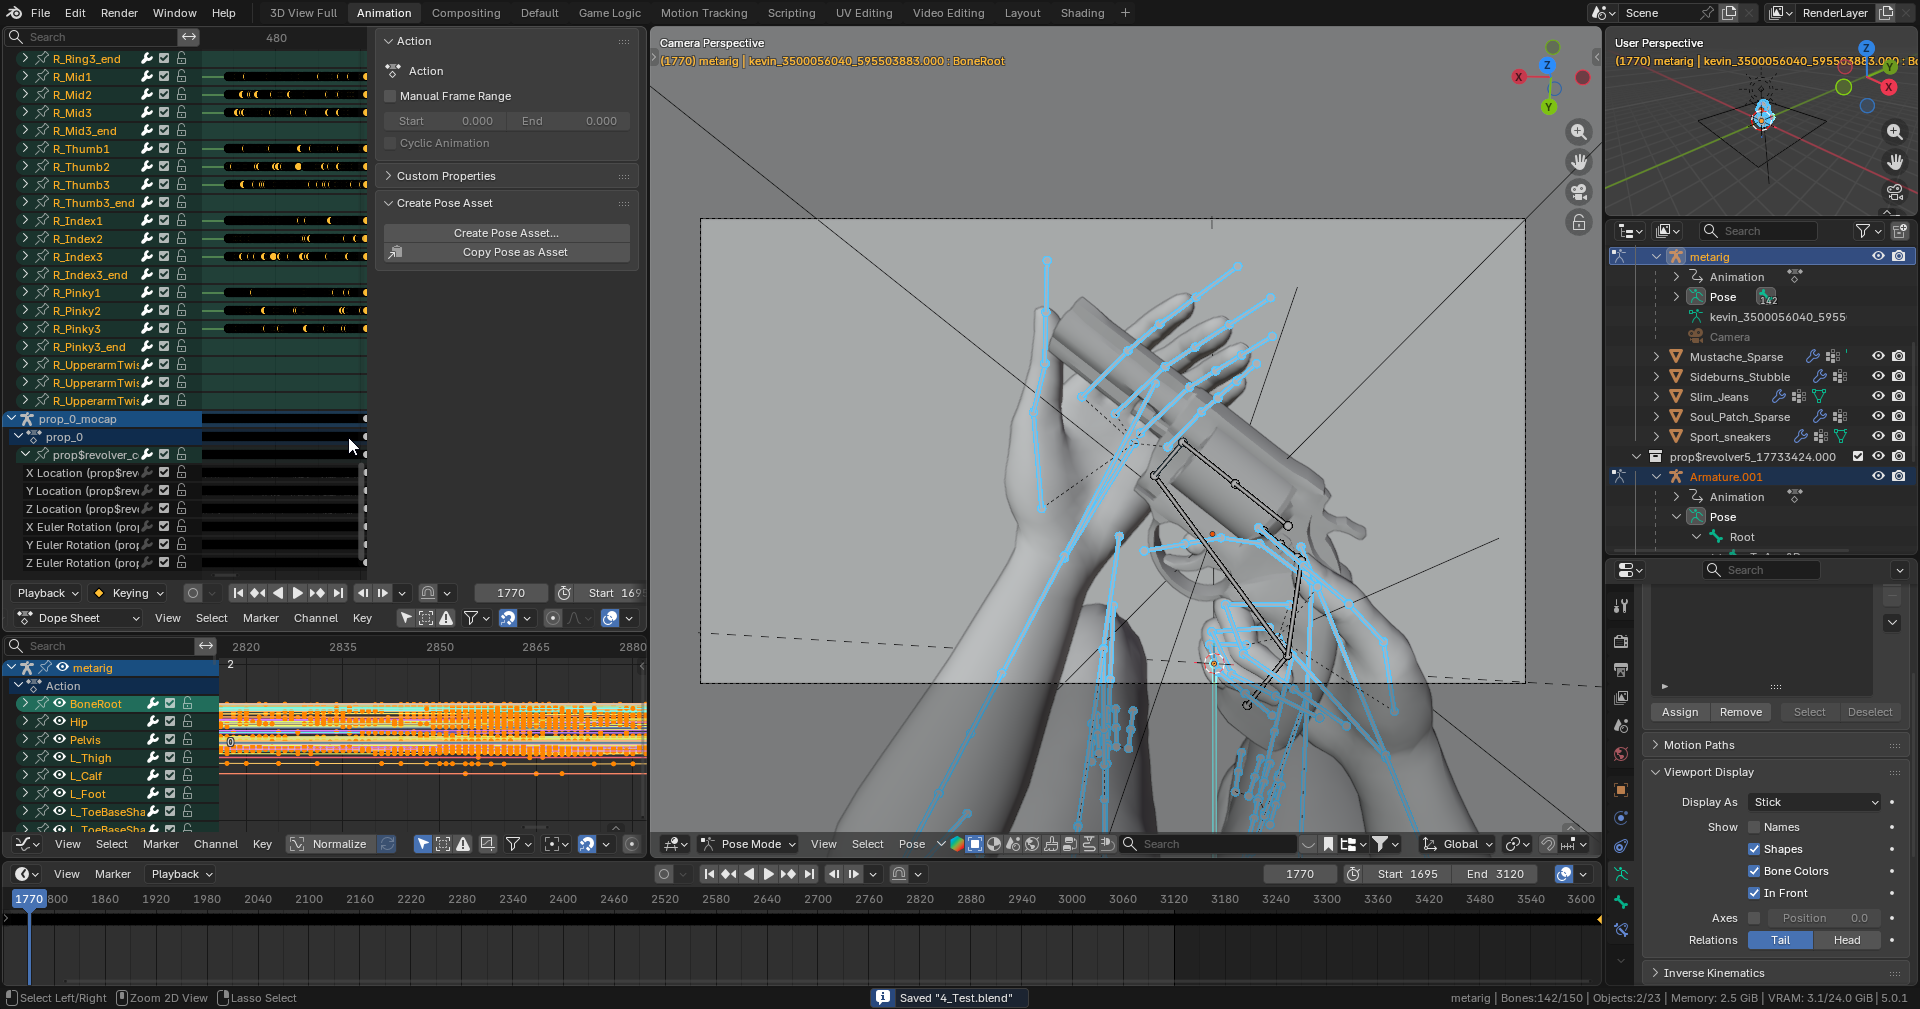
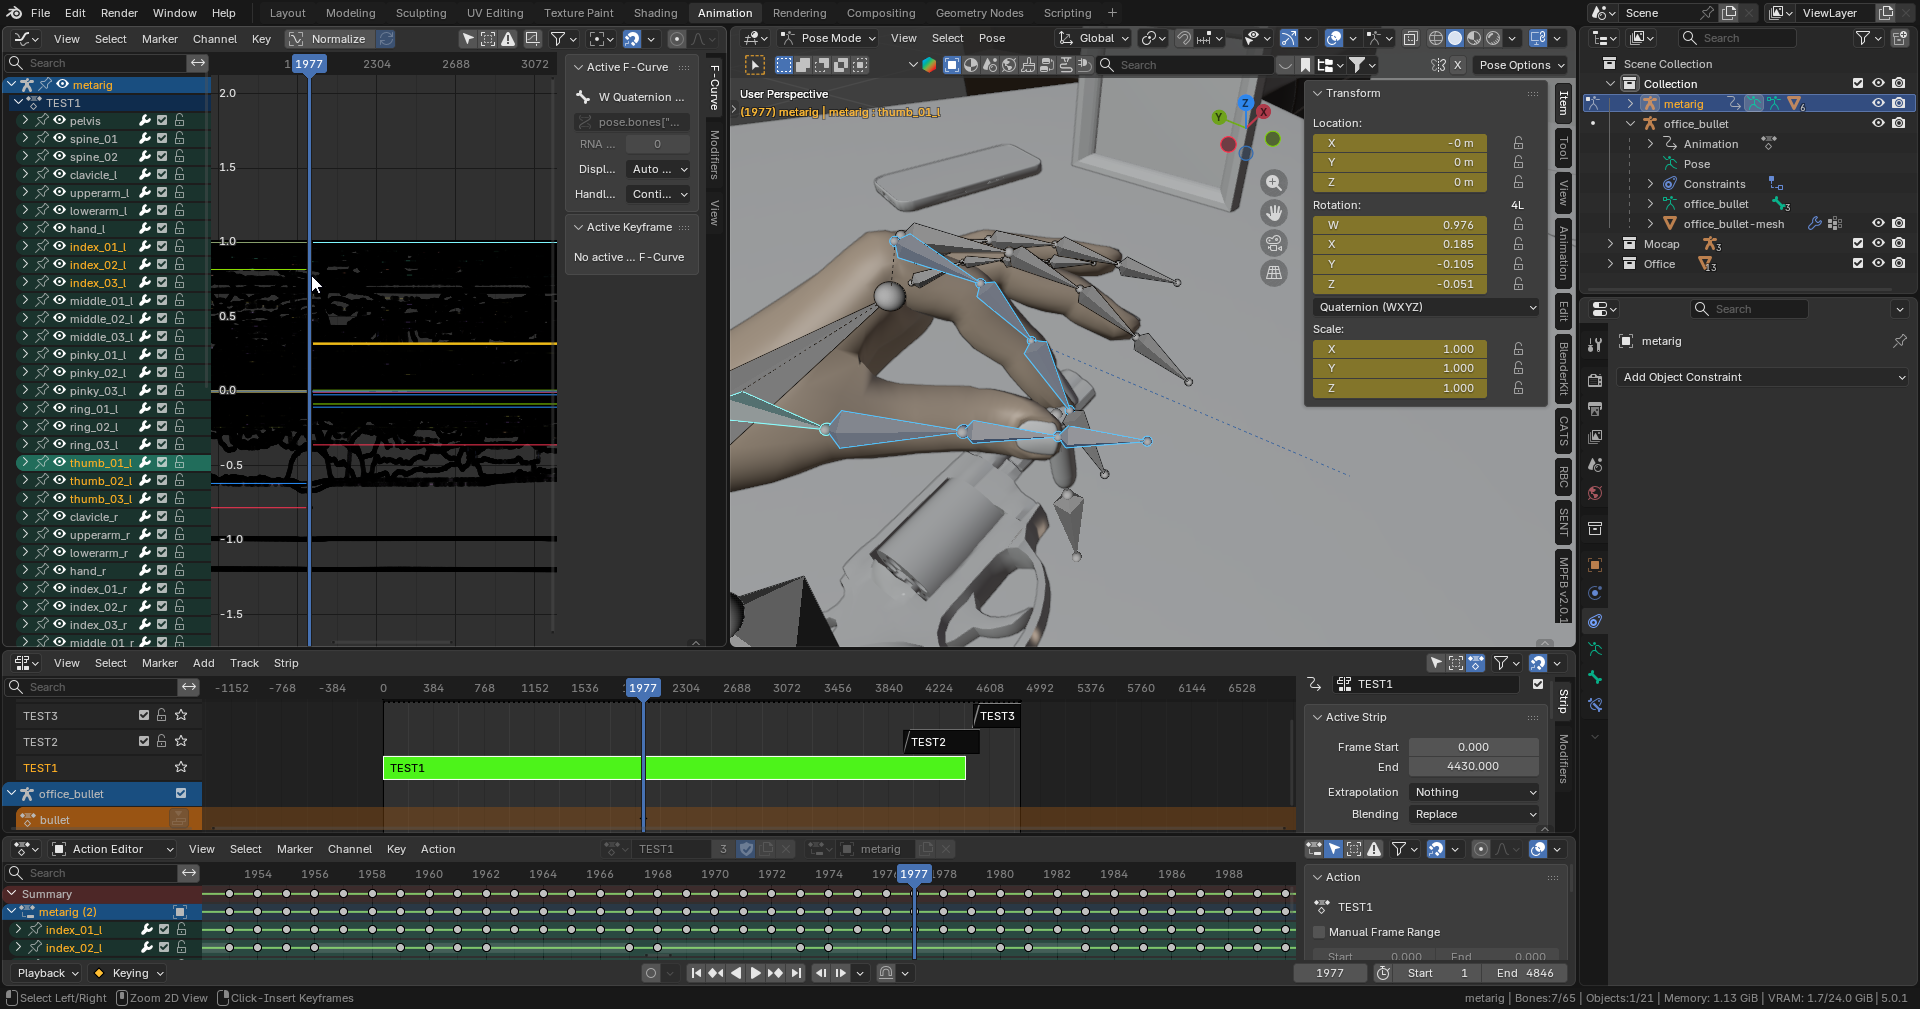
- When trying to attach props to a character’s hand, use the
Child OfBone Constraint on the sub root bone of the object, make sure you set the object in the correct ‘rest’ pose (for the character to pick up), then when the hand is near, perform aSet Inverse, keyframe the original position and rotation, keyframe theInfluencevalue, adjust things to fit nicer, keyframe the proper position in hand, make sure to add a move and rotation keyframes and everything should be okay!
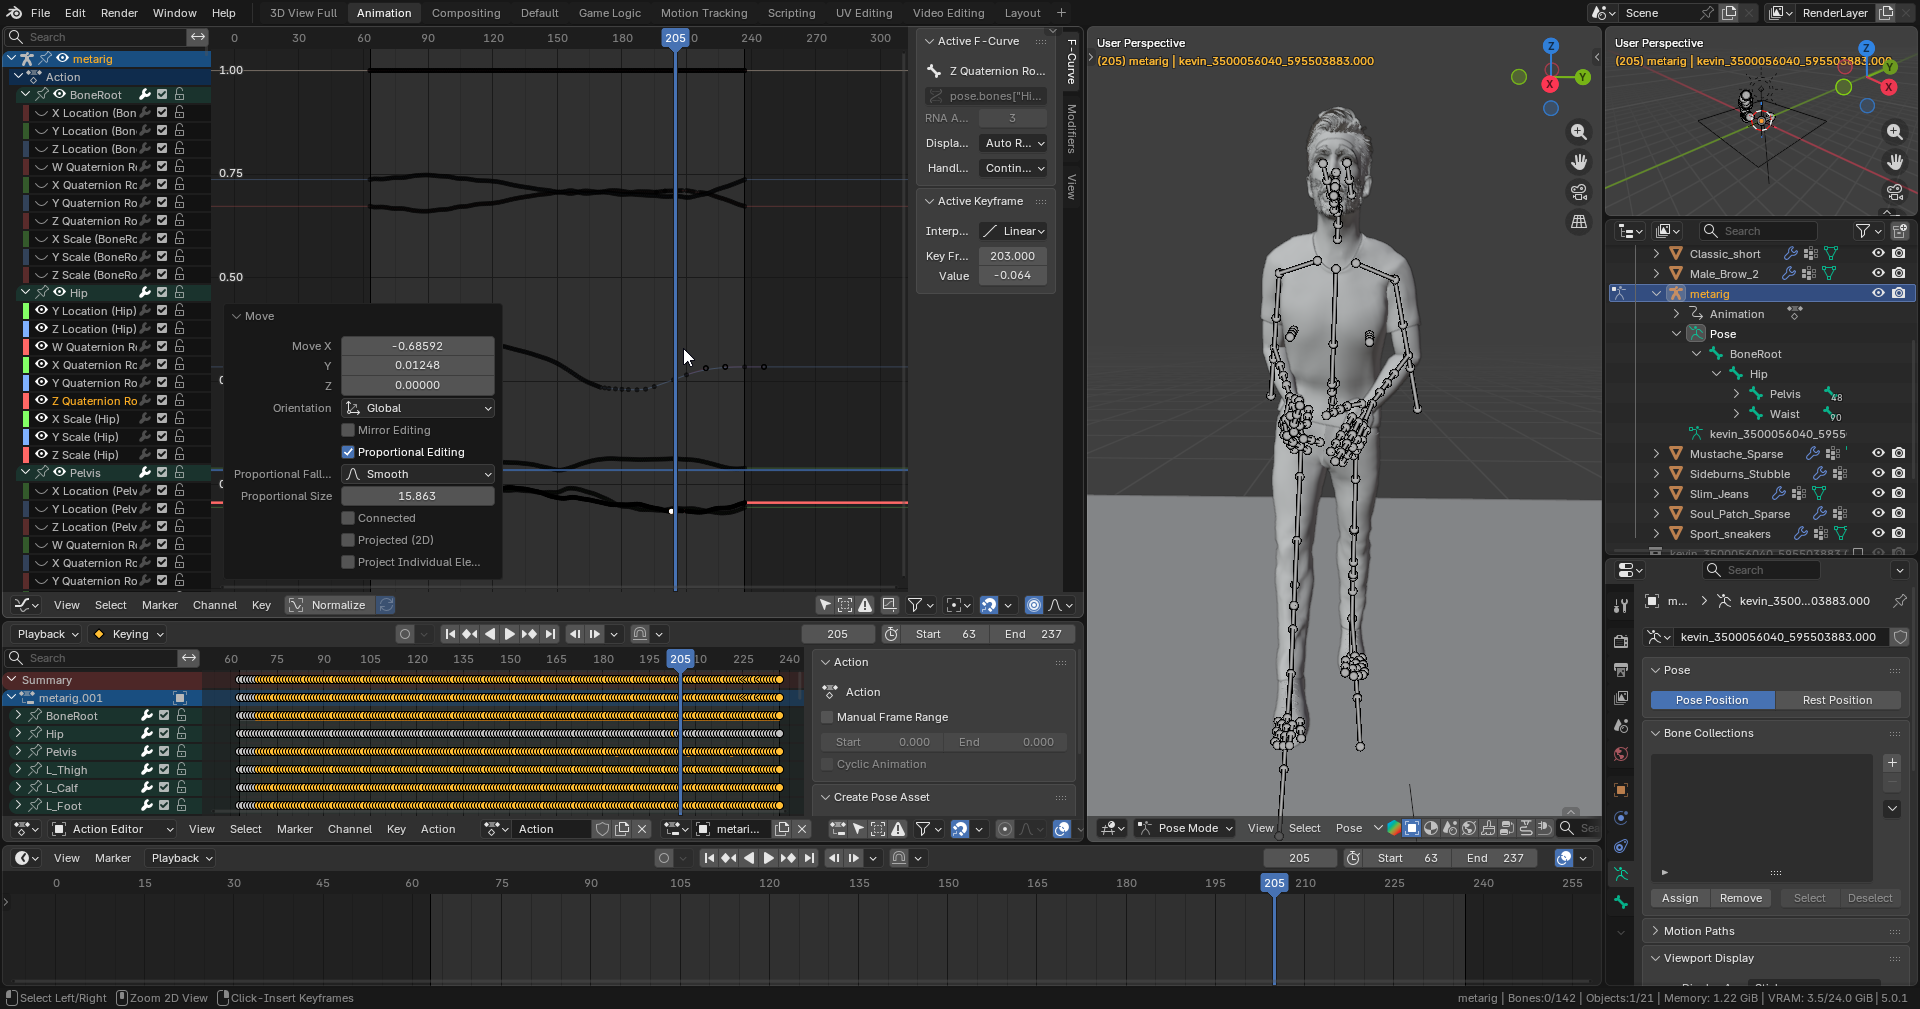
Walk Cycle
At least with a FPP perspective, doing just a linear transformation for the walk is perfectly fine and will feel natural as long as you roughly match it to the walking speed and have convincing head movement:
- Clear out any movement data saved on the hip / pelvis bone.
- Cut out a part of the animation that has three steps.
- Make the start and end frames the same via copying / pasting and try to smooth out / match up the key frames that lead up to the end so it loops perfectly:
- In the NLA Editor, repeat the walk as many times as you need (there is a specific property for repeating clips):
- Add a
Follow PathBone Constraint on the hip / pelvis, create a Bezier Curve as the path for the humanoid to walk along (but make sure to ‘zero out’ the transforms on the hip / pelvis before applying it though so you won’t get weird artifacts):
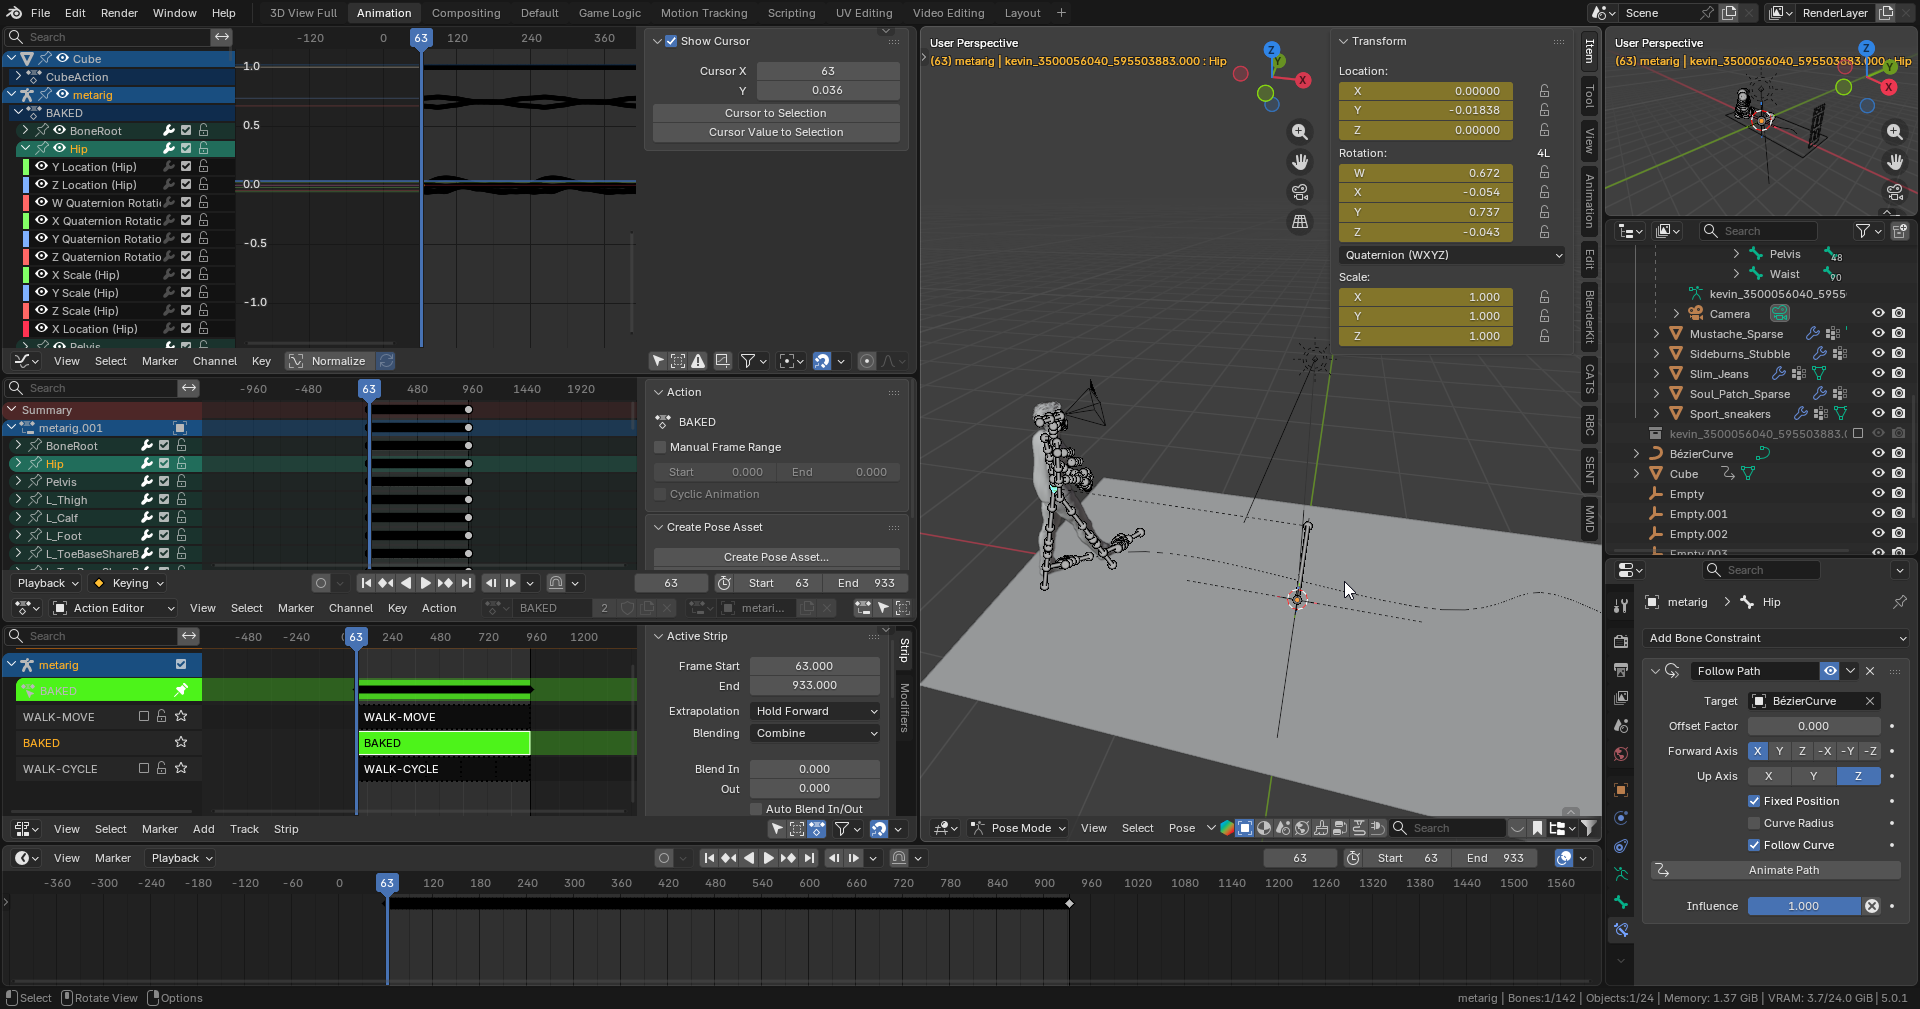
- Animate the
Influenceof theFollow Pathover time:
Exporting
After baking, if you see everything as a flat line in the Graph Editor, make sure to turn OFF Normalize at the top!
When exporting, make sure you have the proper clip and proper elements in the hierarchy selected (remember that having the parent selected DOES NOT mean it’s children are too)!
For exporting, use the Mocap preset and make sure that Simplification is set to 0 (otherwise you’ll get floaty and out of position animation artifacts)!
During the export process of especially long and complex animations such as mocap, Blender will appear like it’s hanging (this is normal) just let it do it’s thing, don’t aggravate it and everything should work out just fine!
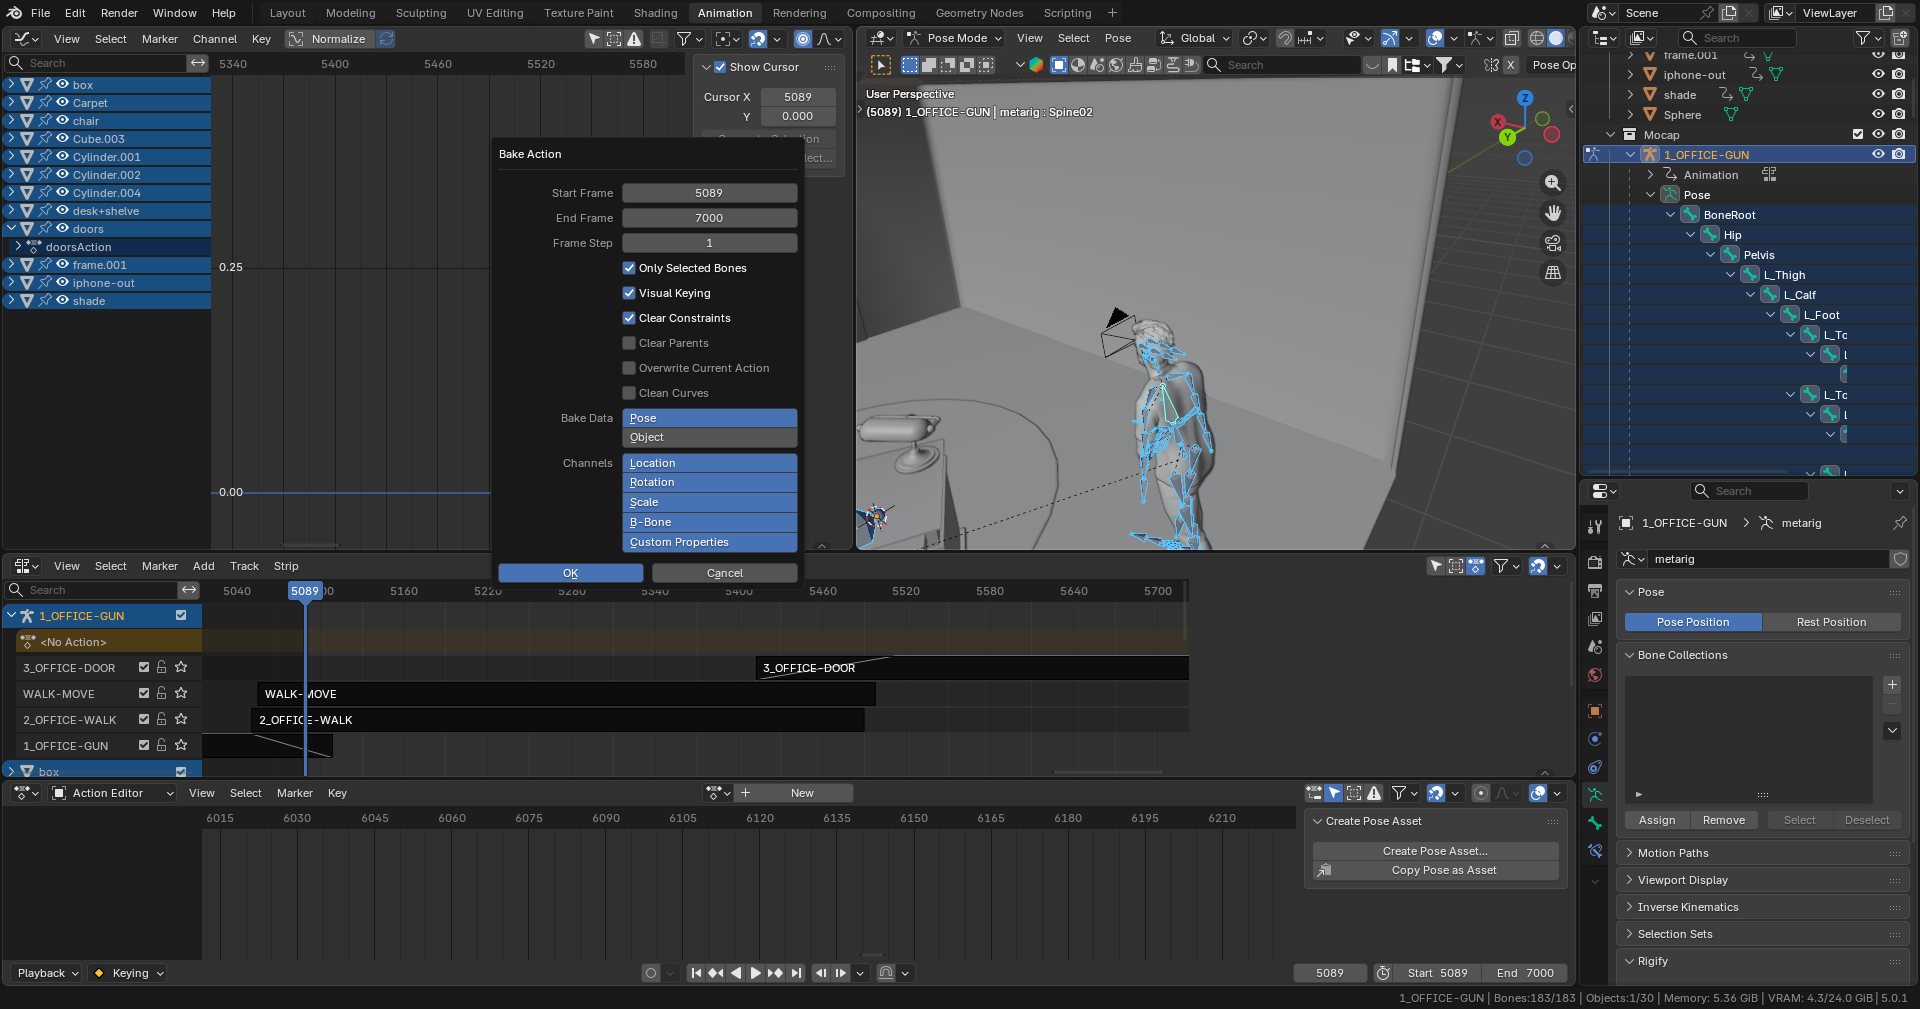
- Make sure to bake the animation of every object that is animated (you don’t have to smooth everything though, just the mocap clips to reduce overall jitter).
- When baking, make sure you’re in
Posemode and have the entire armature selected of the thing you want to bake, then go toPose > Animation > Bake Actionand make sureOnly Selected Bones;Visual KeyingandClear Constraintsare checked (however, depending on what it is you’ll want to do eitherPoseorObjectmode as well):
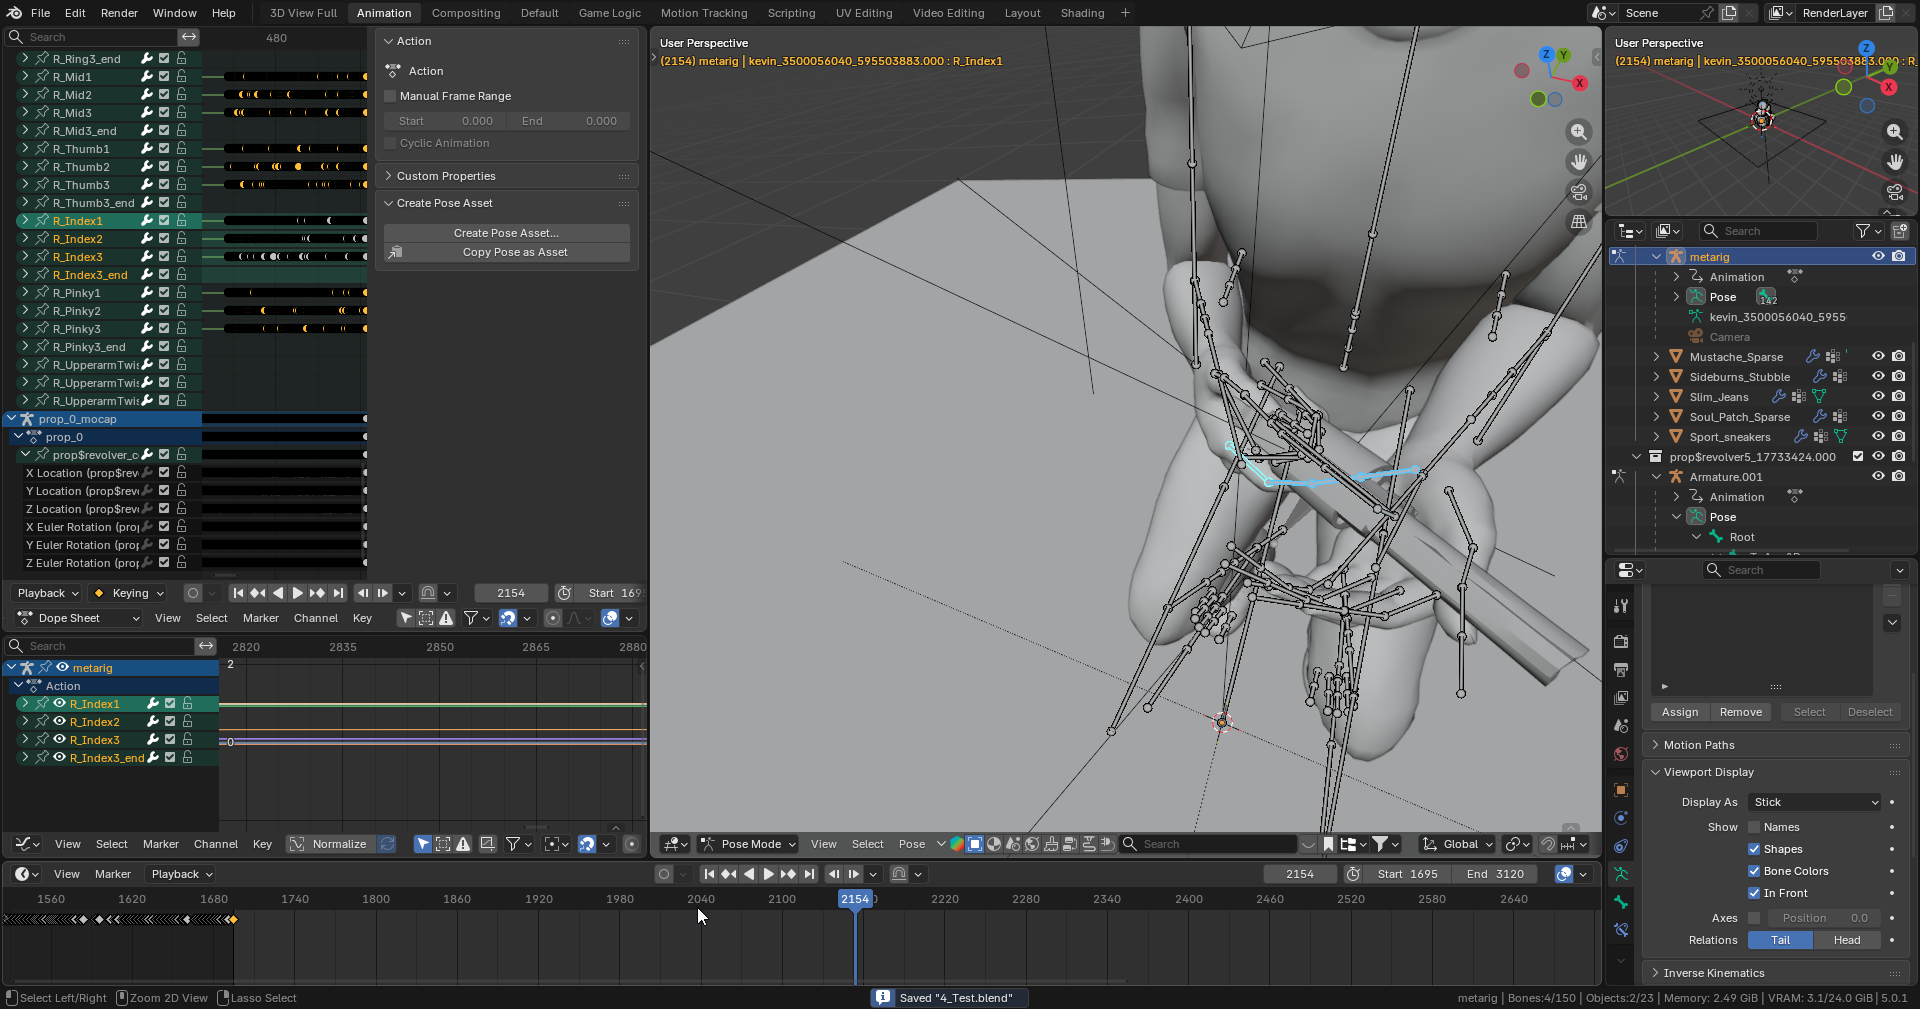
- On the baked clip, using the Graph Editor, you can smooth mocap artifacts / jitters out by (in
Posemode) selecting every bone of the armature, the desired track and (with the Graph Editor open) pressing Alt + O, a certain amount of times (I’ve found2xworks best for all bones and4xfor the head bone as the camera gets attached to it, in terms of humanoid mocap for FPP). - After everything is baked (should be one, ‘final’ clip per object), you can proceed to export everything (using the
Mocappreset) one by one in to separate FBX files (both mesh and animations ; keep in mind that props get the ‘hand influence’ baked in to their animation and get exported separately ; if you’re having issues, make sure you applied all transforms on everything before export).
4. Setup in Unity
This should be done by having a ‘master rig’ and then simply exporting armatures (just animation) from each new sequence but I had really big issues with missing bones, not to mention retargetting problems and just decided to so to speak ‘bite the bullet’ and simply export both the mesh and animation in the same file (I wrote a little about the pains of that in the
Mocap Research section
)!
You should use an empty Game Object as a container for animations / other things so you can easily offset the position of things! (for more useful tips like this checkout this
official Unity Timeline tutorial
)
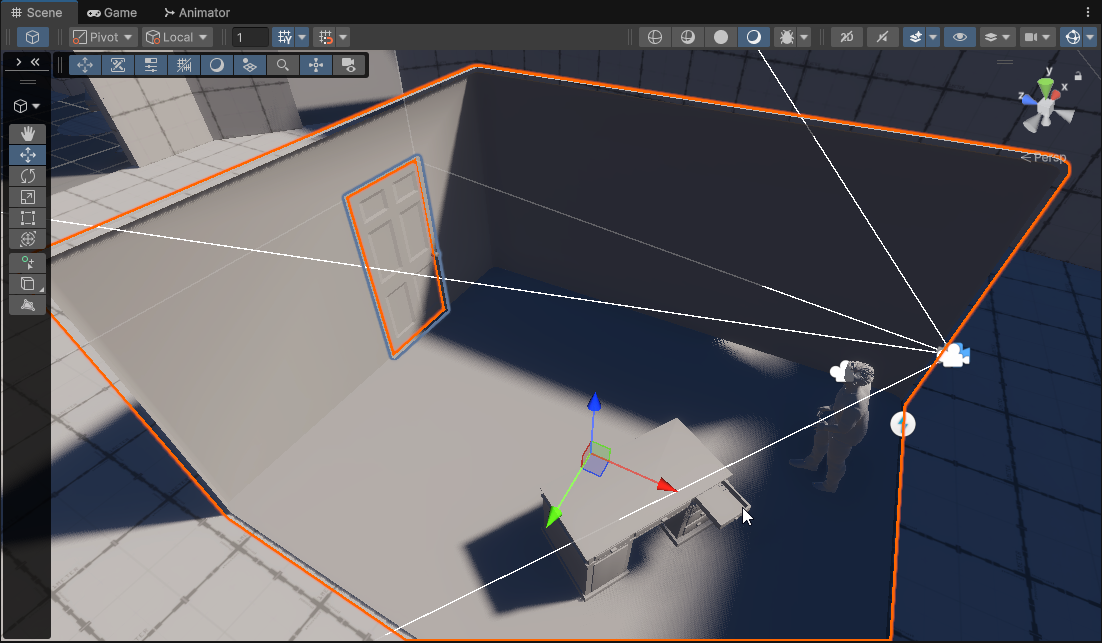
If your origin point looks out of place or ‘wrong’, make sure you’re in pivot and not center mode in the top bar of the Scene View!
Do NOT try to blend mocap animations that have movement saved in the hip bone as it will cause very weird, unnatural jumpy transitions between clips (that’s caused by position blending, simply do all of this do all of this in Blender)!
Depending on the Activation Clip settings, if you have a hold clip that is present at the last frame of the timeline, you can have the object stay ON after the timeline ends!
You can create a dip to black / white transition using a
Canvas
and an ‘image’ of a solid color that covers the whole screen and just animating it’s alpha value!
Animating
Emission Maps
is tricky, if you’re trying to do that, do it by turning OFF Use Emission Intensity and instead, animate it using Emissive Map HDR color (also in order to not have issues, if the object has multiple material slots, make sure to add the map to every one of them!)
Use
Cinemachine cameras
, it will make blending, among other things much easier for you!
Make sure to use Track Groups to have a cleaner, more separated Timeline editor workspace!
This step involves, importing all of the FBX files that include both meshes and animations, setting up their materials, positioning, adding a camera and doing a bunch of work in the Timeline editor.
- Import the FBX files containing baked animations and meshes of each model (humanoid, prop, etc.).
- On each FBX with an animation, make sure to set Anim. Compression to
OFF(otherwise you’ll get floaty and out of position animation artifacts)! - On each FBX that has an issue with parts of it disappearing when the camera moves away / changes positions, make sure to check Update When Offscreen on all of their Skinned Mesh Renderers !
- Import all models from the reference environment / scene as they have the right origin offsets, making setup easier.
- Apply previously created materials on to each FBX’s material slots.
- Create a new, empty Game Object (this will serve as the container) and drag all of the FBXs in to it (because of the origins, they should all align perfectly, and the new Game Object will allow you to easily reposition and manage them):
Set up a new Timeline on the container Game Object.
Using Timeline add a camera (as our game is in FPP, I attached the camera securely to the head bone of the humanoid rig, you can of course, have it be on a dolly or whatever else you want).
Using Timeline add and animate all of the additional things you need (this means, activations, lights, emissives and anything else).
Using Timeline in order to perform a cutscene to gameplay transition (to be able to animate the in game player’s position, smoothly blend between cutscene and the FPP camera, and give back control to the player), you have to:
- Add a Signal Track.
- Add an Emitter where you want the handoff to happen (allowed before cutscene ends as well):
- Create a new, empty Game Object (
CutscenePlayerManager) with the handoff script (in a roundabout way, it basically disables and re-enables parts of the player controller script, and mutes thePlayerandCameraAnimation Tracks so they don’t lock the player / camera) + do the script setup (this could potentially be added to the cutscene director Game Object itself) - Drag the
CutscenePlayerManagerin to the Signal Track slot. - Setup a Signal Receiver component on the
CutscenePlayerManager(like so):

- Make sure to name (in the Inspector) the Animation Tracks that animate the player and camera pivot properly (
Player&Camera), so they can be muted by the cutscene handoff controller (this is a roundabout way of doing things, but after searching for a while, I wasn’t able to find a better / more ‘proper’ way of doing this unfortunately).
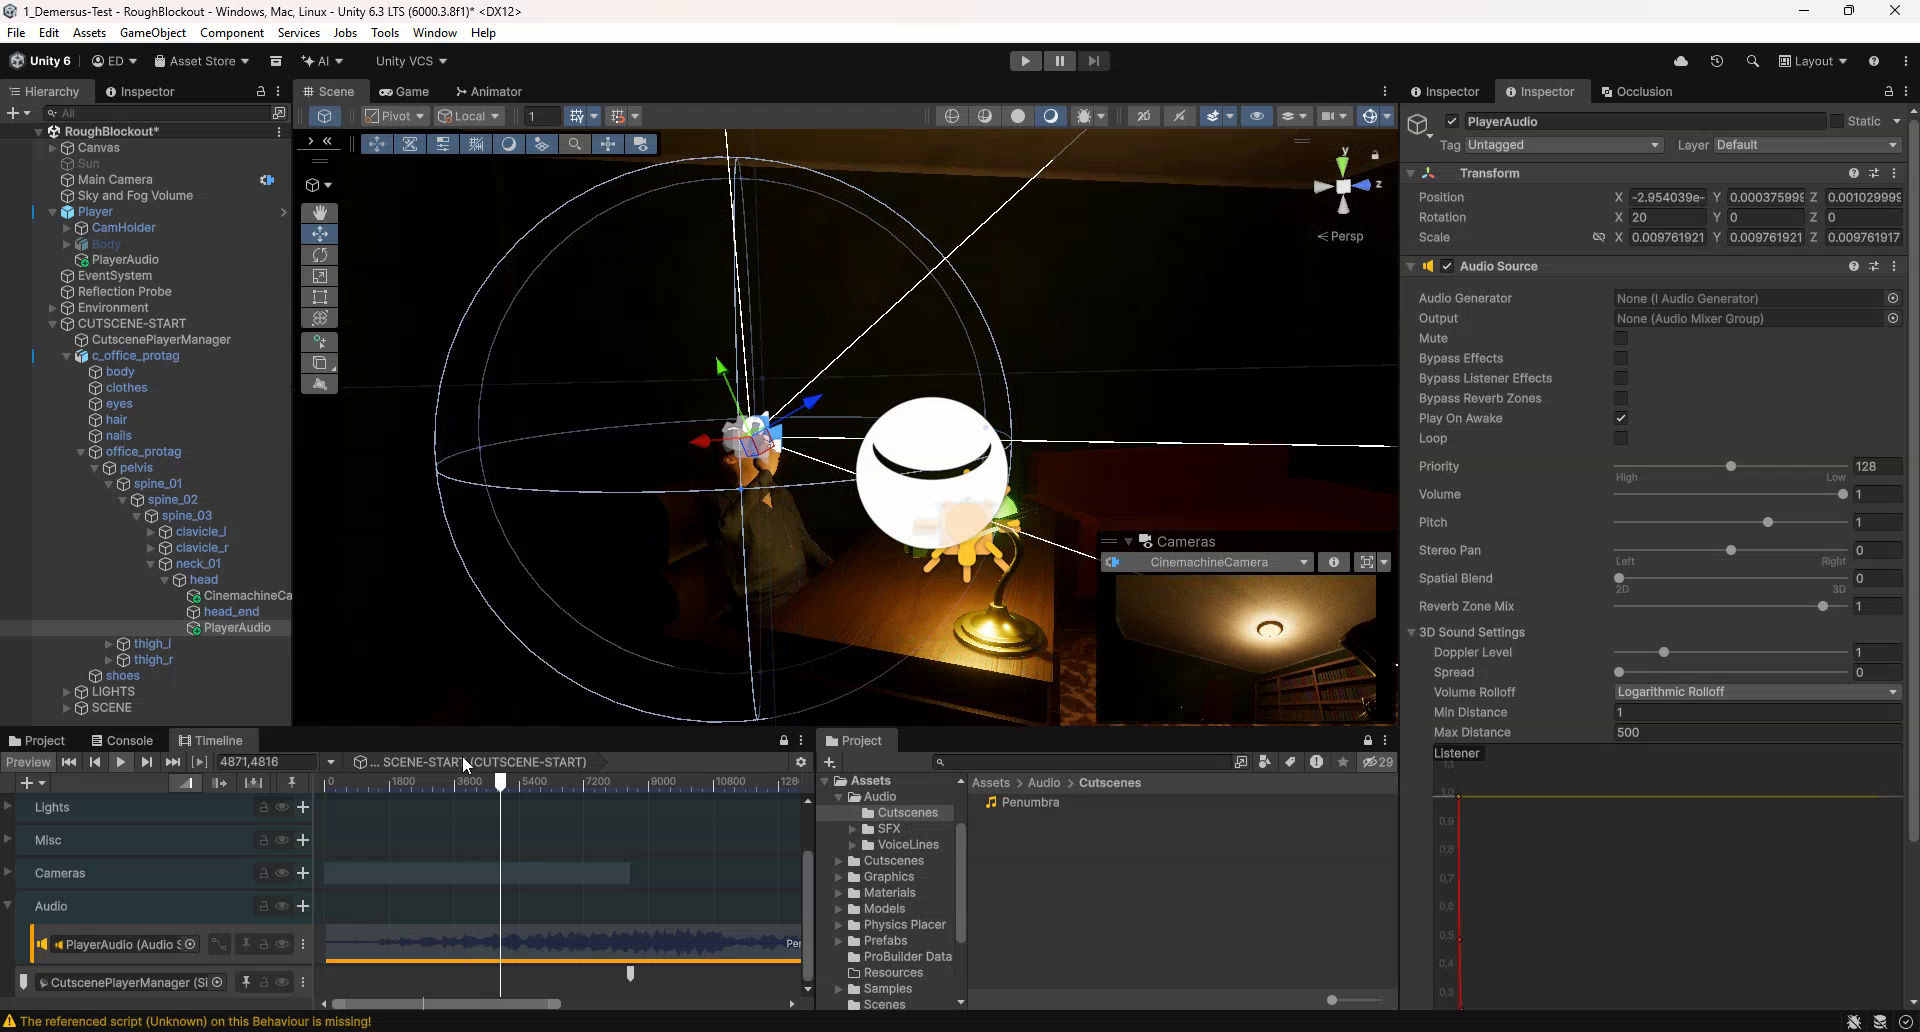
5. Audio and Visual Effects
Both of these seem quite easy at first, but quickly get hard when you go slightly below the surface. I’ve tried to do both in a simple, cost effective manner and here is what I came up with:
Audio
This should be done by having separate audio sources for each object and setting all of them up using timeline, however because of manpower and time limitation, I decided to go with this simplified approach!
- Precisely record your cutscene using a tool such as the Unity Recorder .
- Add and master your SFX, folley, voice lines and whatever else you need for the cutscene using a video editing software such as Adobe Premiere (here is where you can pan them to the left or right, add reverb, EQ and so on).
- Render them as a single or few tracks (depending on your approach, we’ll most likely go with a single one).
- Import them in to Unity
- Use a singular Audio Source set to 2D on the player (doesn’t need to be on the cutscene rig as it’s 2D anyways so distance isn’t accounted for).
- Use an Audio Track in the Timeline editor and try to match the audio as best you can (keep in mind however, that there is some delay that needs to be accounted for, so it’s best to test it out by building the game).
Visual Effects
I refuse to believe this is how you’re supposed to do this, but after multiple hours of searching around, I wasn’t able to find a proper solution!
Adding visual effects such as vignette, chromatic aberration and so on, might seem simple at first though (it very much isn’t). Turns out that doing so in our pipeline of choice ( HDRP ) is unnecessarily hard.
You’d think you could simply keyframe parameters of certain effects on a Volume Profile , using an Animation Clip in the Timeline editor, but that is NOT the case for some odd reason (I tried to figure this out for a while, but sadly only found a rough workaround).
The way I’ve managed to do it is having a script that exposes inspector-editable (thus also keyframe-able) properties of an effect (such as vignette) and every frame pushes those values in to the actual Volume Vignette override, letting you animate them using an Animation Clip. The fact that there is no simple or proper way to do this (or at least I couldn’t find one for the life of me) is absolutely appalling…
However, this method is (of course) not perfect, so if you already keyframed an animation, and want to change some other override, or add a new one, you have to perform this ‘dance’ to allow you to do that as otherwise the properties will keep returning to the ones that were keyframed (so your changes don’t persist). You basically have to:
- Remove the animator script from the Volume Profile (remember to write down your parameter values).
- Disable the Game Object with the Timeline director in the hierarchy.
- Enter play mode
- Exit play mode
- Make the change you want on the Volume Profile.
- Enable the Game Object with the Timeline director in the hierarchy.
- Add back the animator script (remember to configure the parameters how you had them before).
- Connect back the animator script to the keyframes you created earlier by turning on auto-keyframe, going to the first keyframe and manually setting that parameters value the same as the keyframe value (this will re-connect it for the whole clip).
I tried, and wasn’t able to figure out a simpler way of doing this…
Huge Progress on Assets
My bud has made huge progress with the assets, both in terms of IRL and clay ones, not to mention the environmental level design as well. I also performed some asset finalization and baking. Here is how all of that turned out:
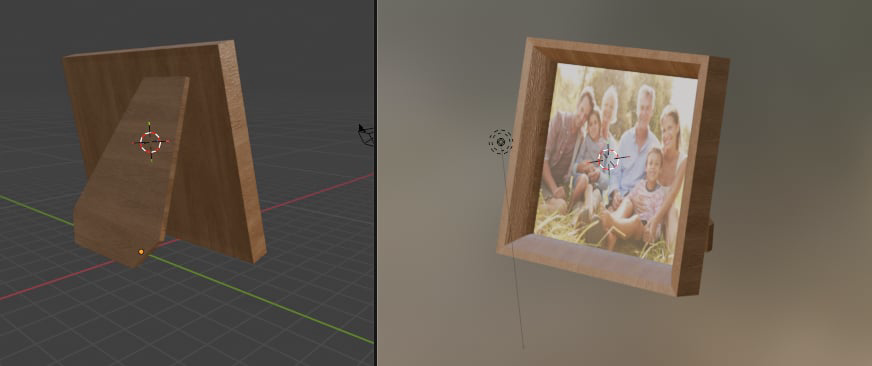
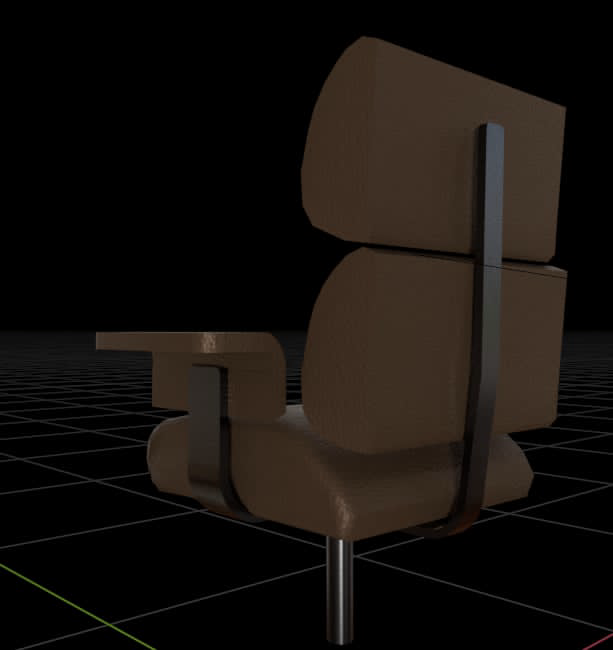
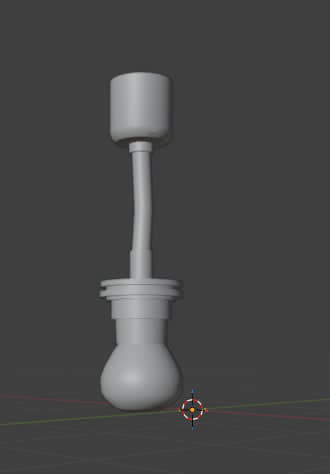
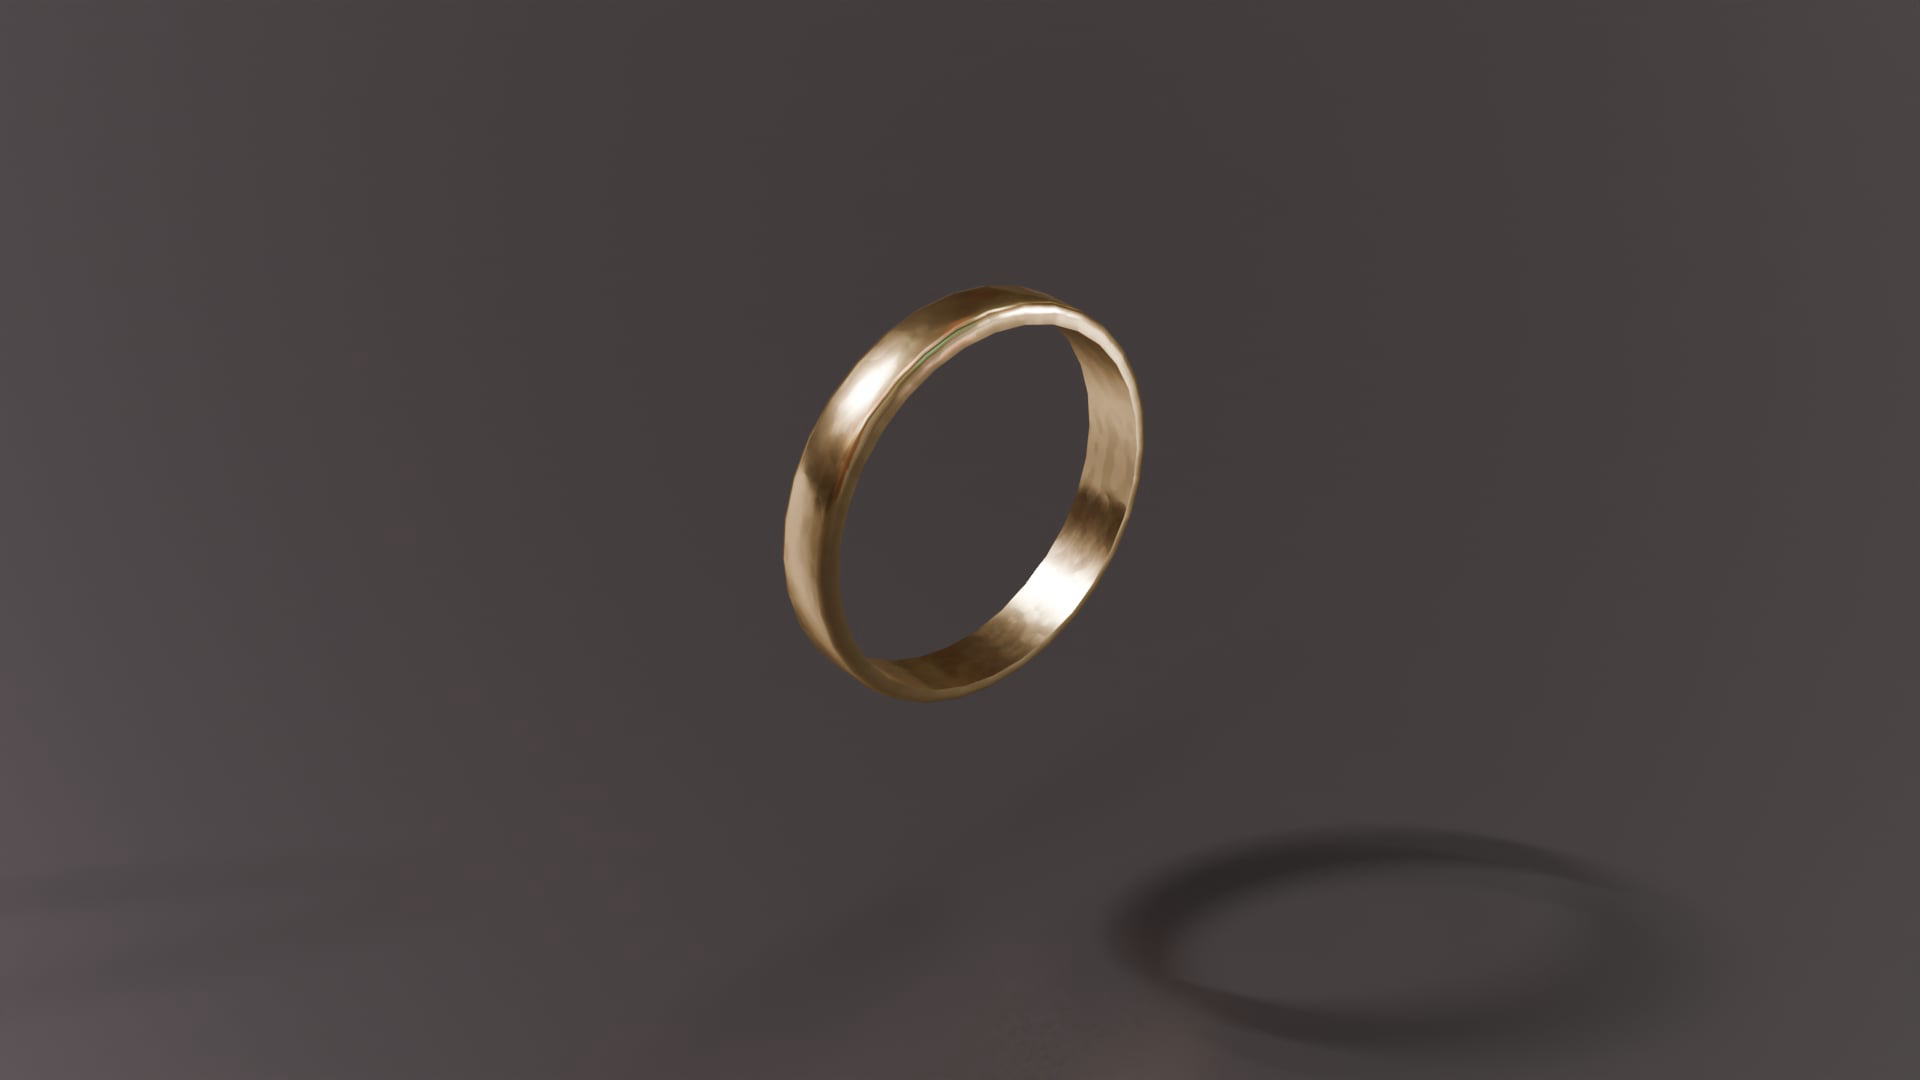
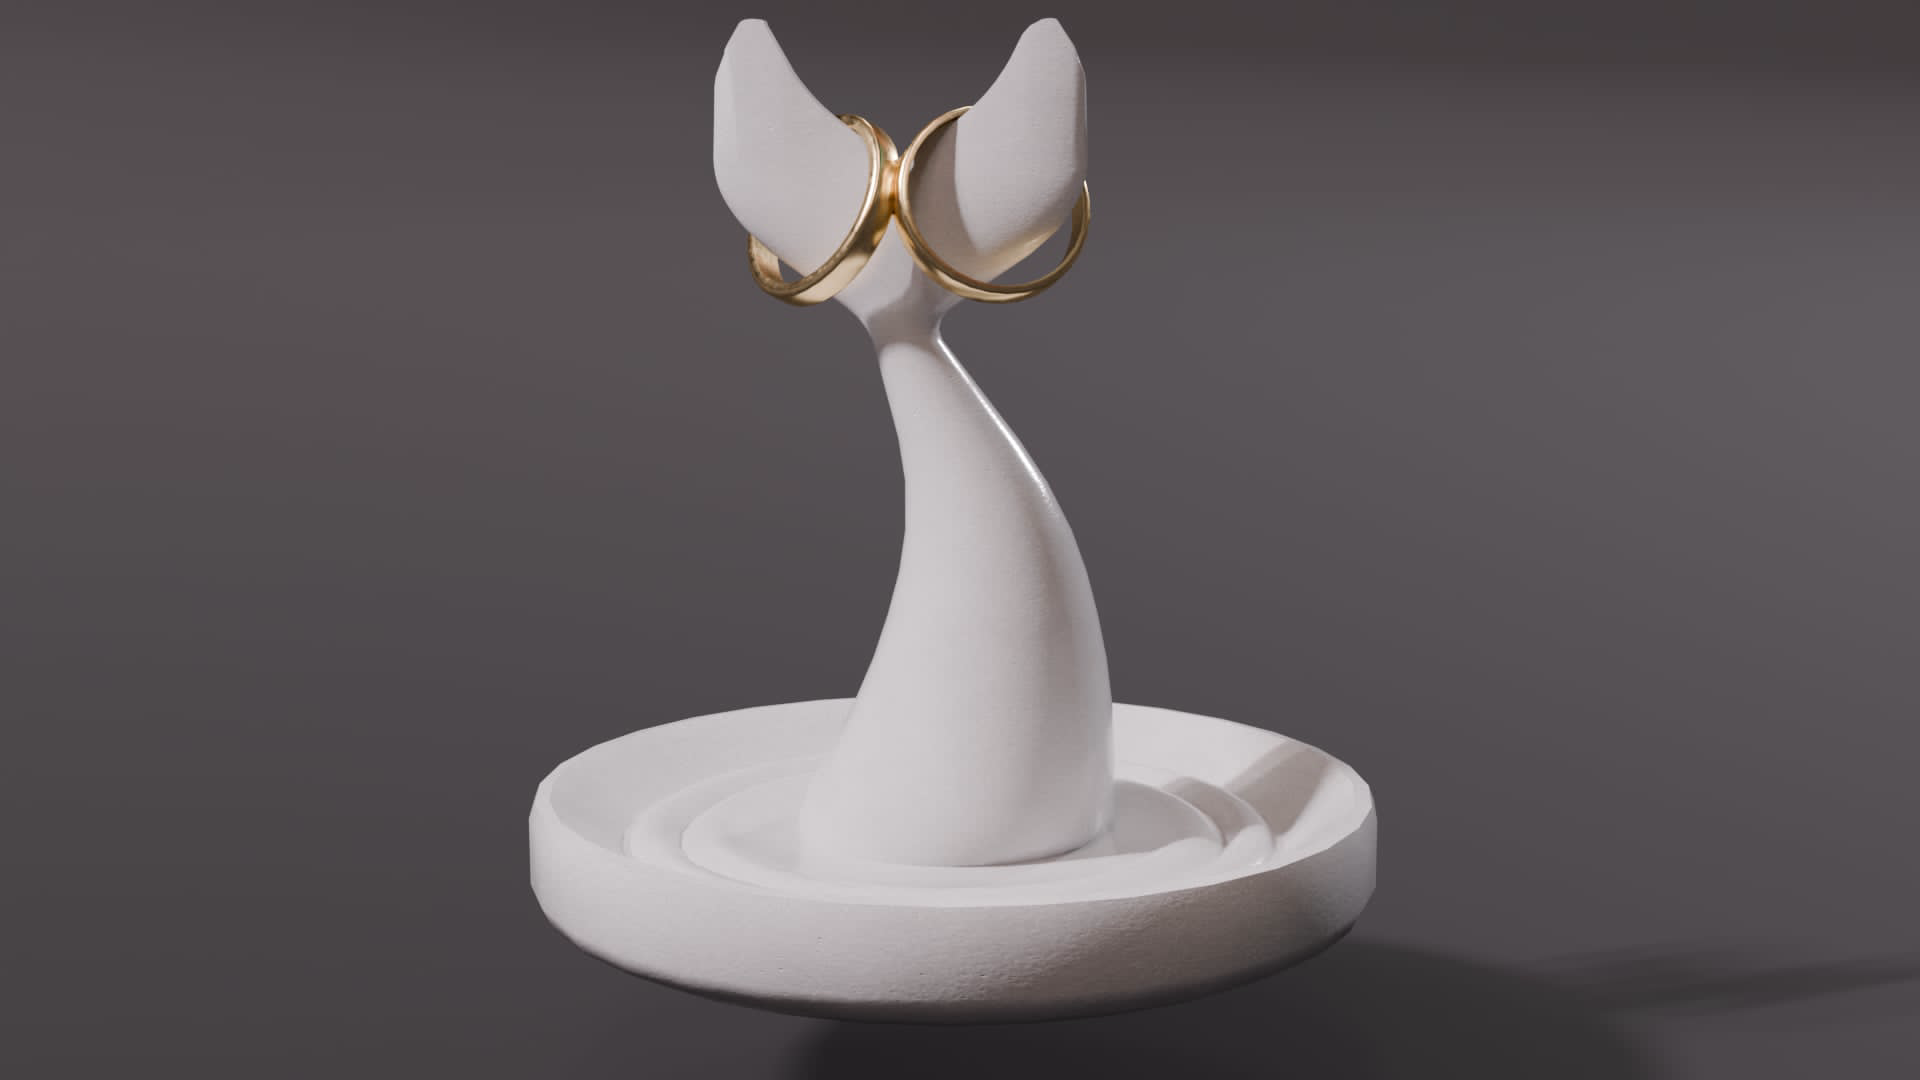
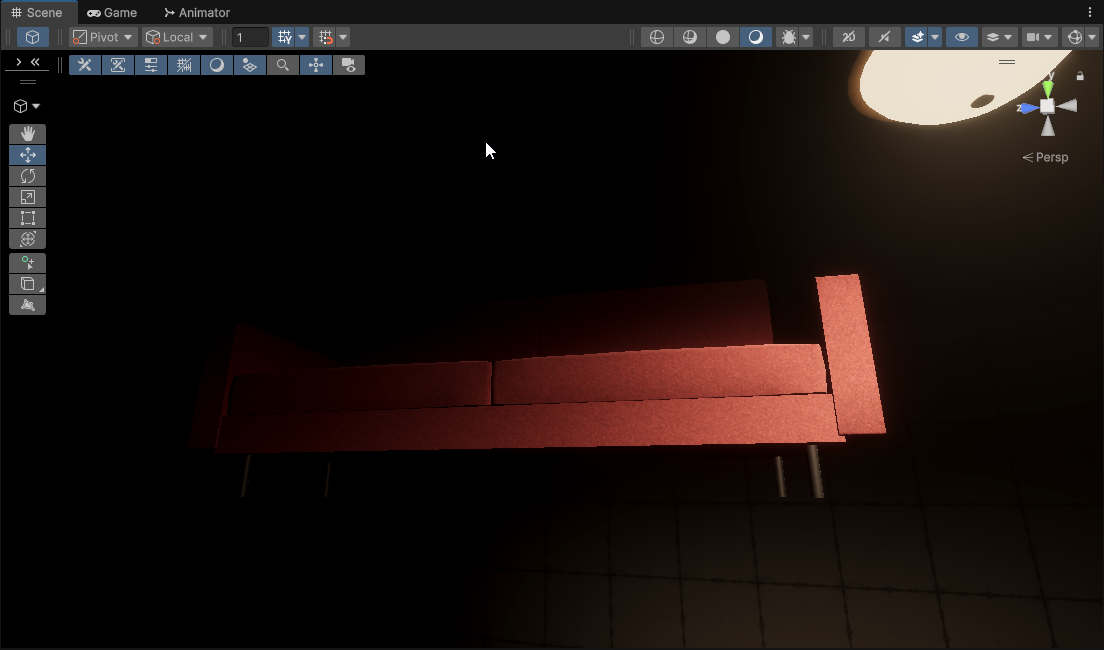
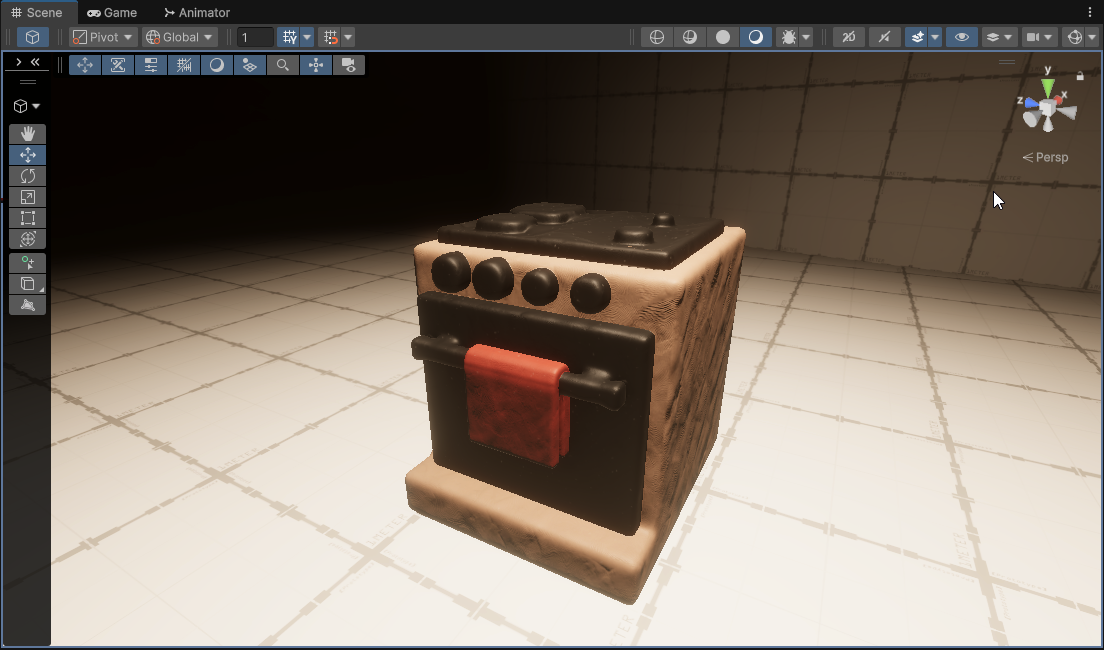
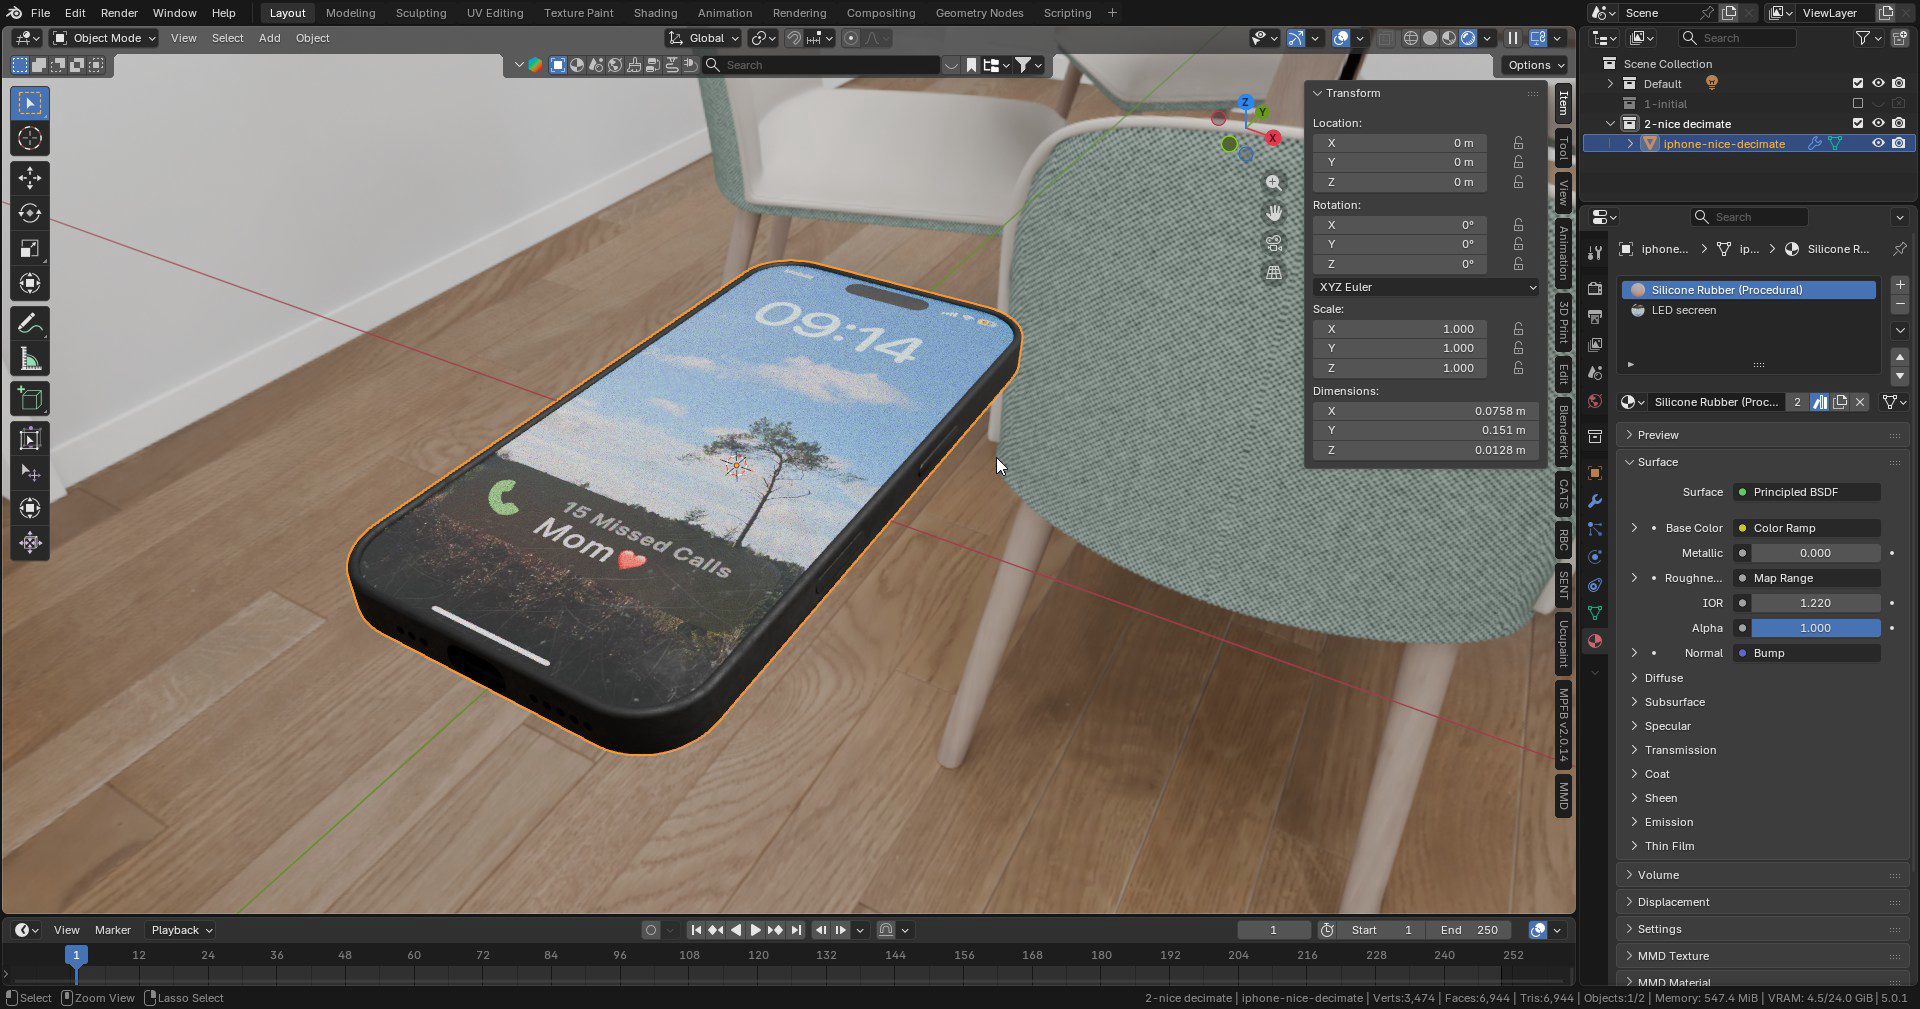
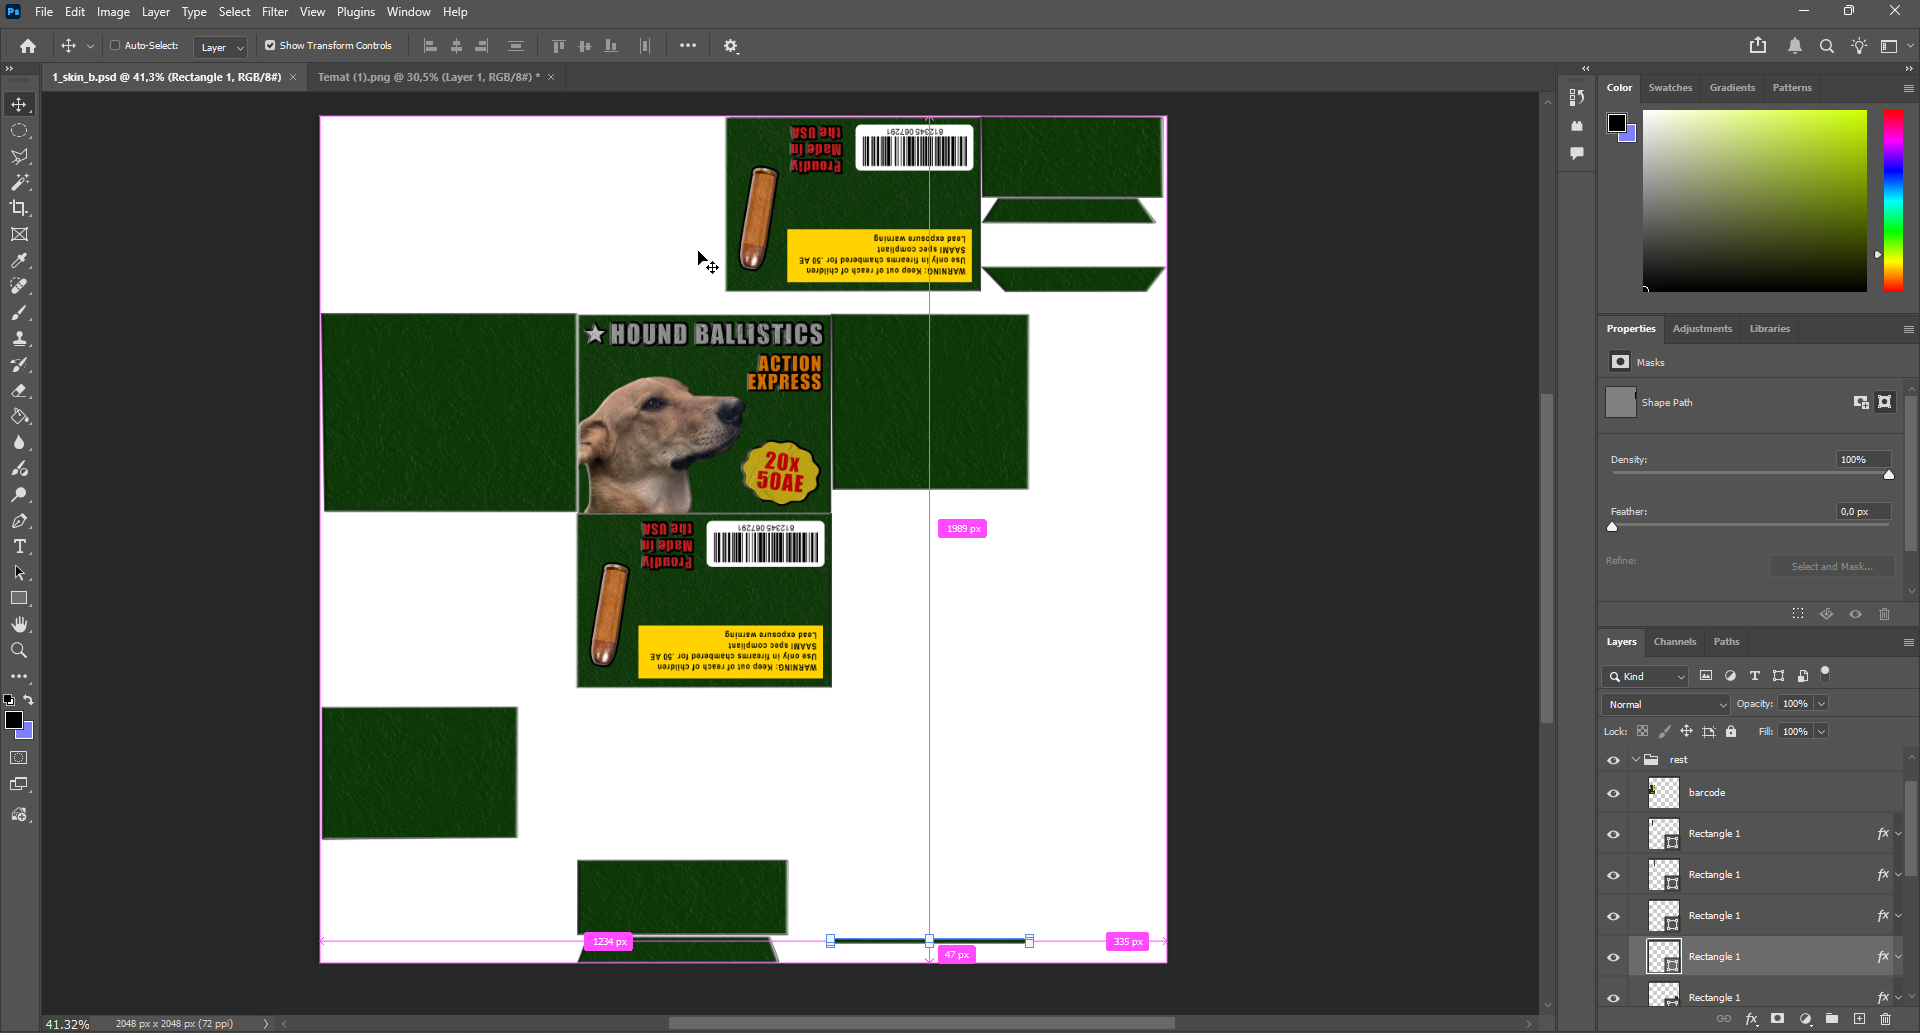
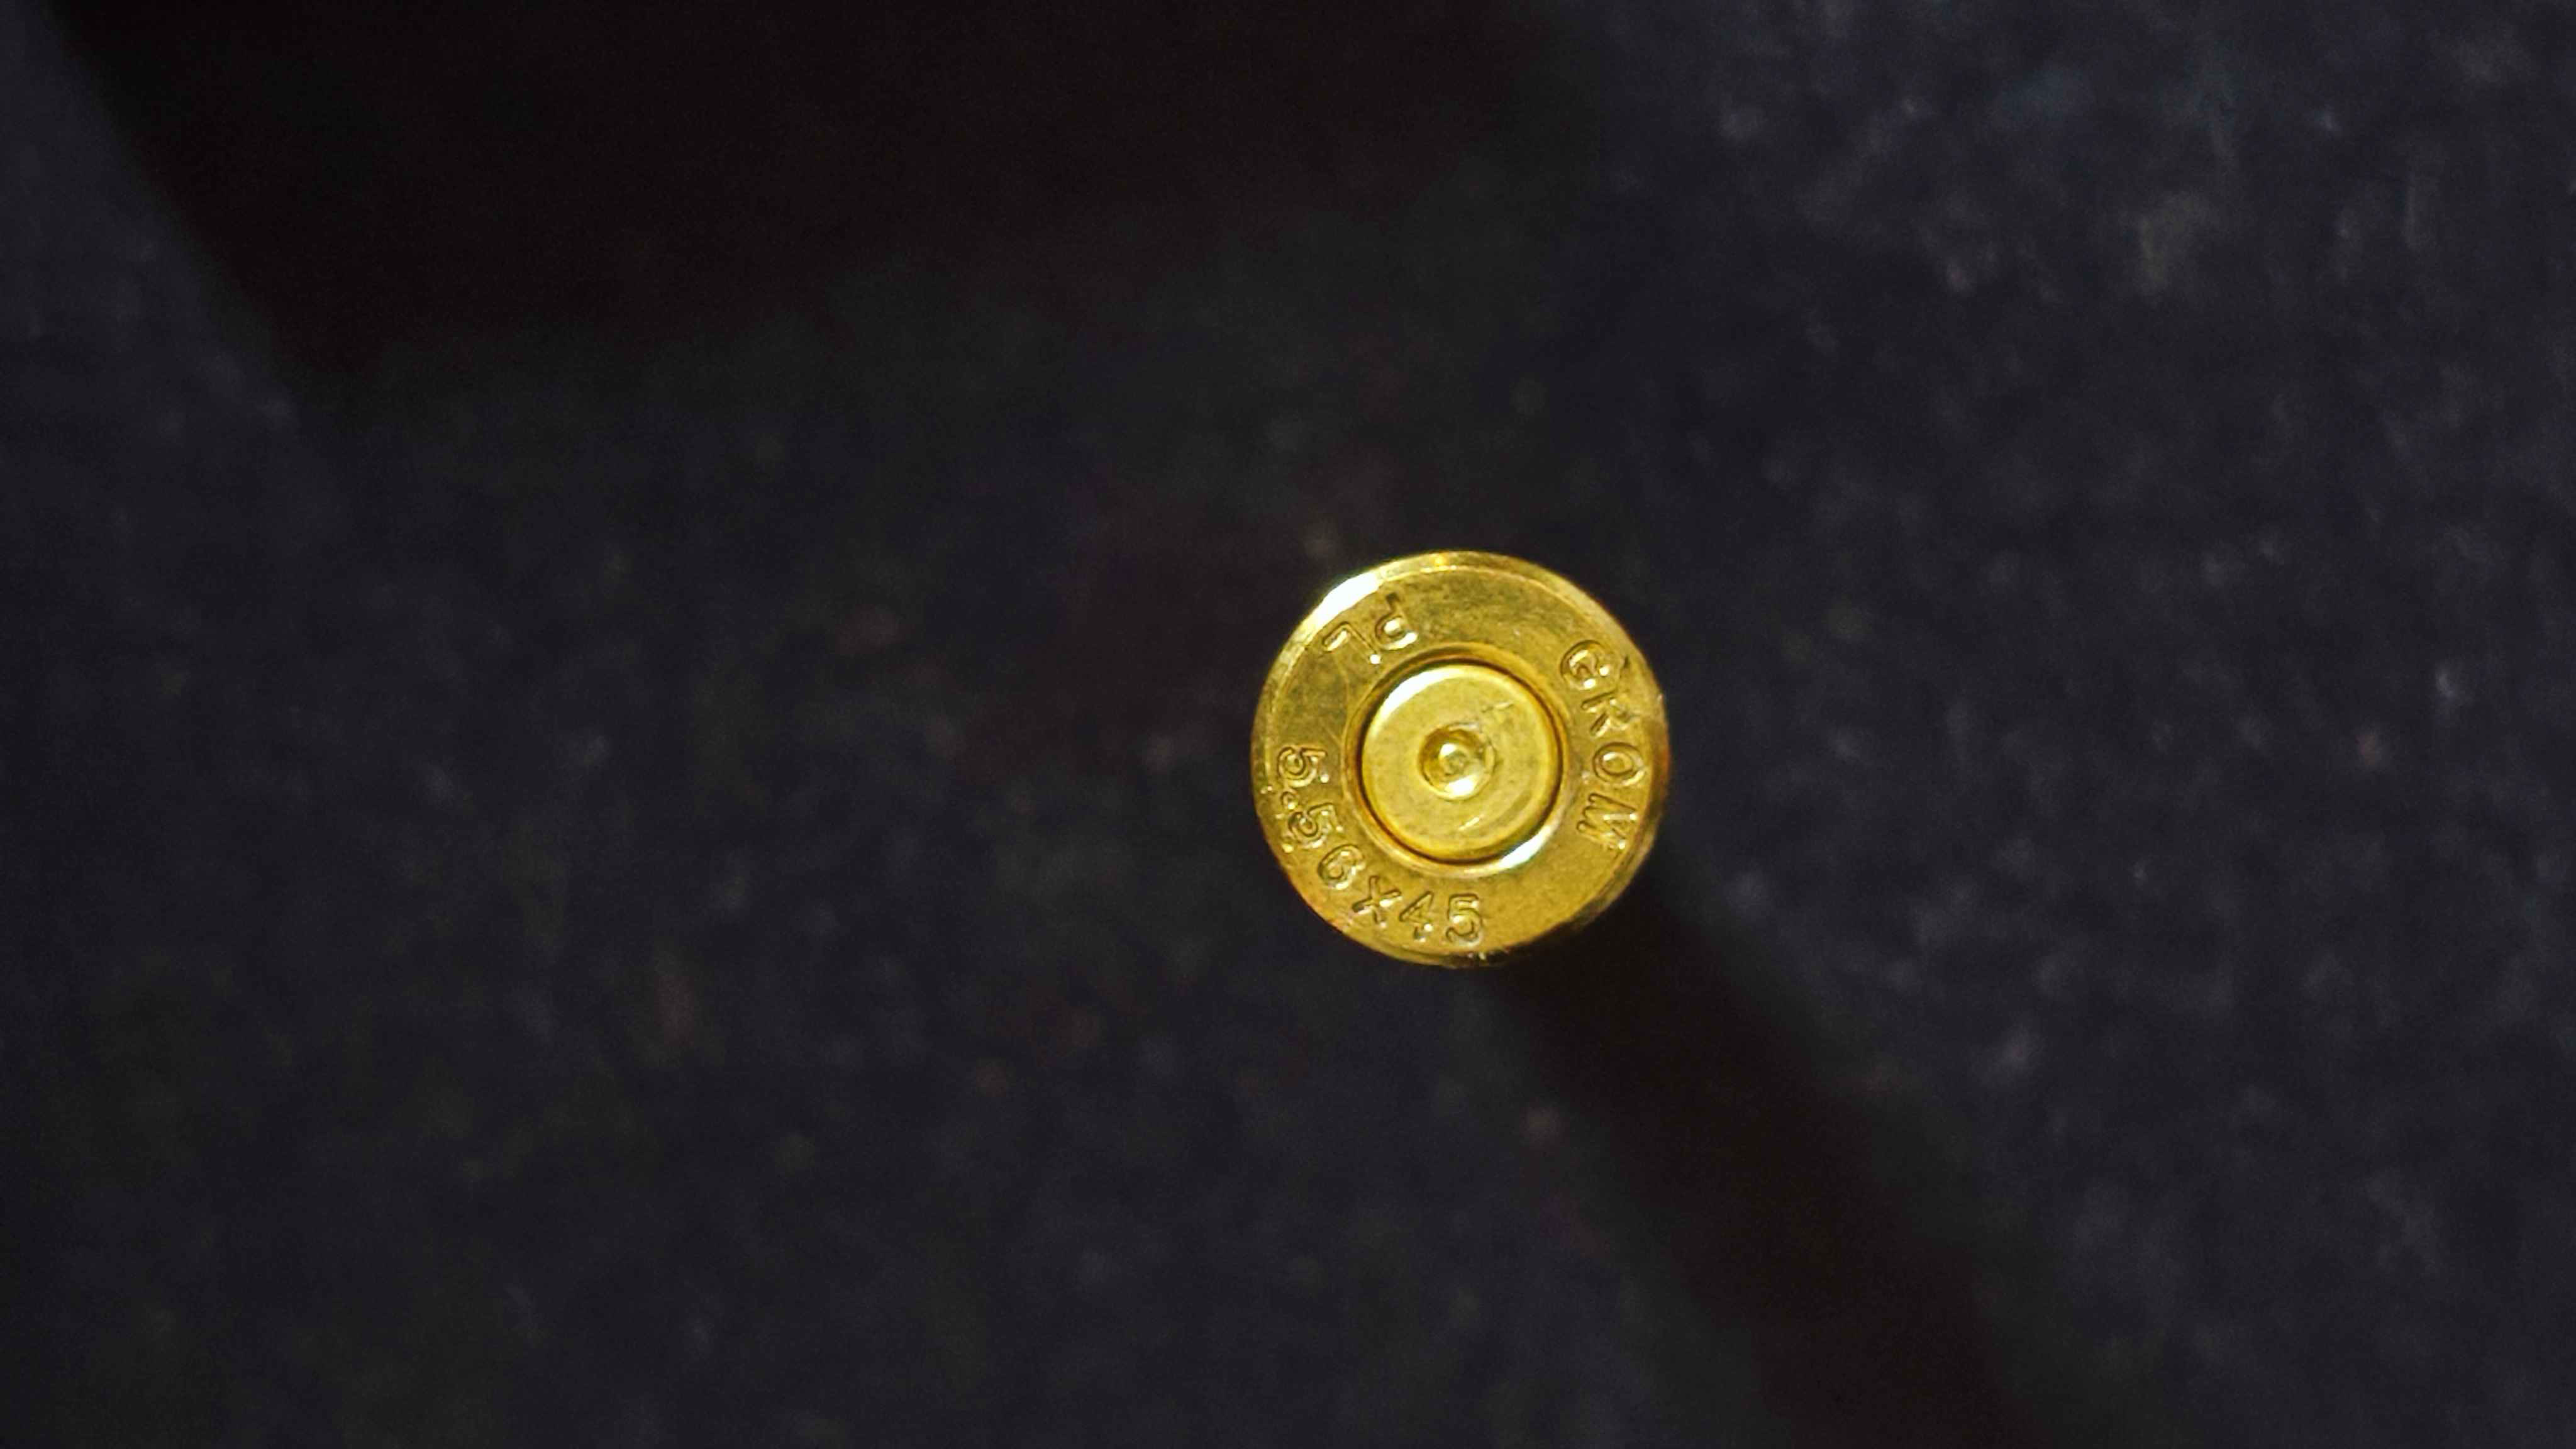
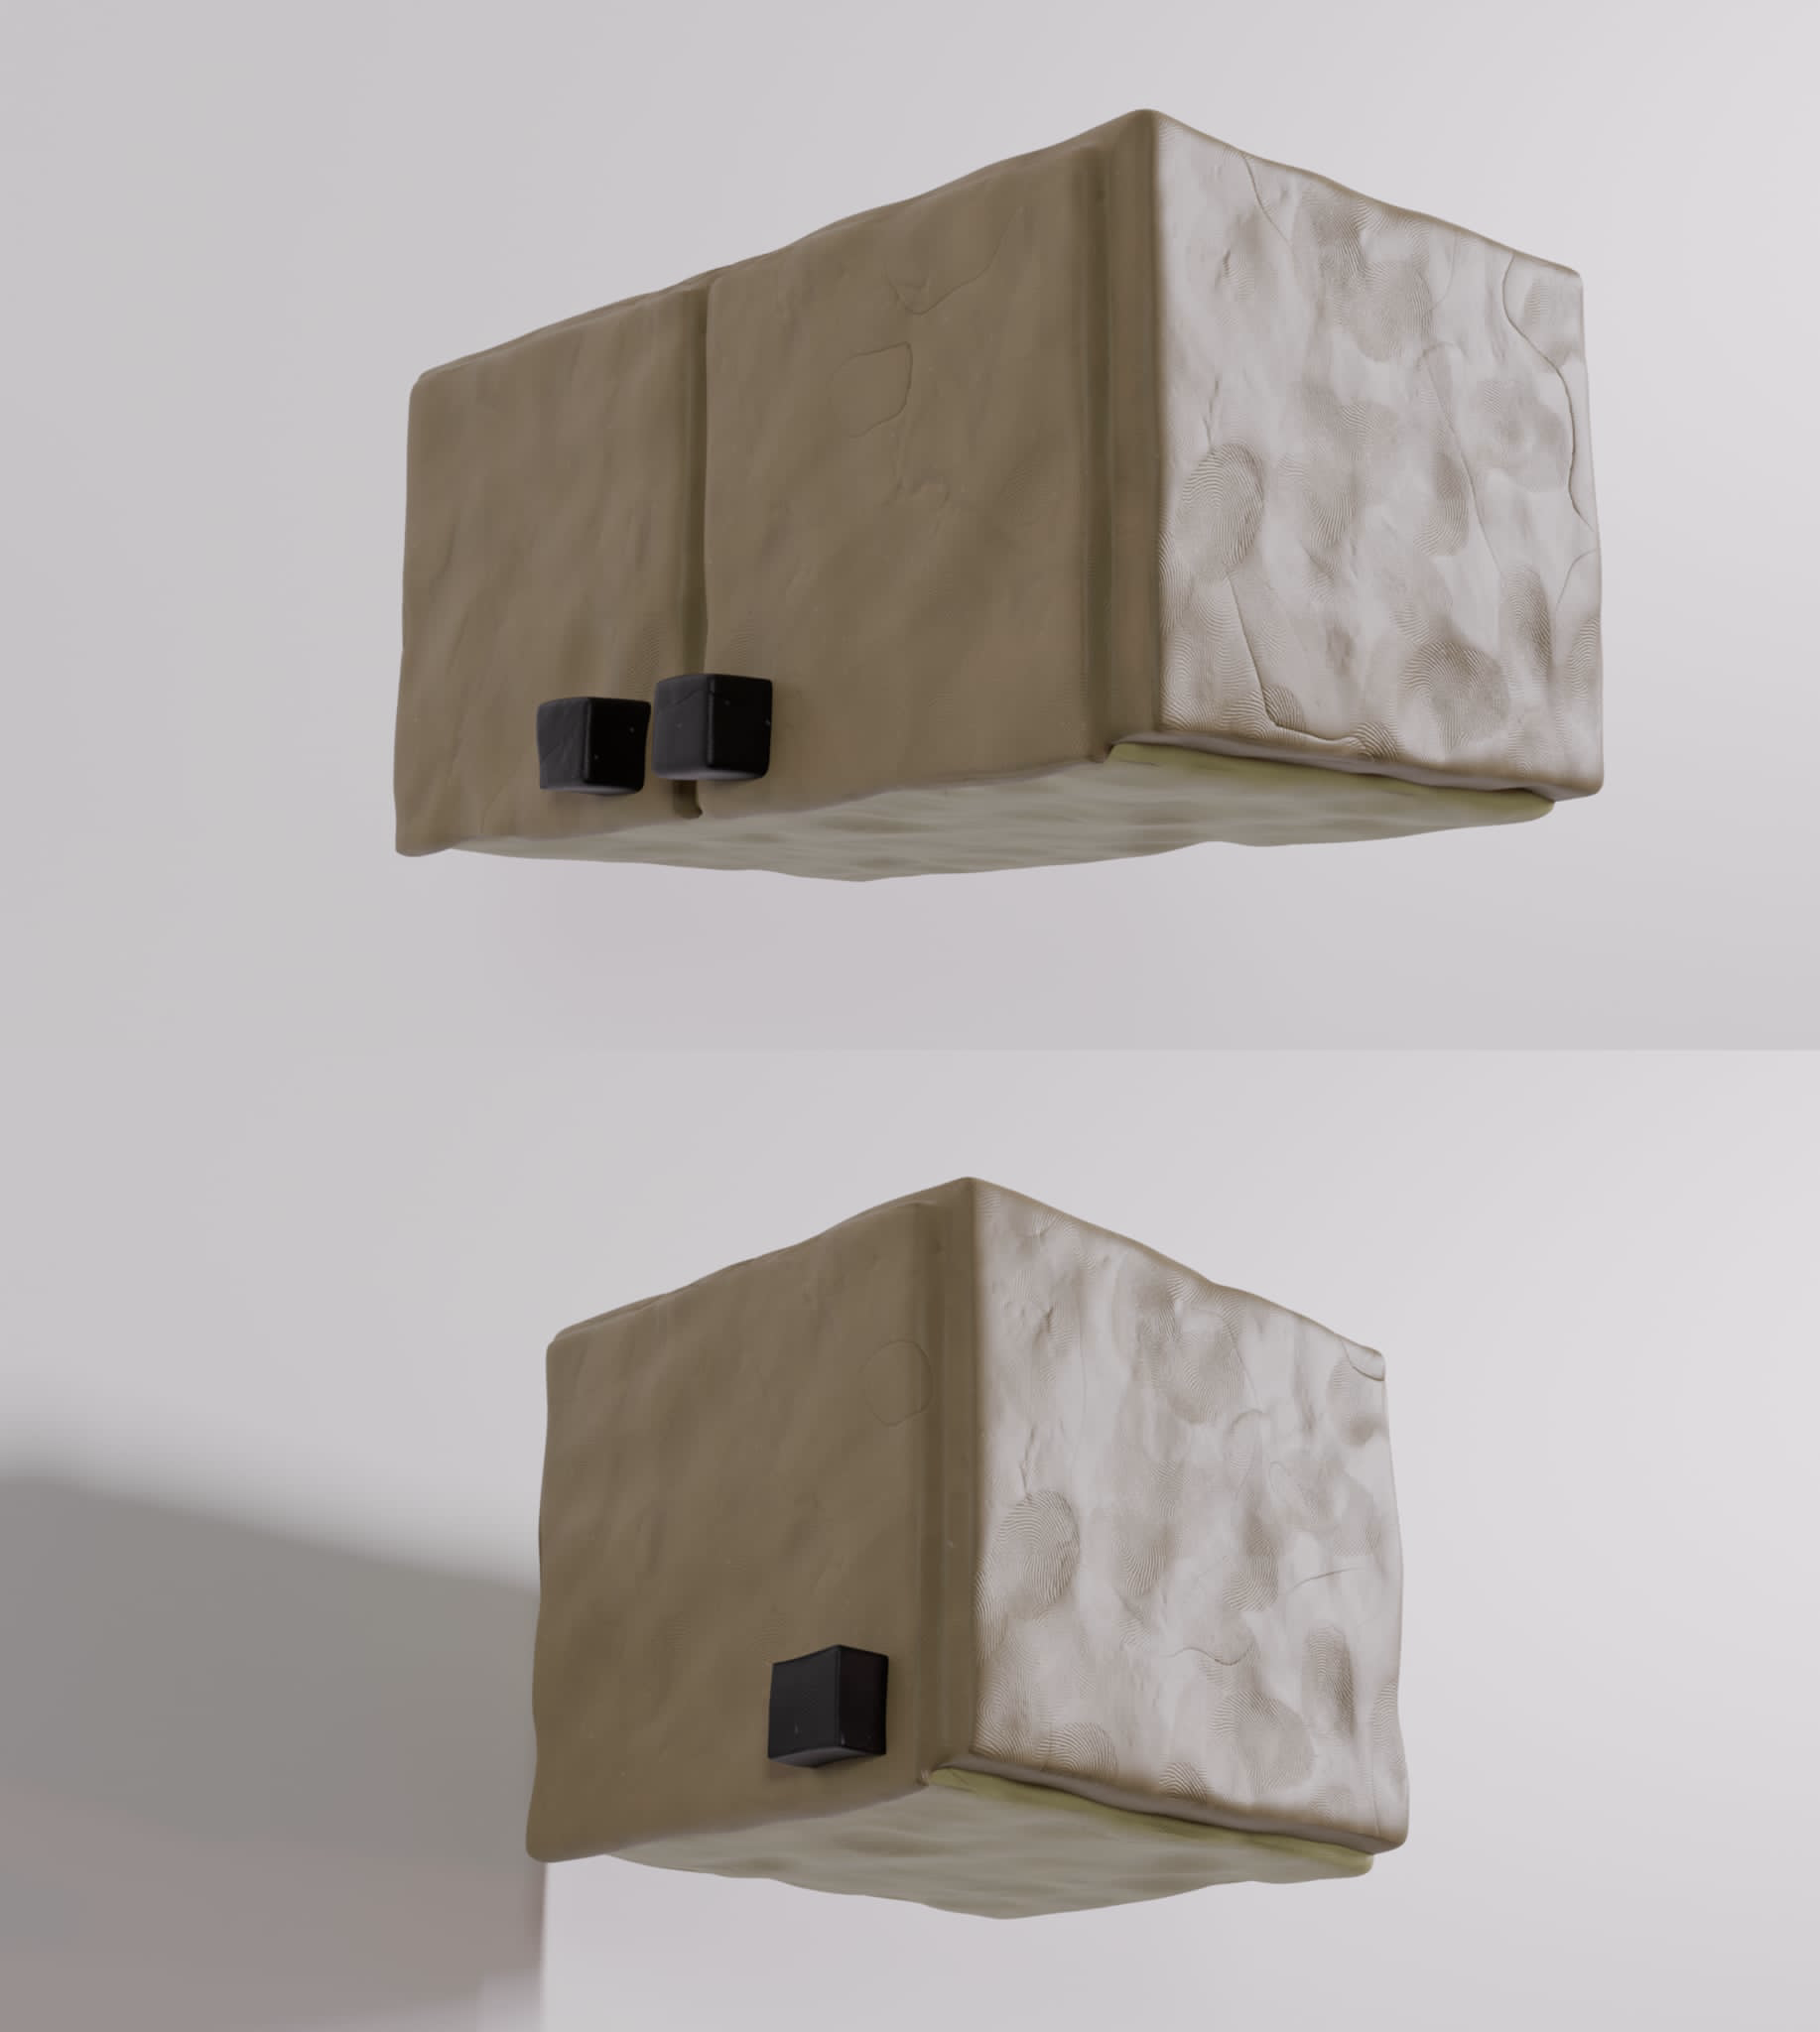
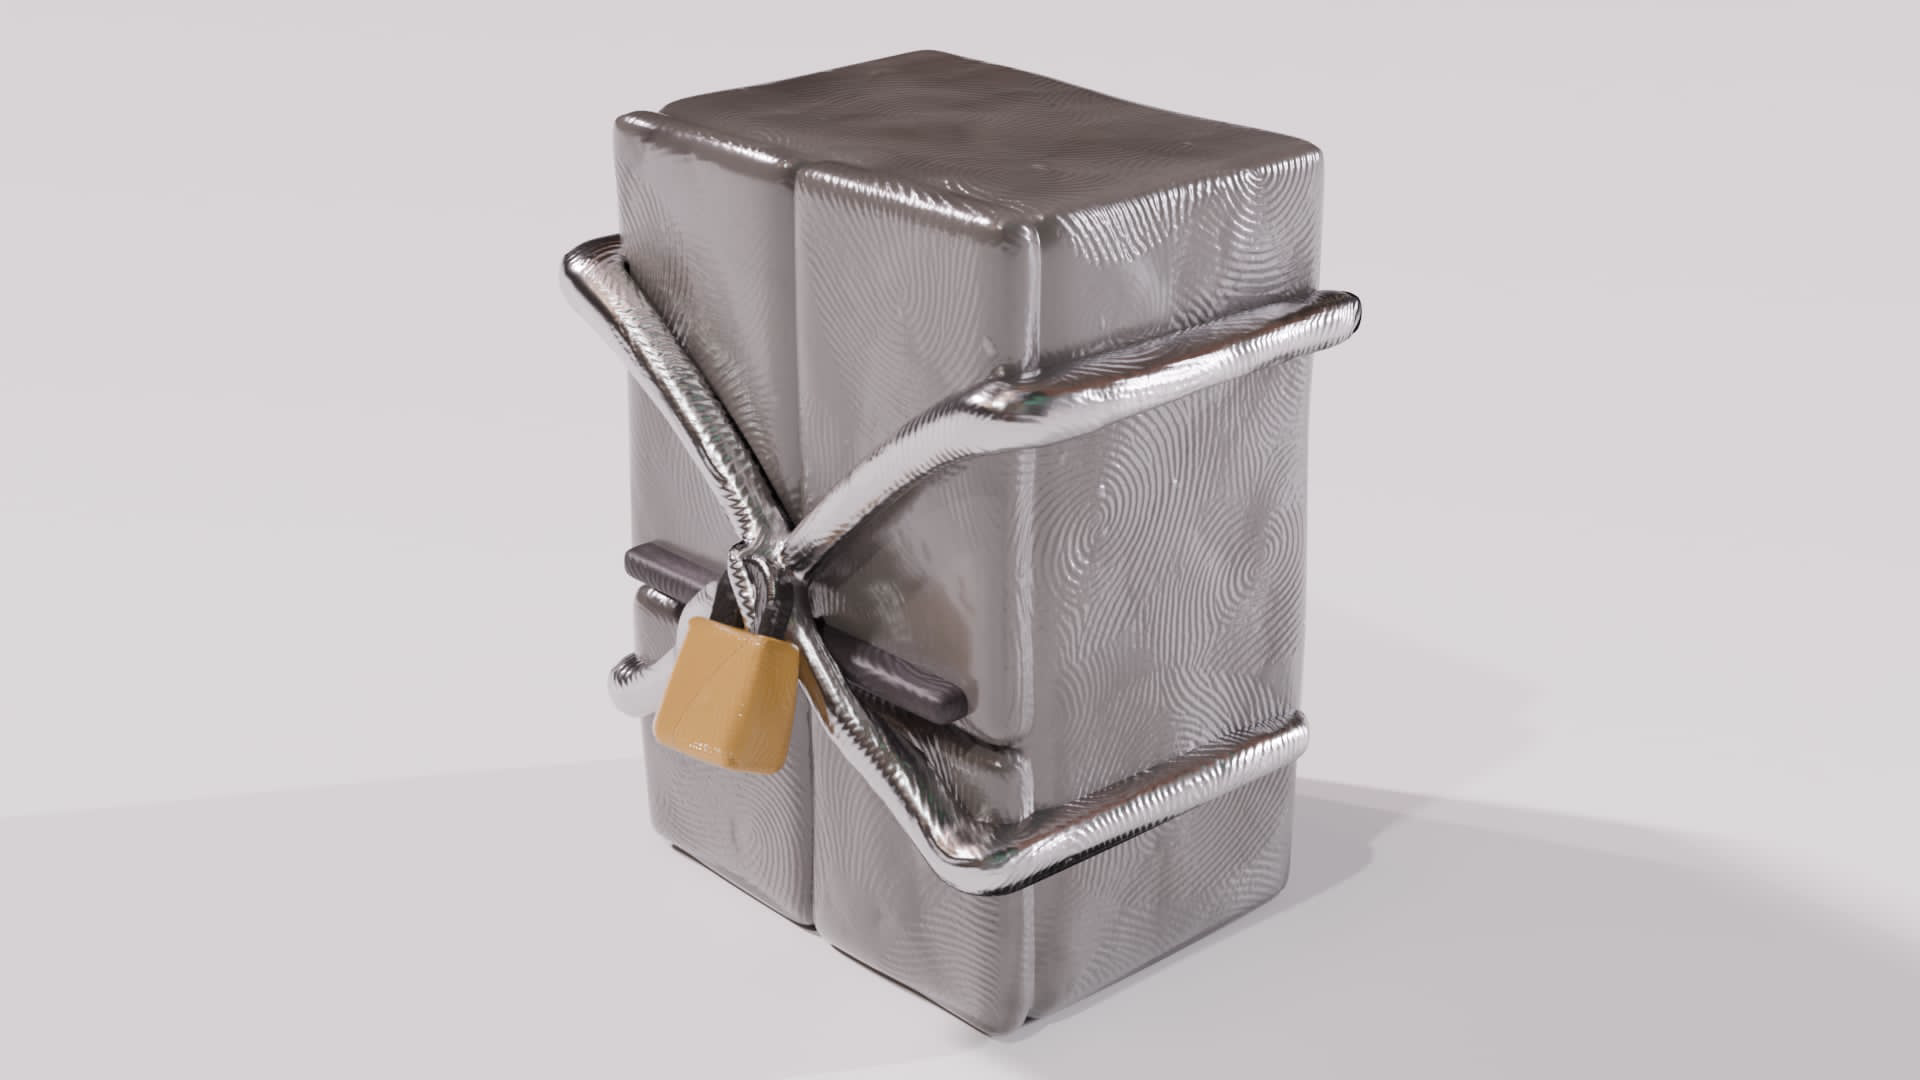
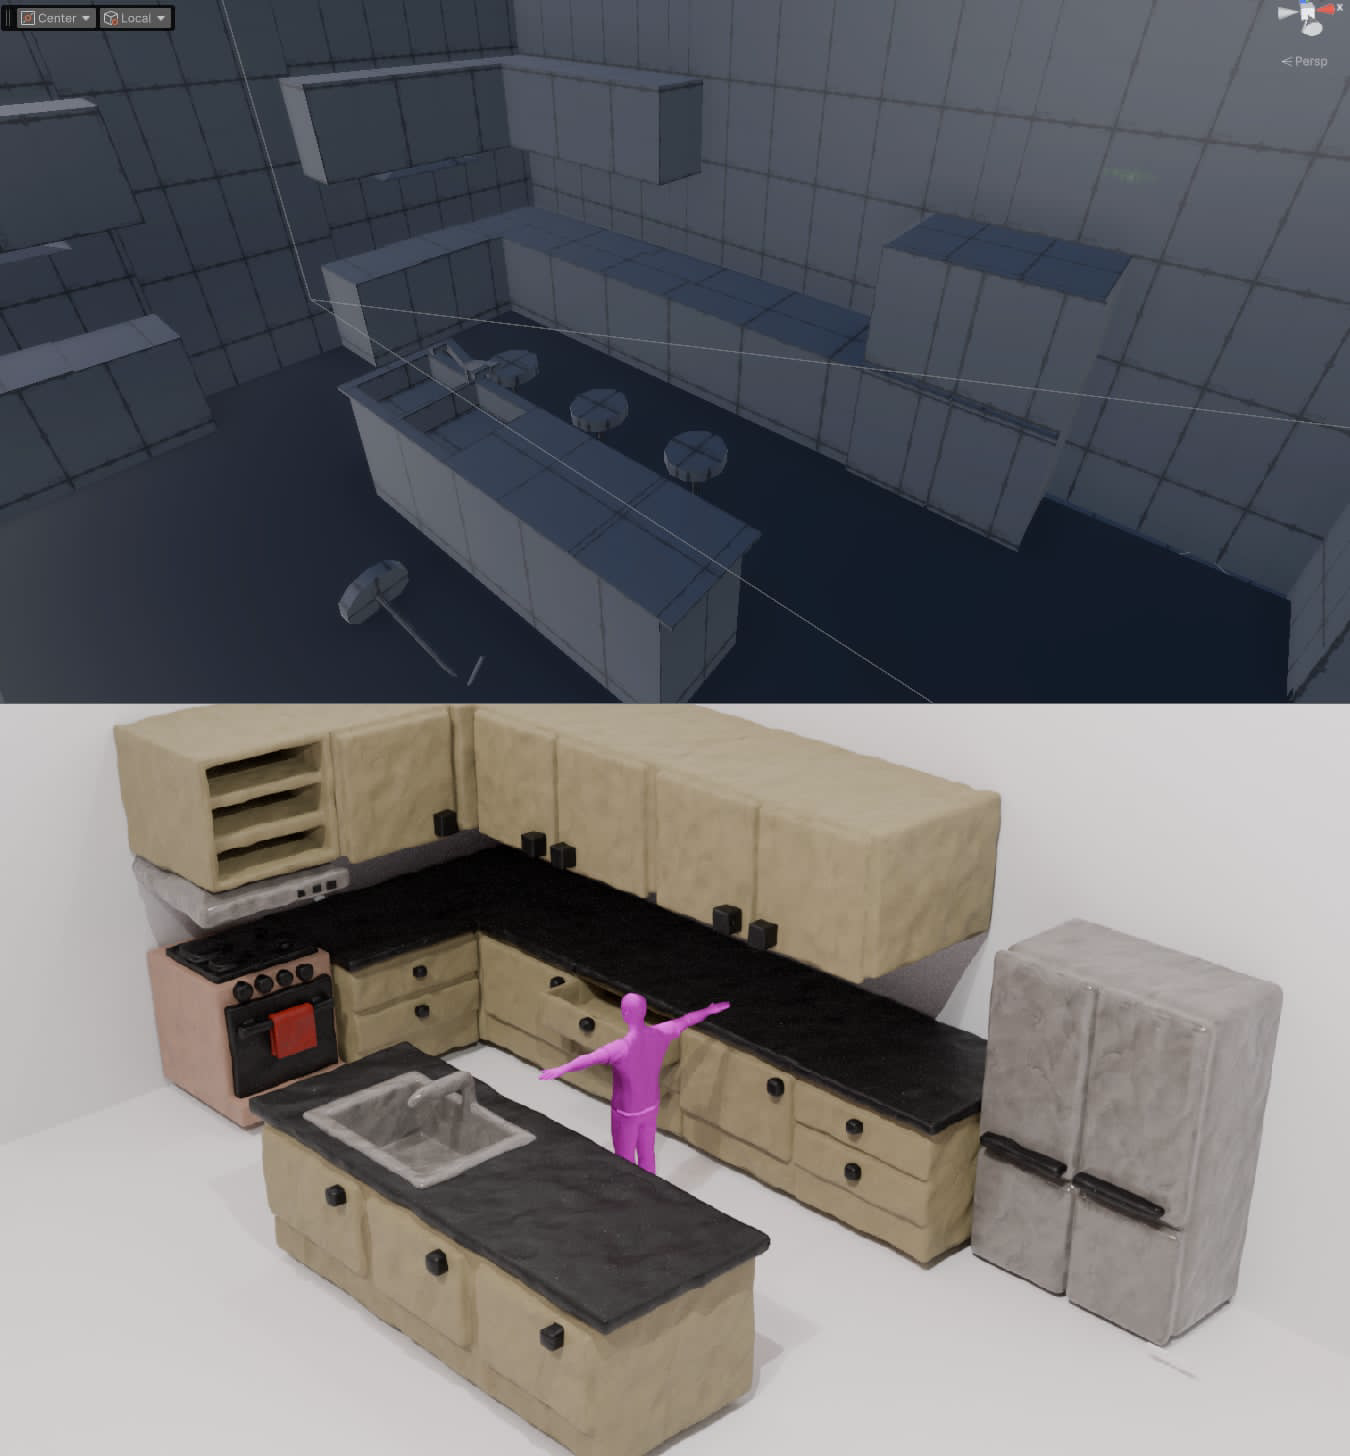
Initial IRL Assets
These are the initial IRL assets (mainly for the office scene) before they were finalized:
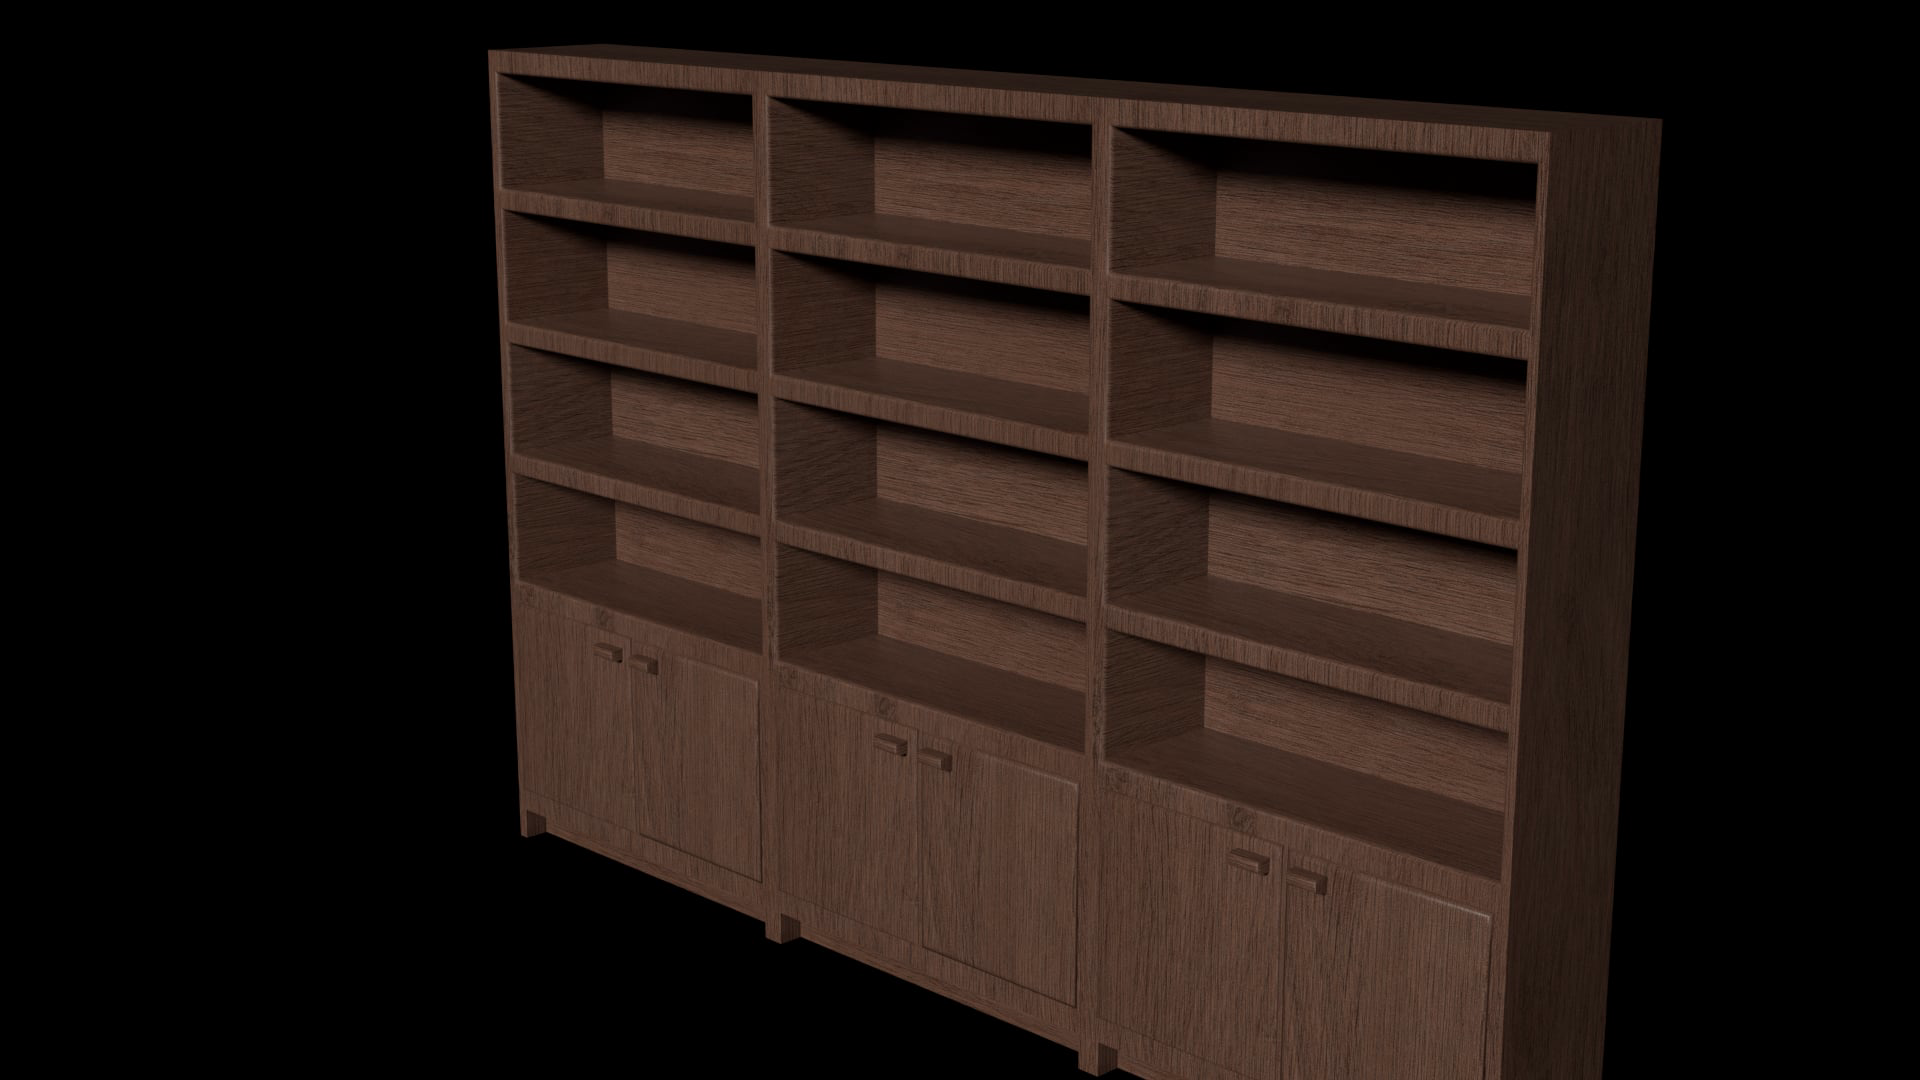

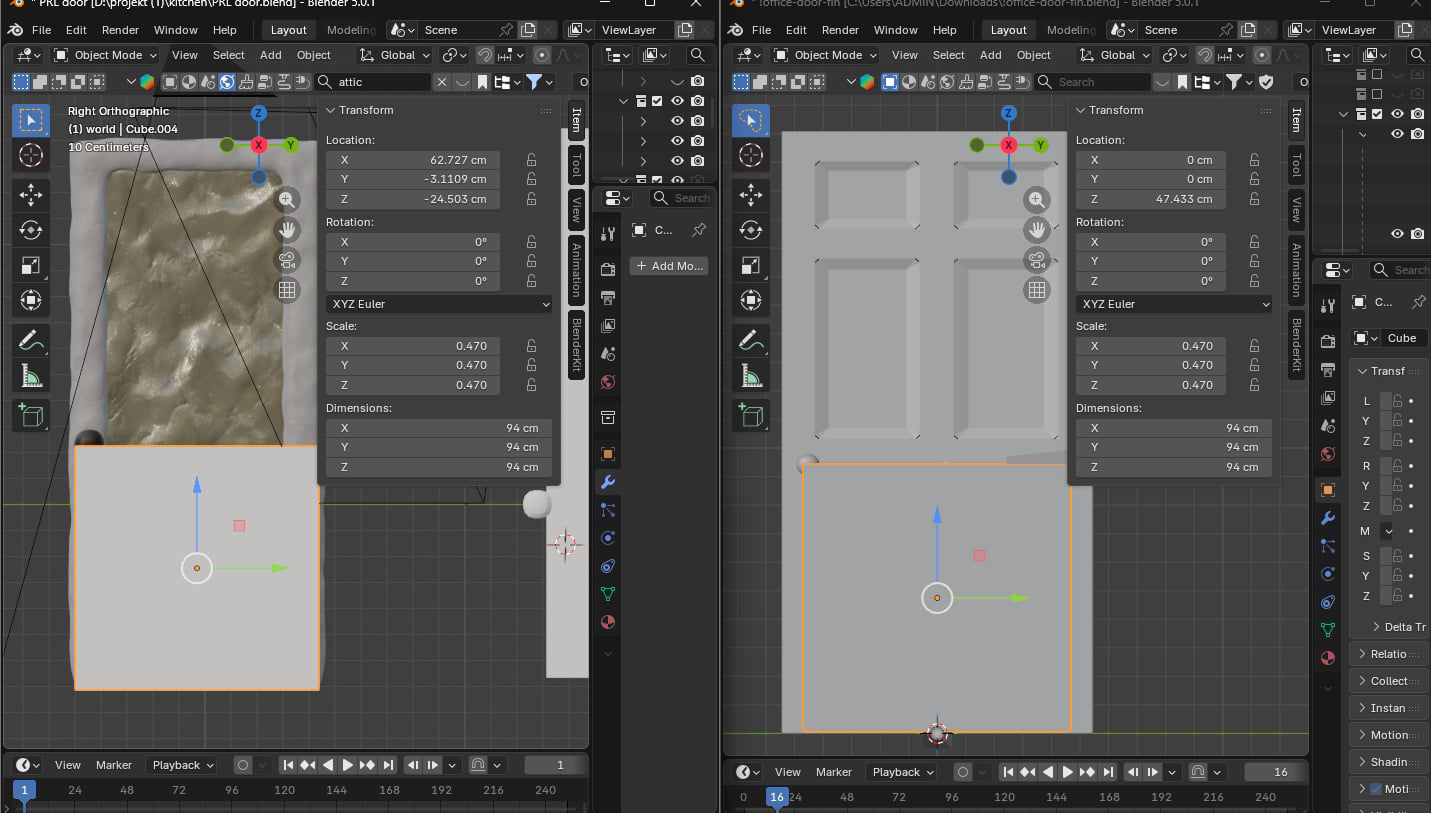
Office Layout and Scaling
Because of how Mocap Fusion handles calibration and exports, getting a proper scale reference was a bit tricky, but in the end we finally managed to get it working:
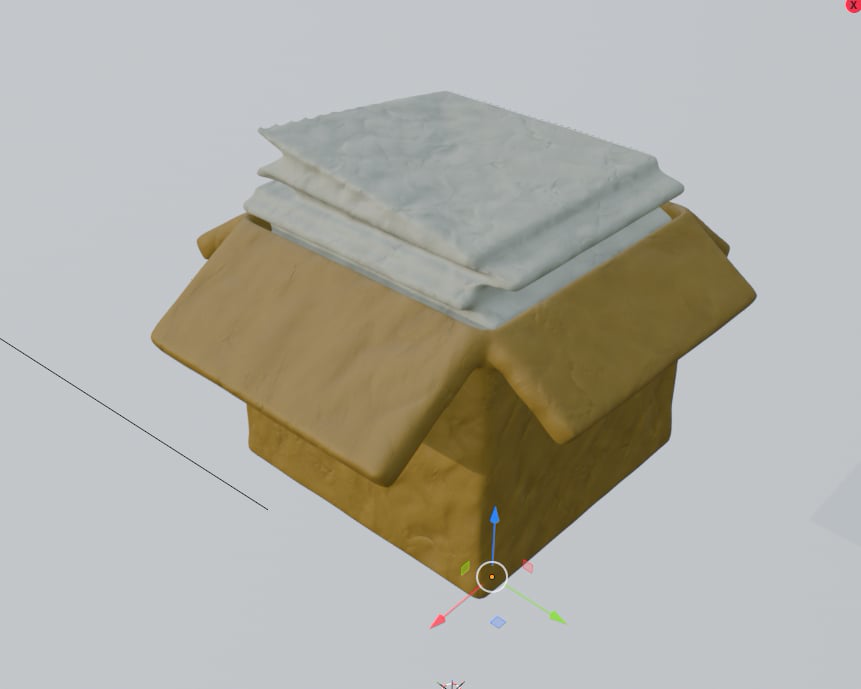
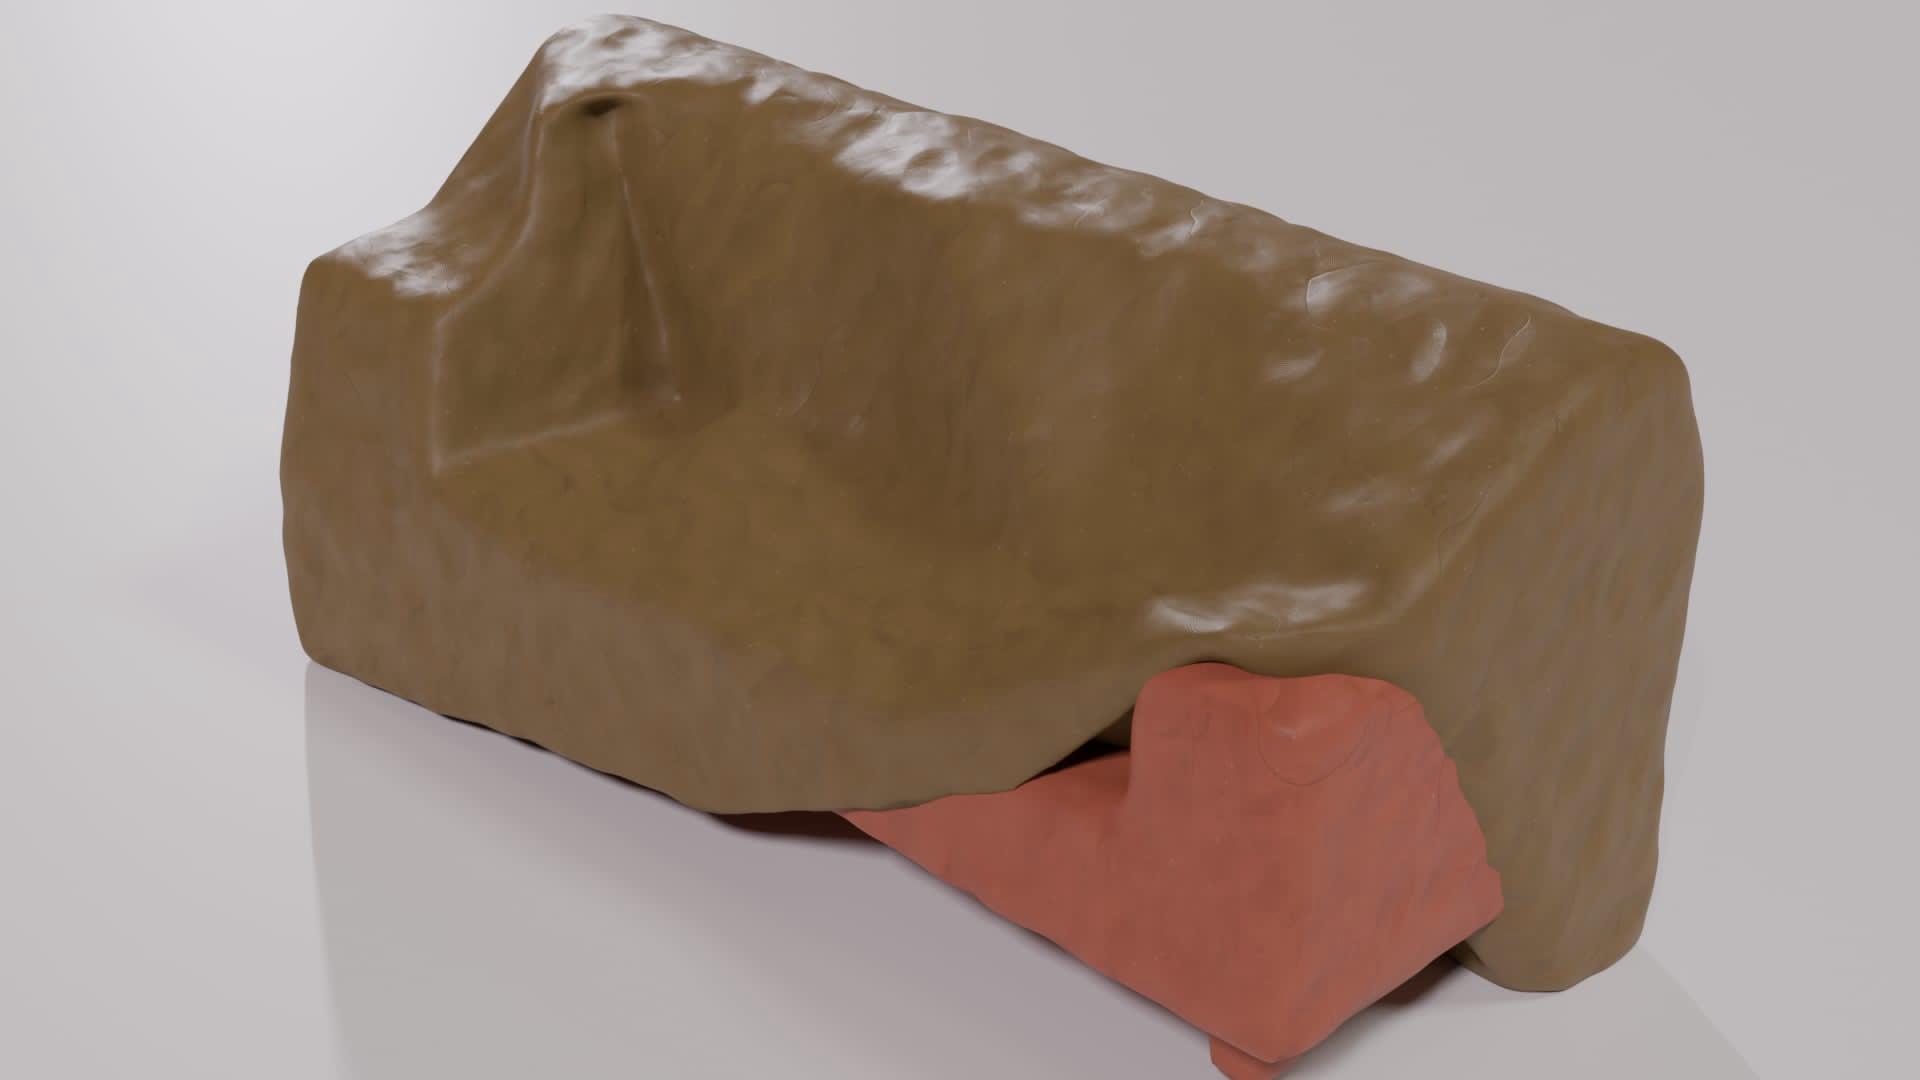
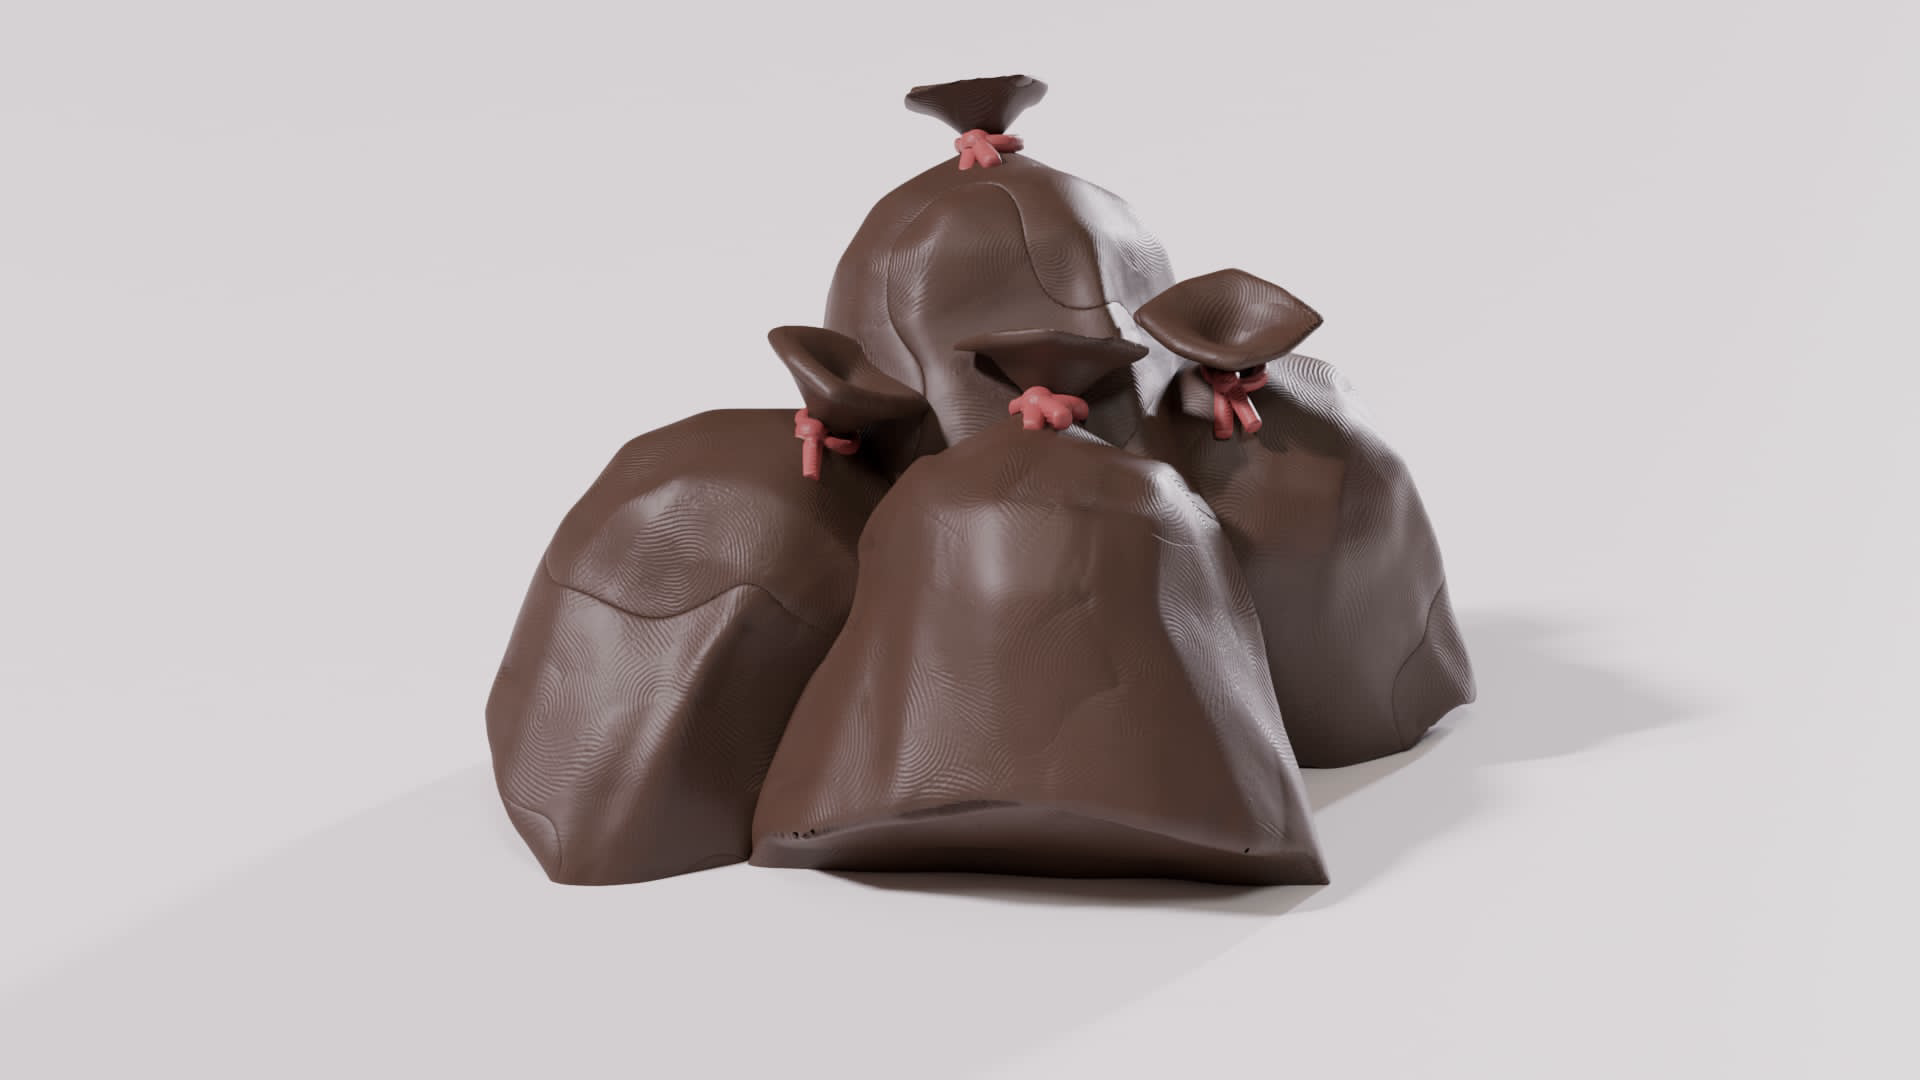
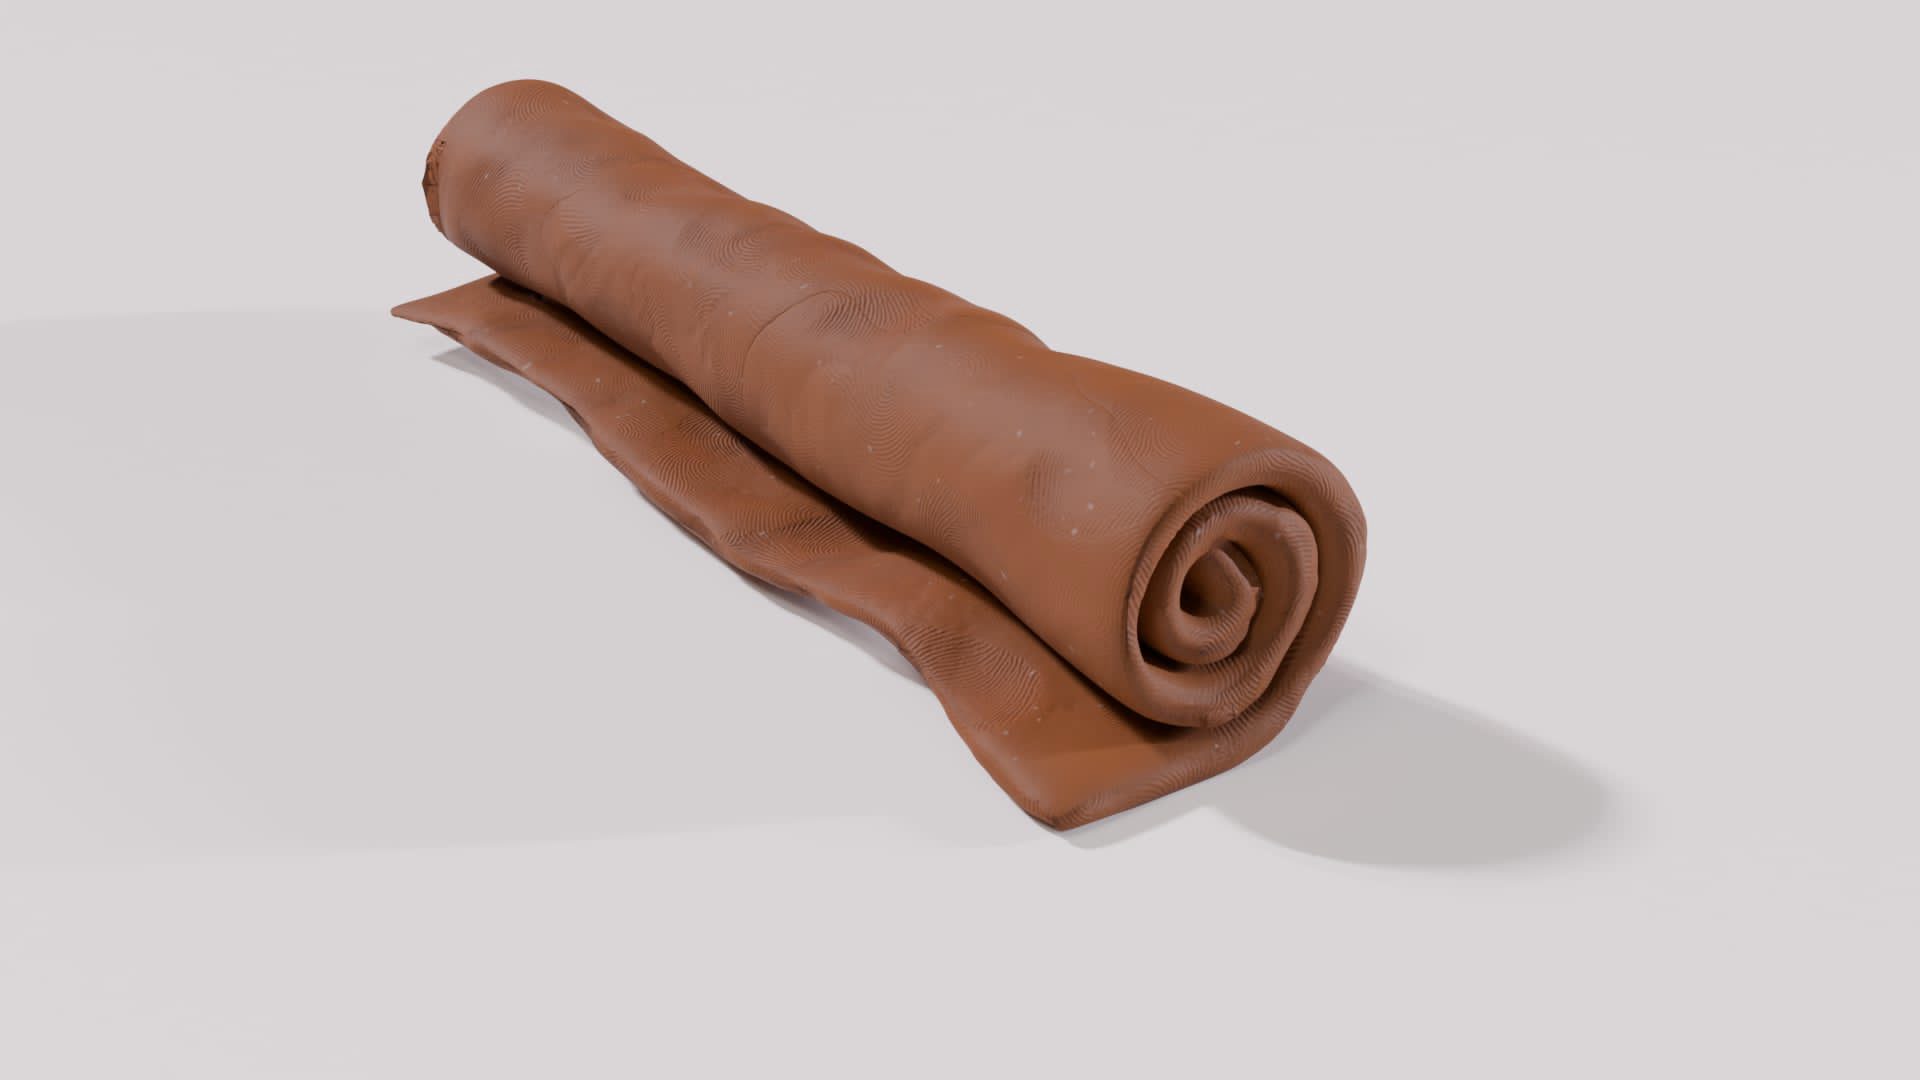
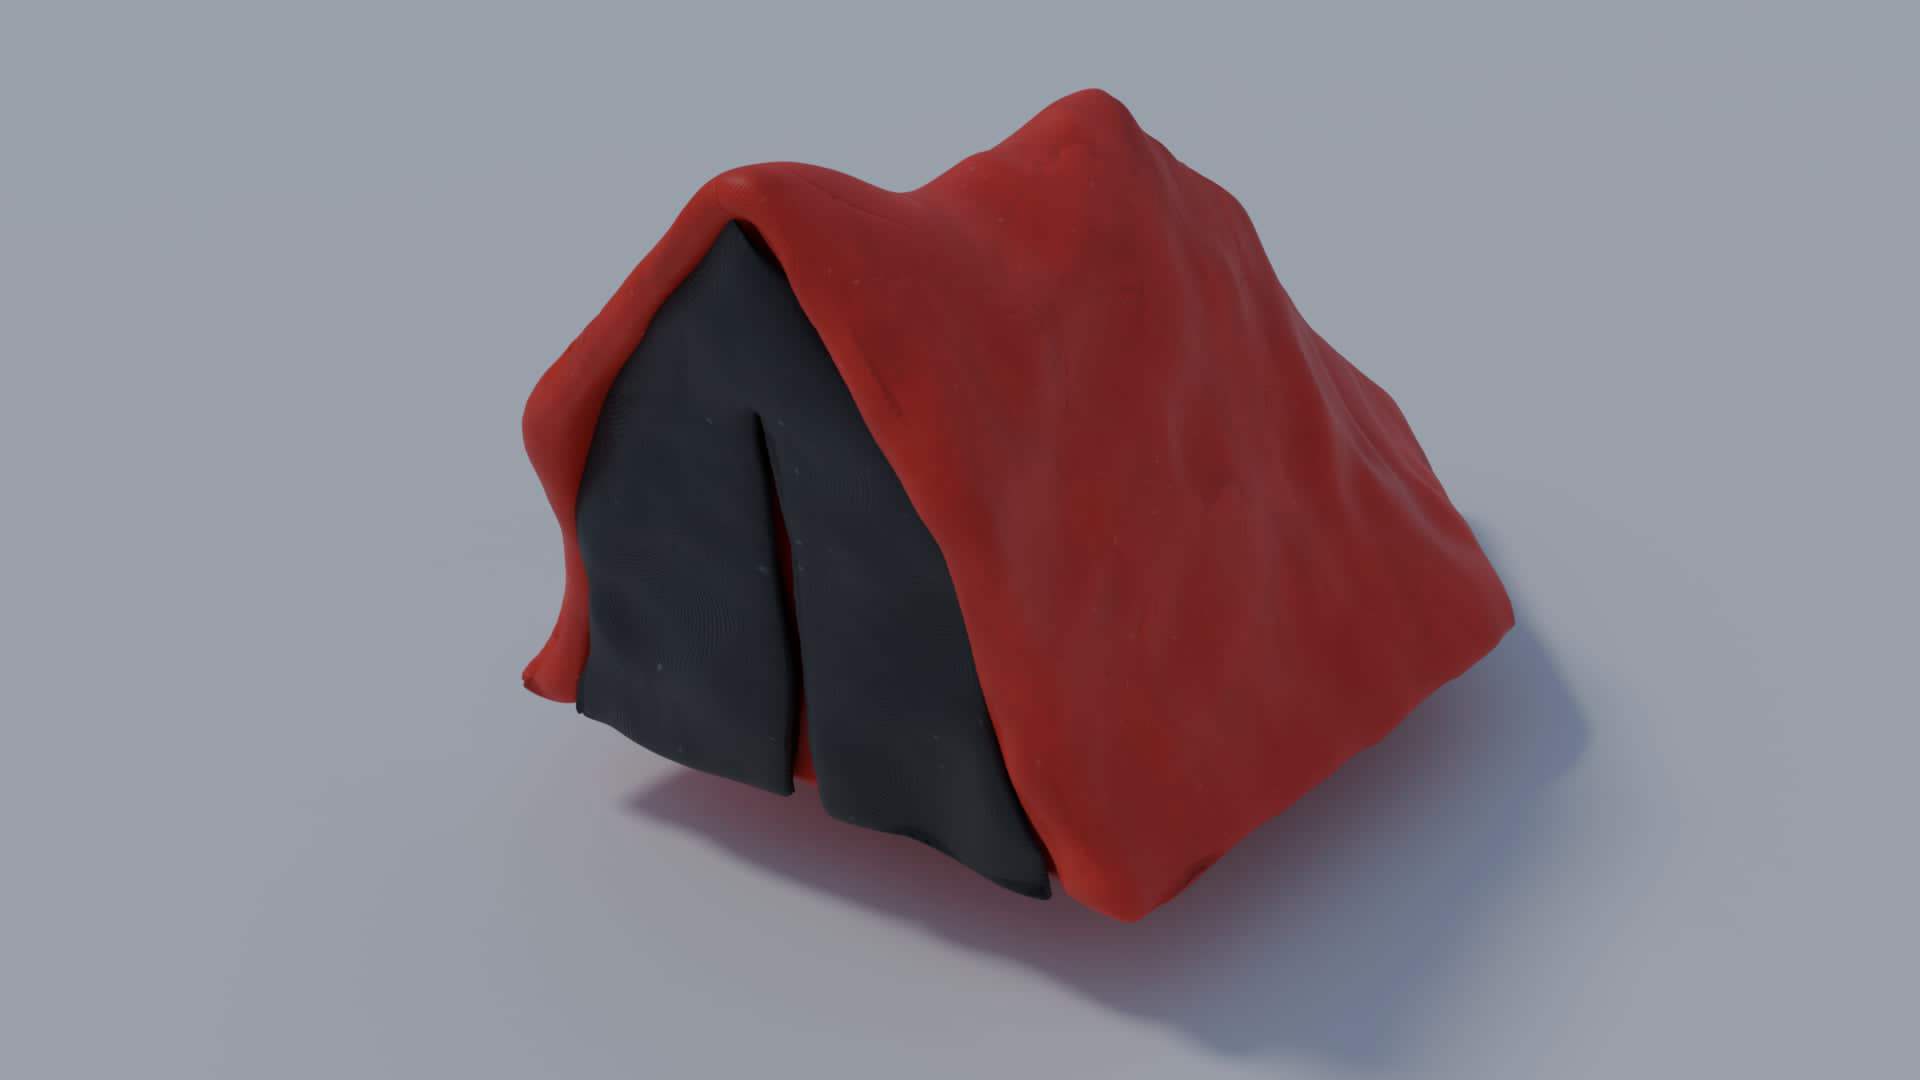
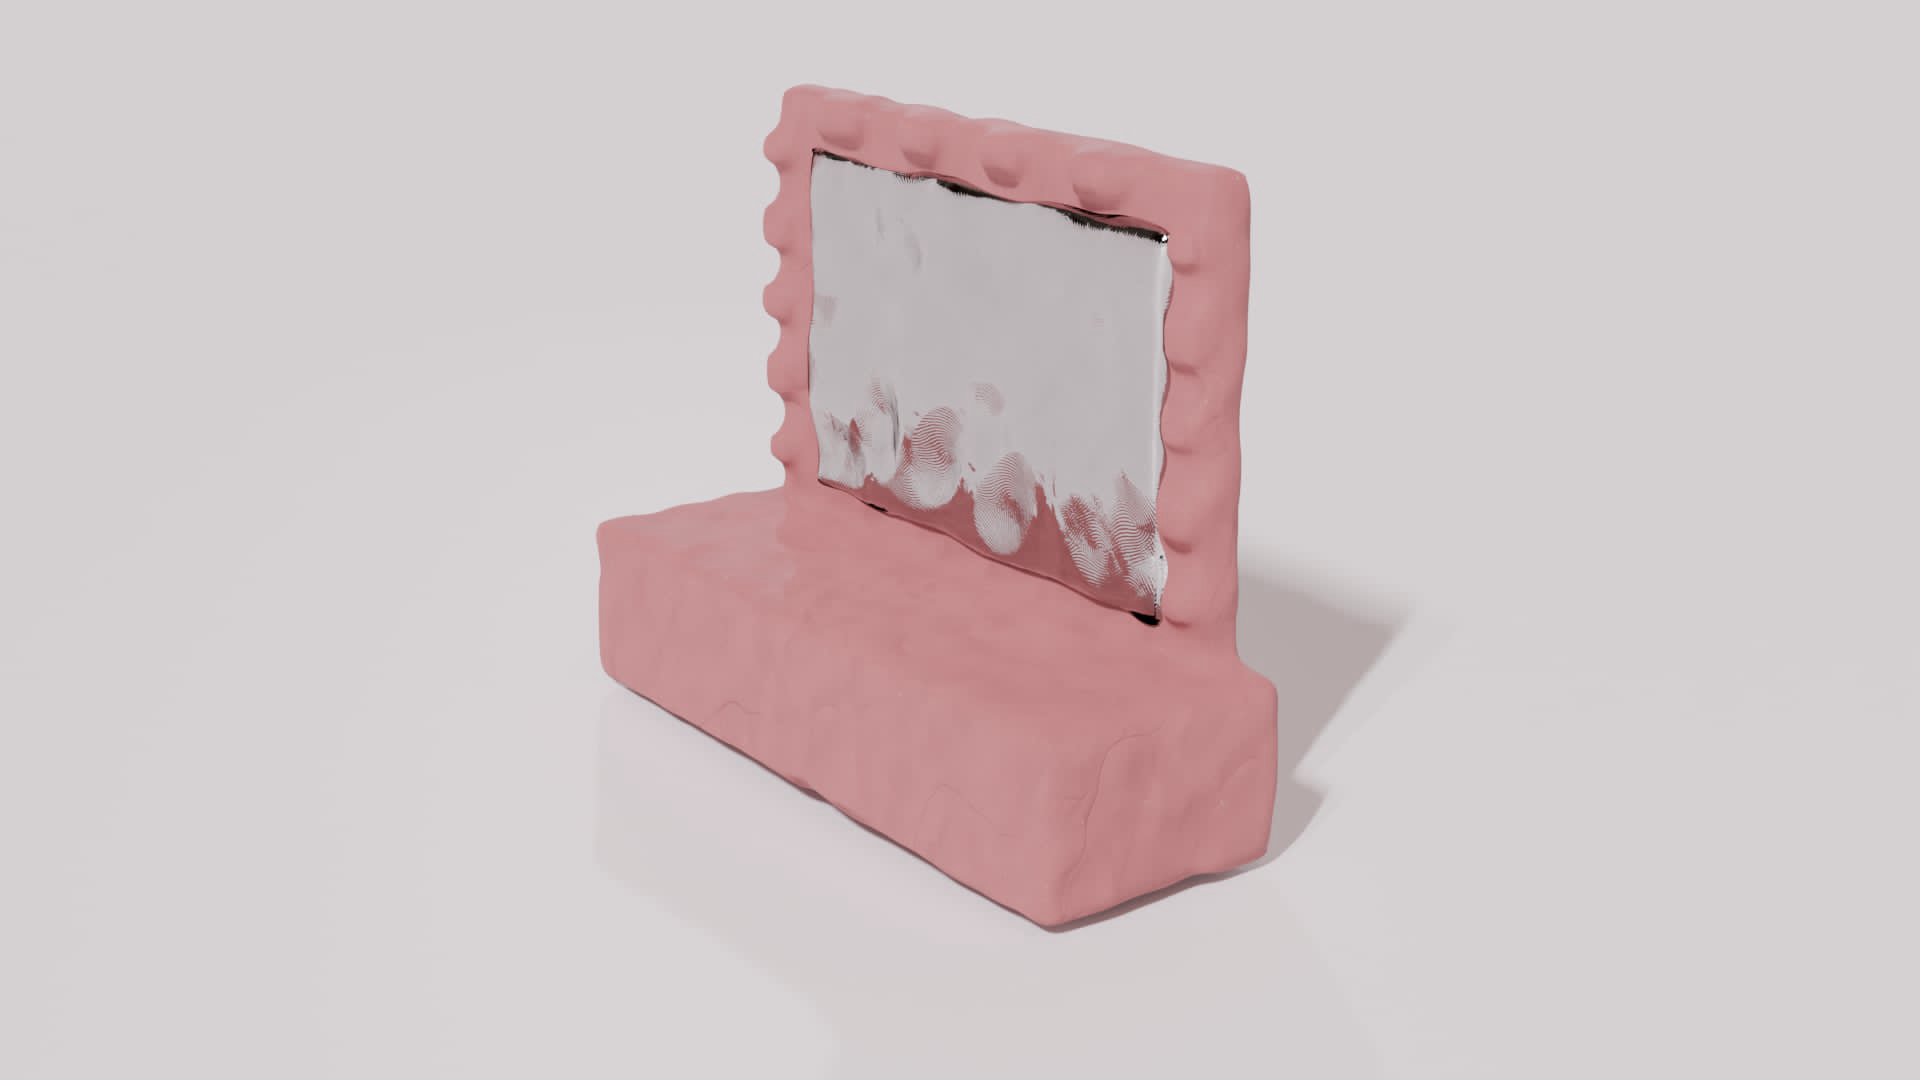
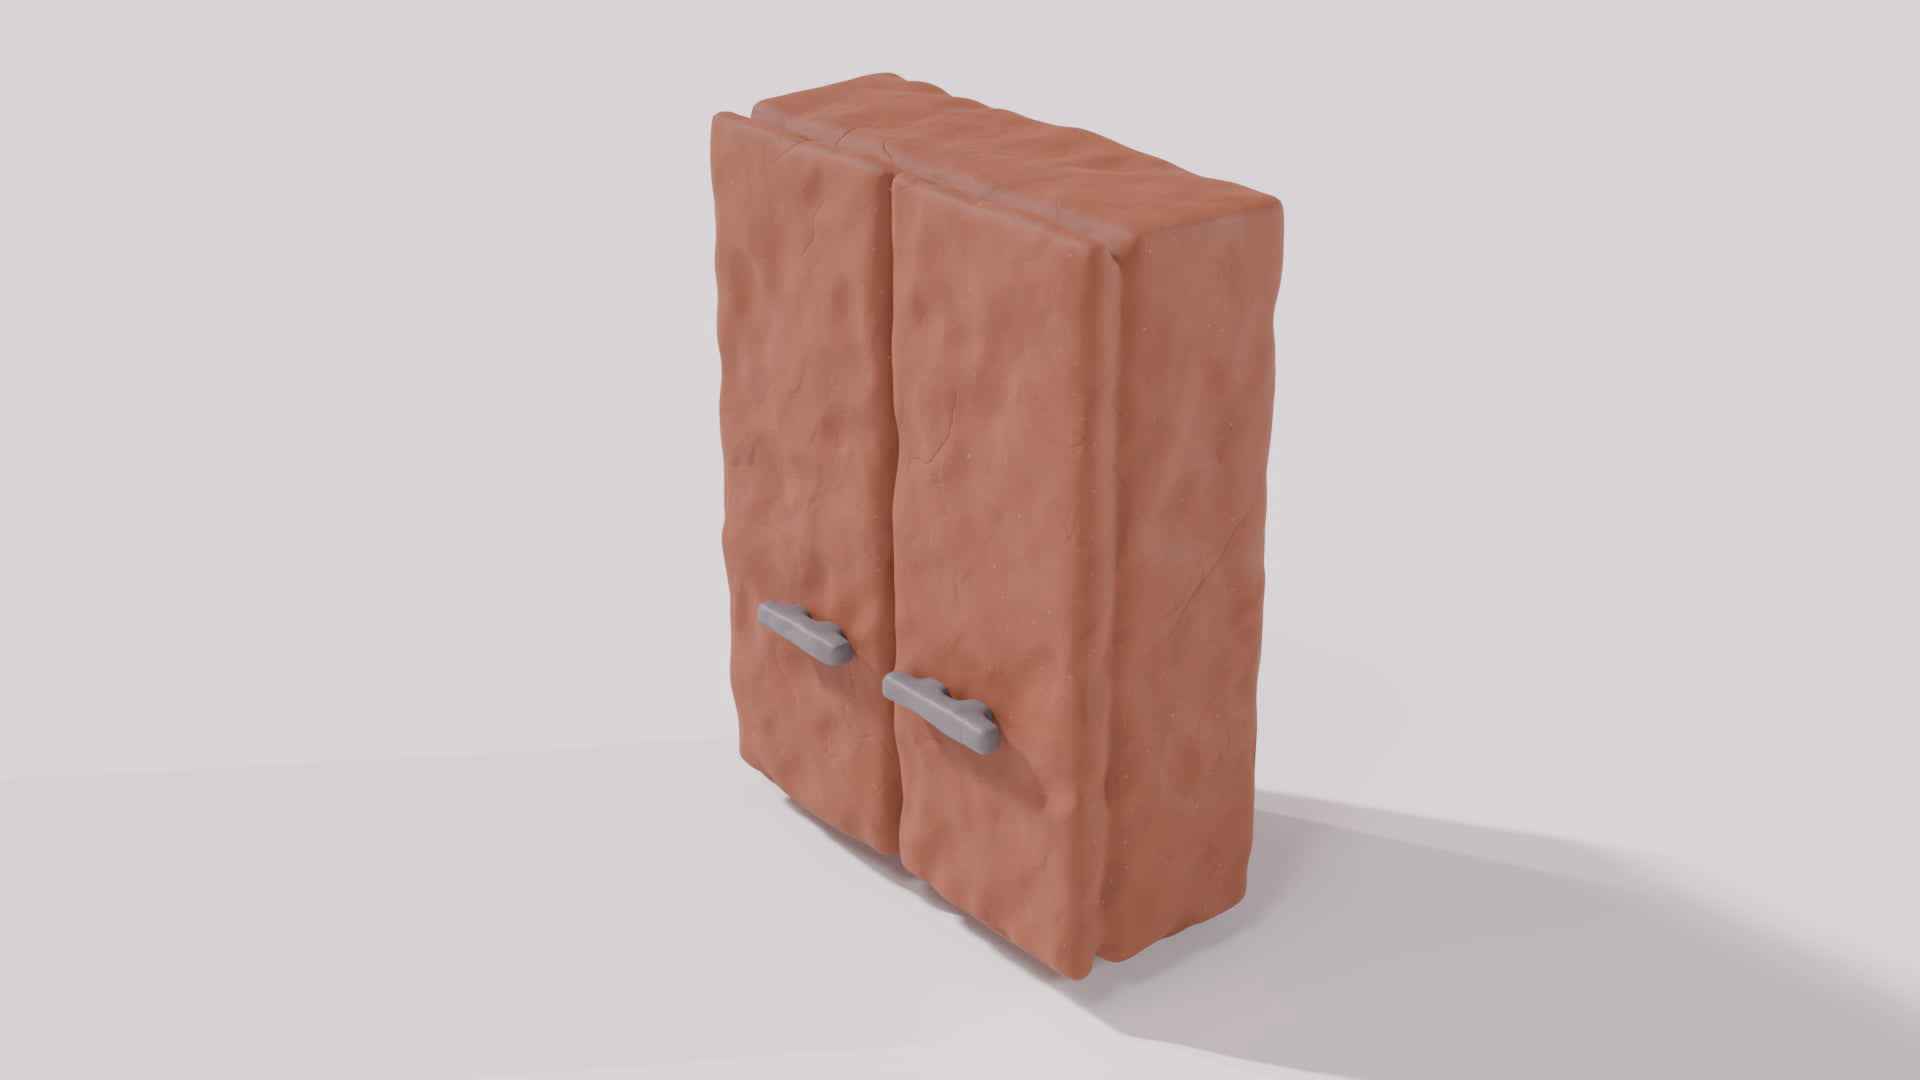
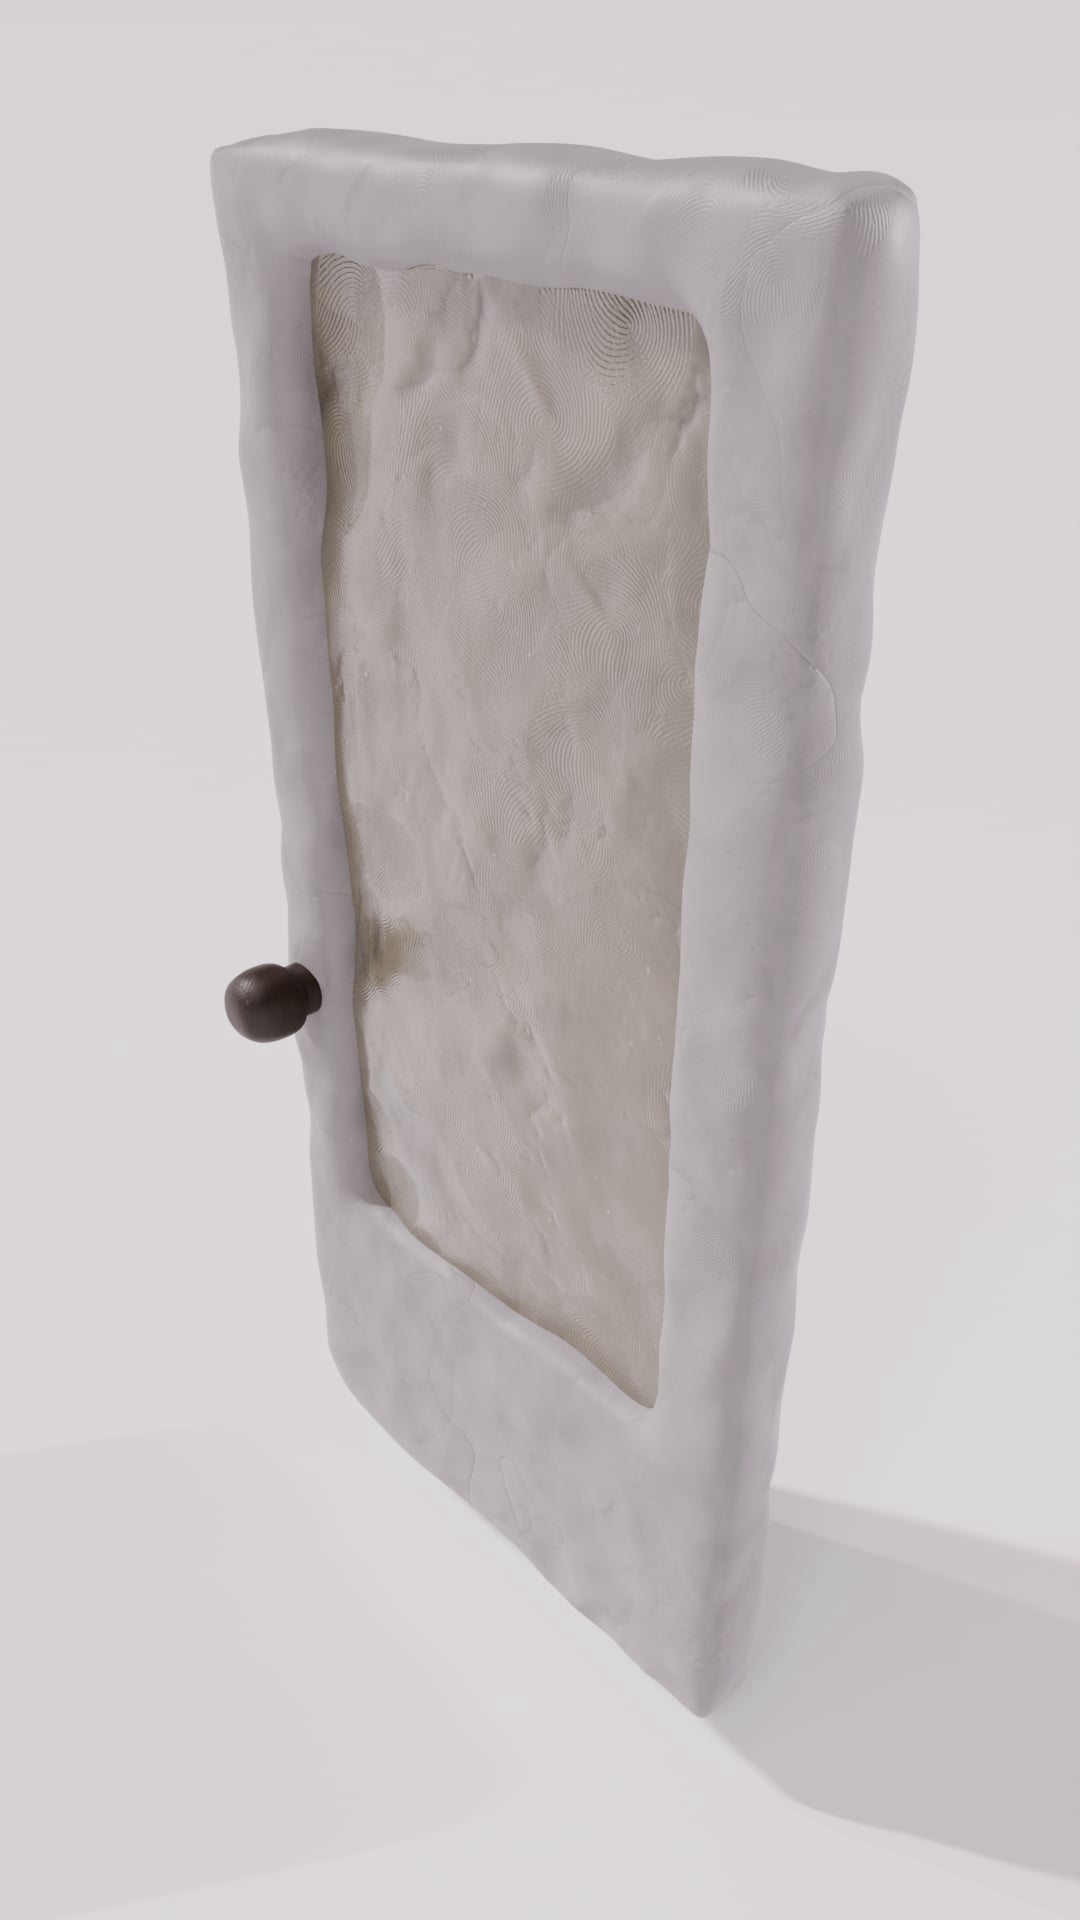
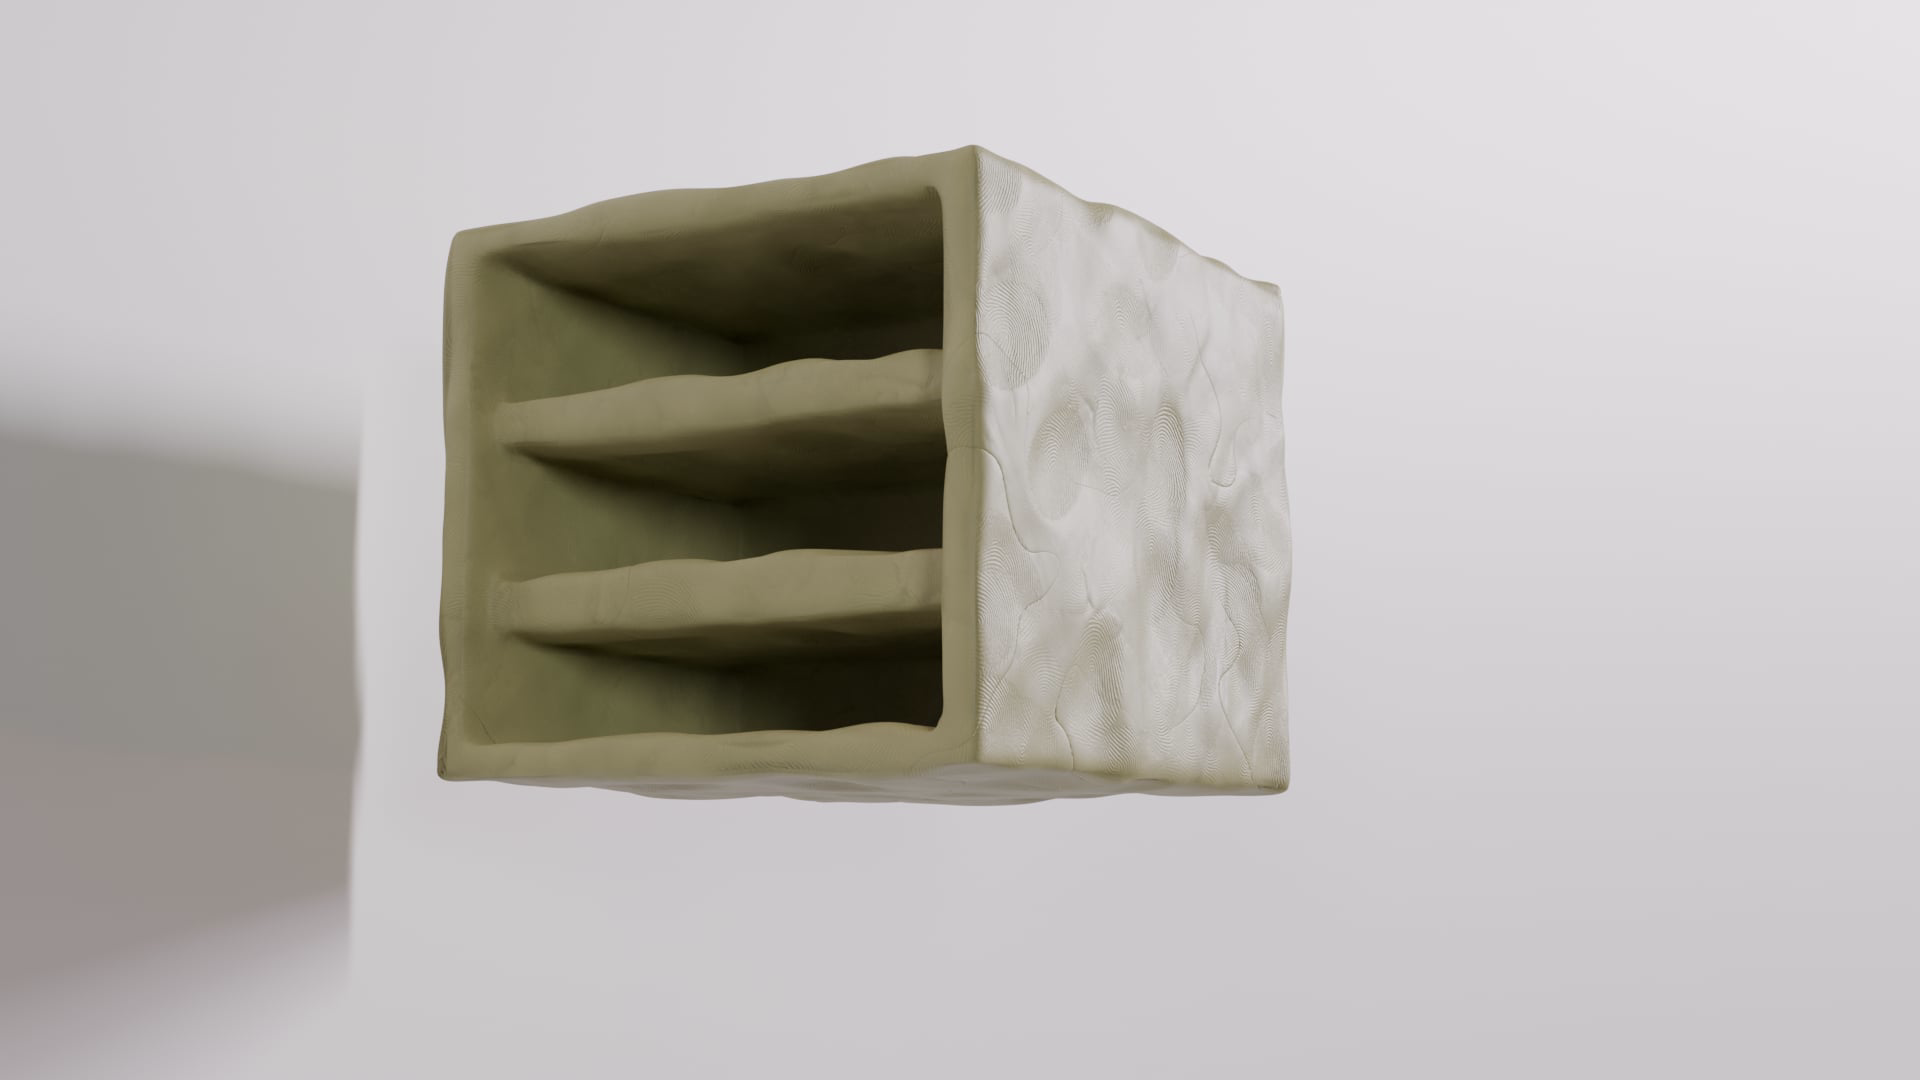
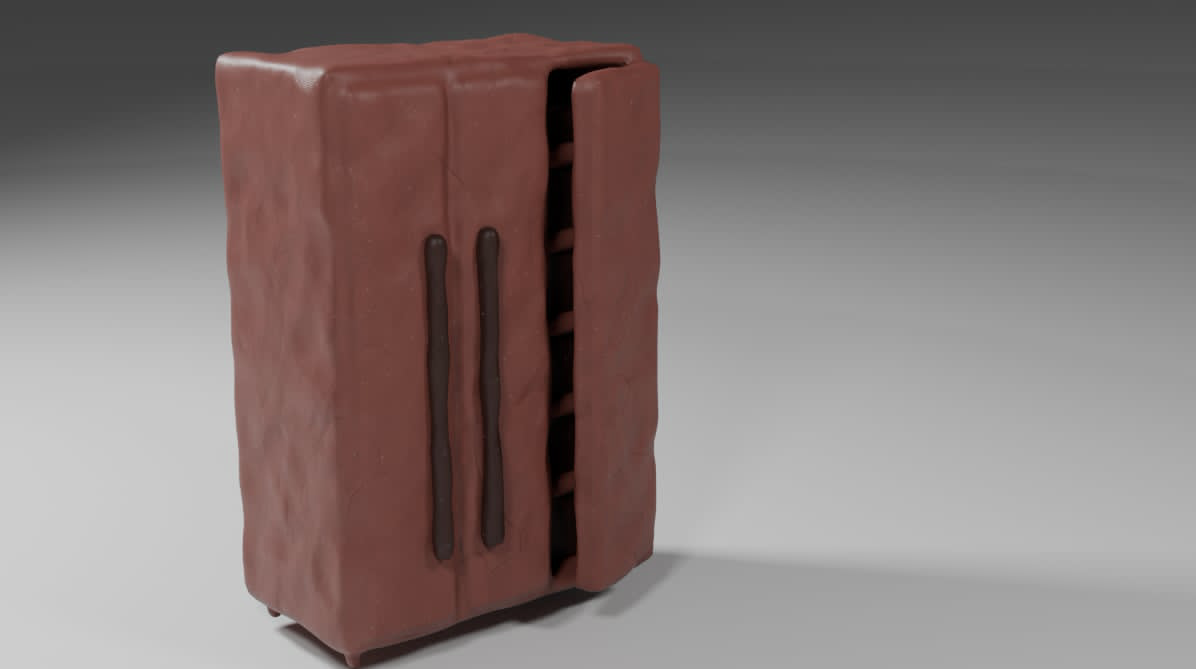
Attic Clay Assets
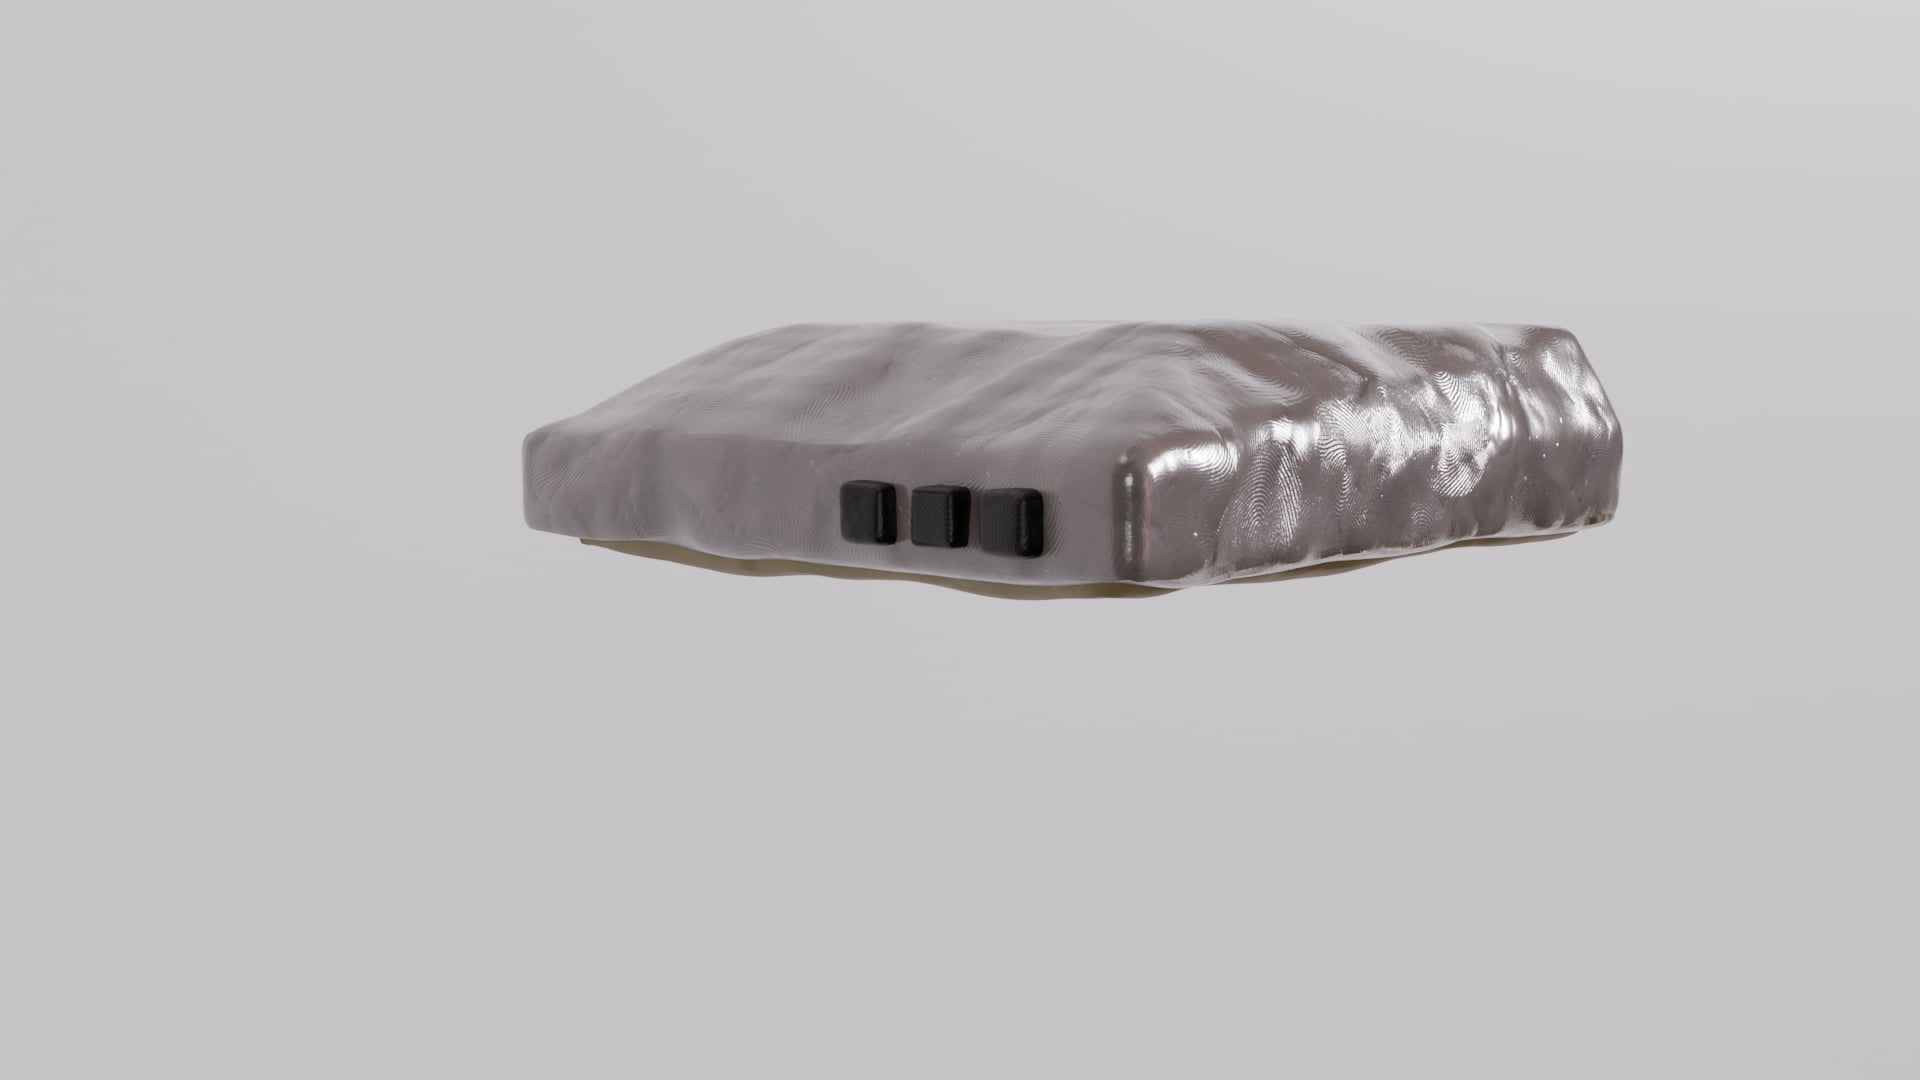
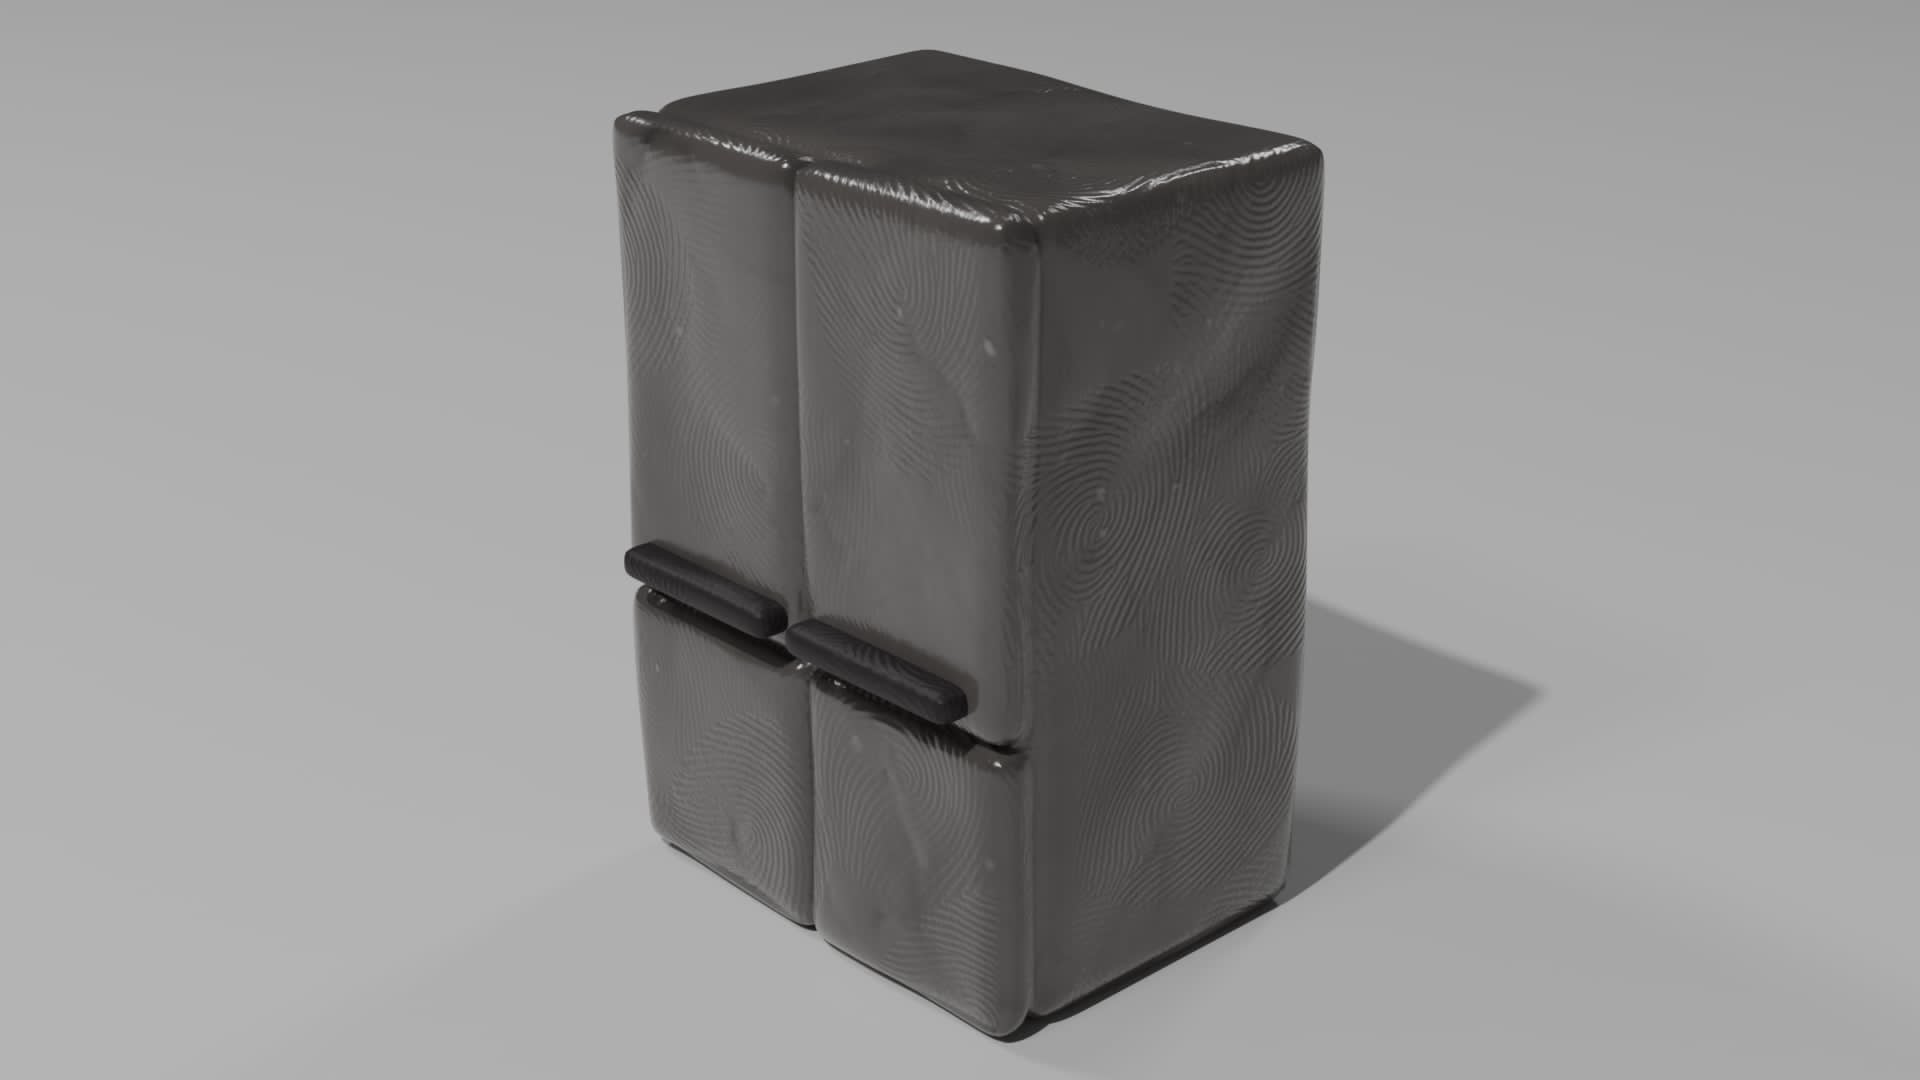
These assets are clay models mostly for the attic:

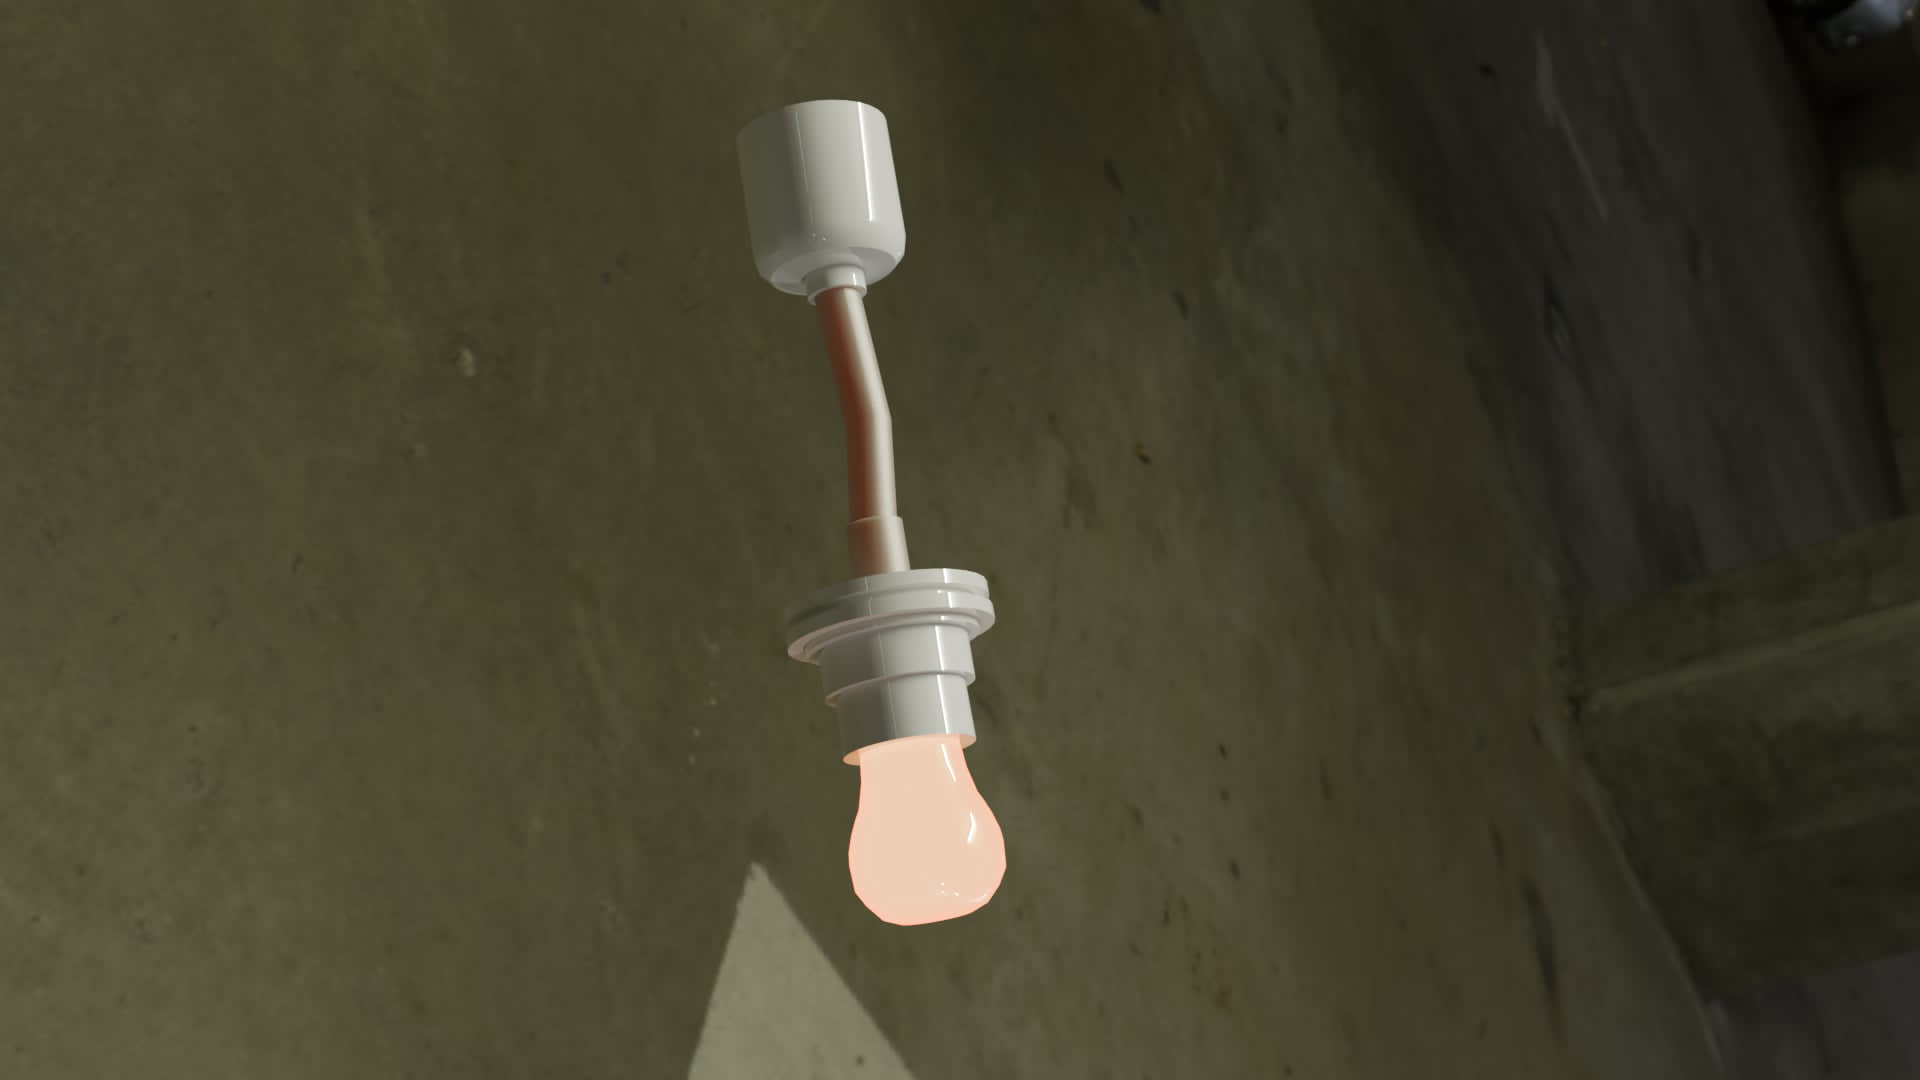
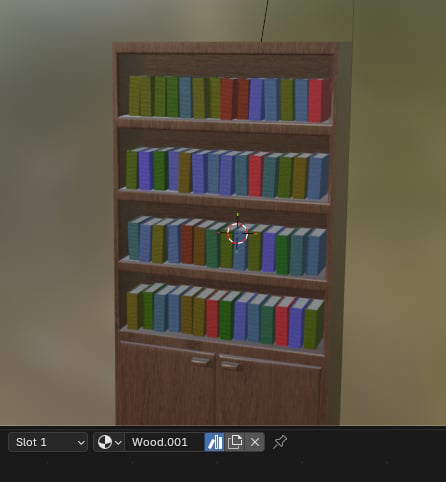
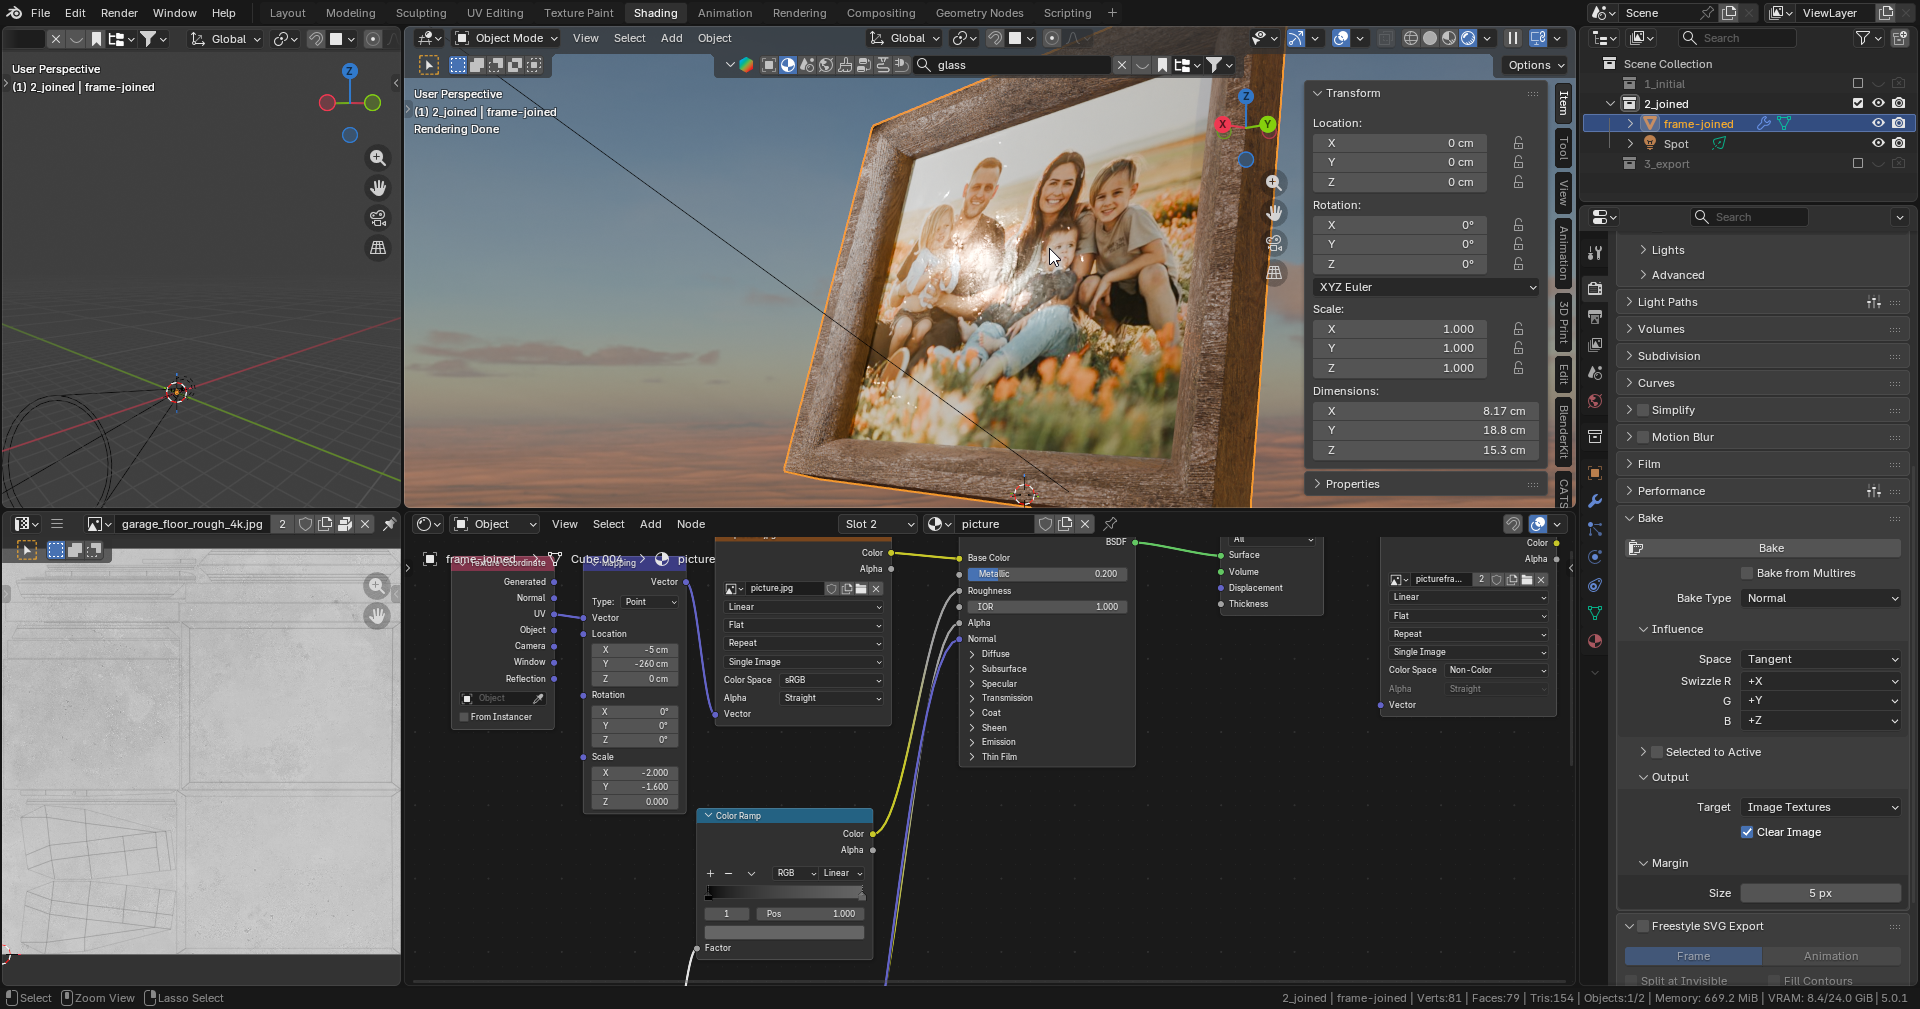
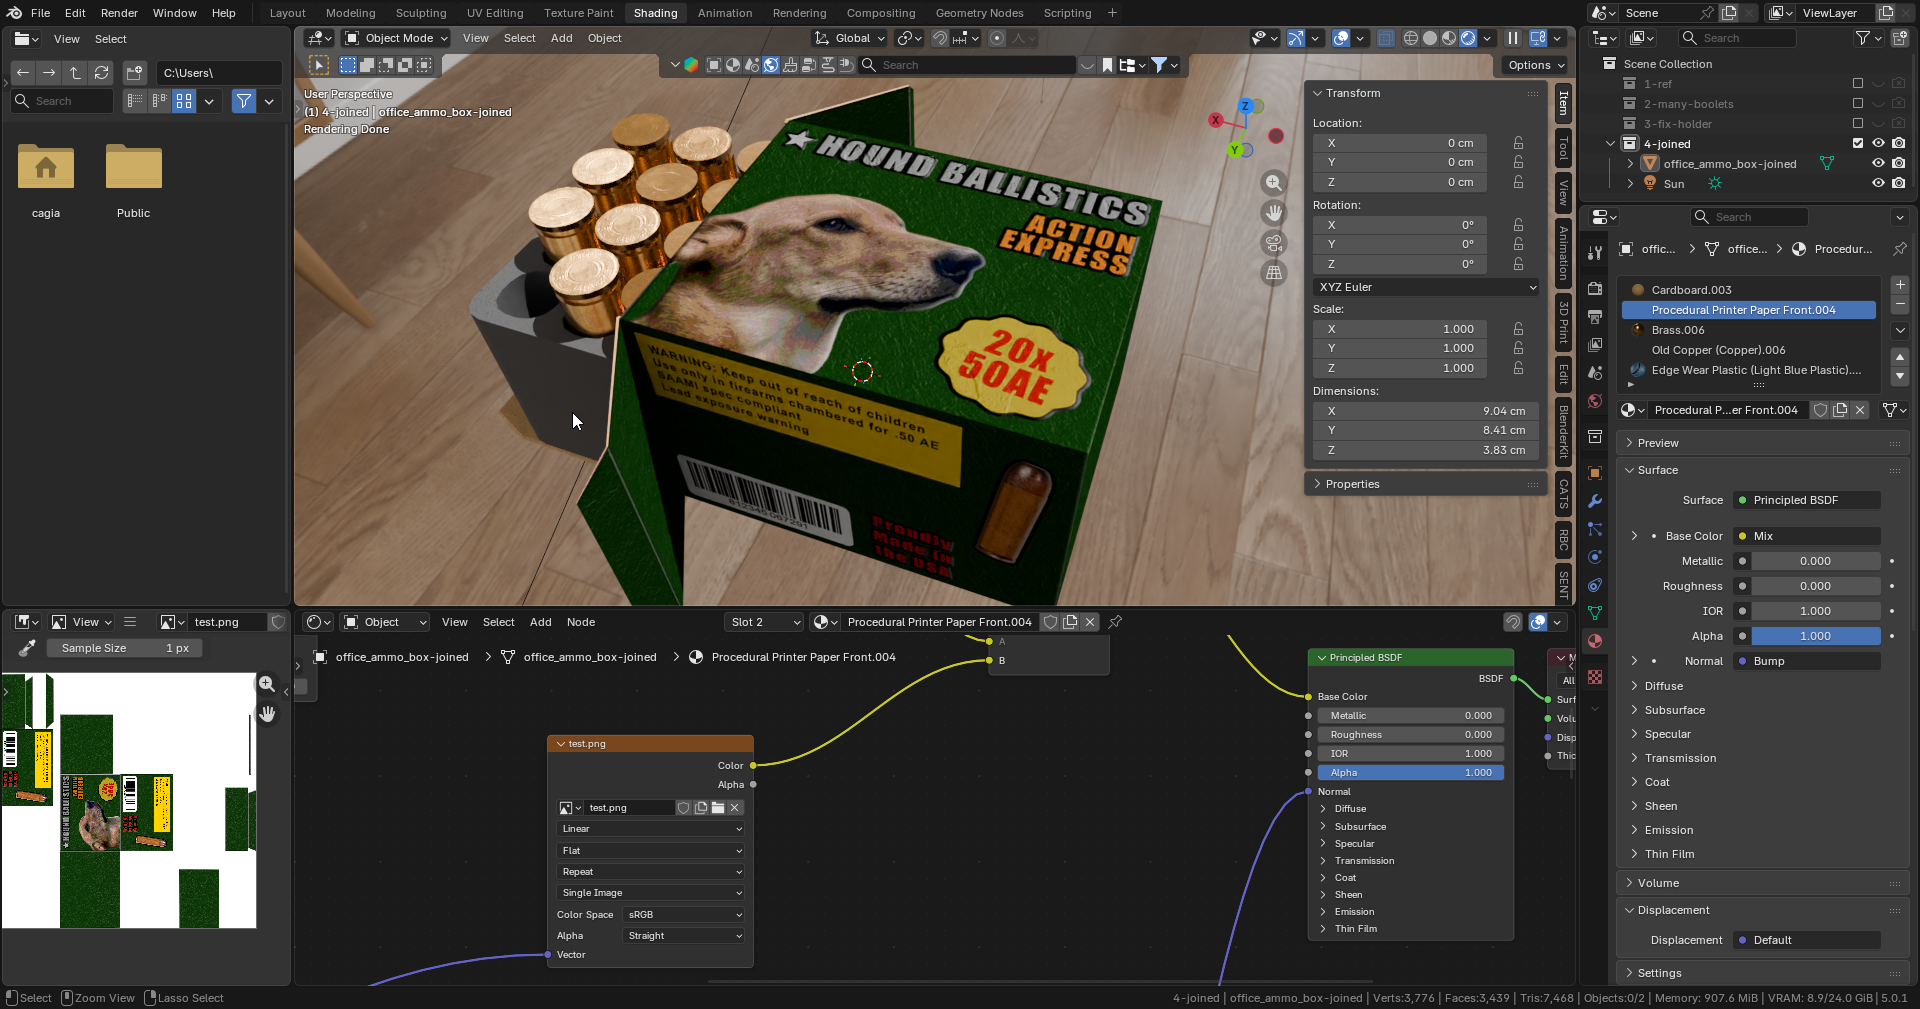
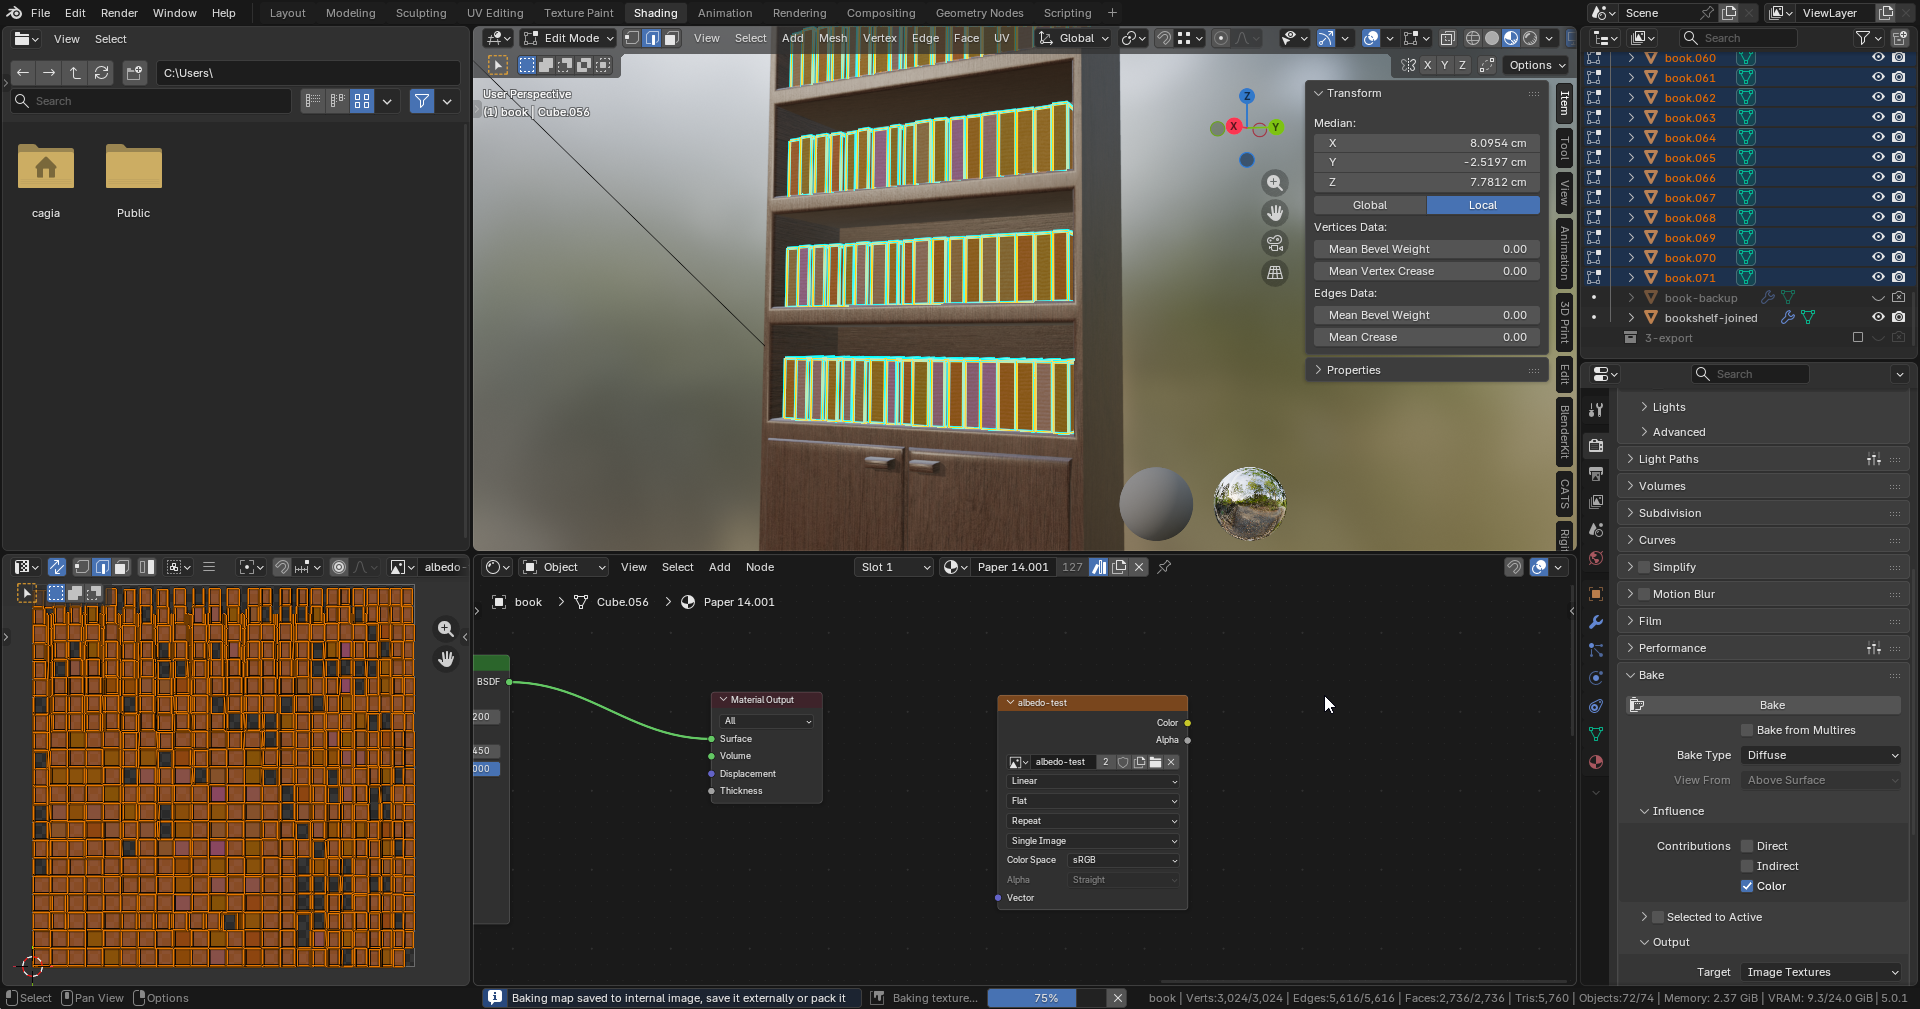
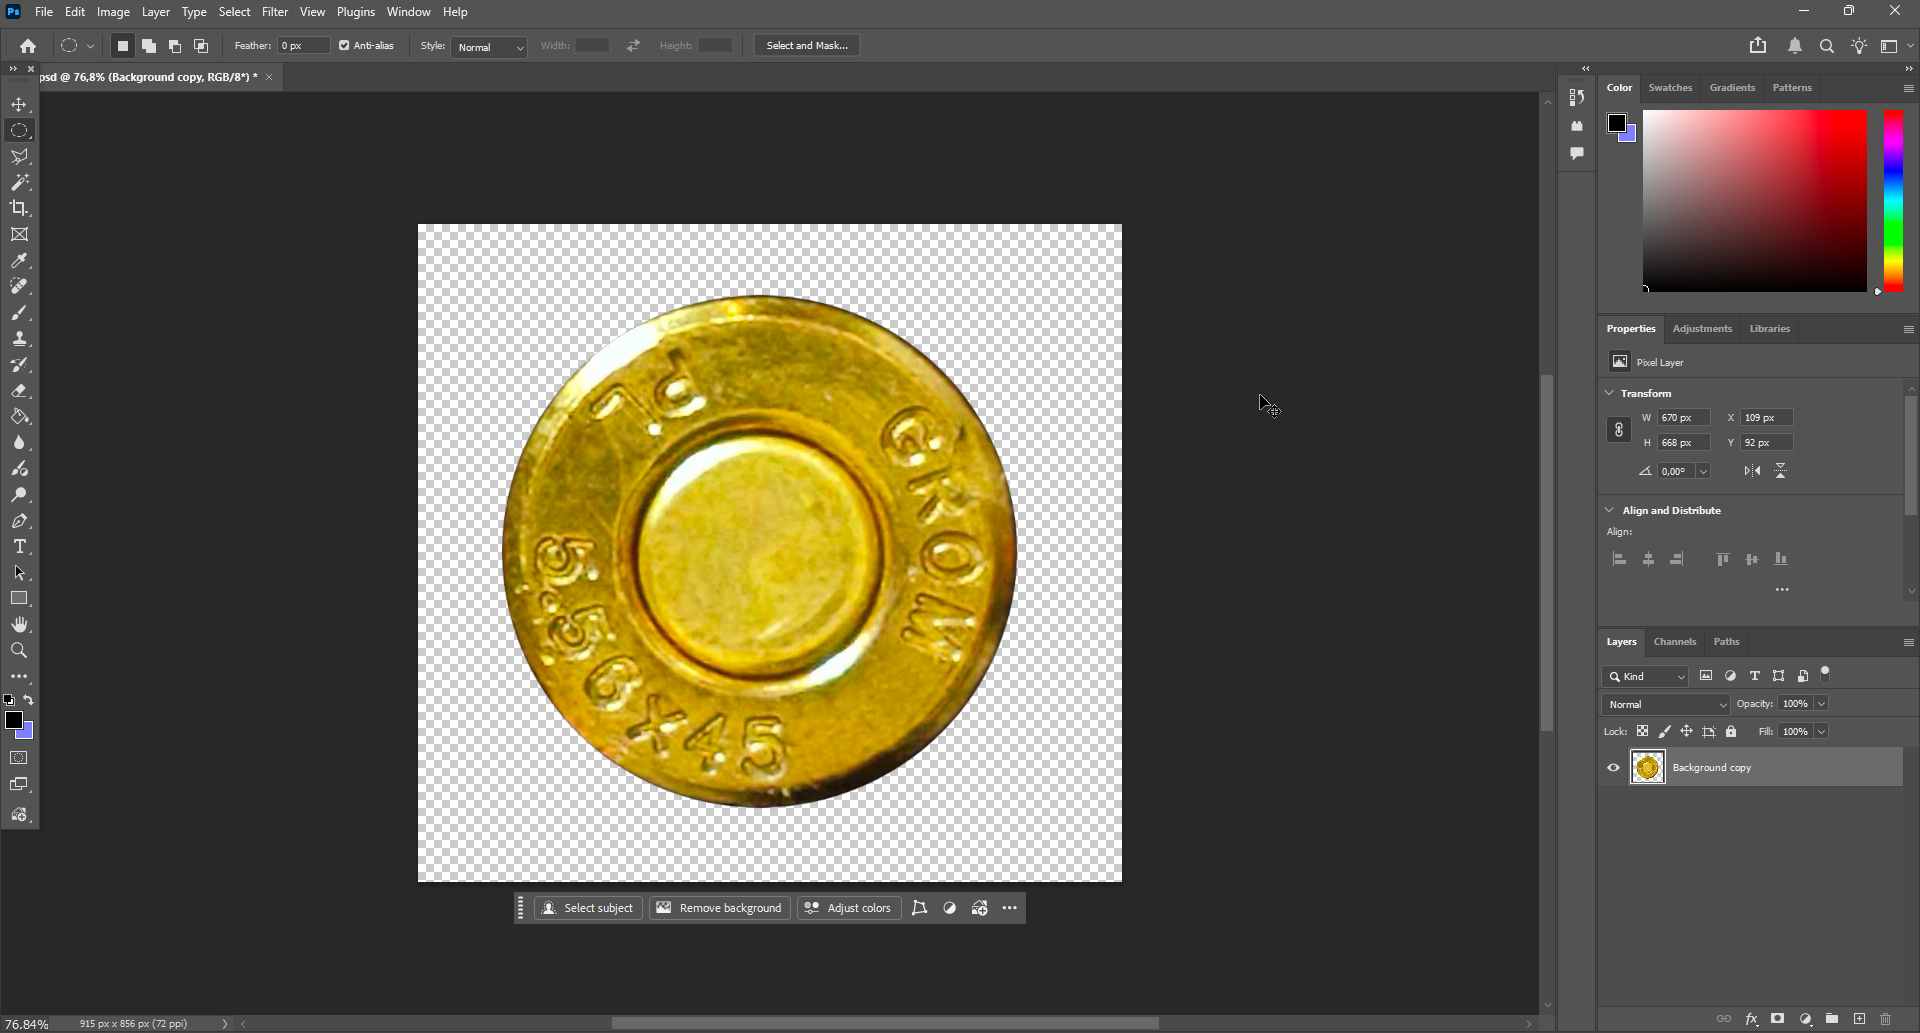
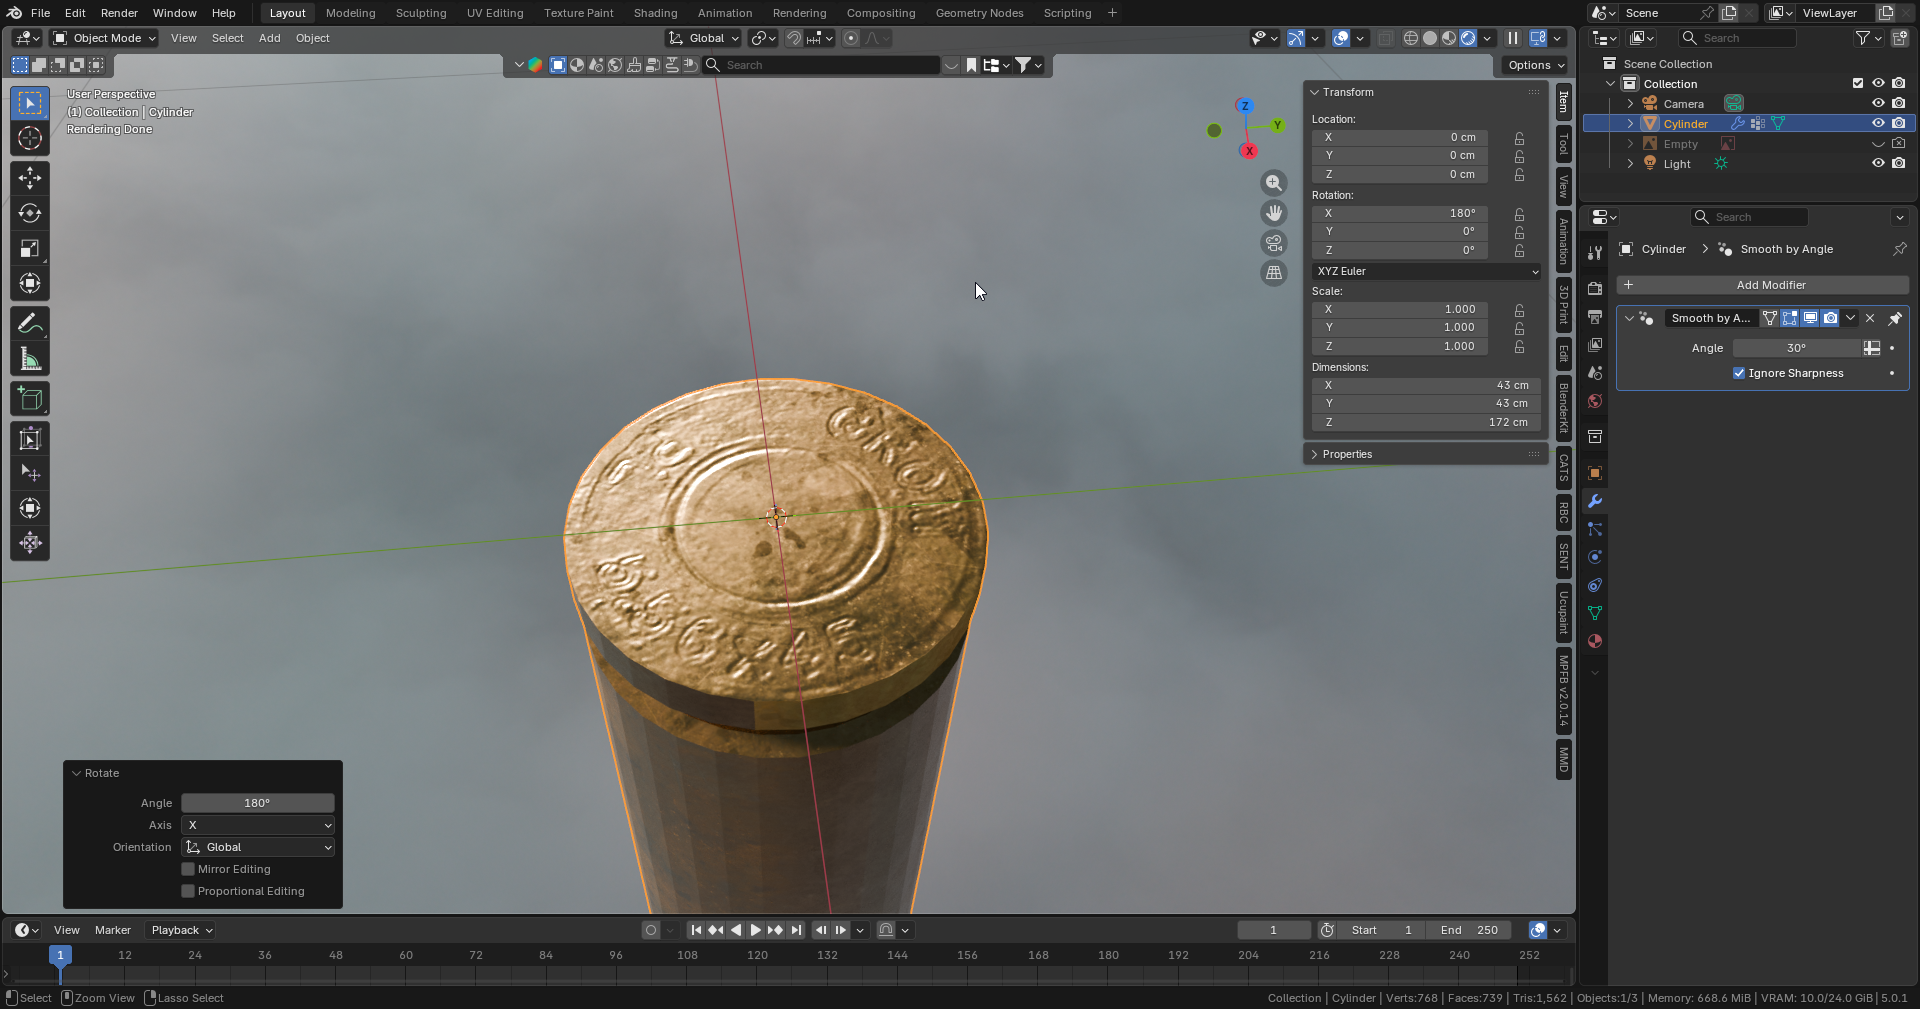
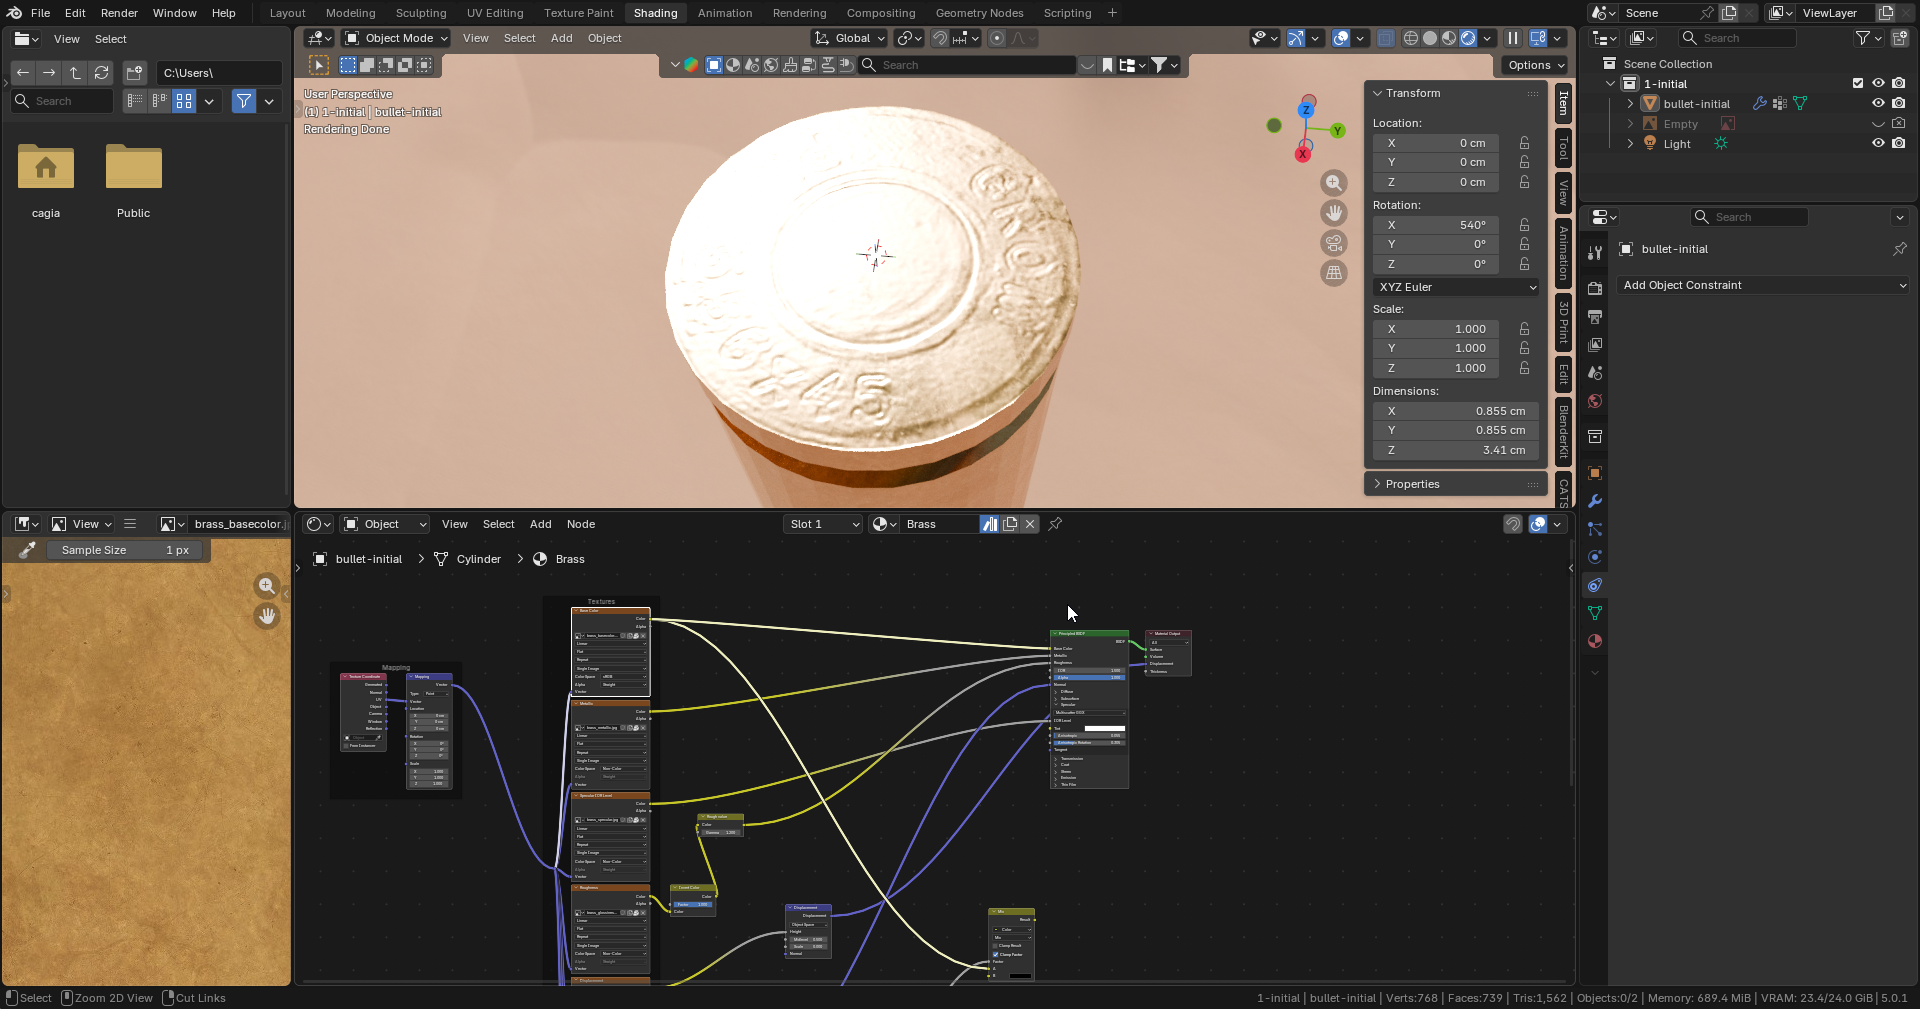
IRL Asset Finalization
Before being able to start working on mocap for the start cutscene, to make the process easier (as models get exported from the Blender mocap scene, so the baked in world origins allow to simply set all of their world transforms to the same point and have everything line up automatically).
I wanted to have the models finalized as otherwise the UV’s could change later on, which means the baked textures wouldn’t map correctly and it would be a whole lot of additional work (it’s just less hassle this way). So, I devised and followed this checklist (which was retrofitted to Devlog #17 ) as it was directly related to the IRL pipeline) on all the assets needed for this scene:
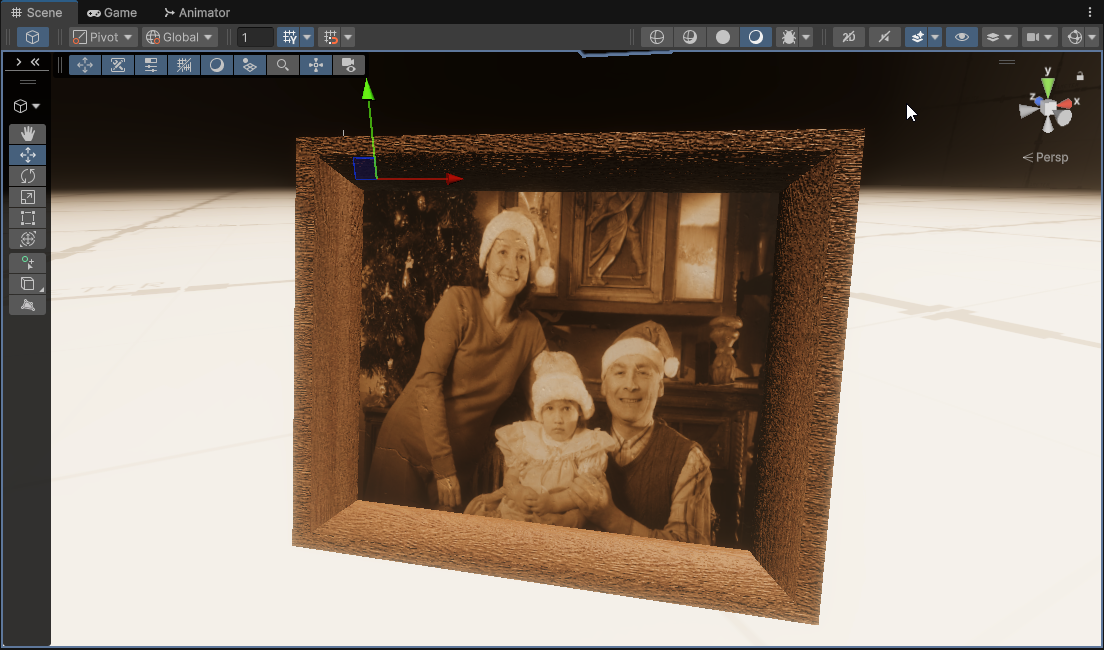
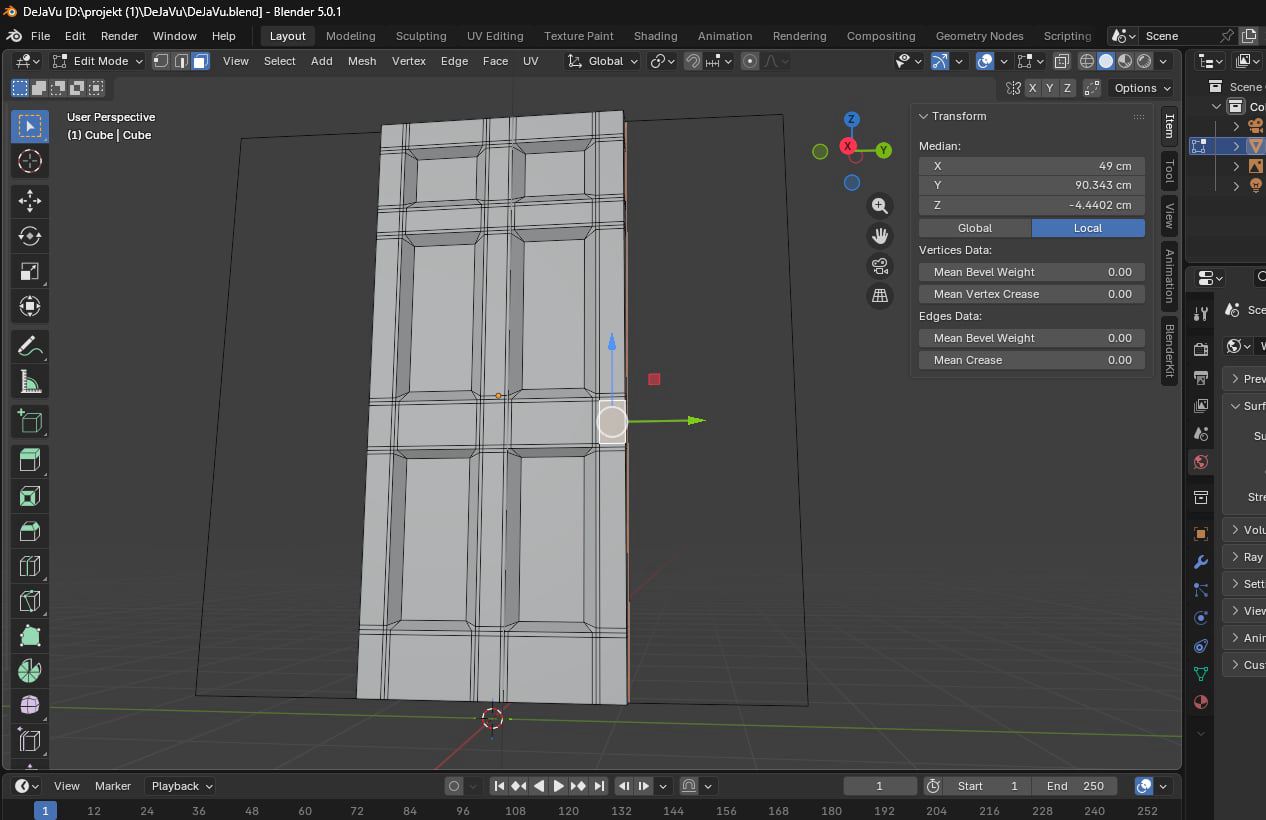
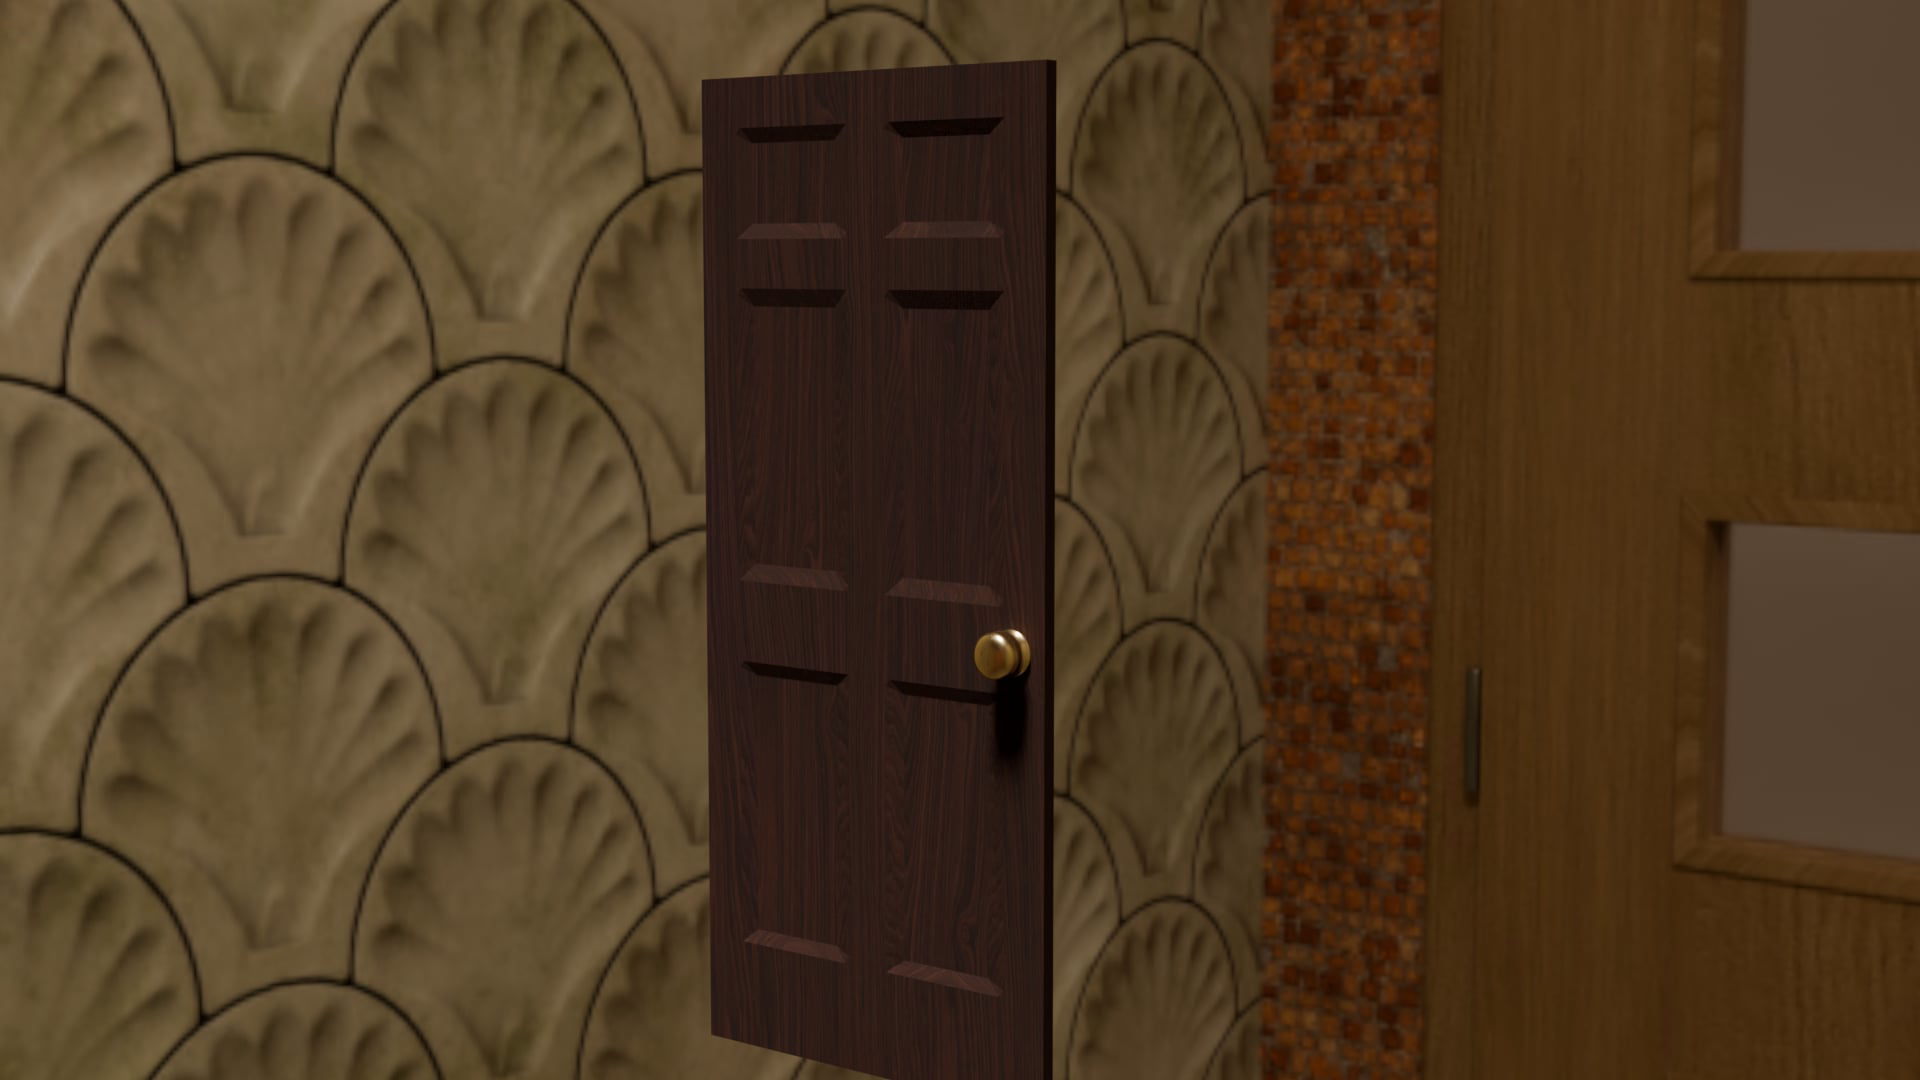
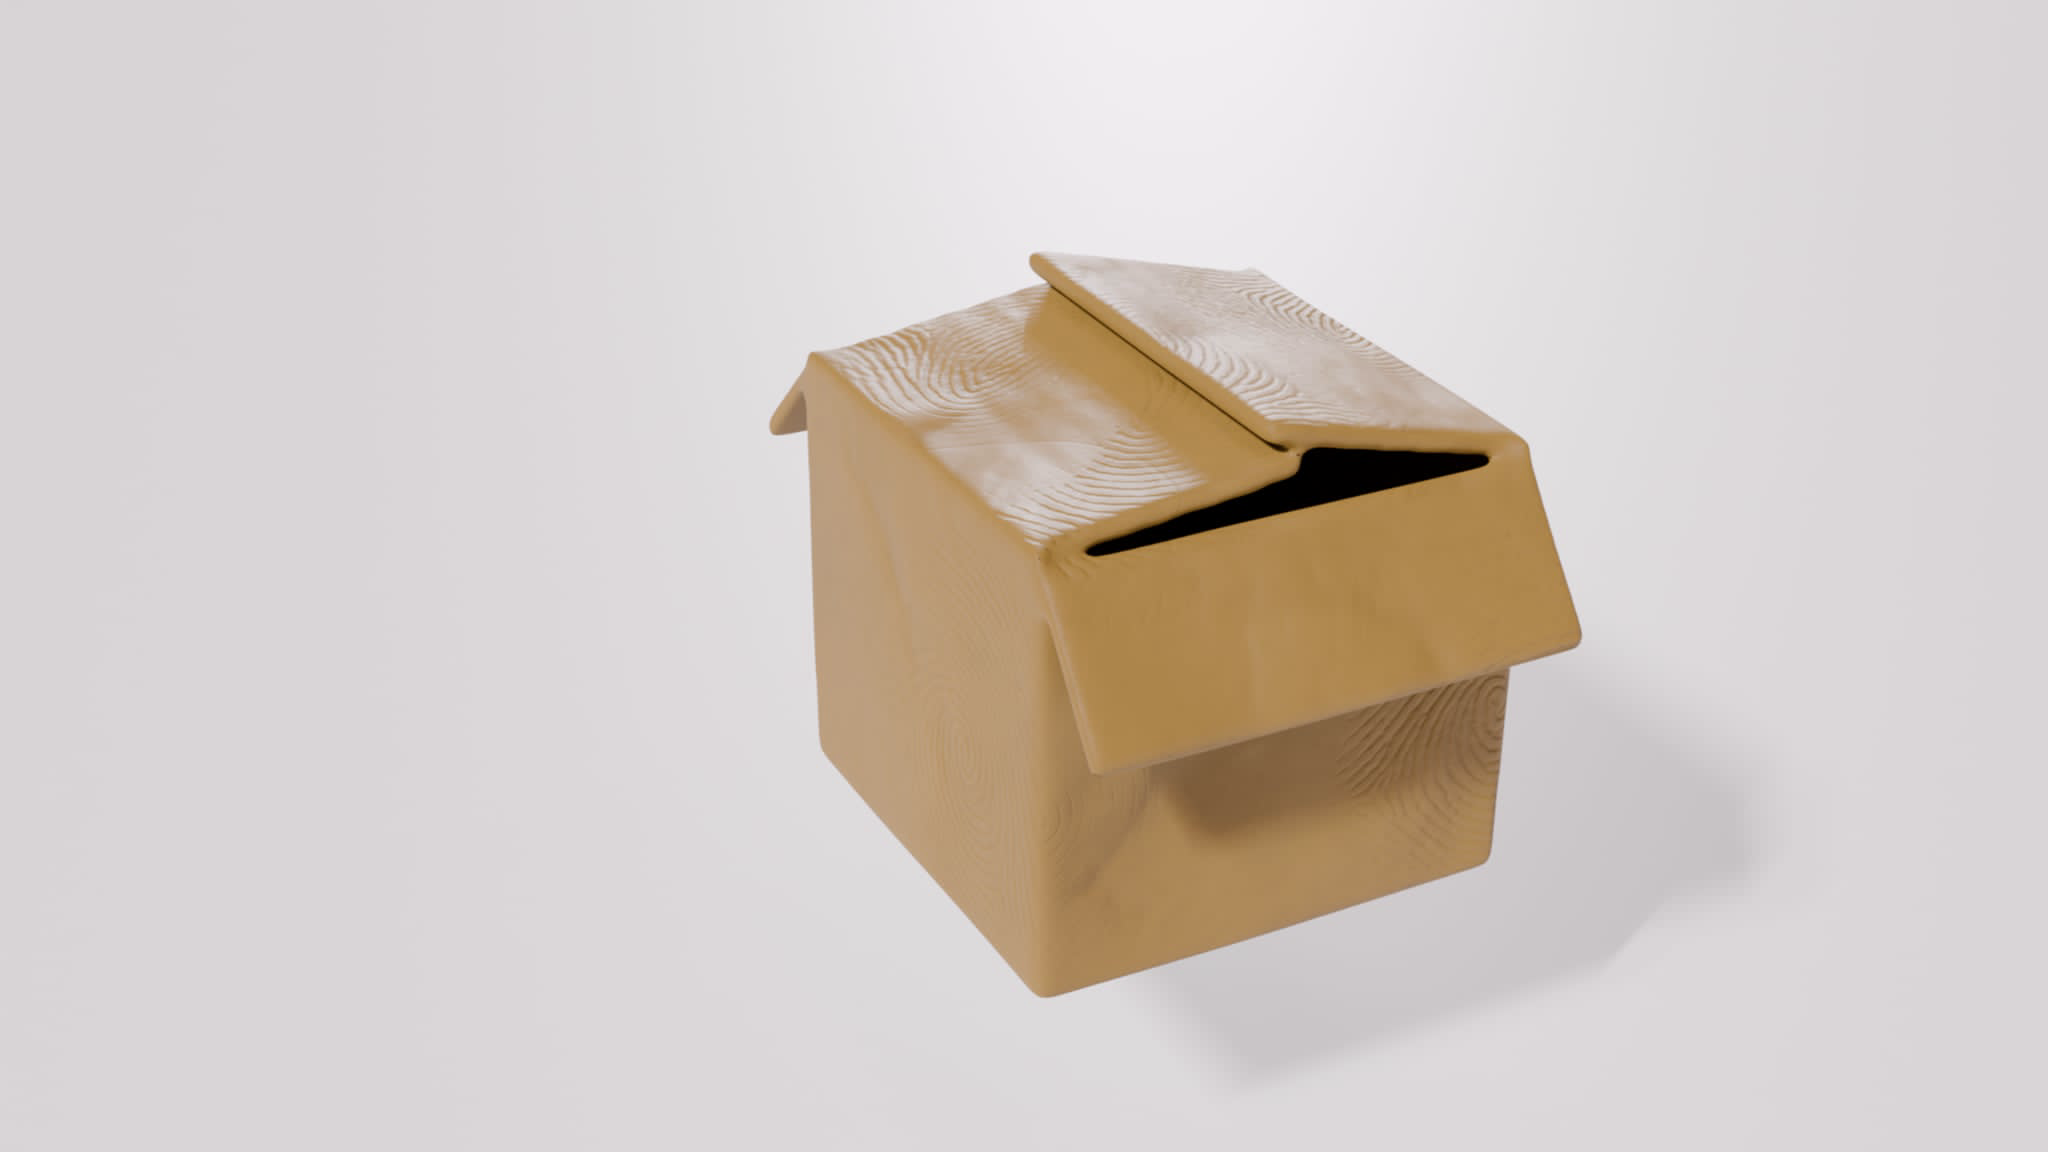
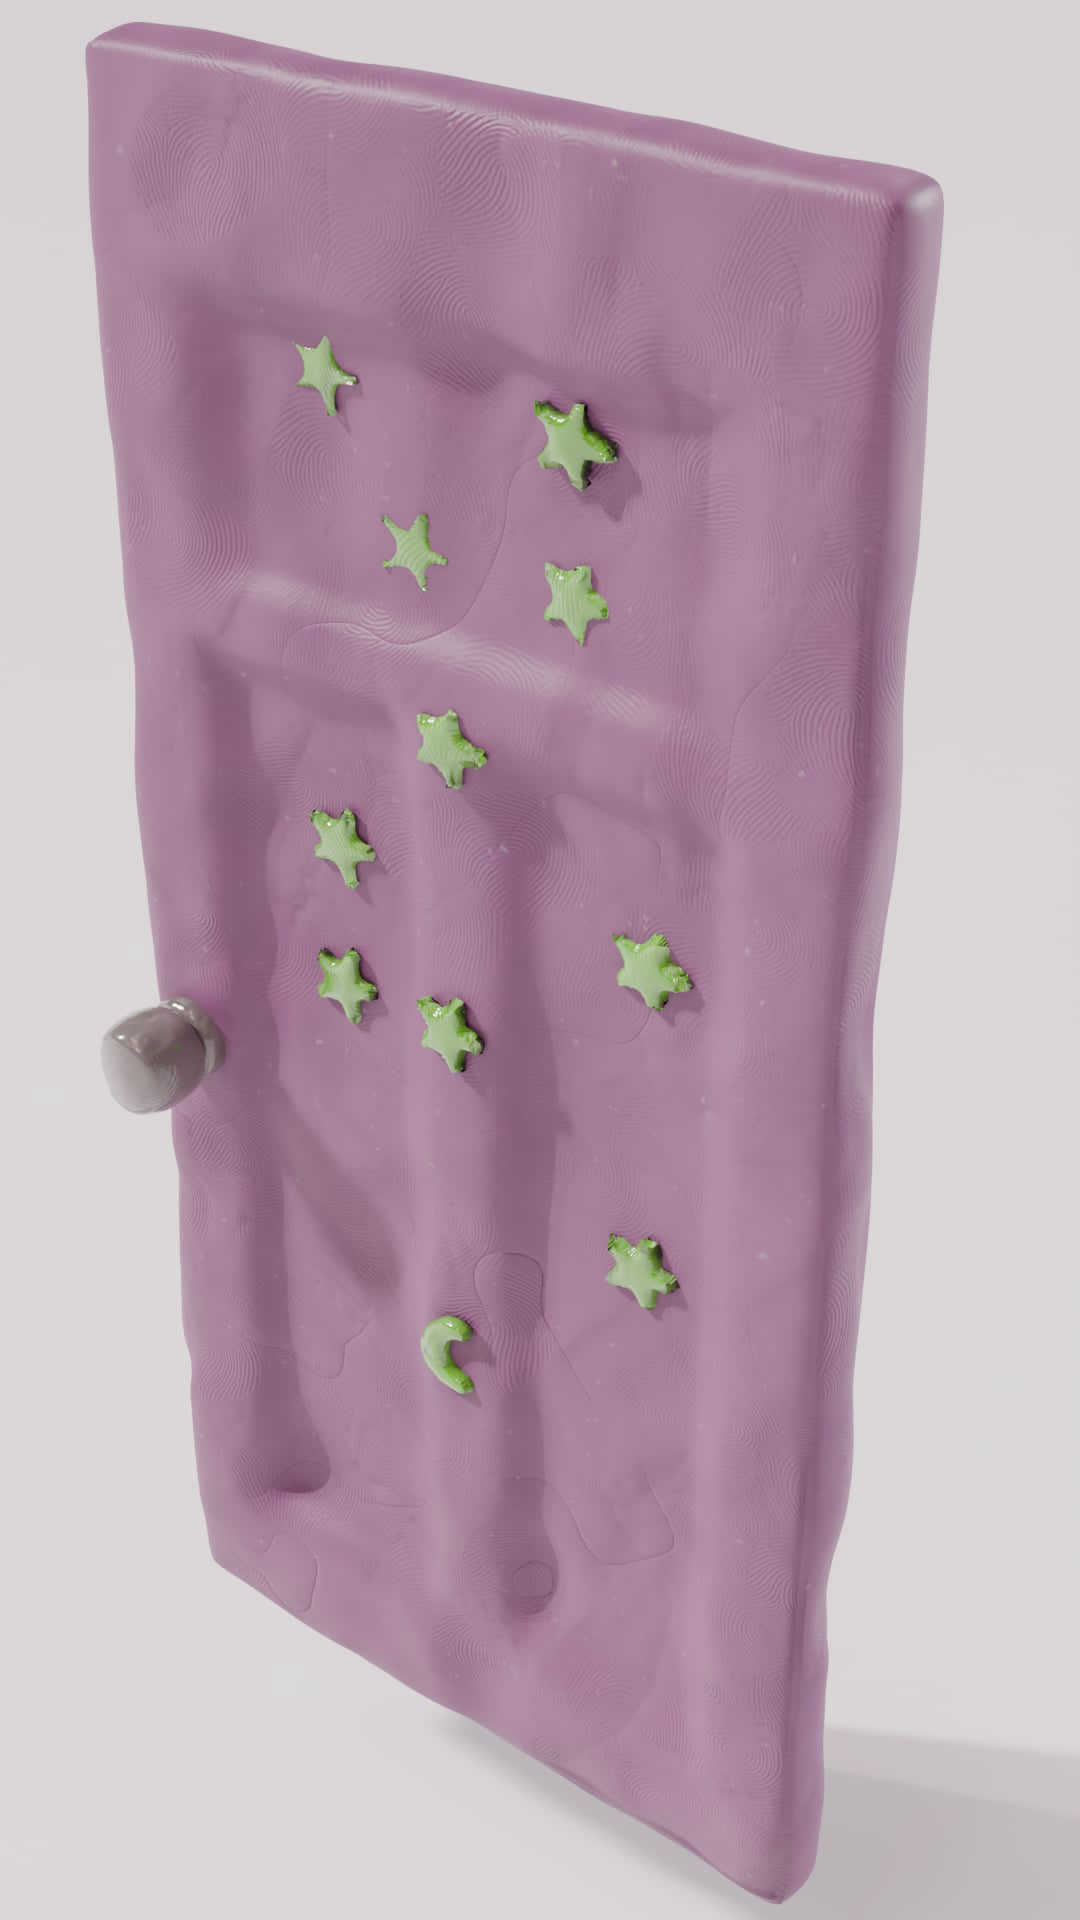
Triangulation Issue
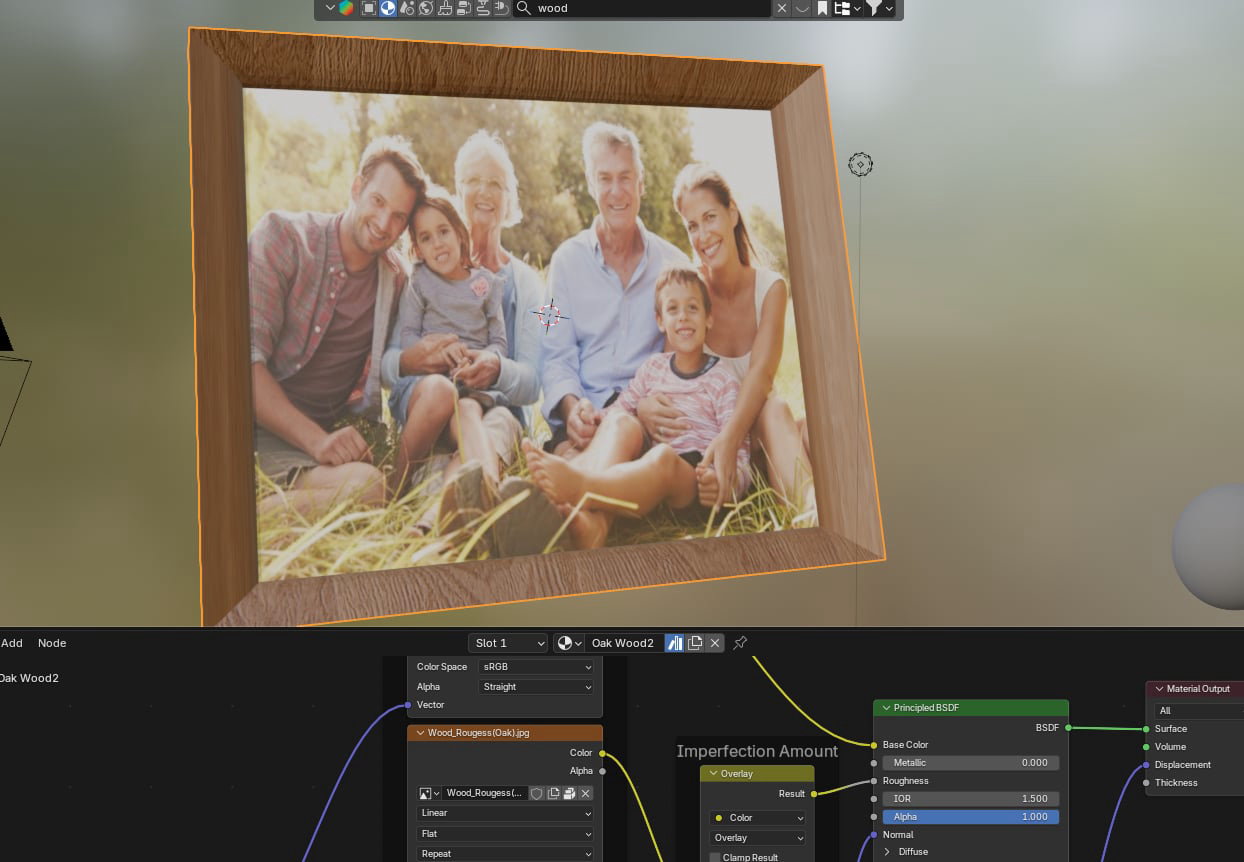
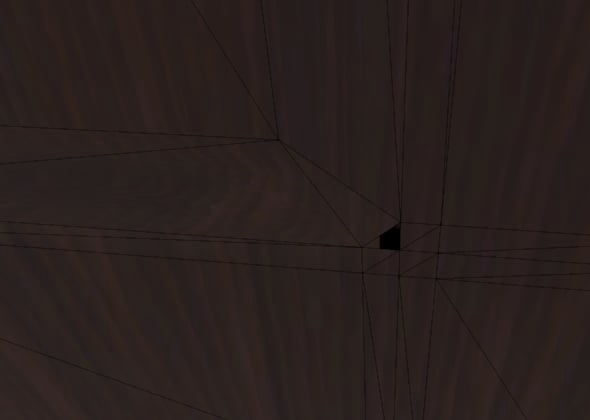
Something worth mentioning however is an issue I’ve encountered with triangulation done by Unity’s FBX importer. Because of these specific quads in the door geometry, the triangulation process added new edges there, causing a slight UV mismatch, making the corners black (because the UV changed). I Initially tried fixing it by performing triangulation in Blender, but that resolved one issue and created new ones.
Finally I ended up fixing it, by simply manually adding additional edges in the problematic areas, re-doing UV unwraps and the whole export process:

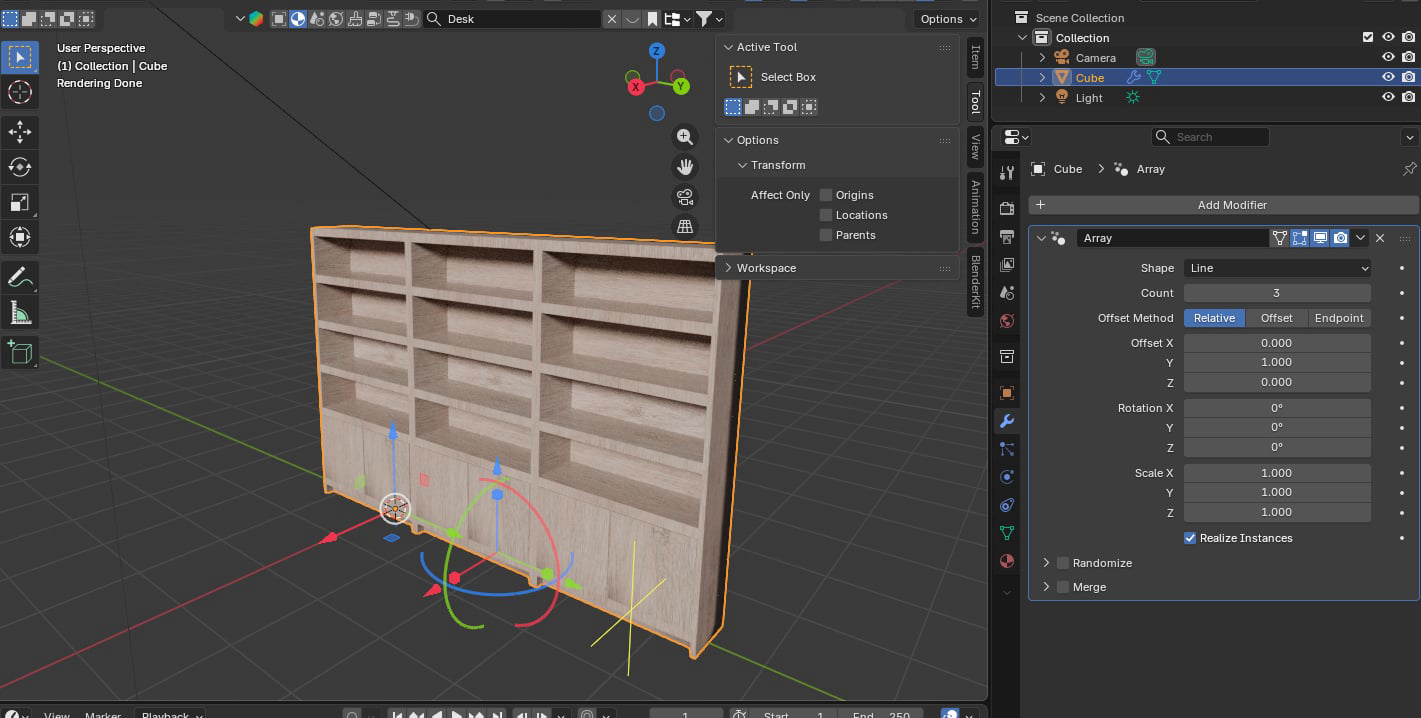
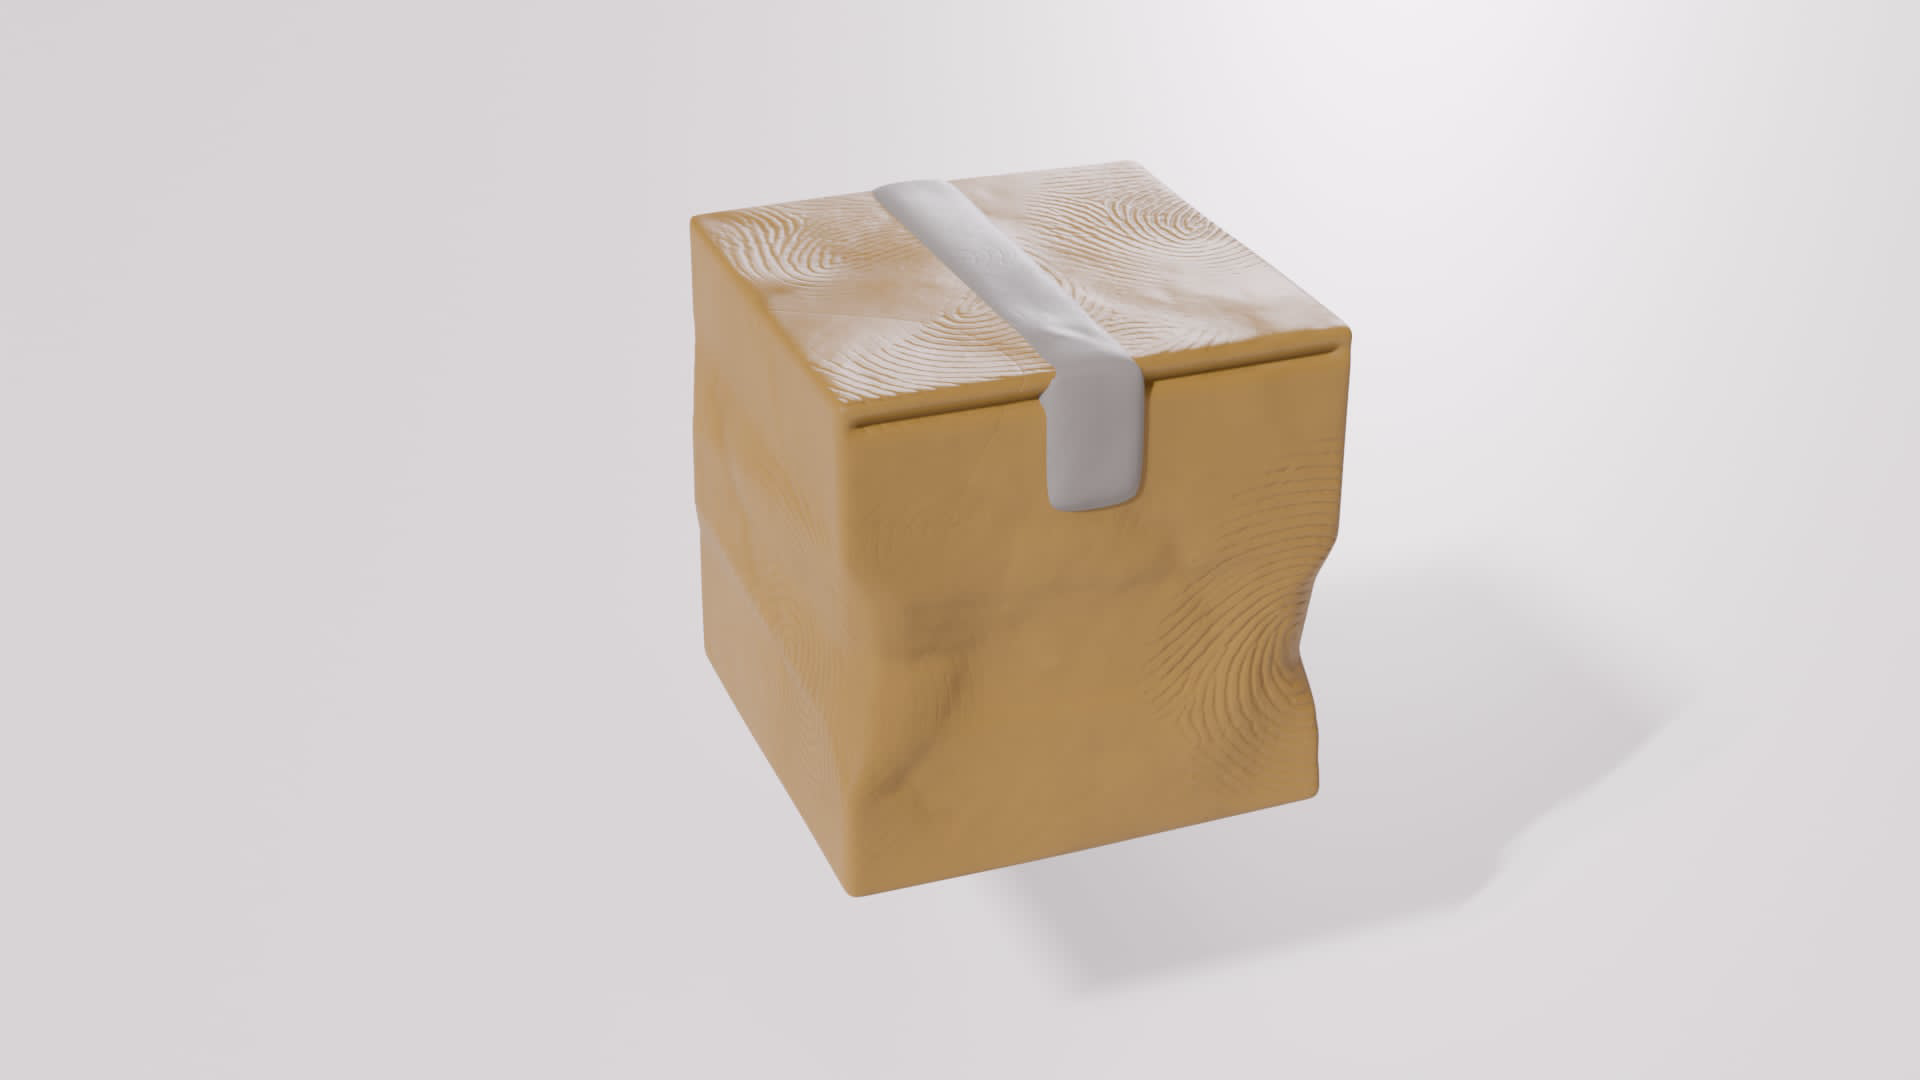
Shade Auto Smooth & Solidify Glitches
While finalizing some assets, I’ve found that two things can cause some weird behaviour, to be specific visual glitches. I’ve found that Shade Smooth Auto, in some cases, if it’s not applied on the final model, right before export from Blender it can create very weird shadow artifacts:
Aside from that, while working on the office environment, where my bud used a Solidify modifier, I’ve found that the Fill option, also causes similar issues in certain cases:

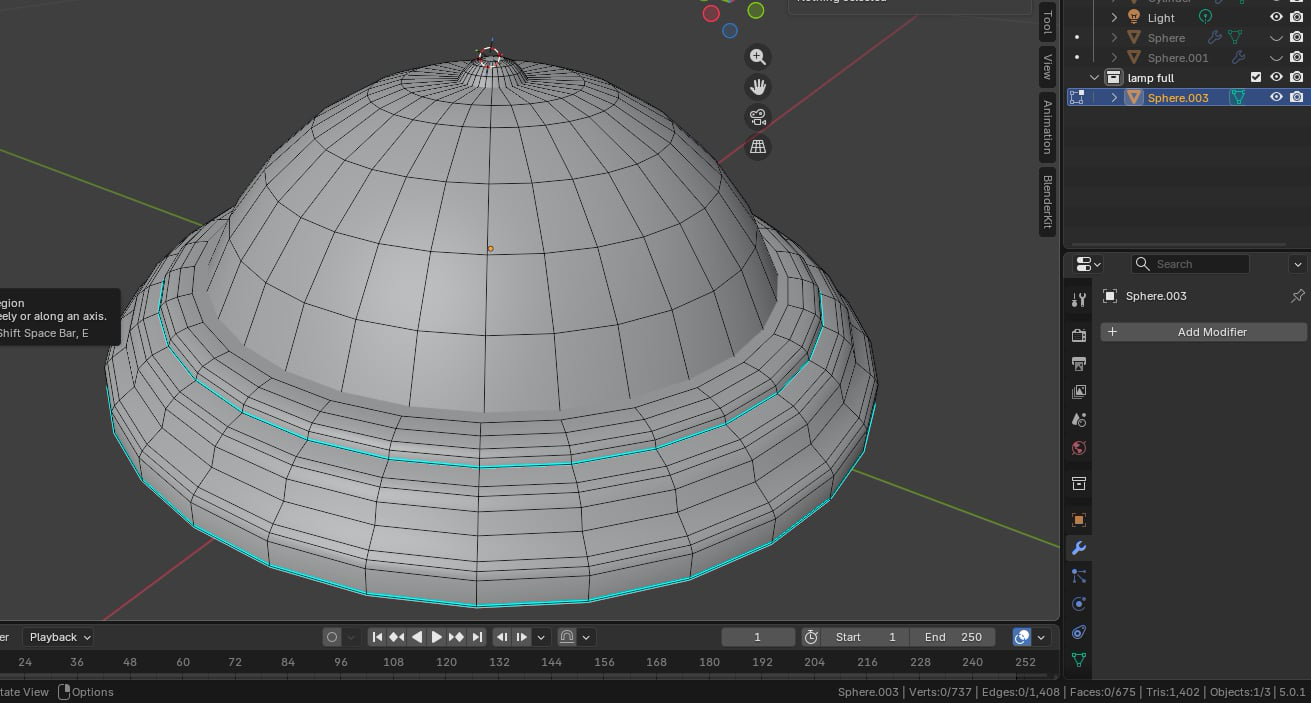
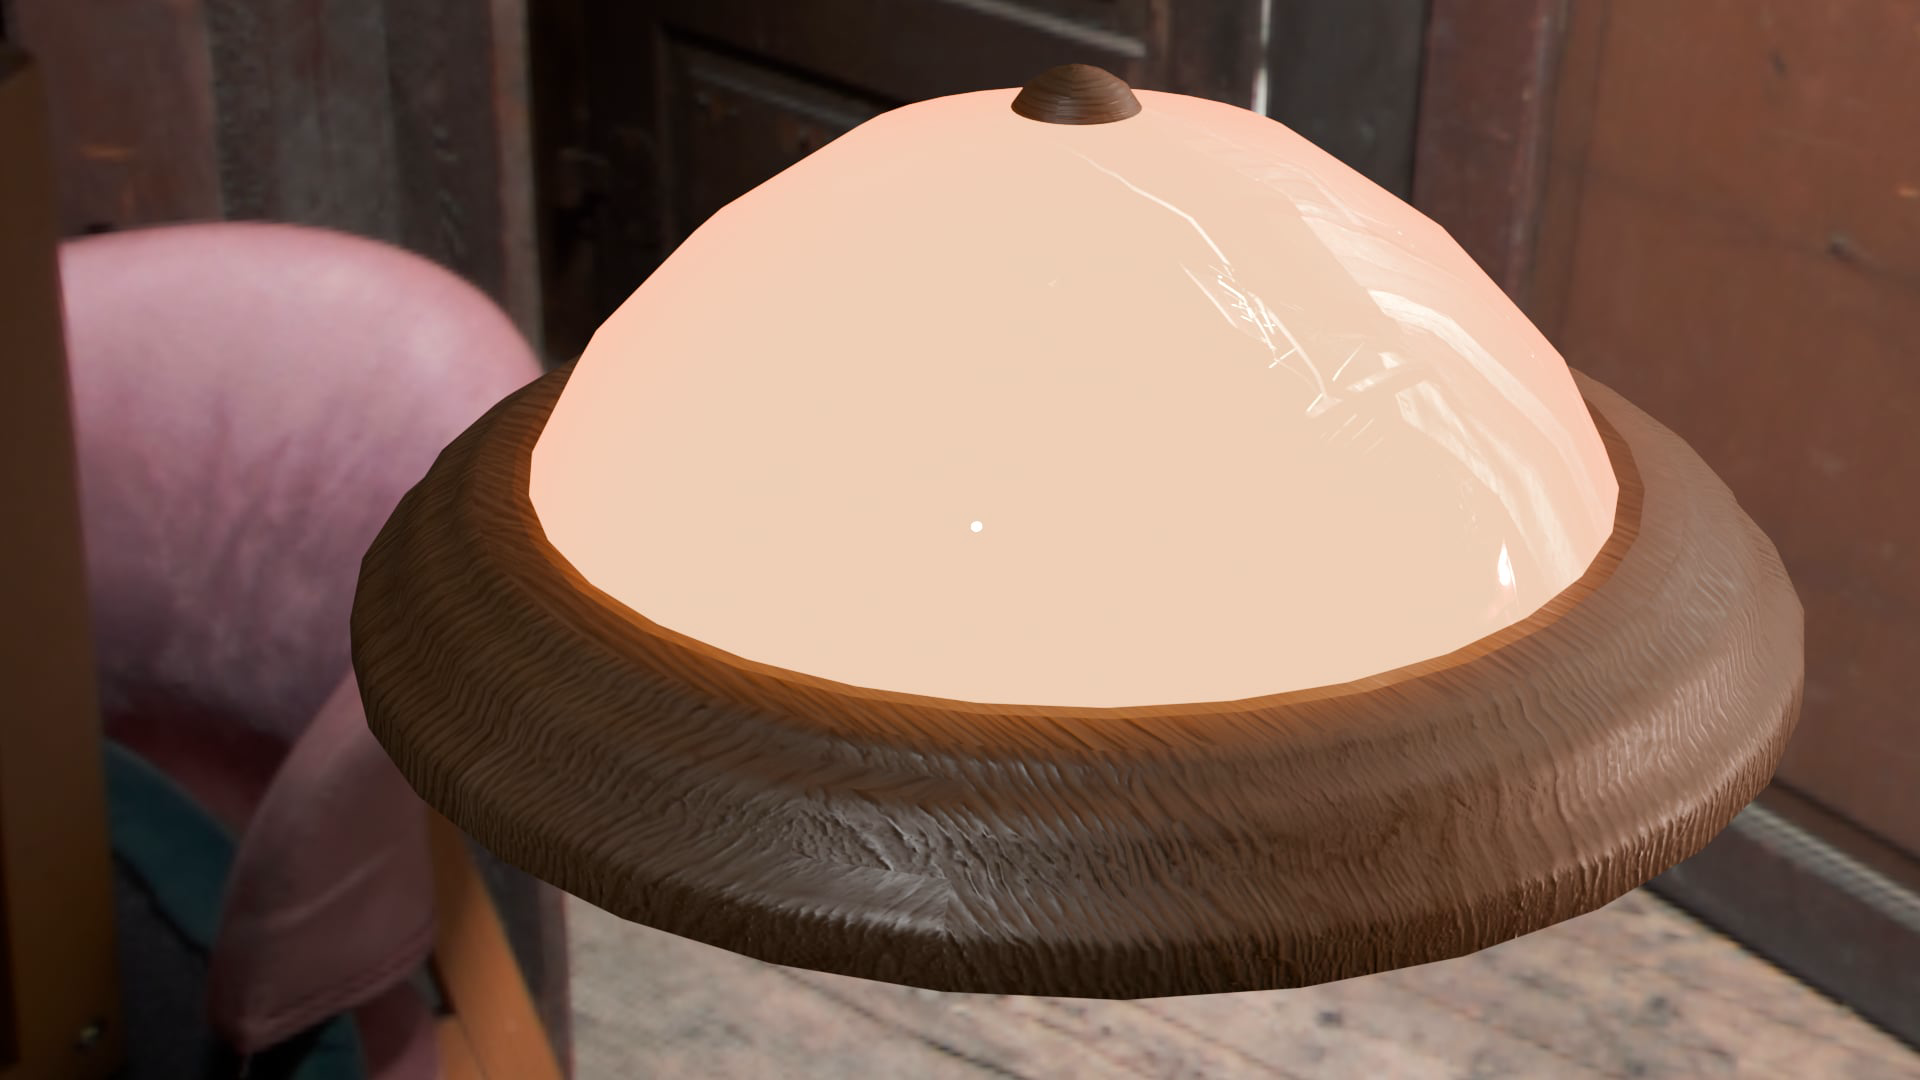
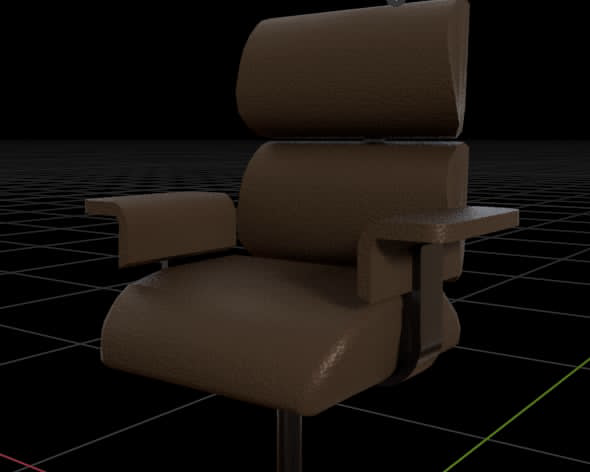
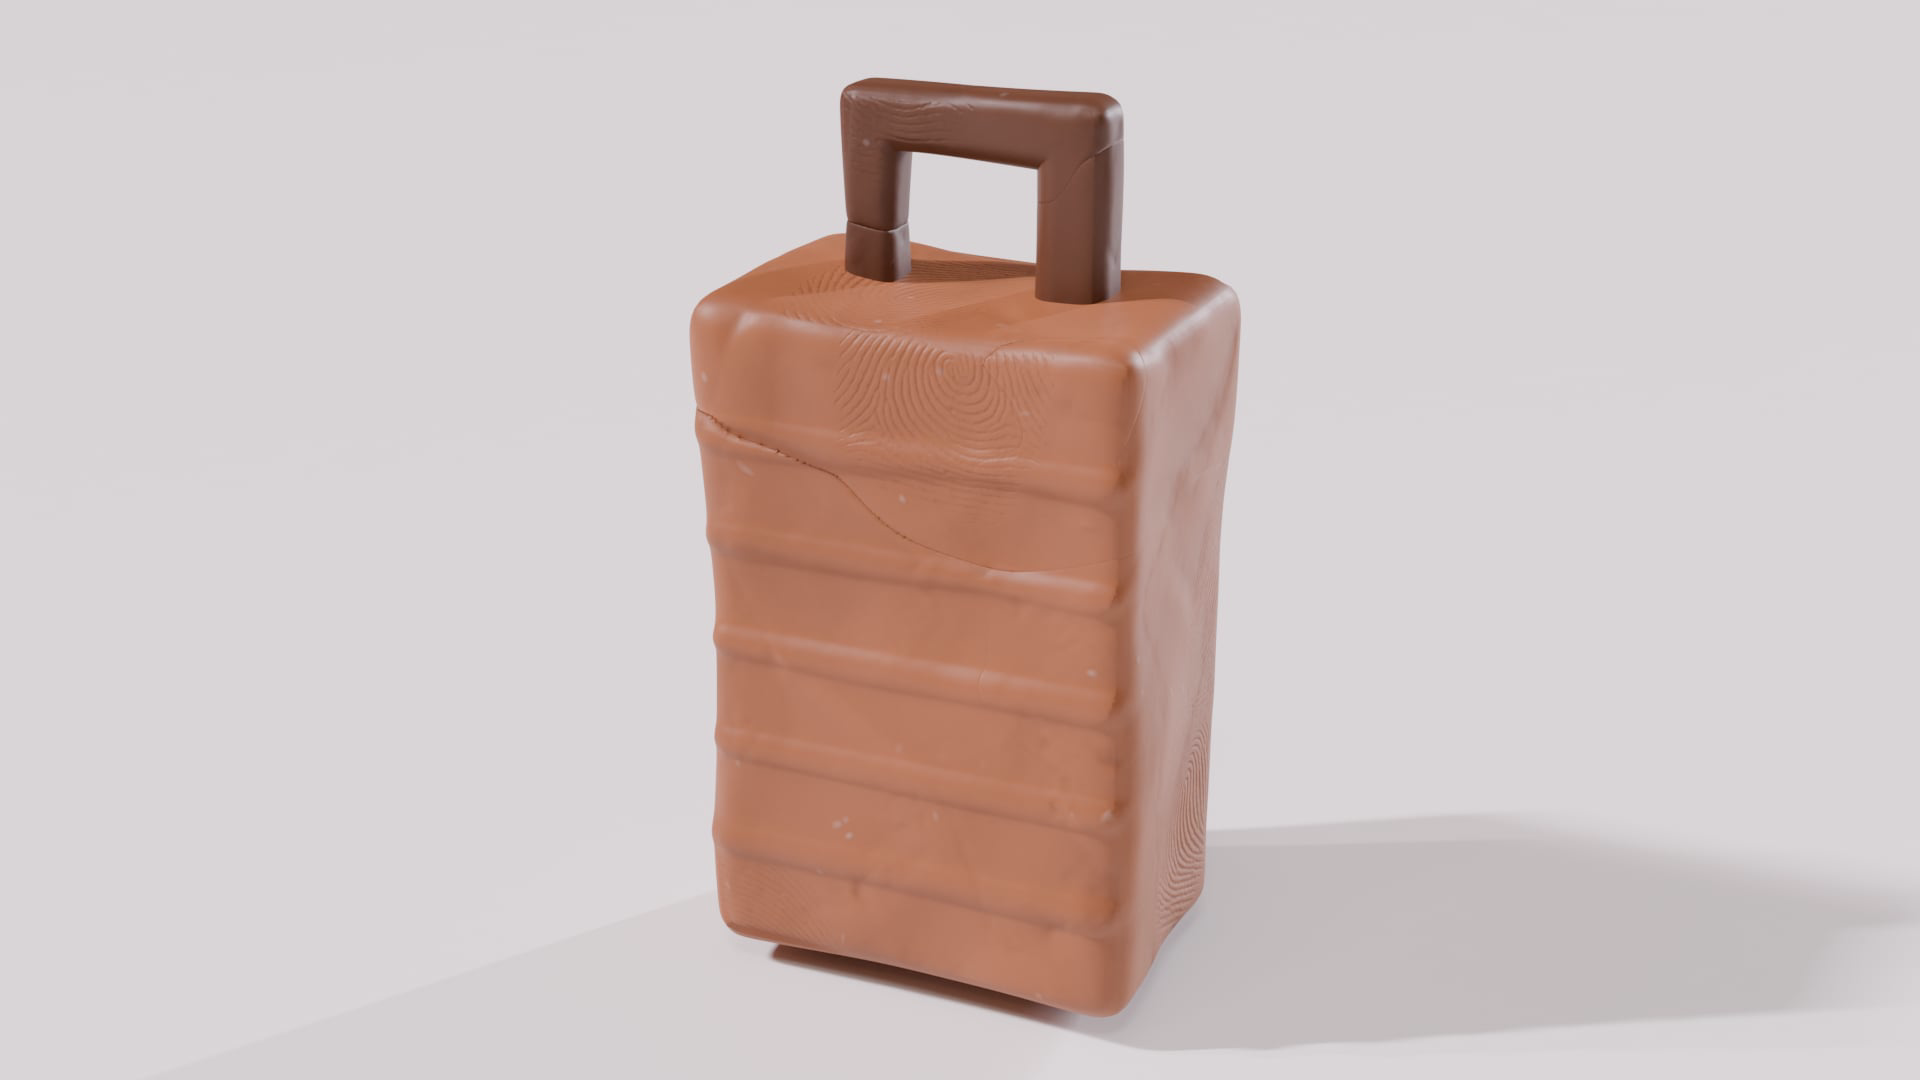
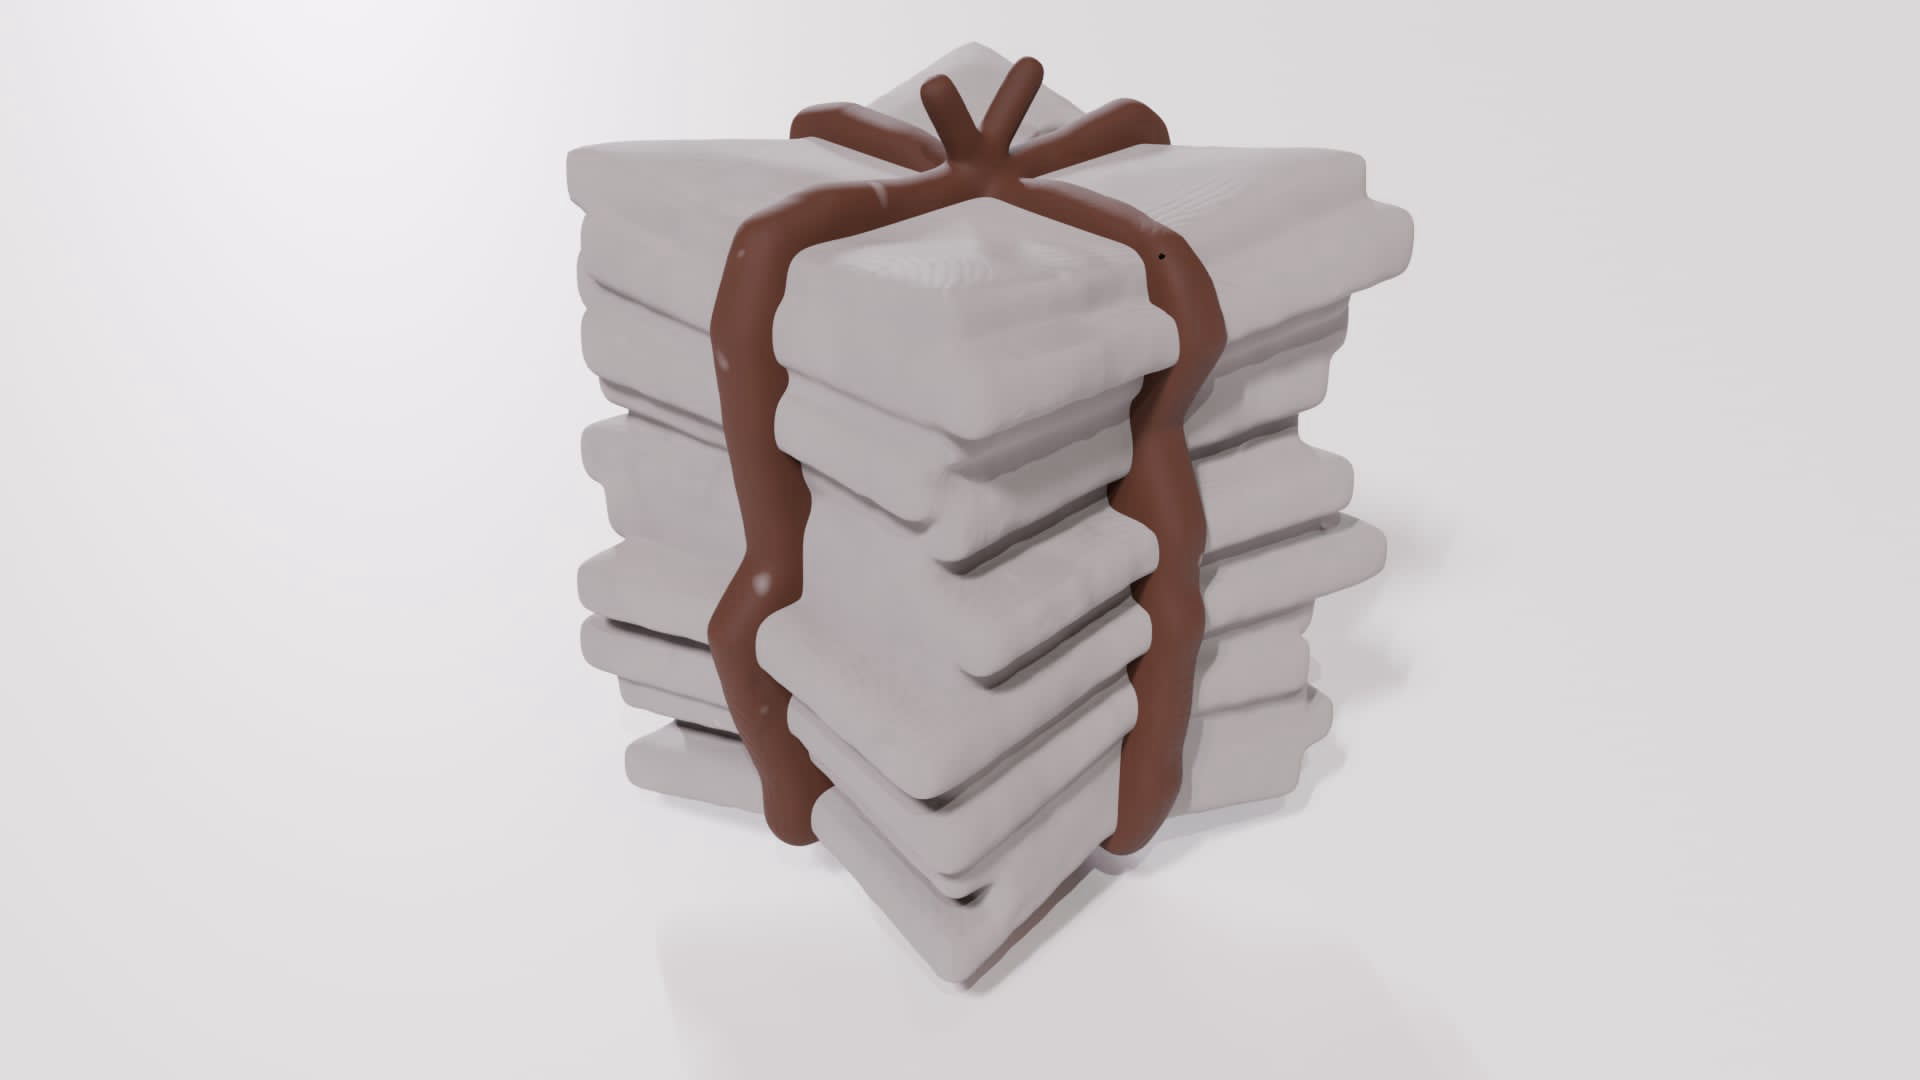
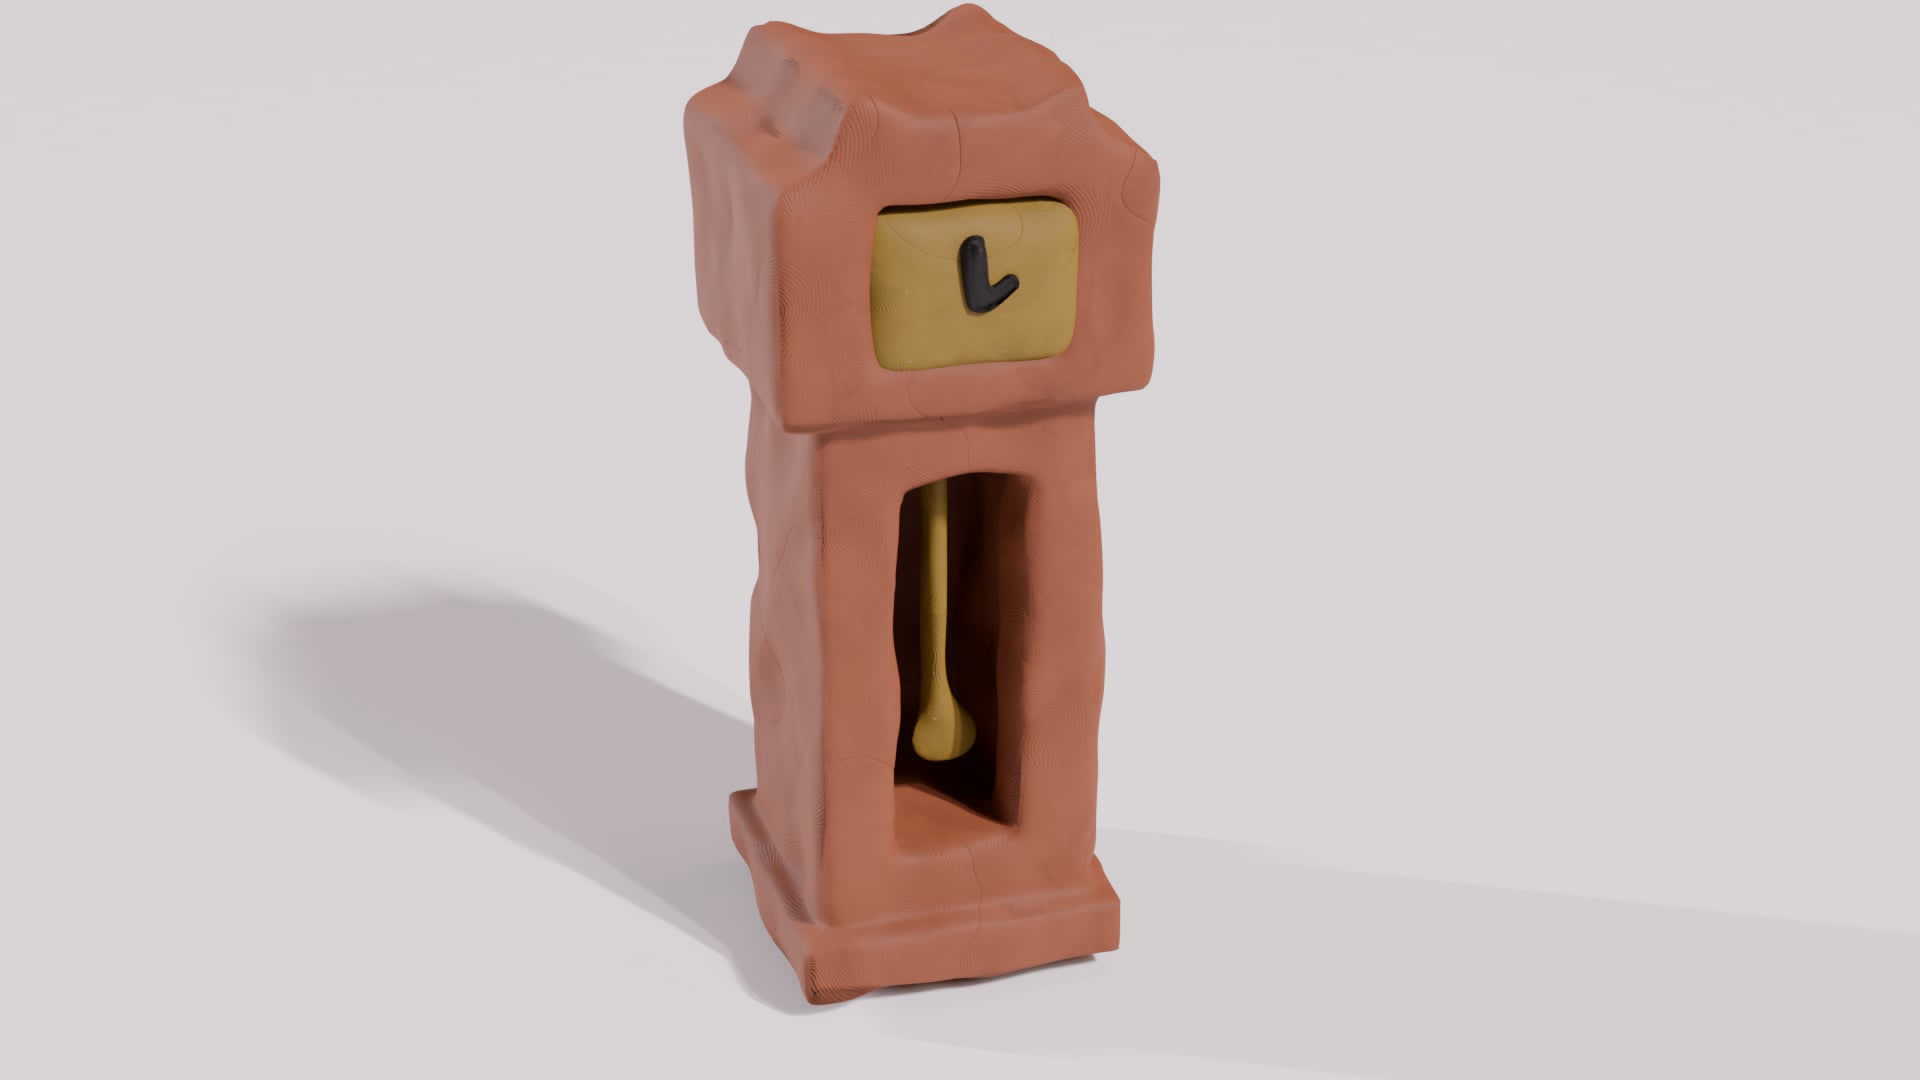
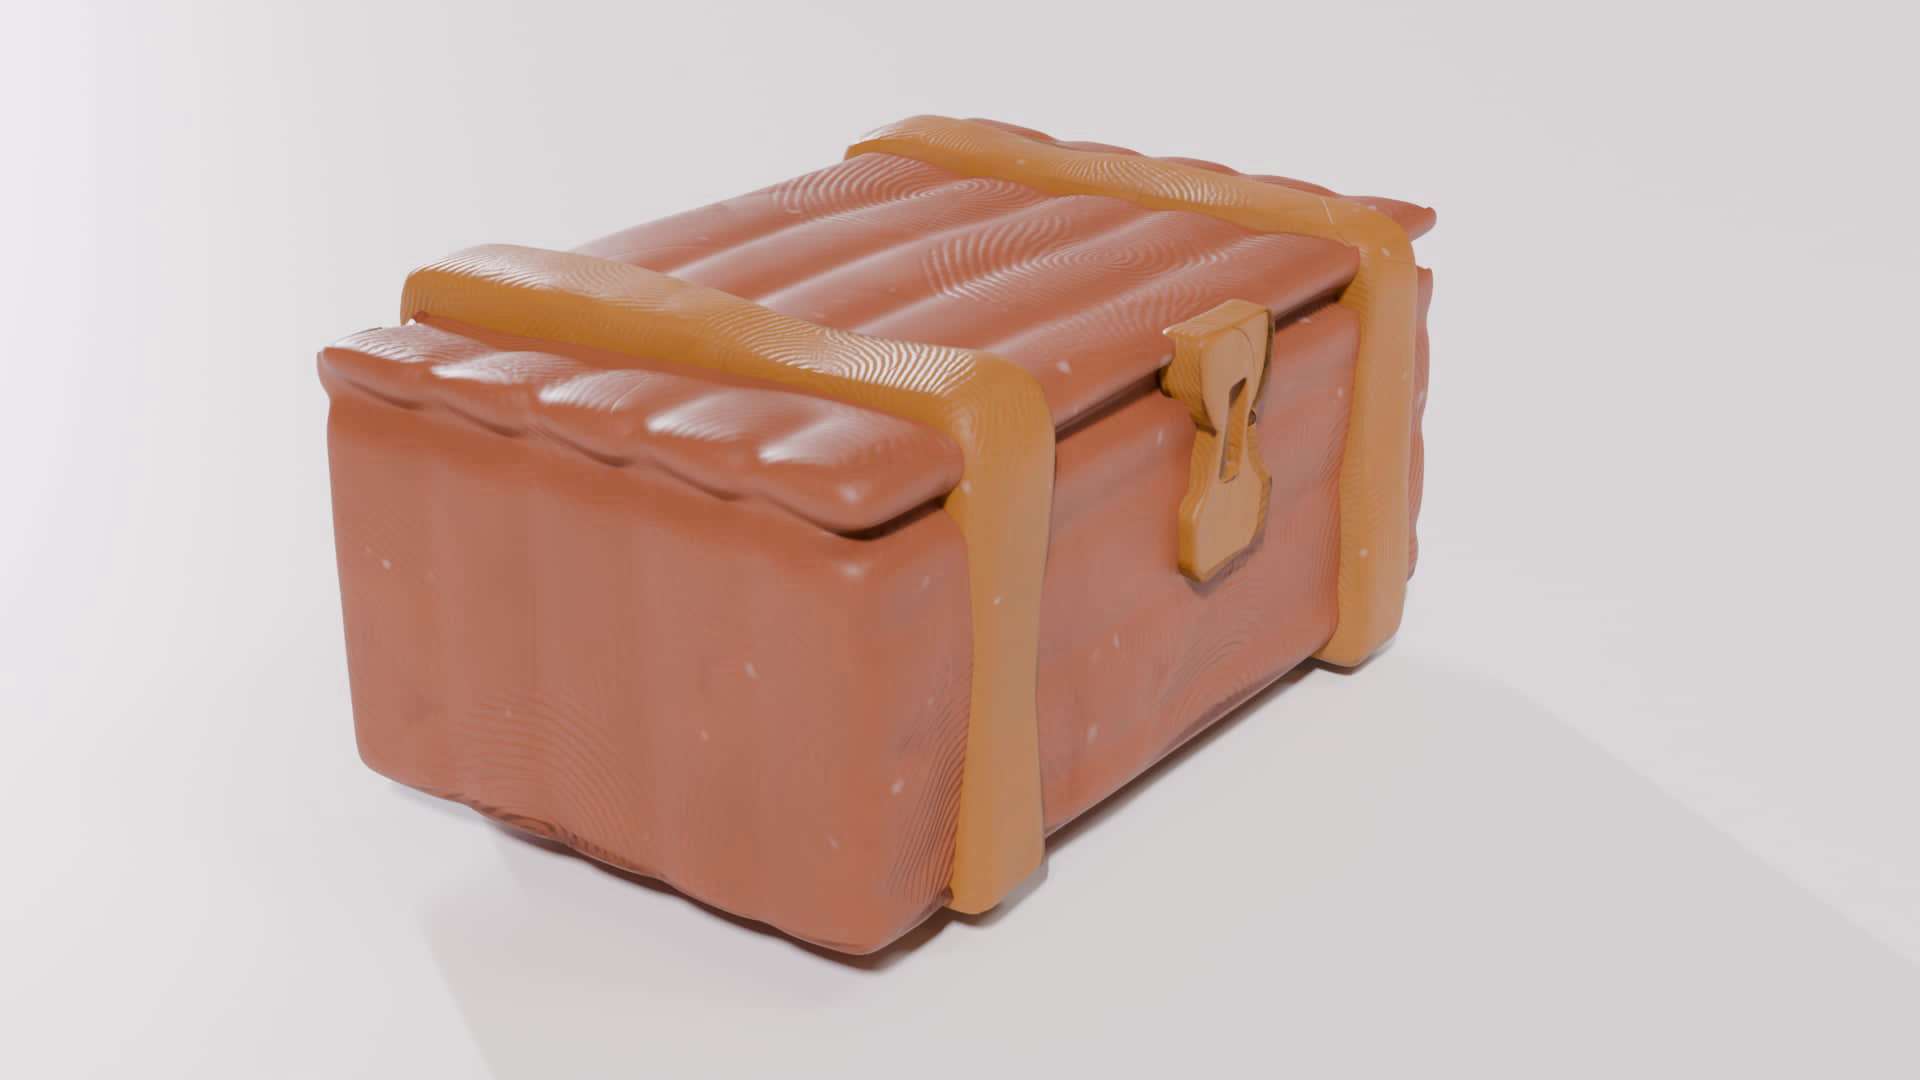
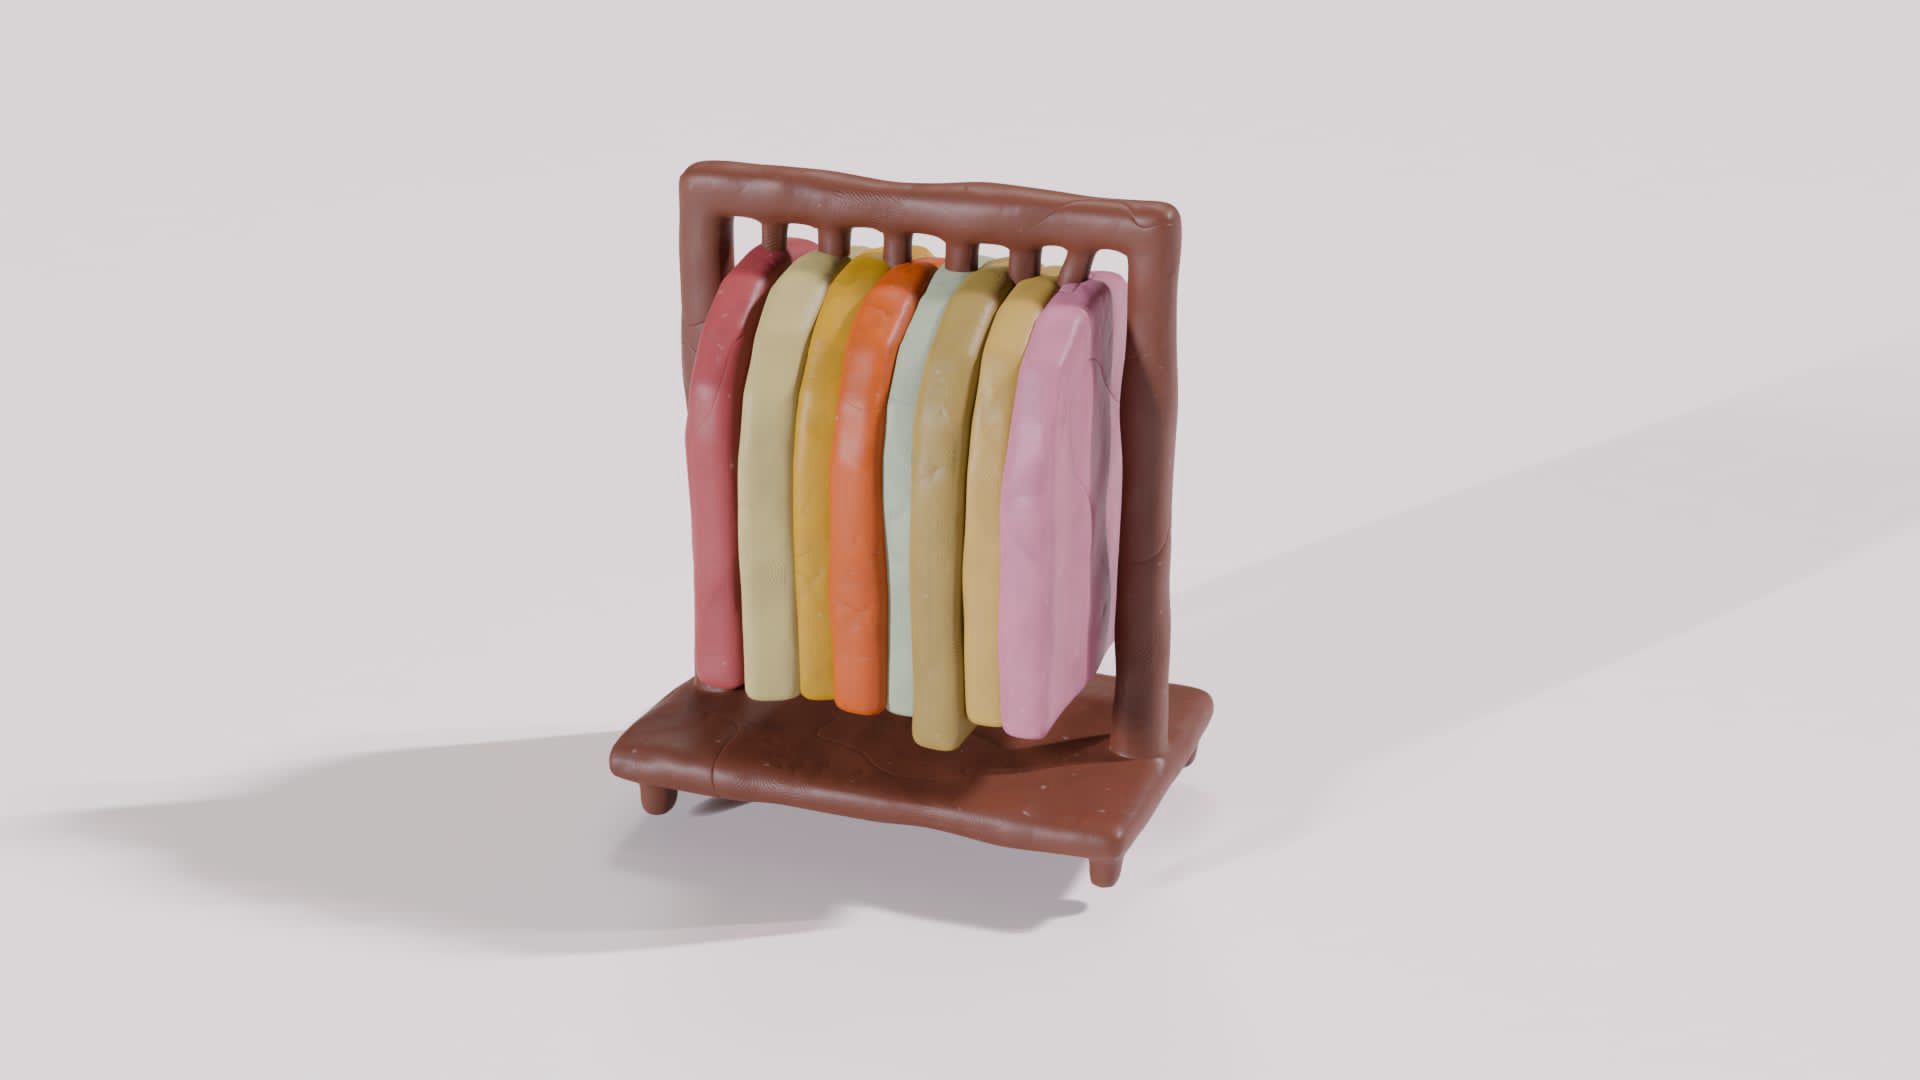
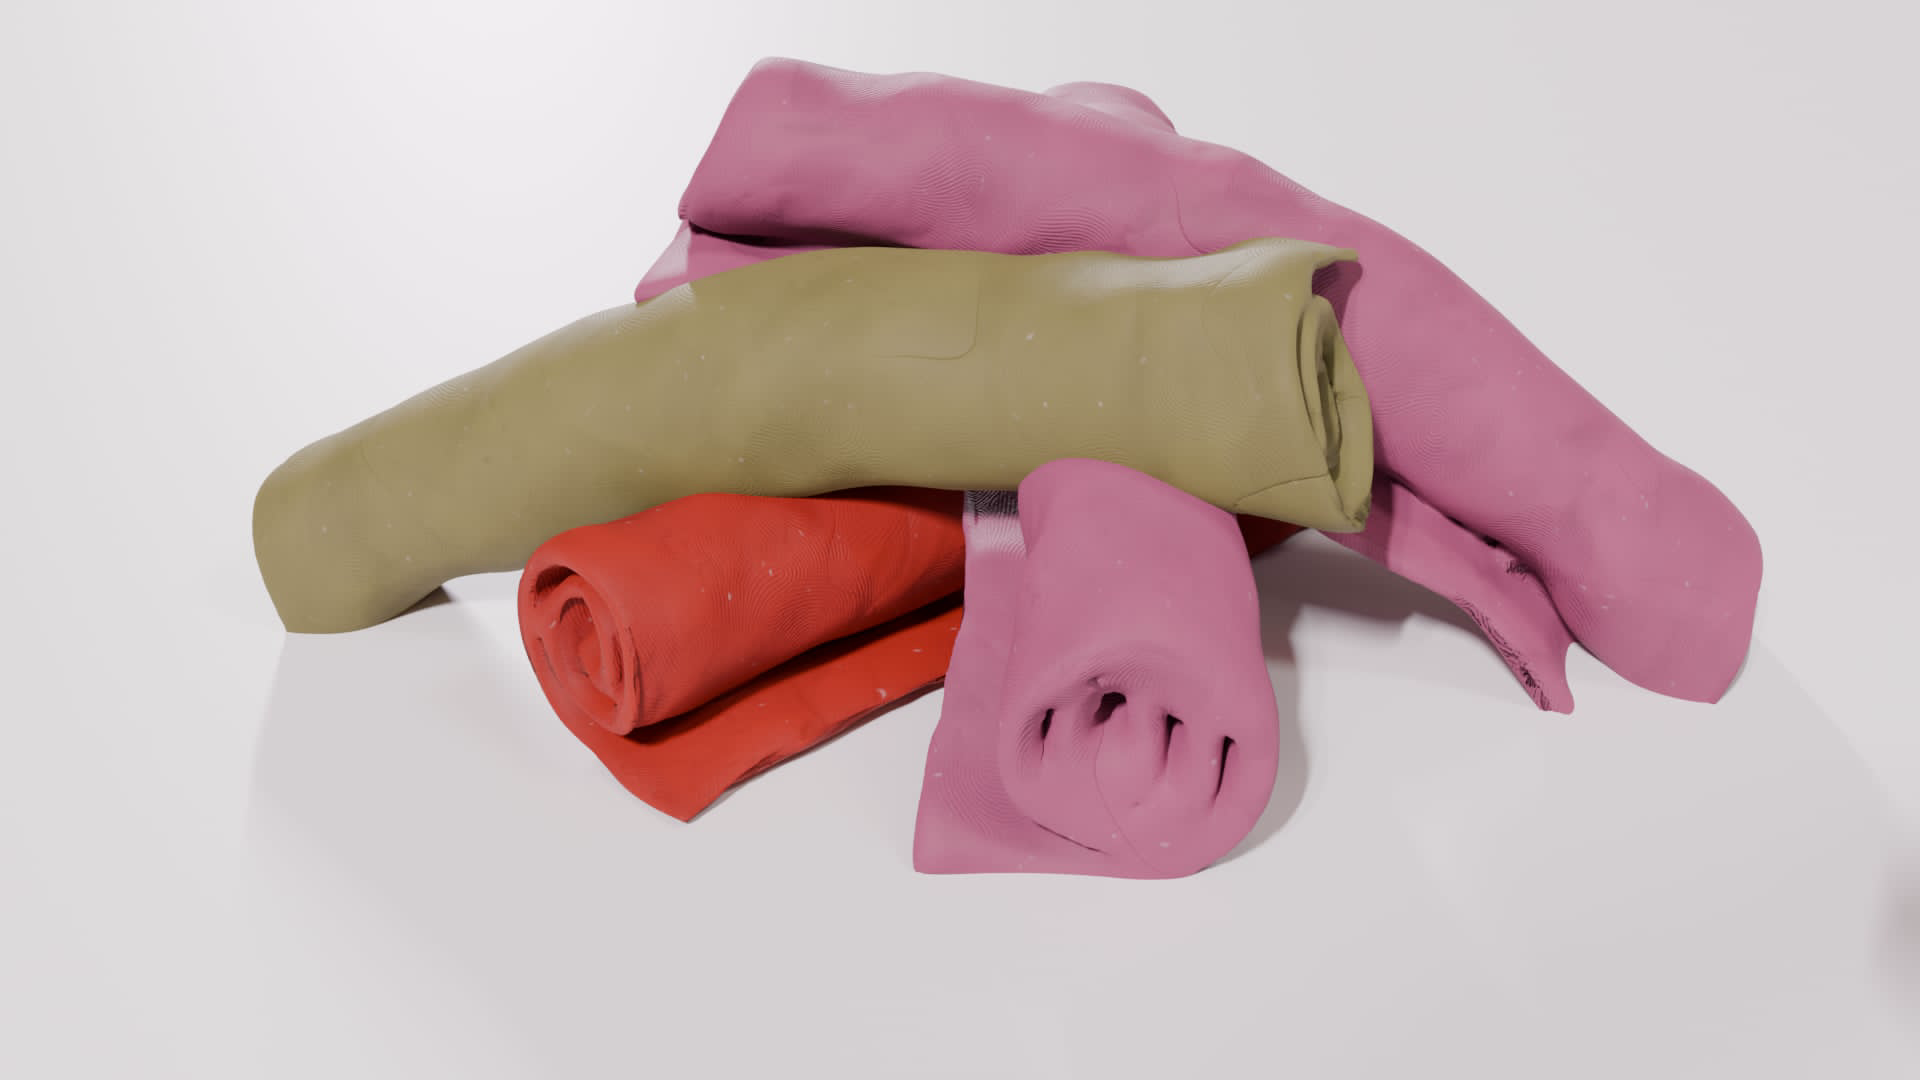
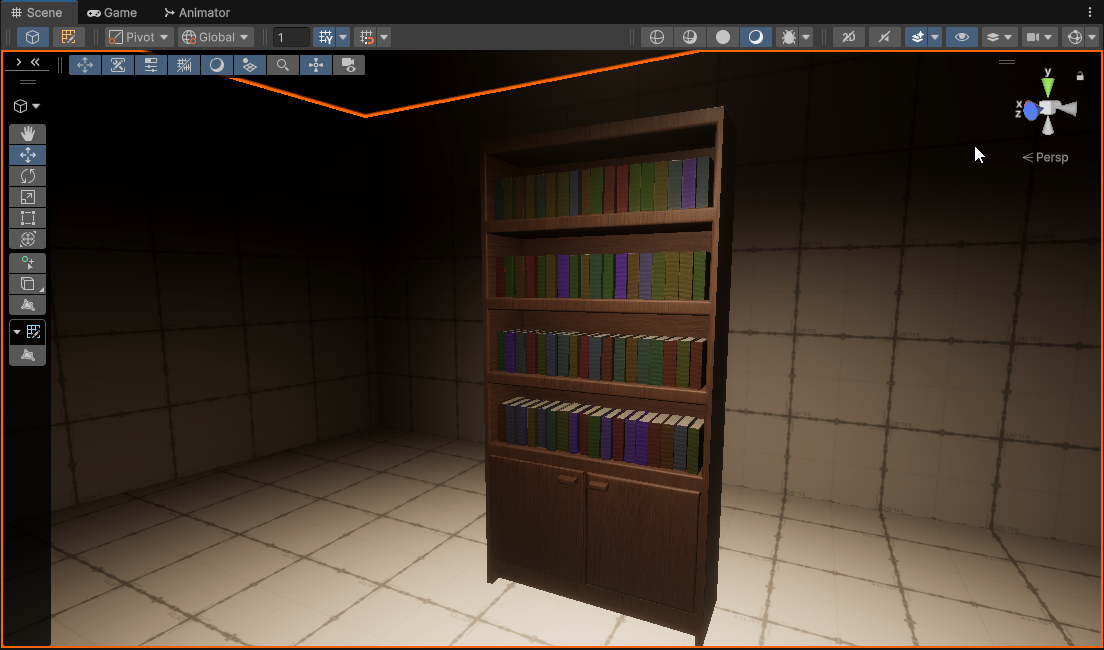
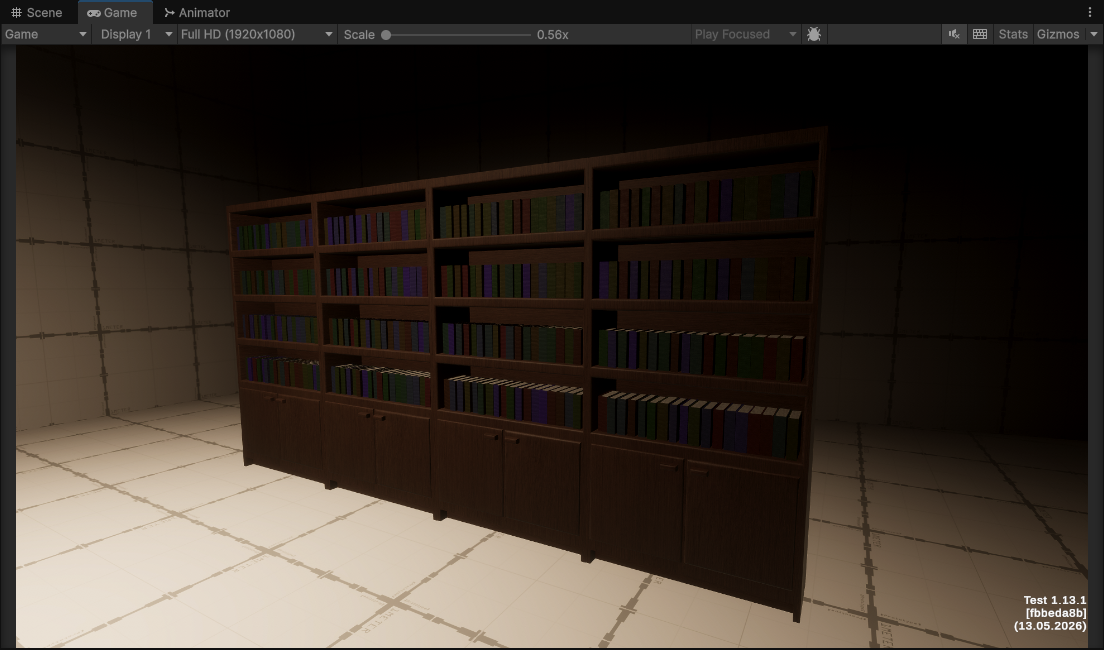
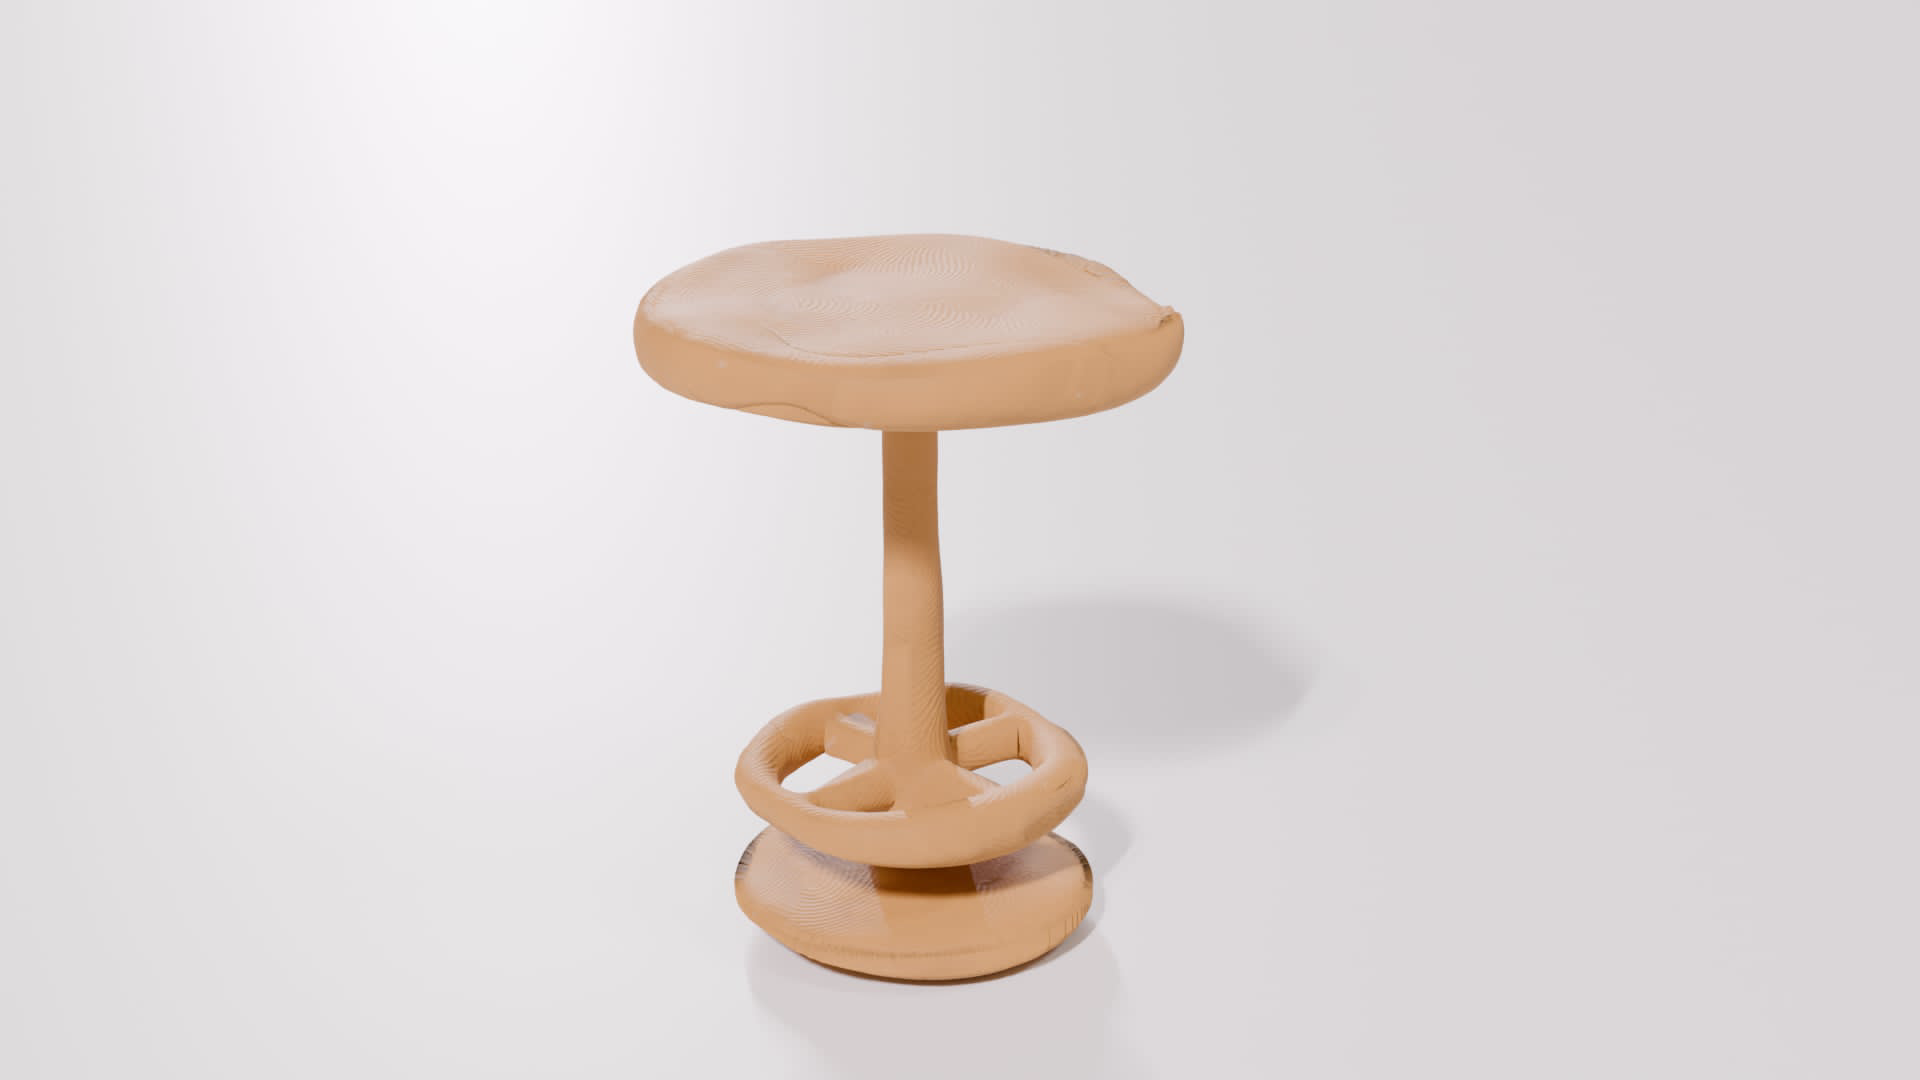
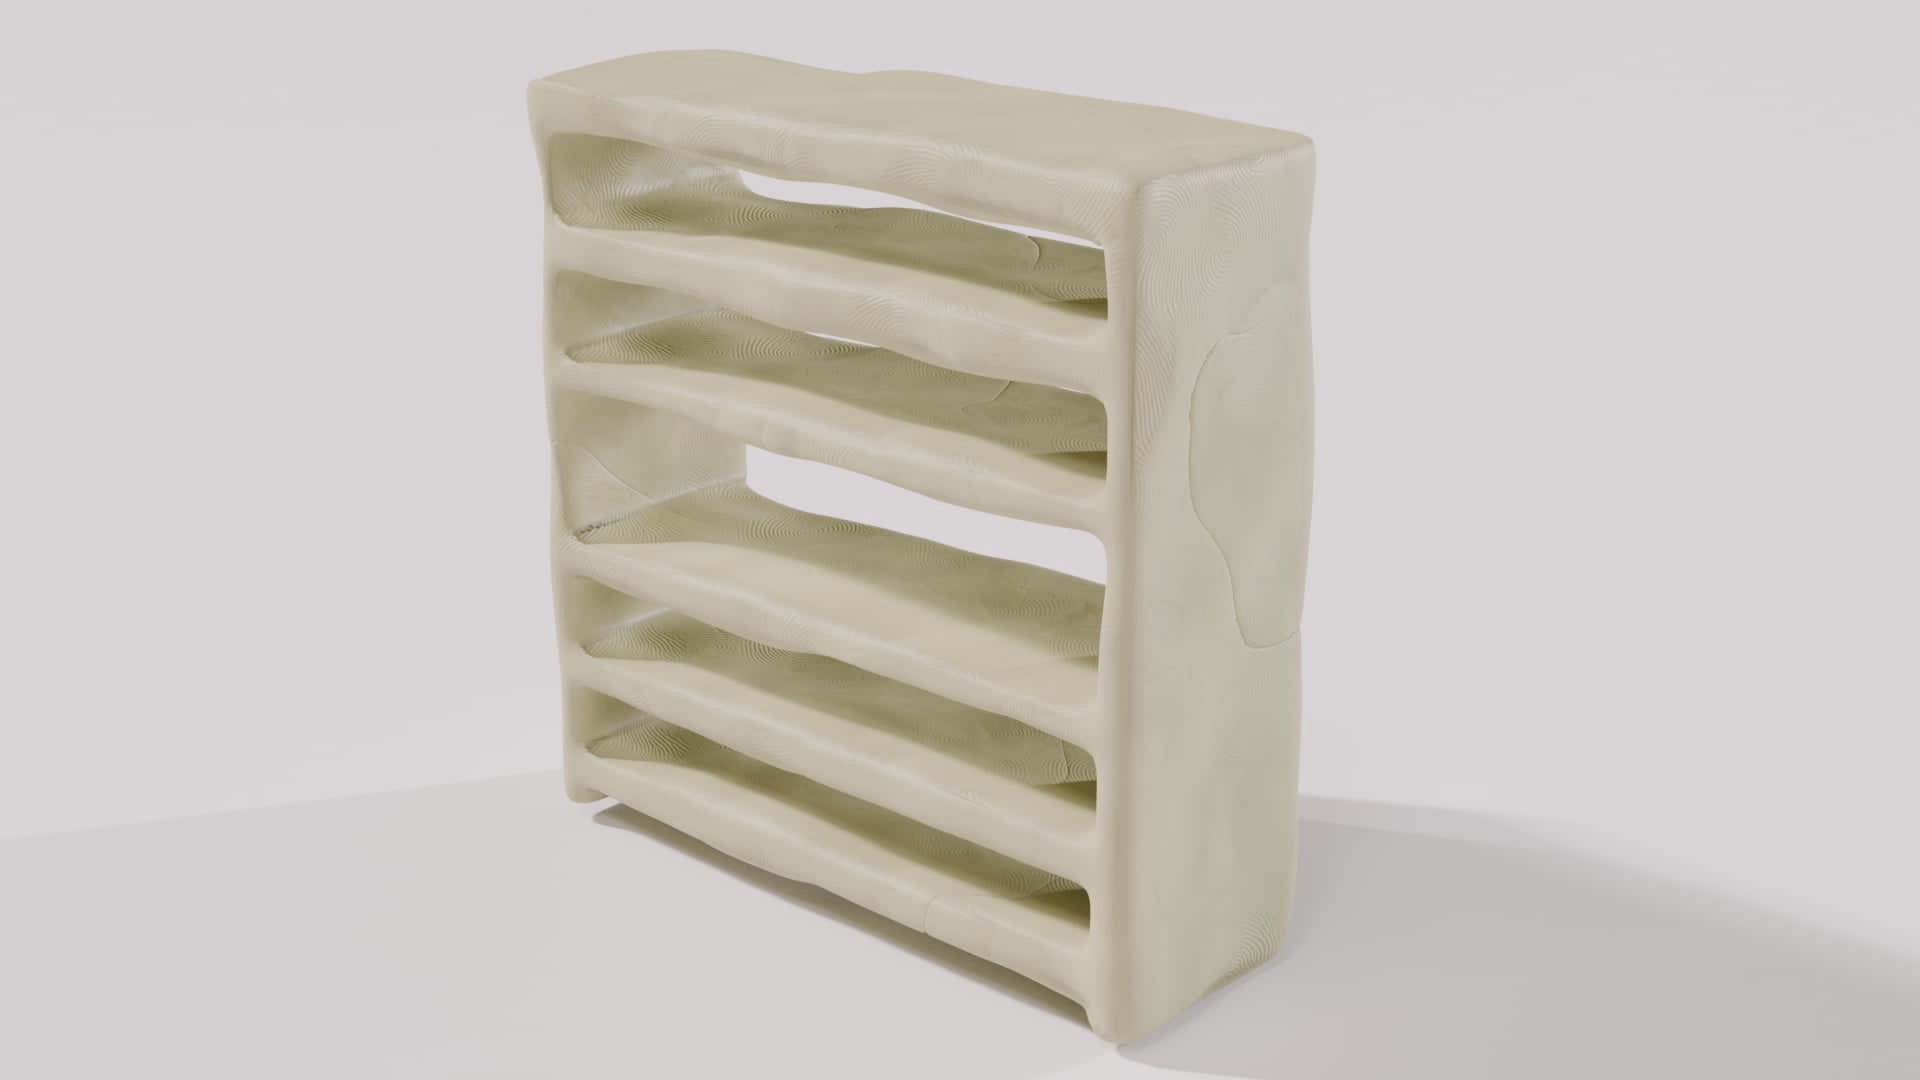
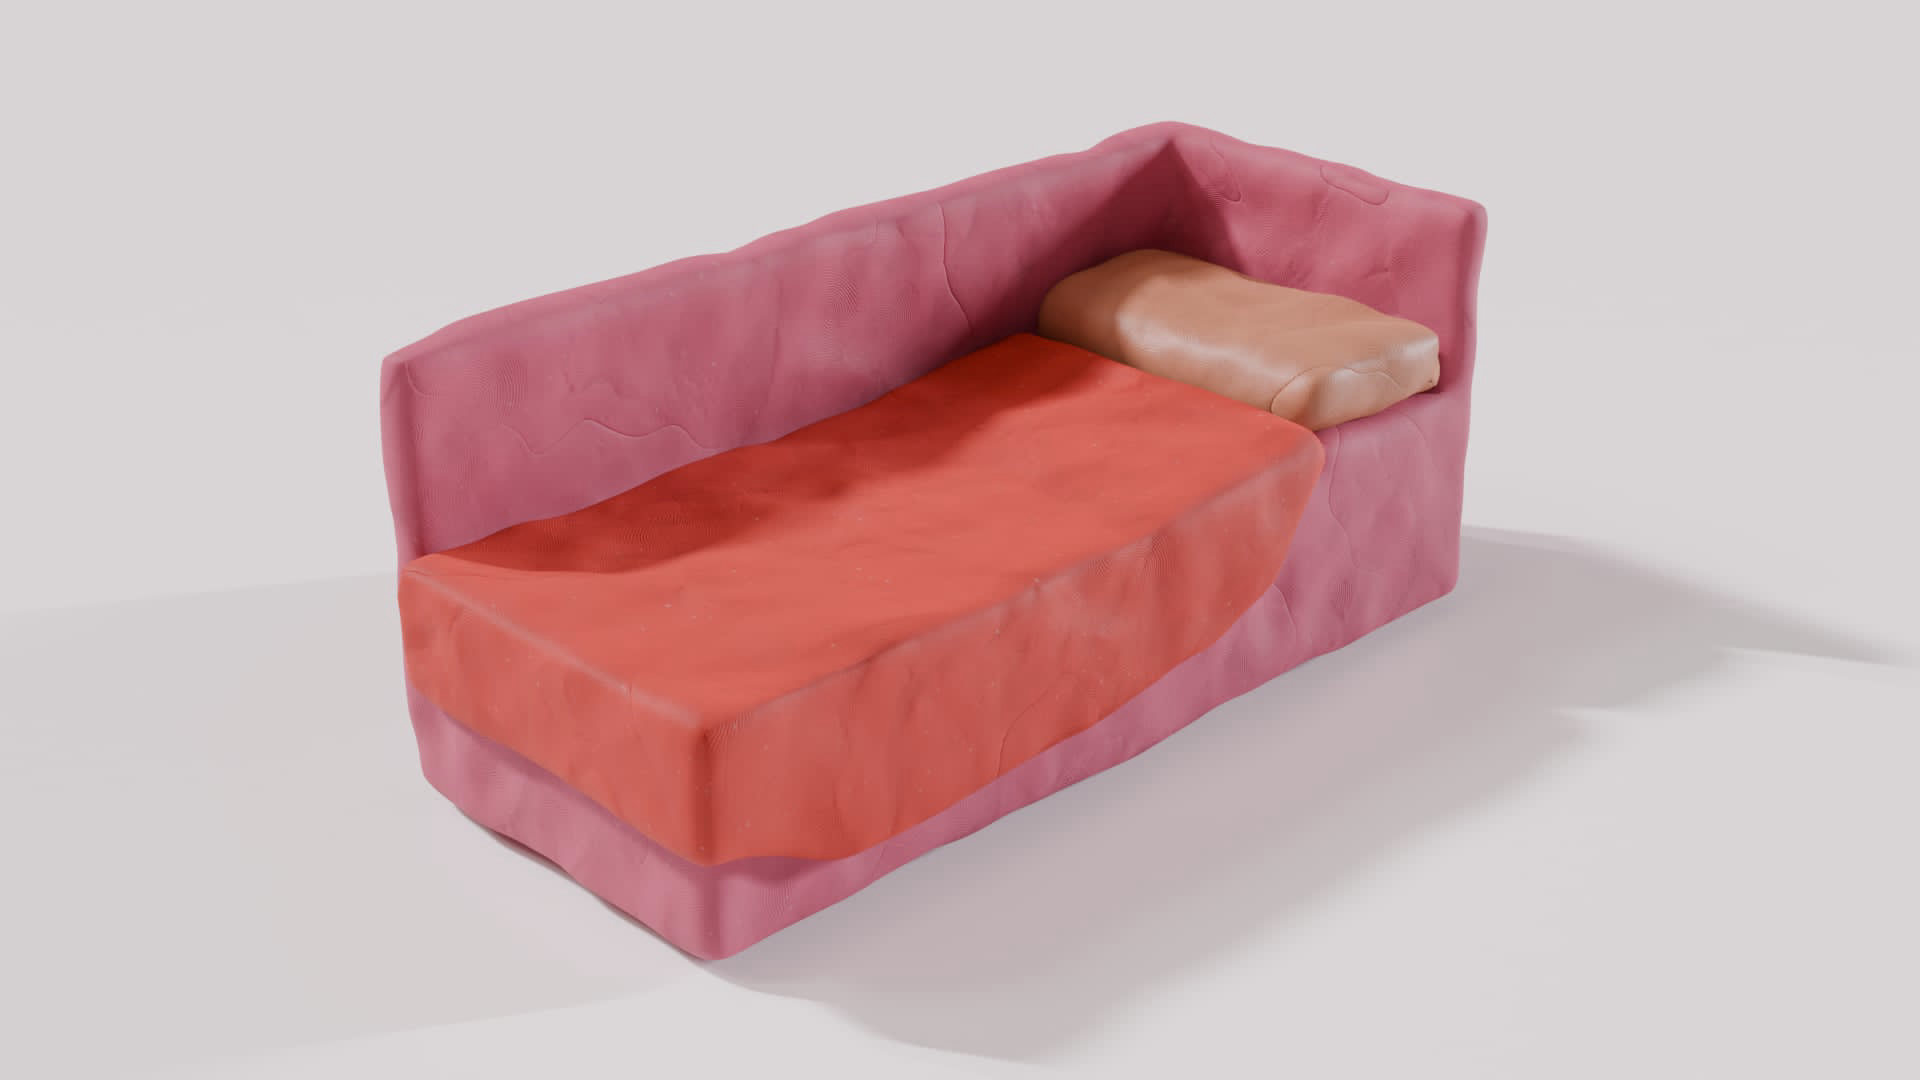
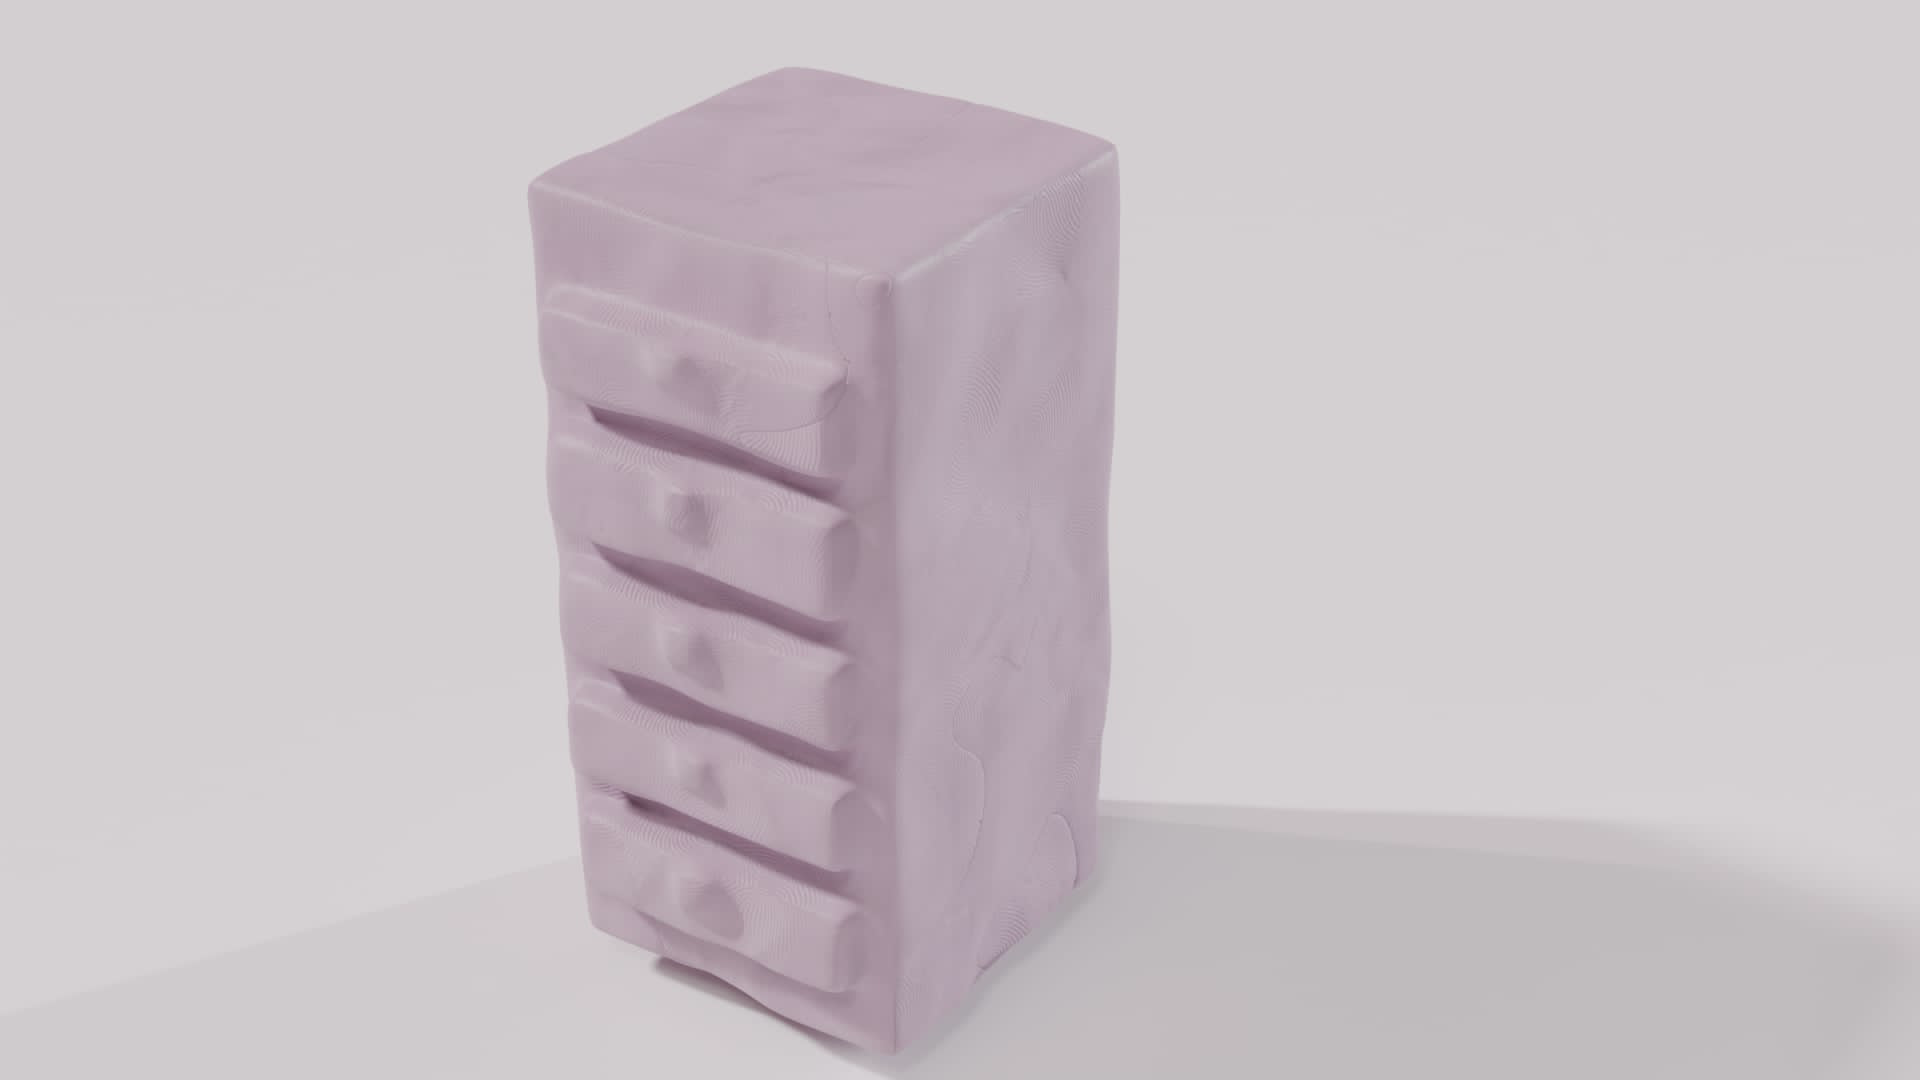
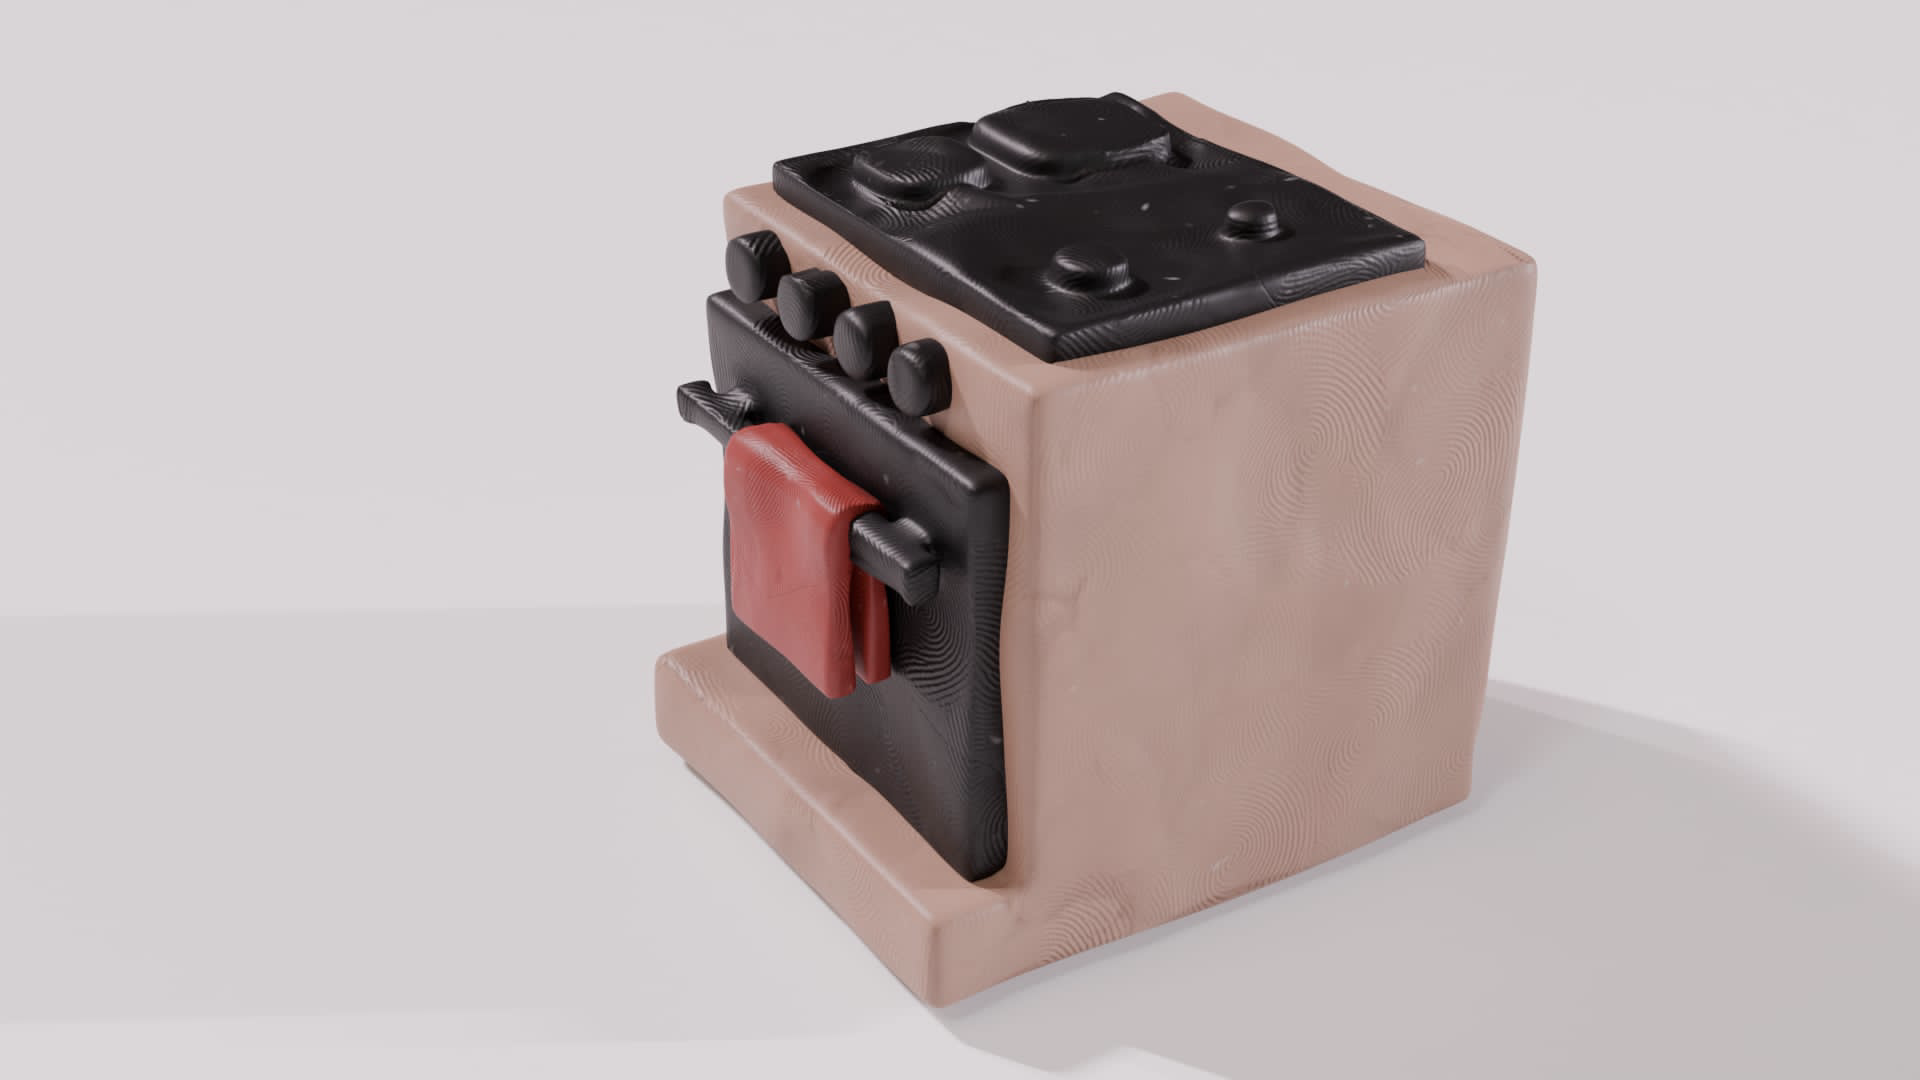
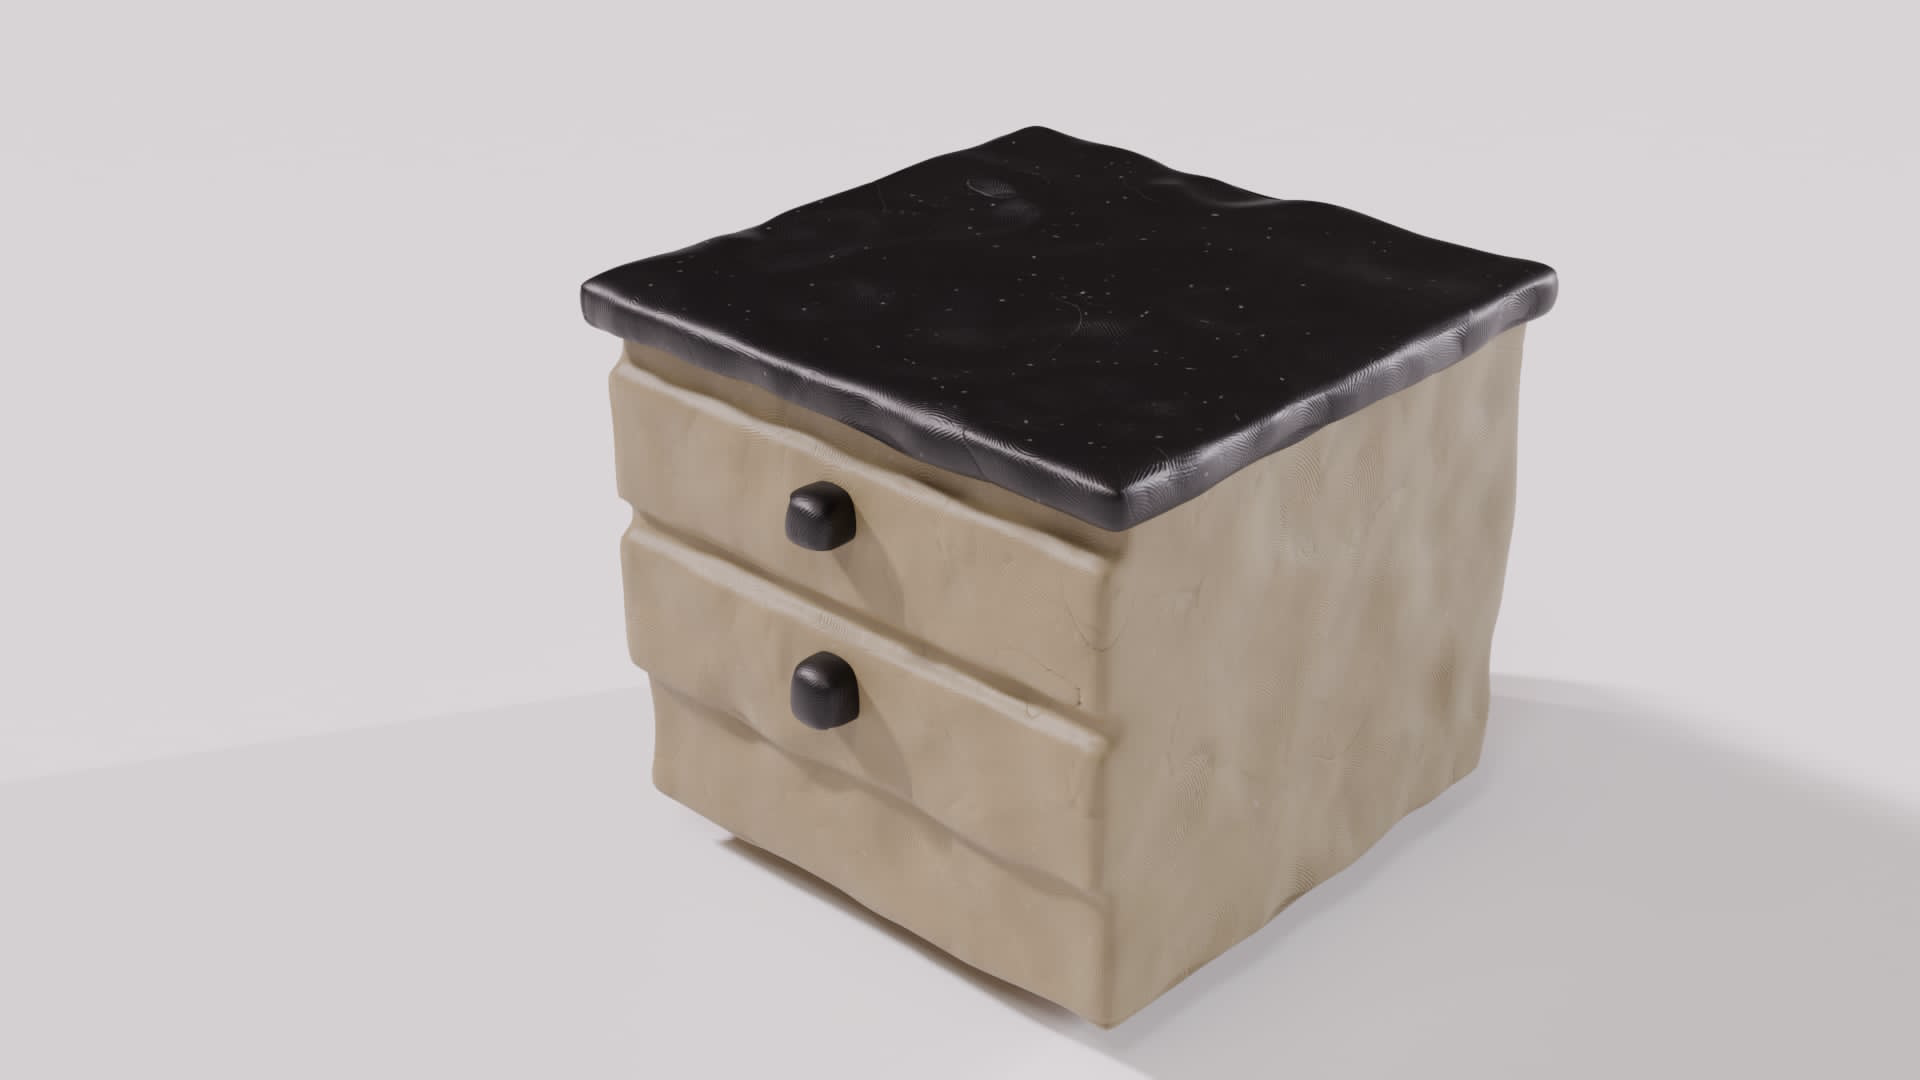
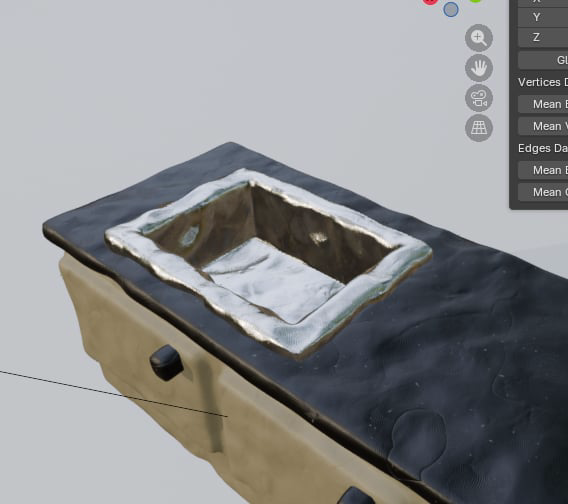
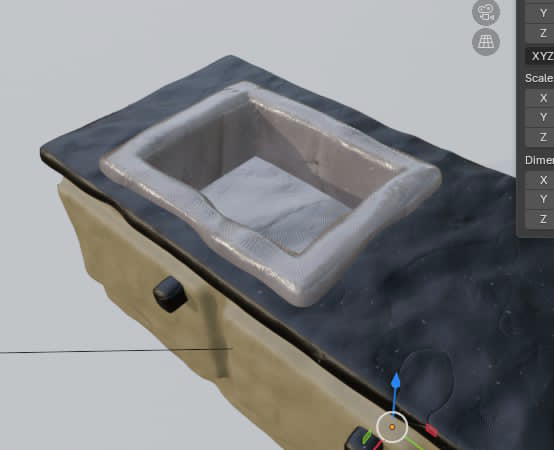
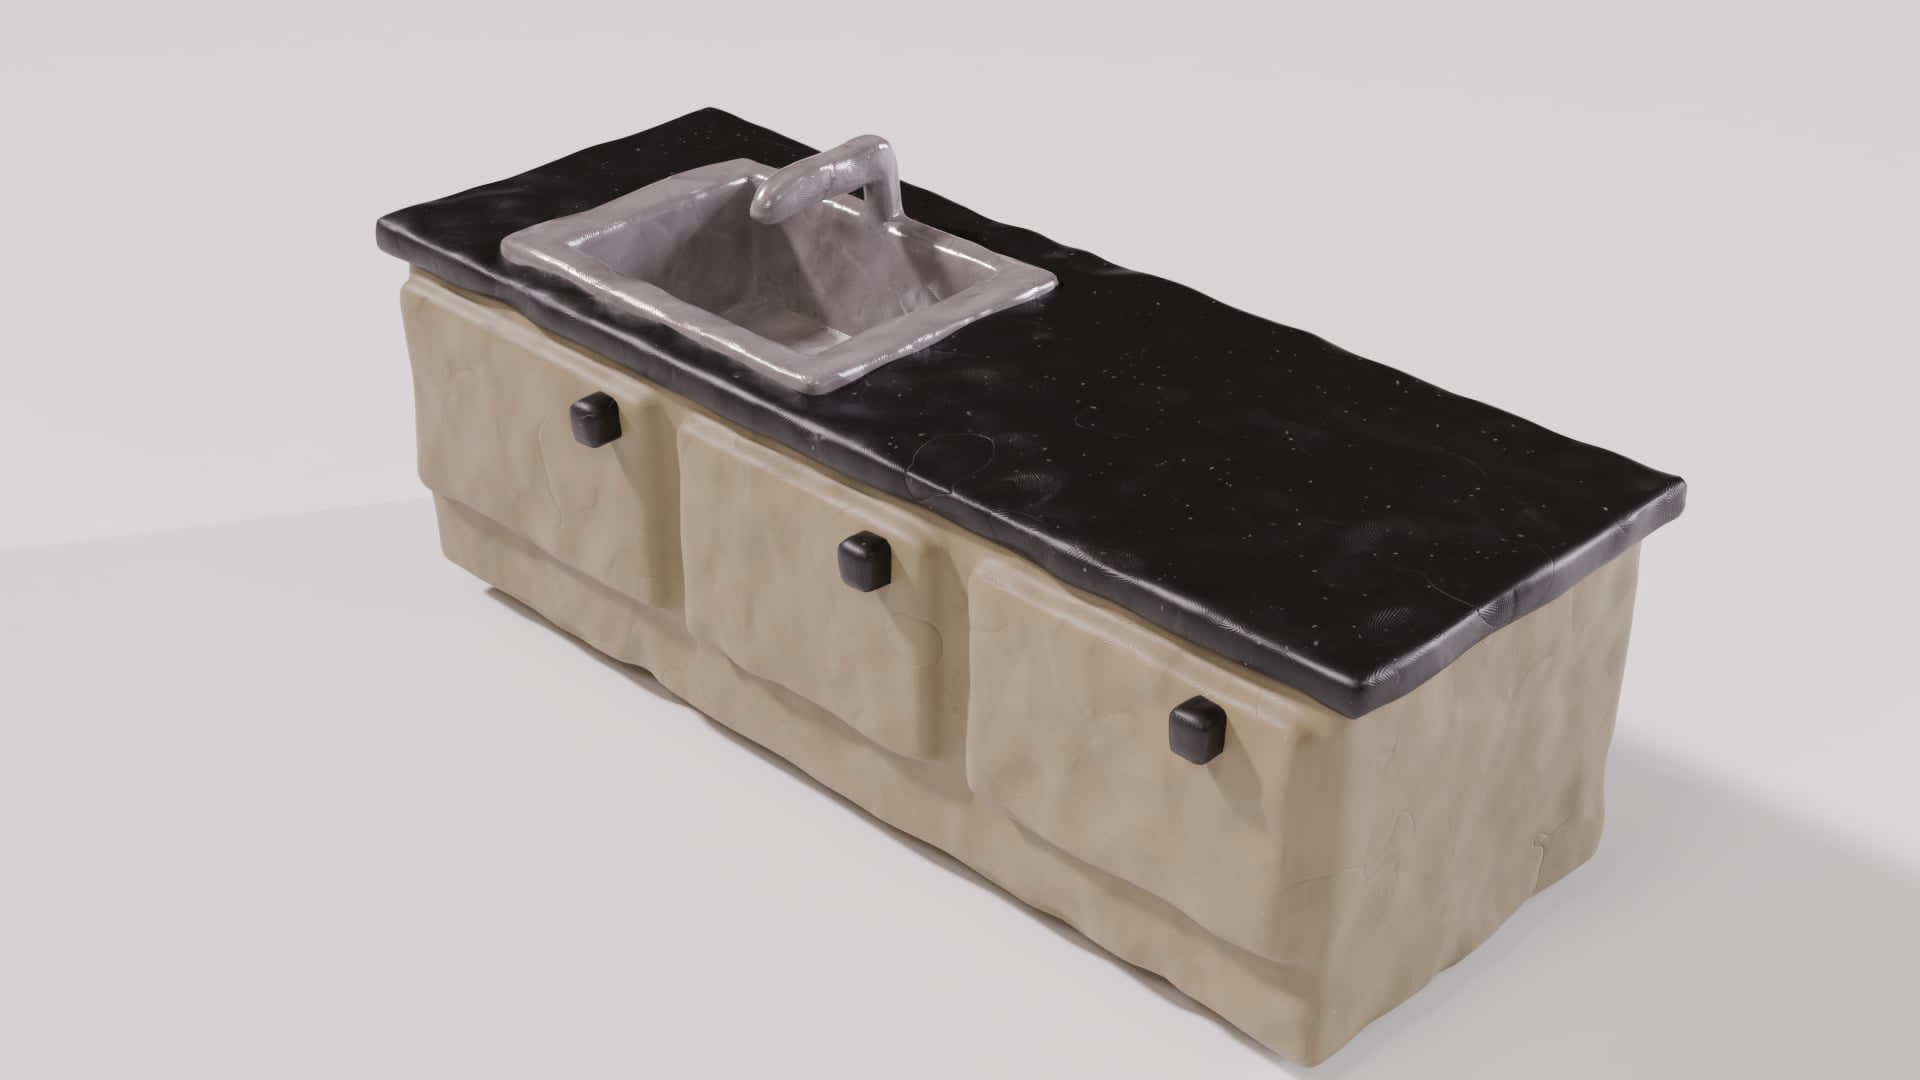
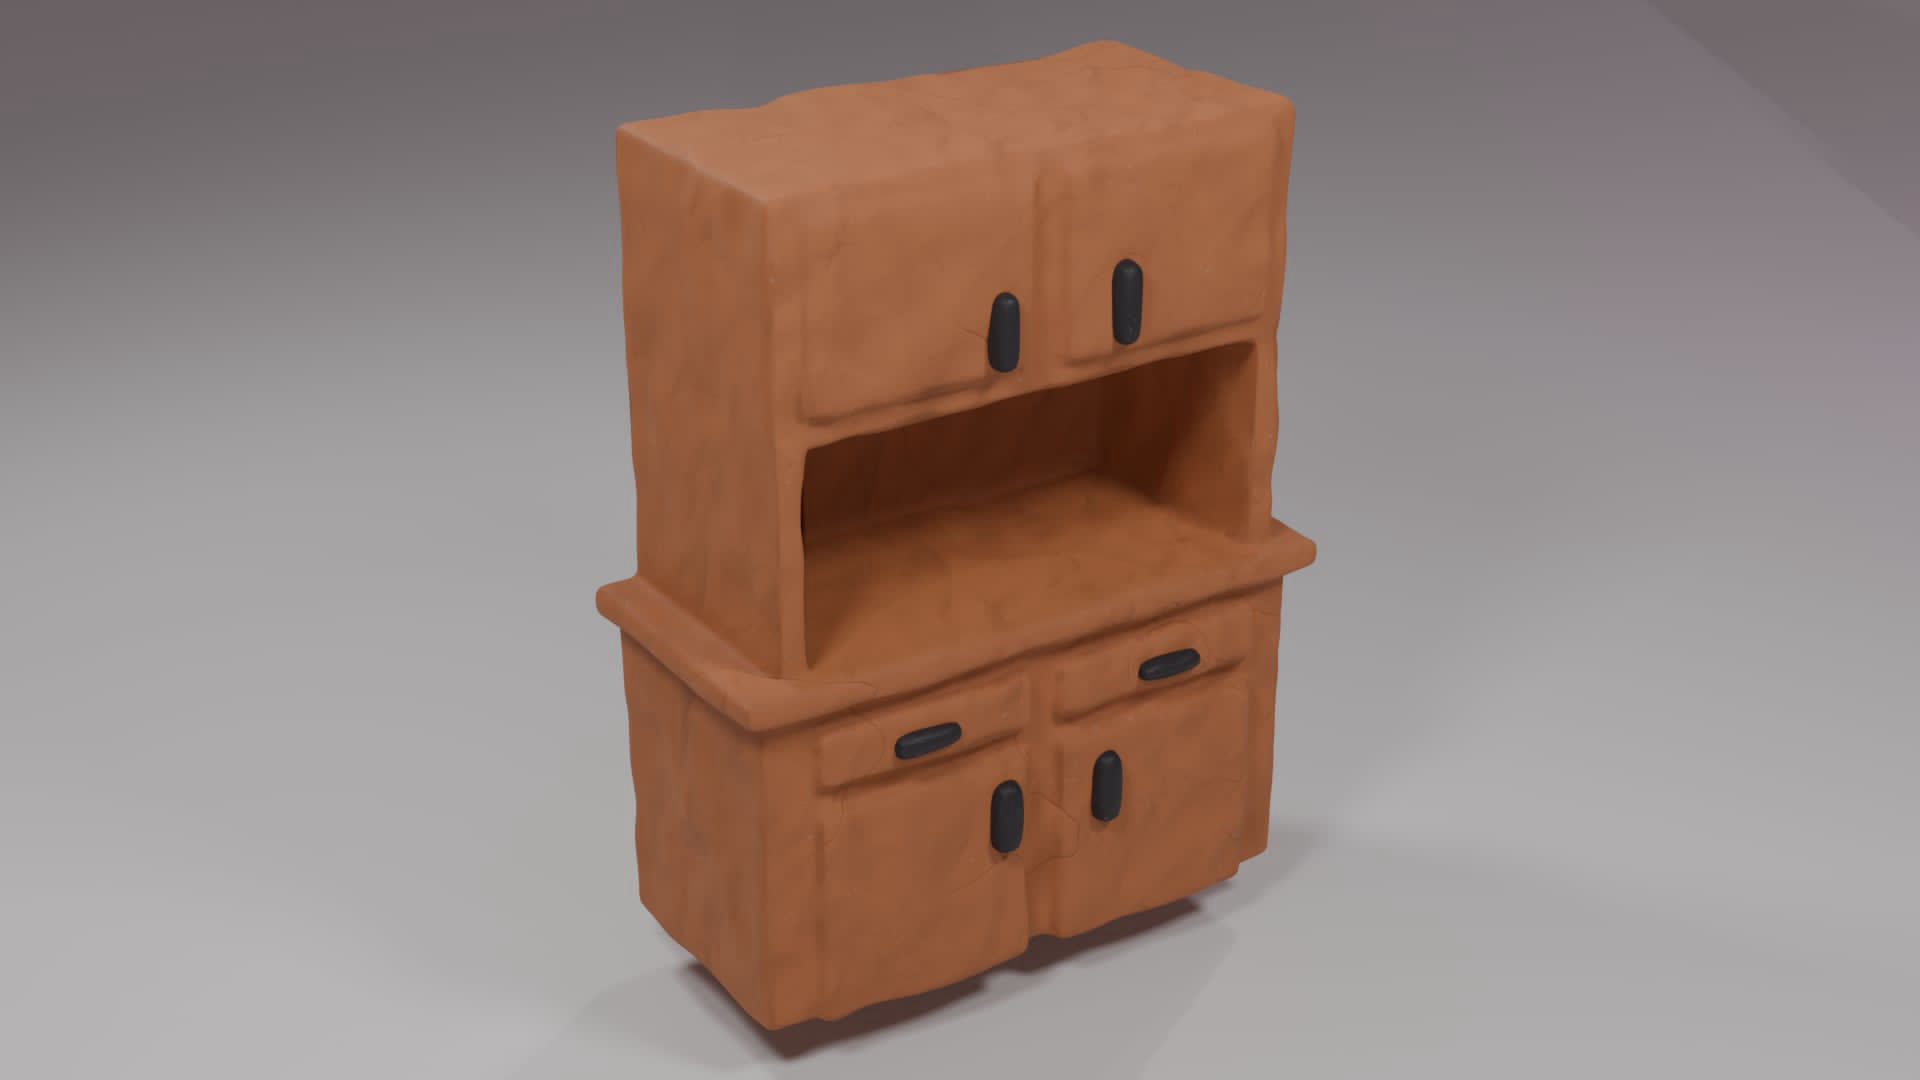
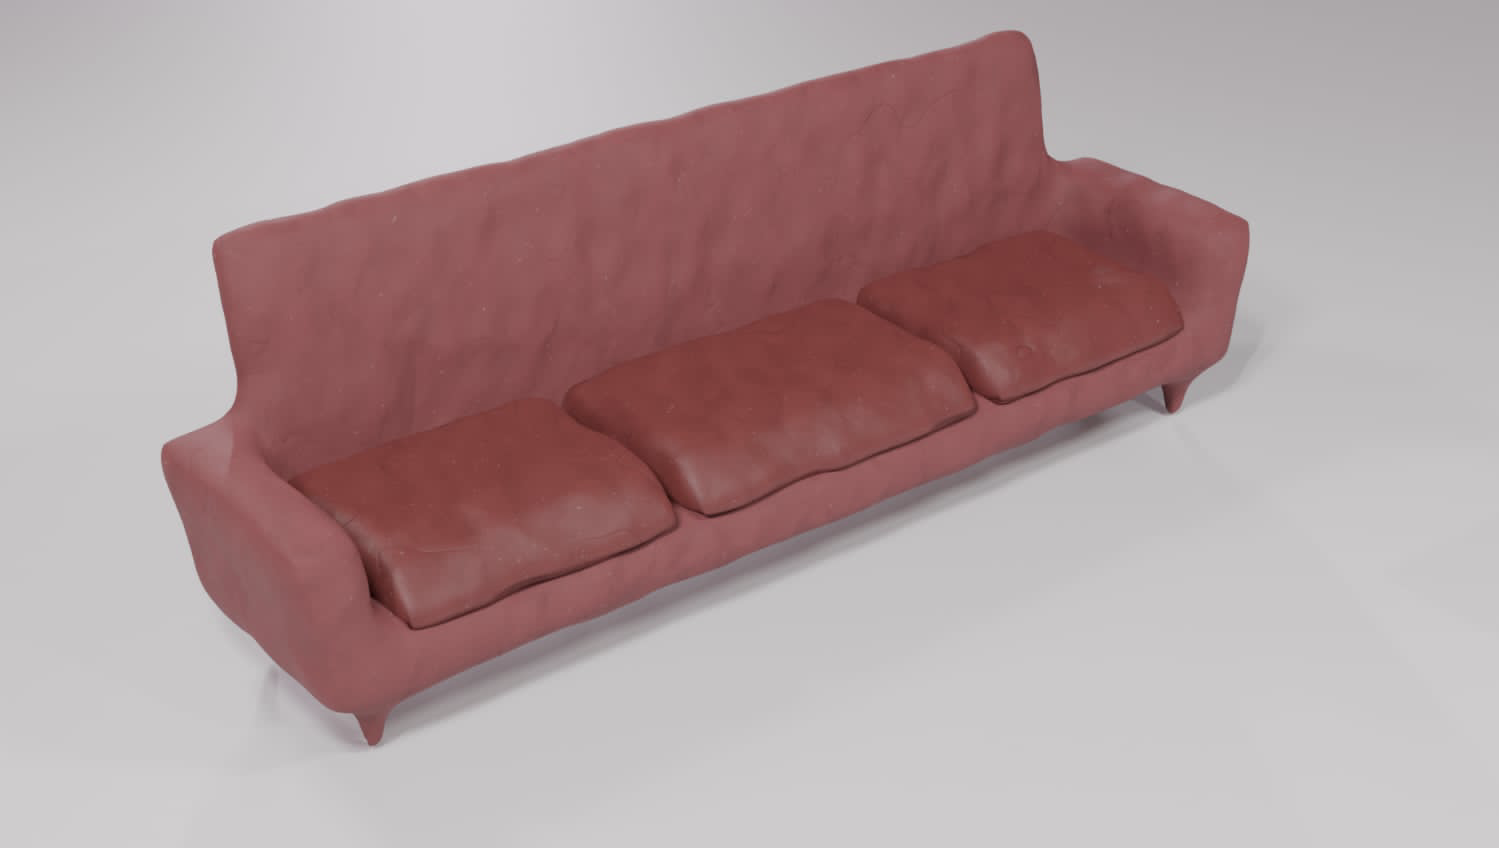
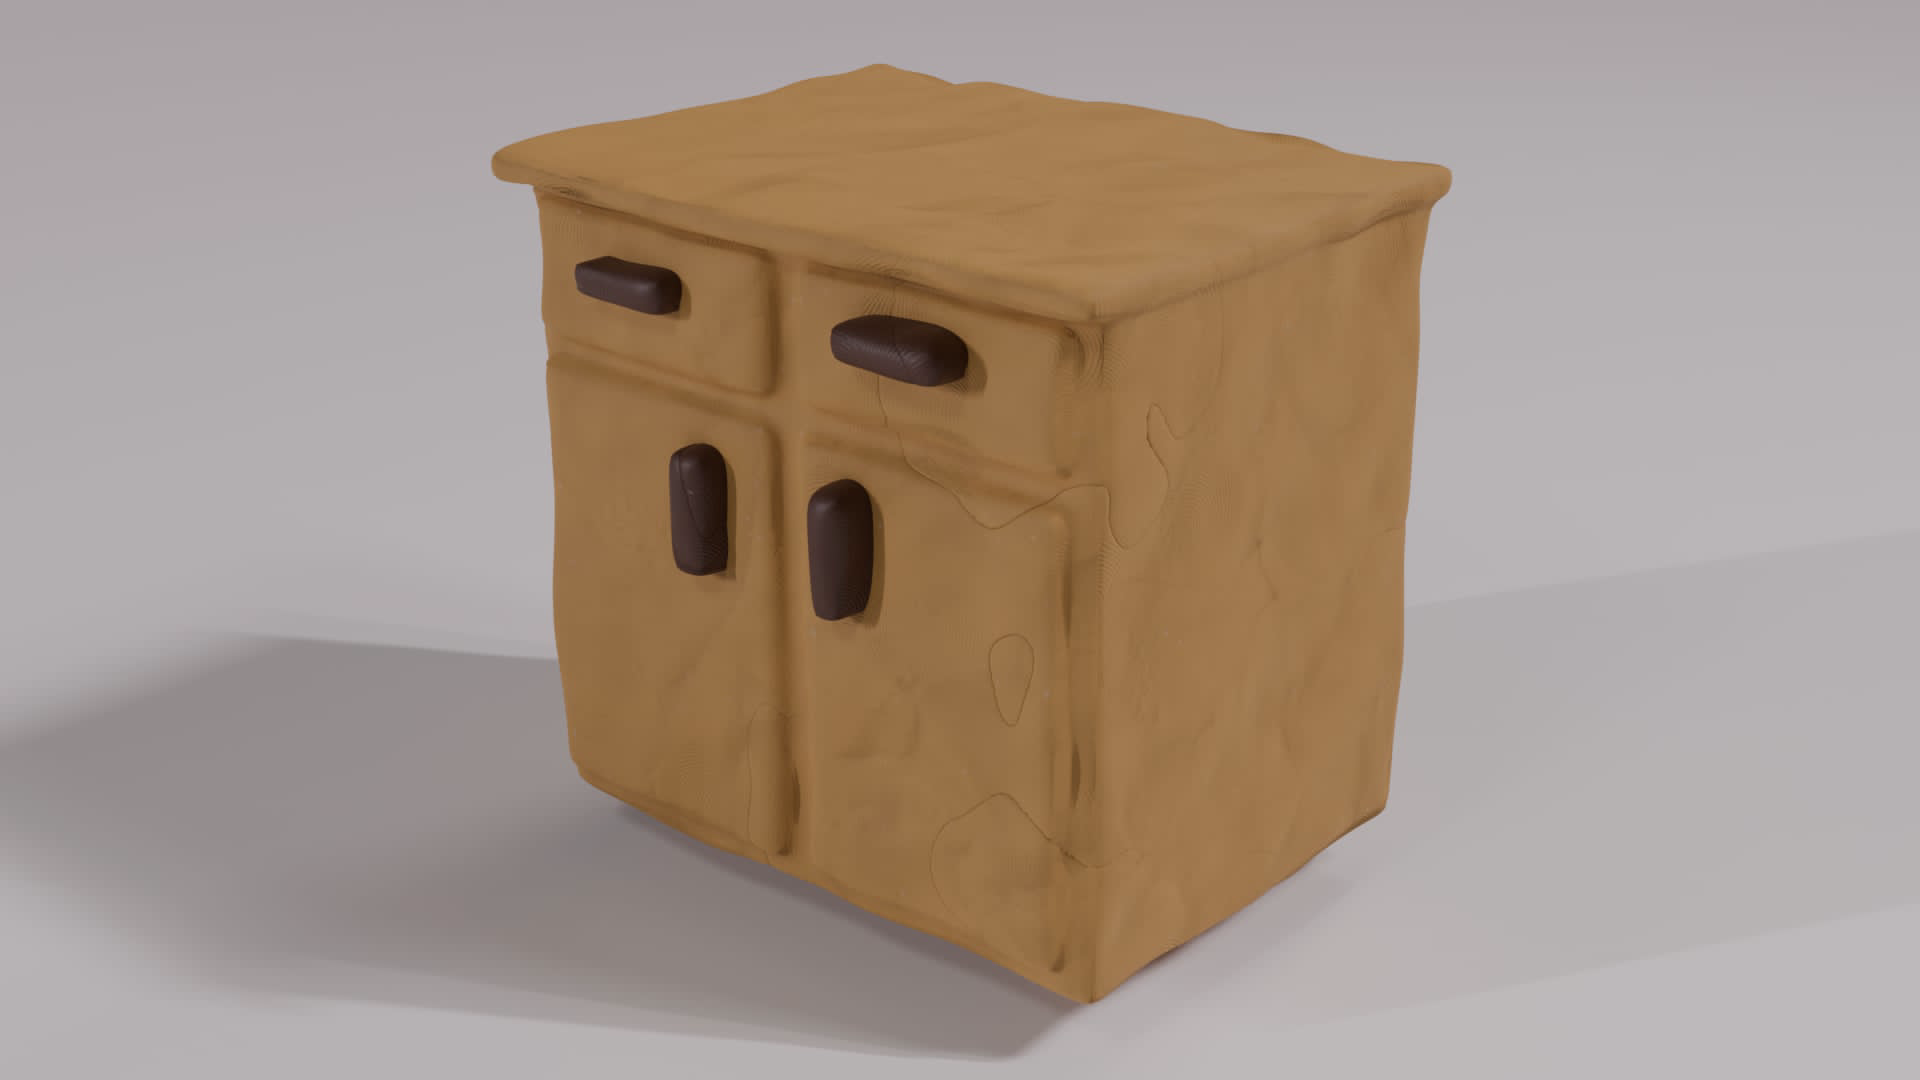
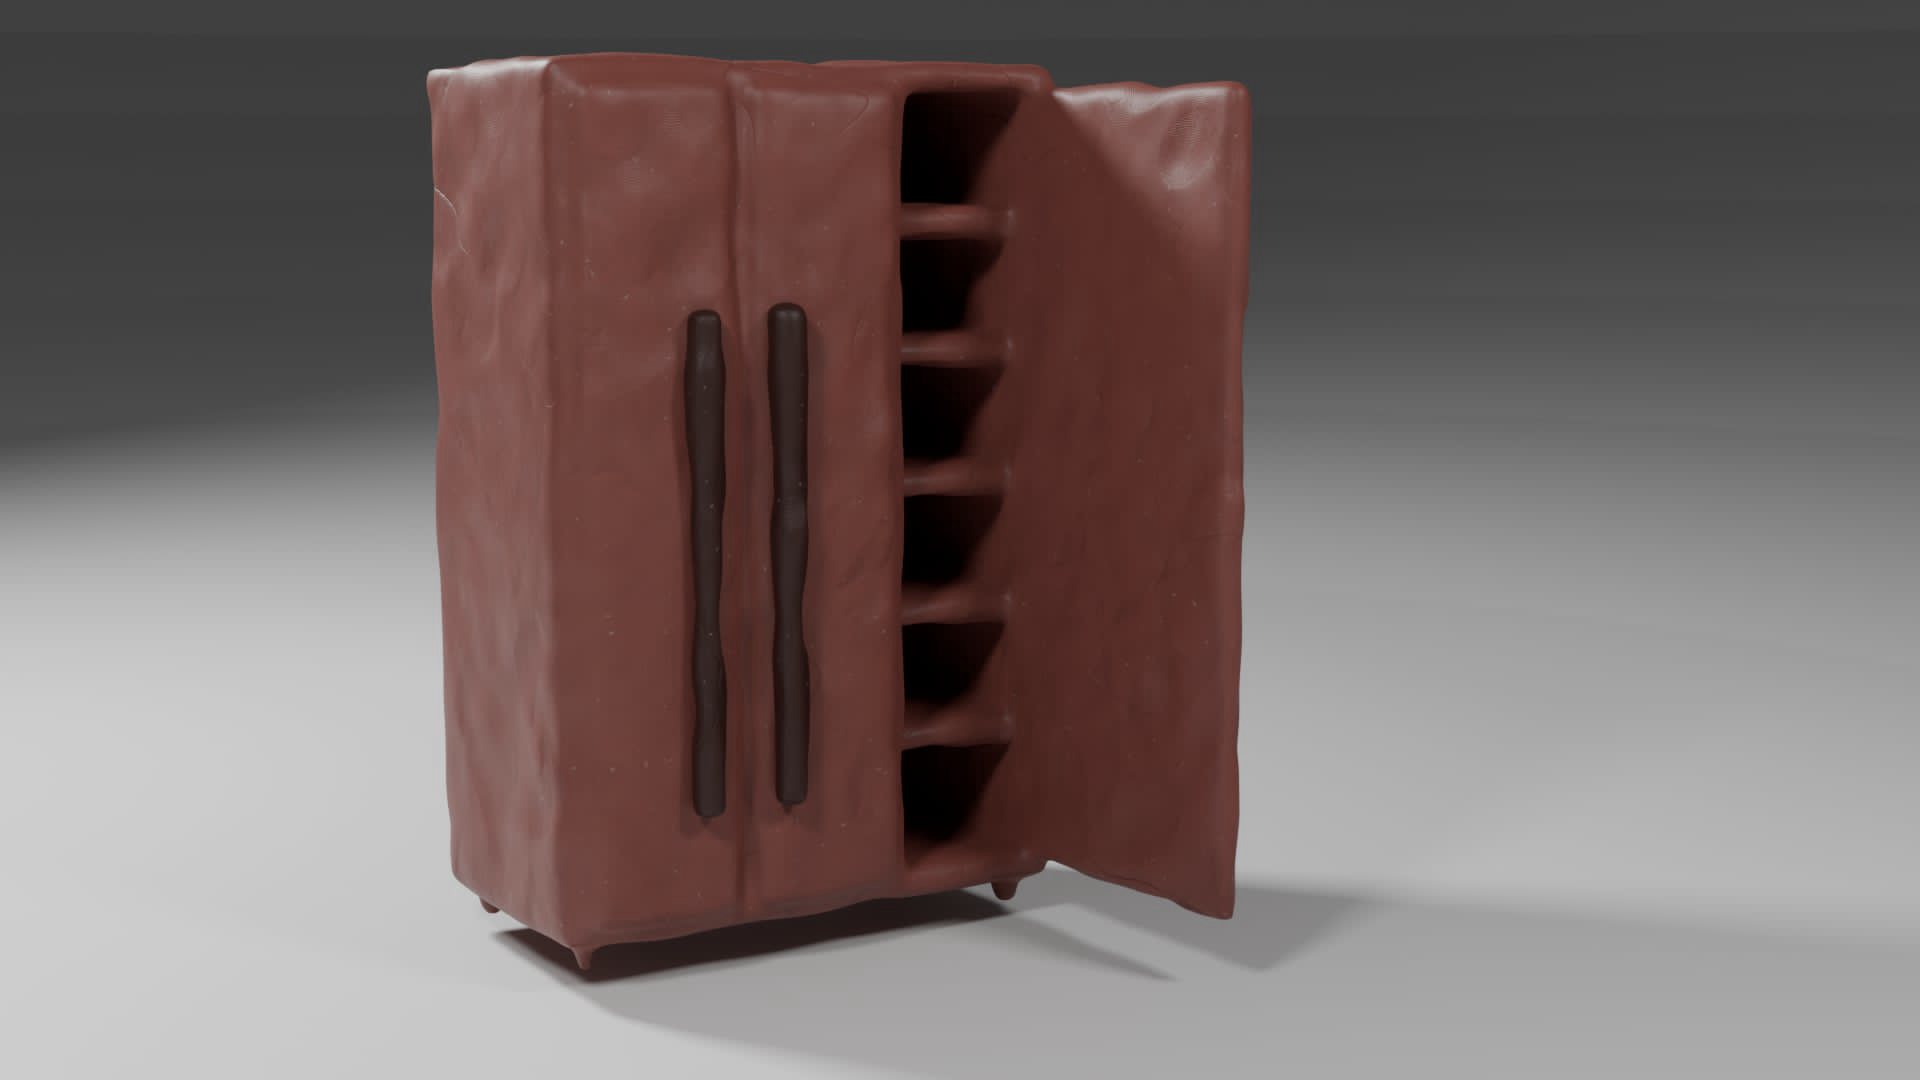
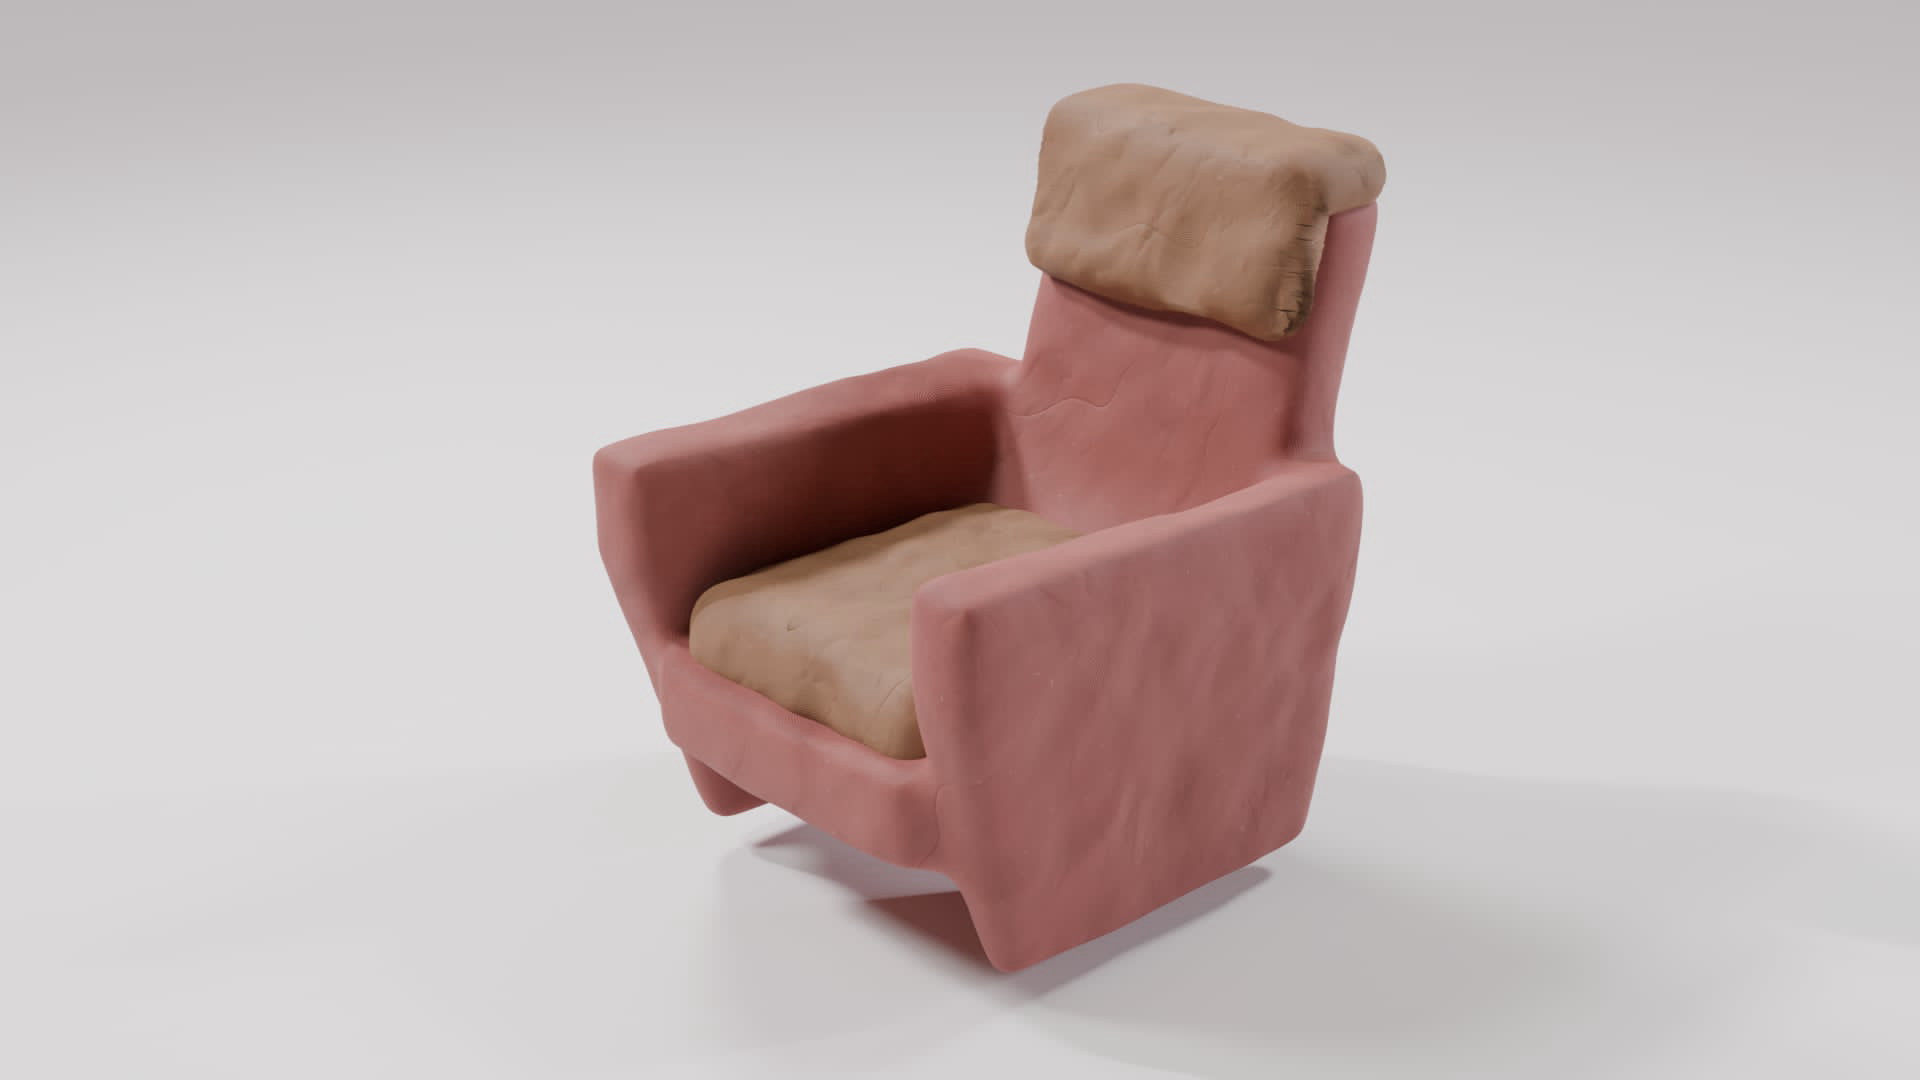
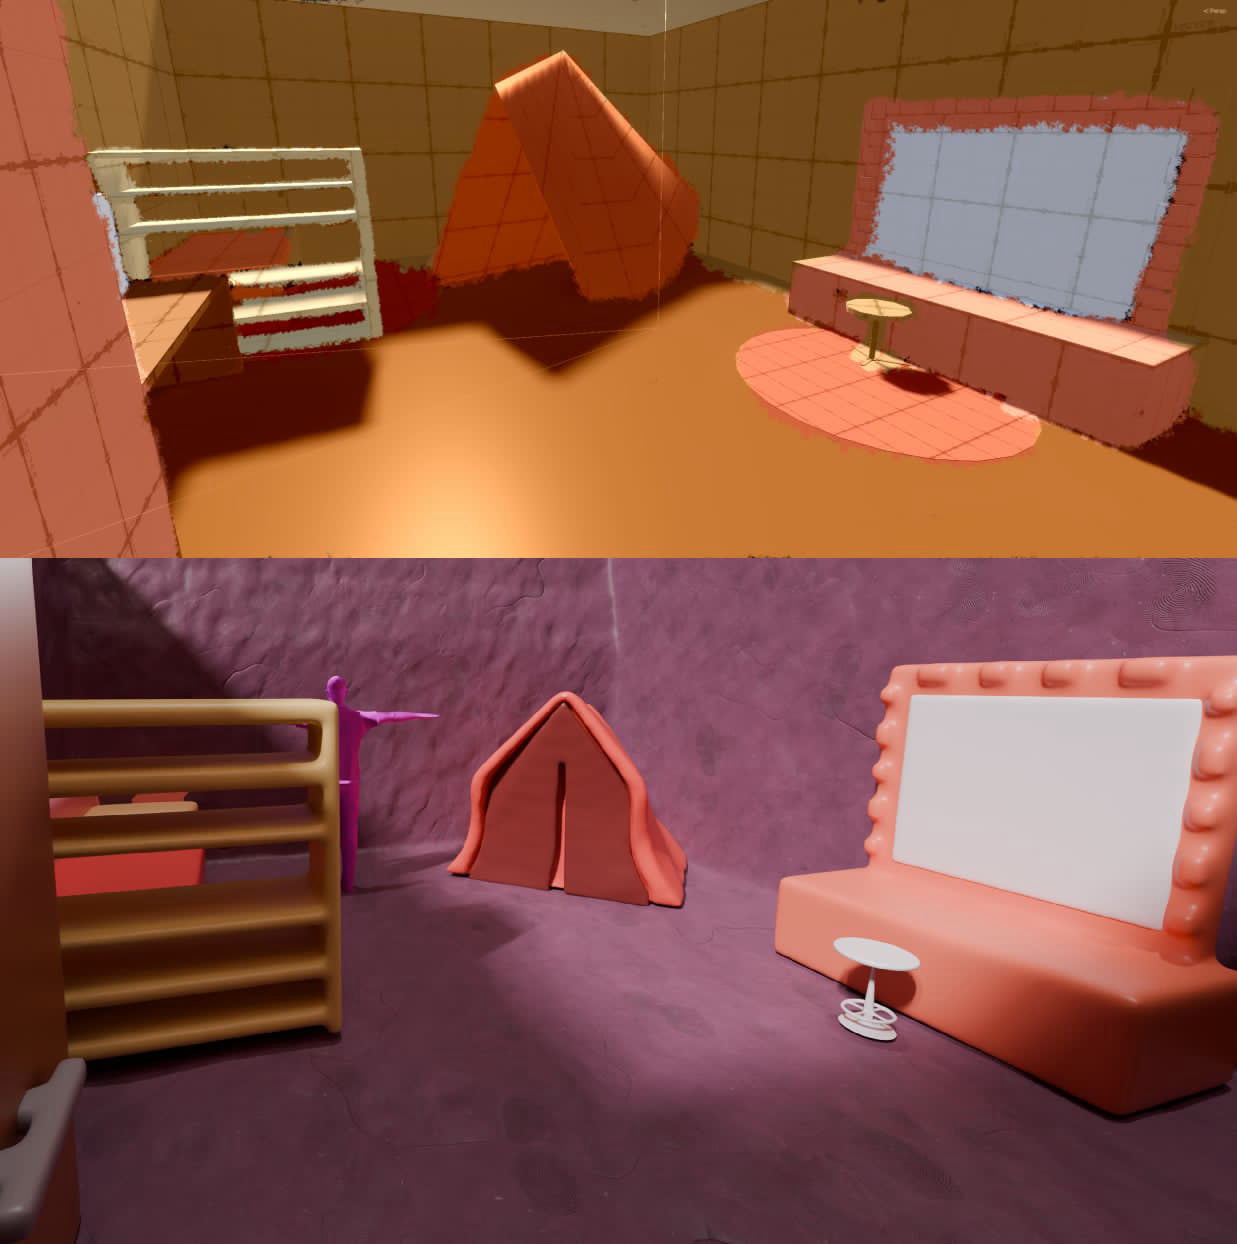
More Clay Assets
This is a more general set of clay models (mostly furniture):


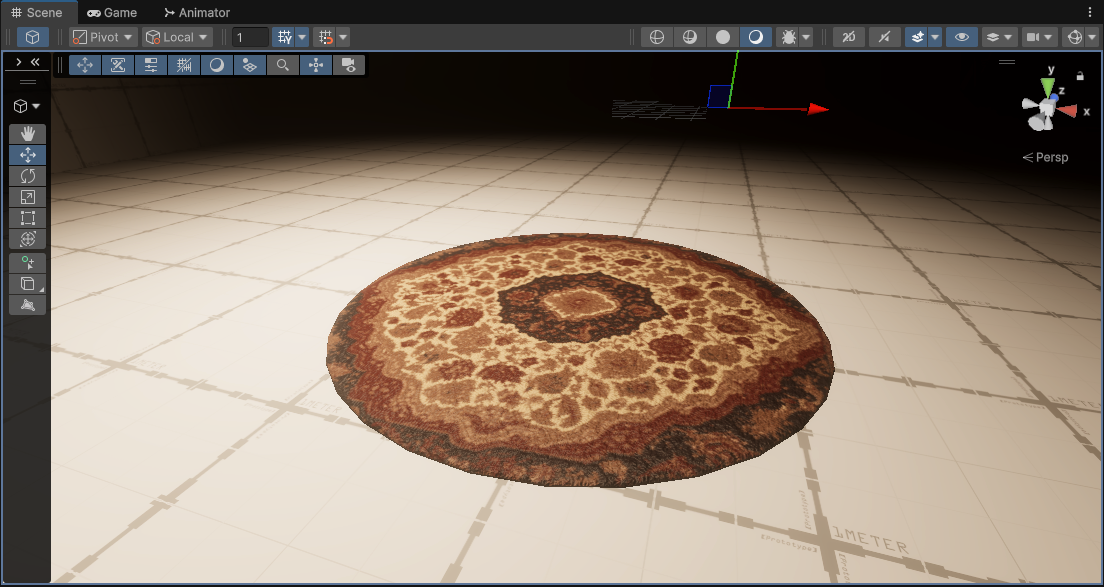
Environment Layouts
Aside from the previously mentioned models, my bud also worked a bunch on clay environments:
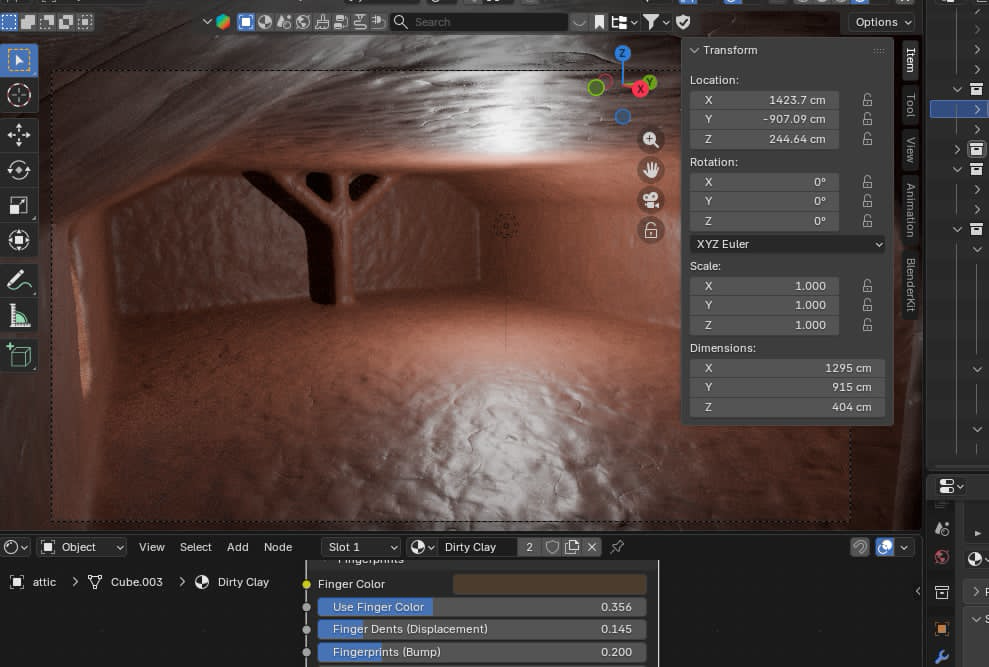

Dialing in the Baking Guidelines
Keep in mind, that these are just general, and depending on the case will have to be adjusted (use common sense)!
Because my bud has started finalizing and baking the assets (and environments) for in engine use, we had to finally sit down and figure out the texture scaling among a few other parameters for consistent, good looking results. Here is the guidelines we came to:
- Furniture
- scale =
20
- scale =
- Environments
- scale =
~20 - cracks =
~5 - bumps = by Global Bump and Voronoi Strength
- fingerprints =
~5with a lower color usage of a dark value - resolutions = normals
8K; others4K(this is because of the larger physical size)
- scale =
For both types, the displace is done pretty much how it was described
here
basically, setting the Midlevel the same as in the source material and the
Strength as 1/3 of the source material’s Global Displacement.
Milestone Updates
When mentioning milestones on here, I usually show a bullet point list, but because of how dynamically things have been changing lately (with the deadlines inching closer and closer), I moved over from Figma to an Excel spreadsheet to have a clearer view of things against dates:

One More Thing…
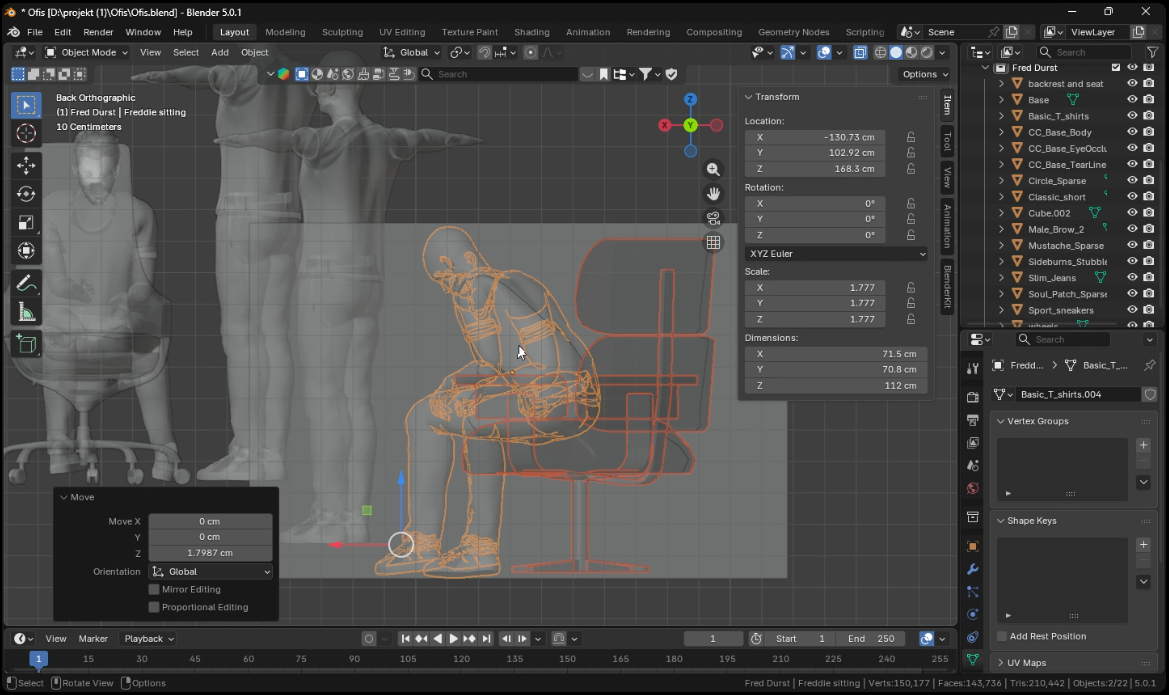
Before I close off this devlog, I’m very excited to show off something that has been in the works for quite a while (the initial version of the first cutscene of the game):
As a little curiosity, I also wanted to include a video showing the scene in the Blender viewport before export and Unity setup:
What’s Next?
I’ll be moving on to actually recording, cleaning up and setting up the animations that we need for both gameplay and cutscenes, when I receive enough assets from my bud to be able to work on the next stages. As said above, he is toiling away at getting all of the assets baked and finalized!
In other news, quite a bit ago now, I finally managed to add EyeTrackVR and Project Babble based face tracking to my Quest 3 VR setup (which, fun fact I am able to use with Mocap Fusion), it’s been a lot of fun in VRChat though ;)