Demersus Devlog #16 - Easter Break, Making of the Hide 'N Seek Puzzle, More IRL Asset Tests, Move to a Linear Approach And More
Getting back into the swing of things, how I made the Hide 'N Seek puzzle, some more IRL asset tests, a change of approach to sequence linearity, rough layout improvements, color test and, finger mocap idea.
- reading time
- 22 minutes
- published
- last updated
- authors
- Eryk Darnowski
- series
- Demersus Devlogs
- categories
- Game Development
- tags
- #Ztgk #Unity
Easter Break and Coming Back
As you might have noticed, the last devlog, was quite a bit ago! This was caused by first of all Easter break, and some fun personal stuff I had going on recently ;). That of course doesn’t mean that no work has been done. However, now that me and my bud are well rested it’s time to get back into the groove, so expect to see a bunch more updates on here shortly (we’ve got exciting stuff coming)!
Making the Daughter Sequence and What it Taught Me
This is by far the most complex and ambitious puzzle sequence in the game. While making it, I’ve encountered and overcame a few prominent issues, learned a lot and I’m pretty happy with how it turned out! Now I’ll go into how how this entire thing transpired.
Planning
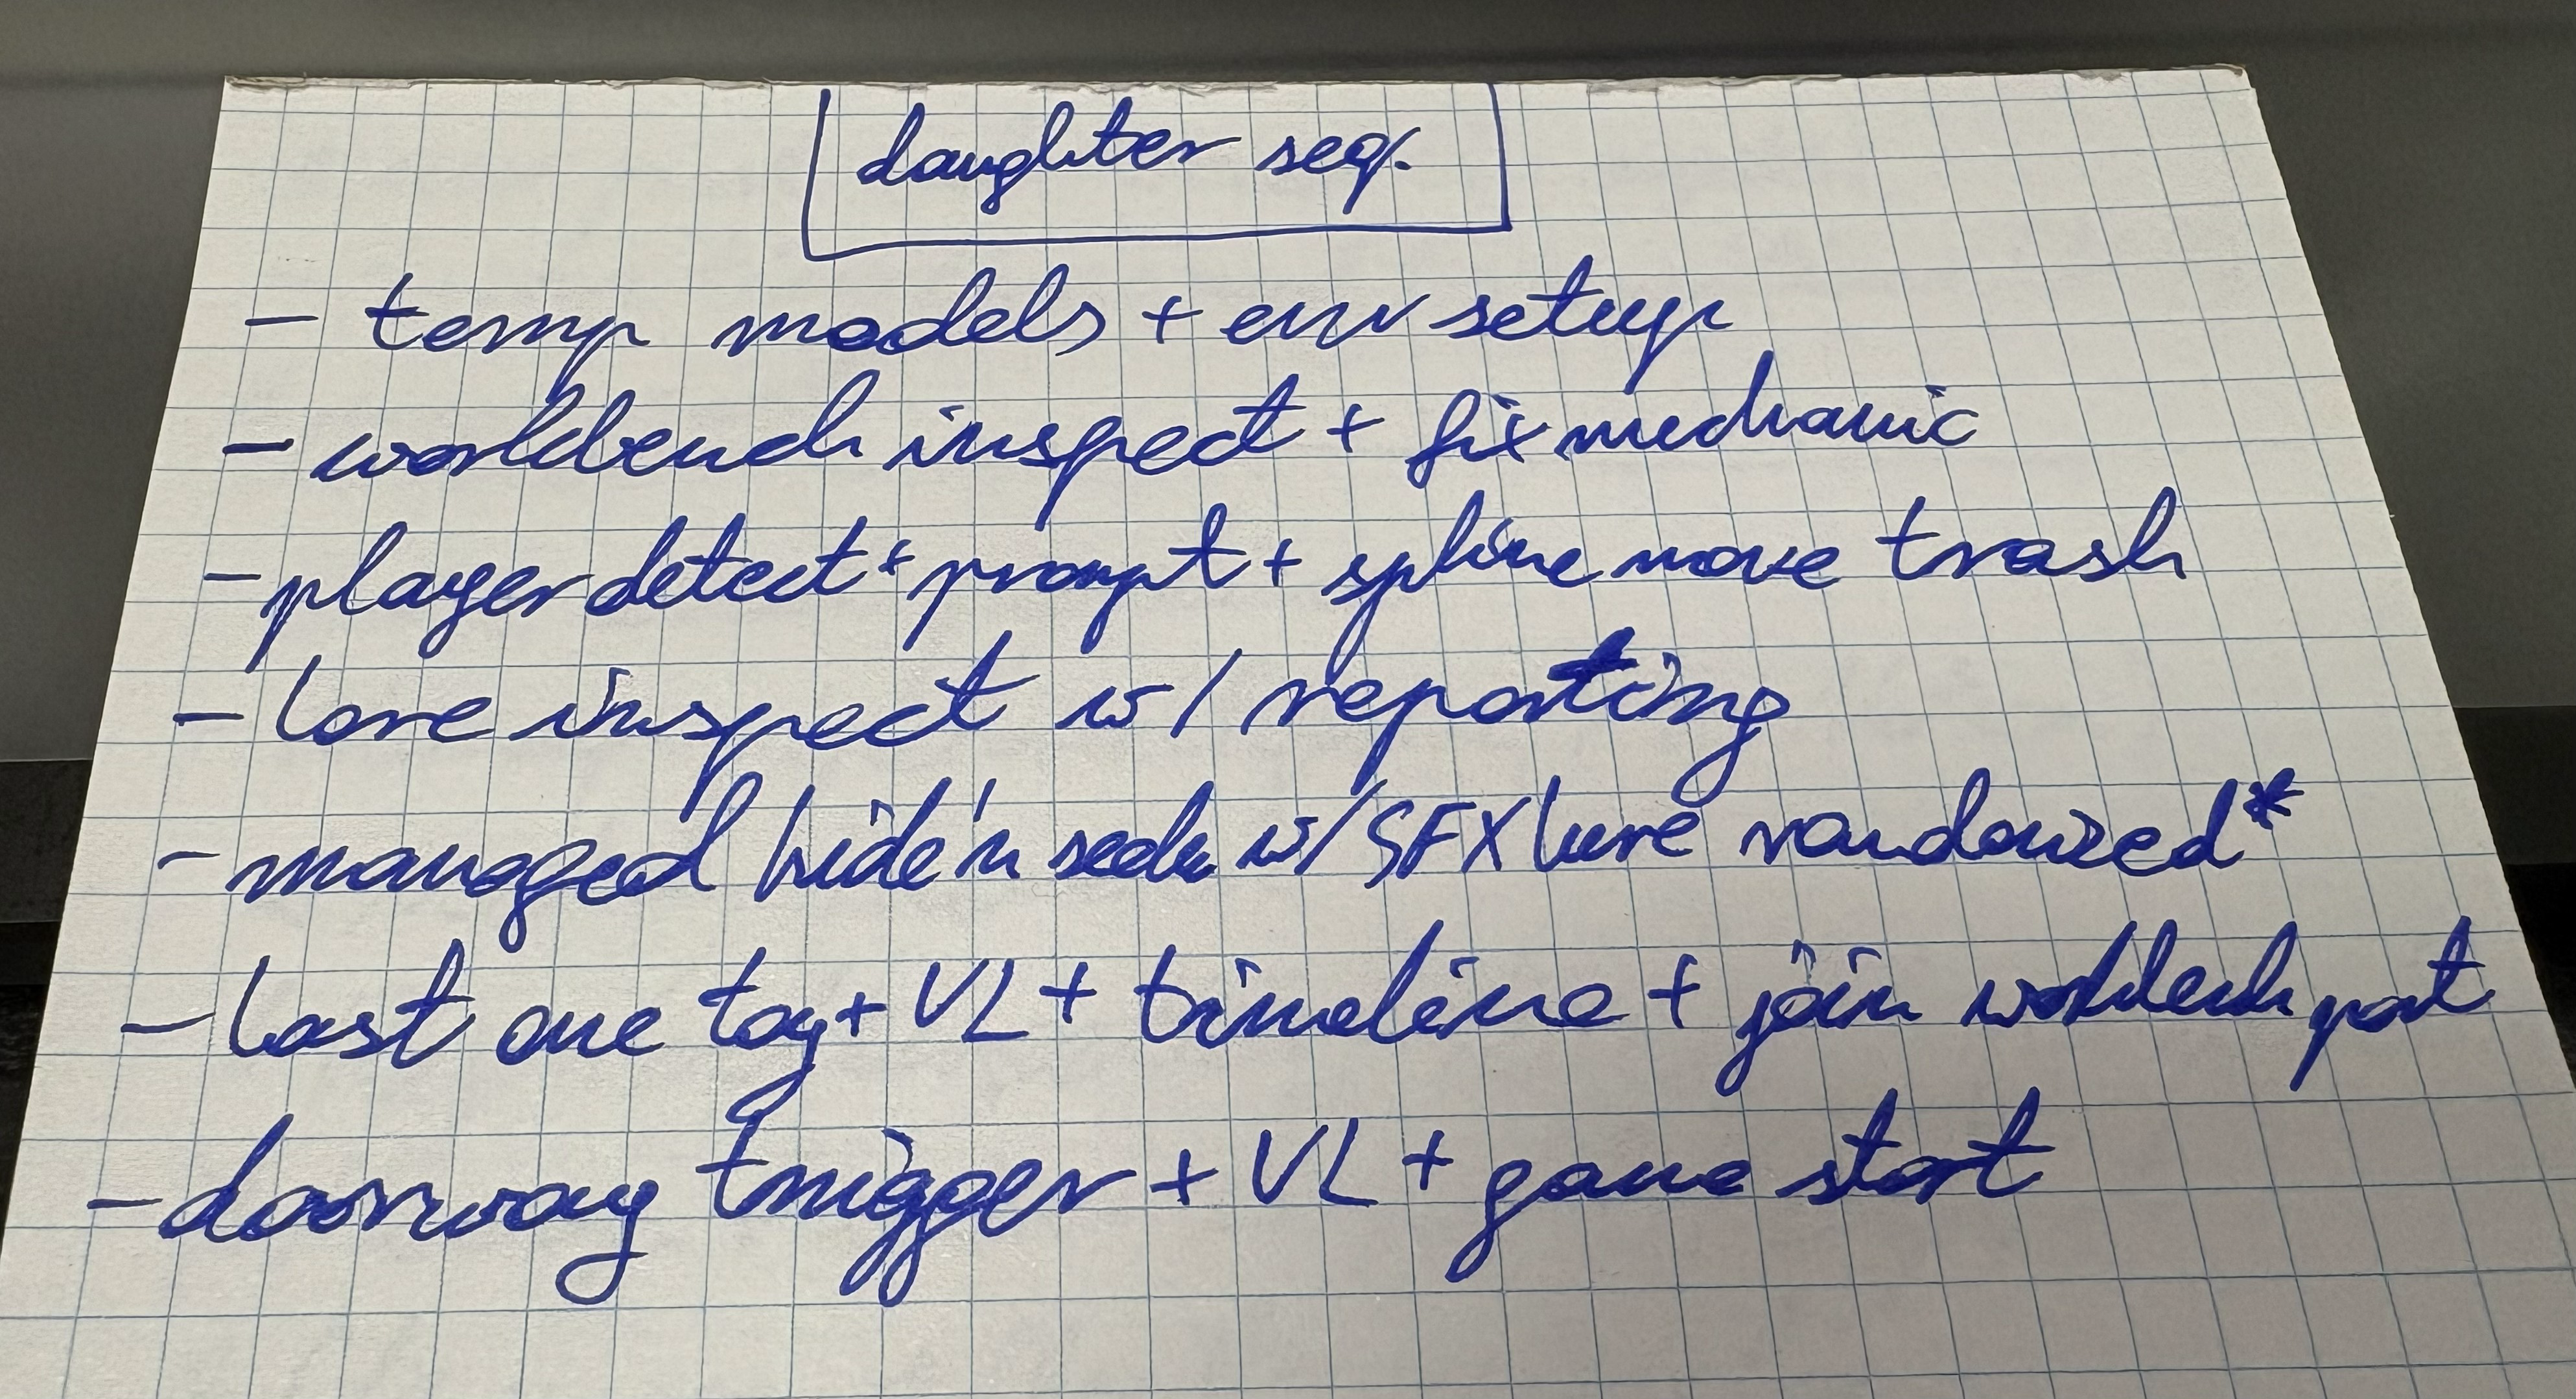
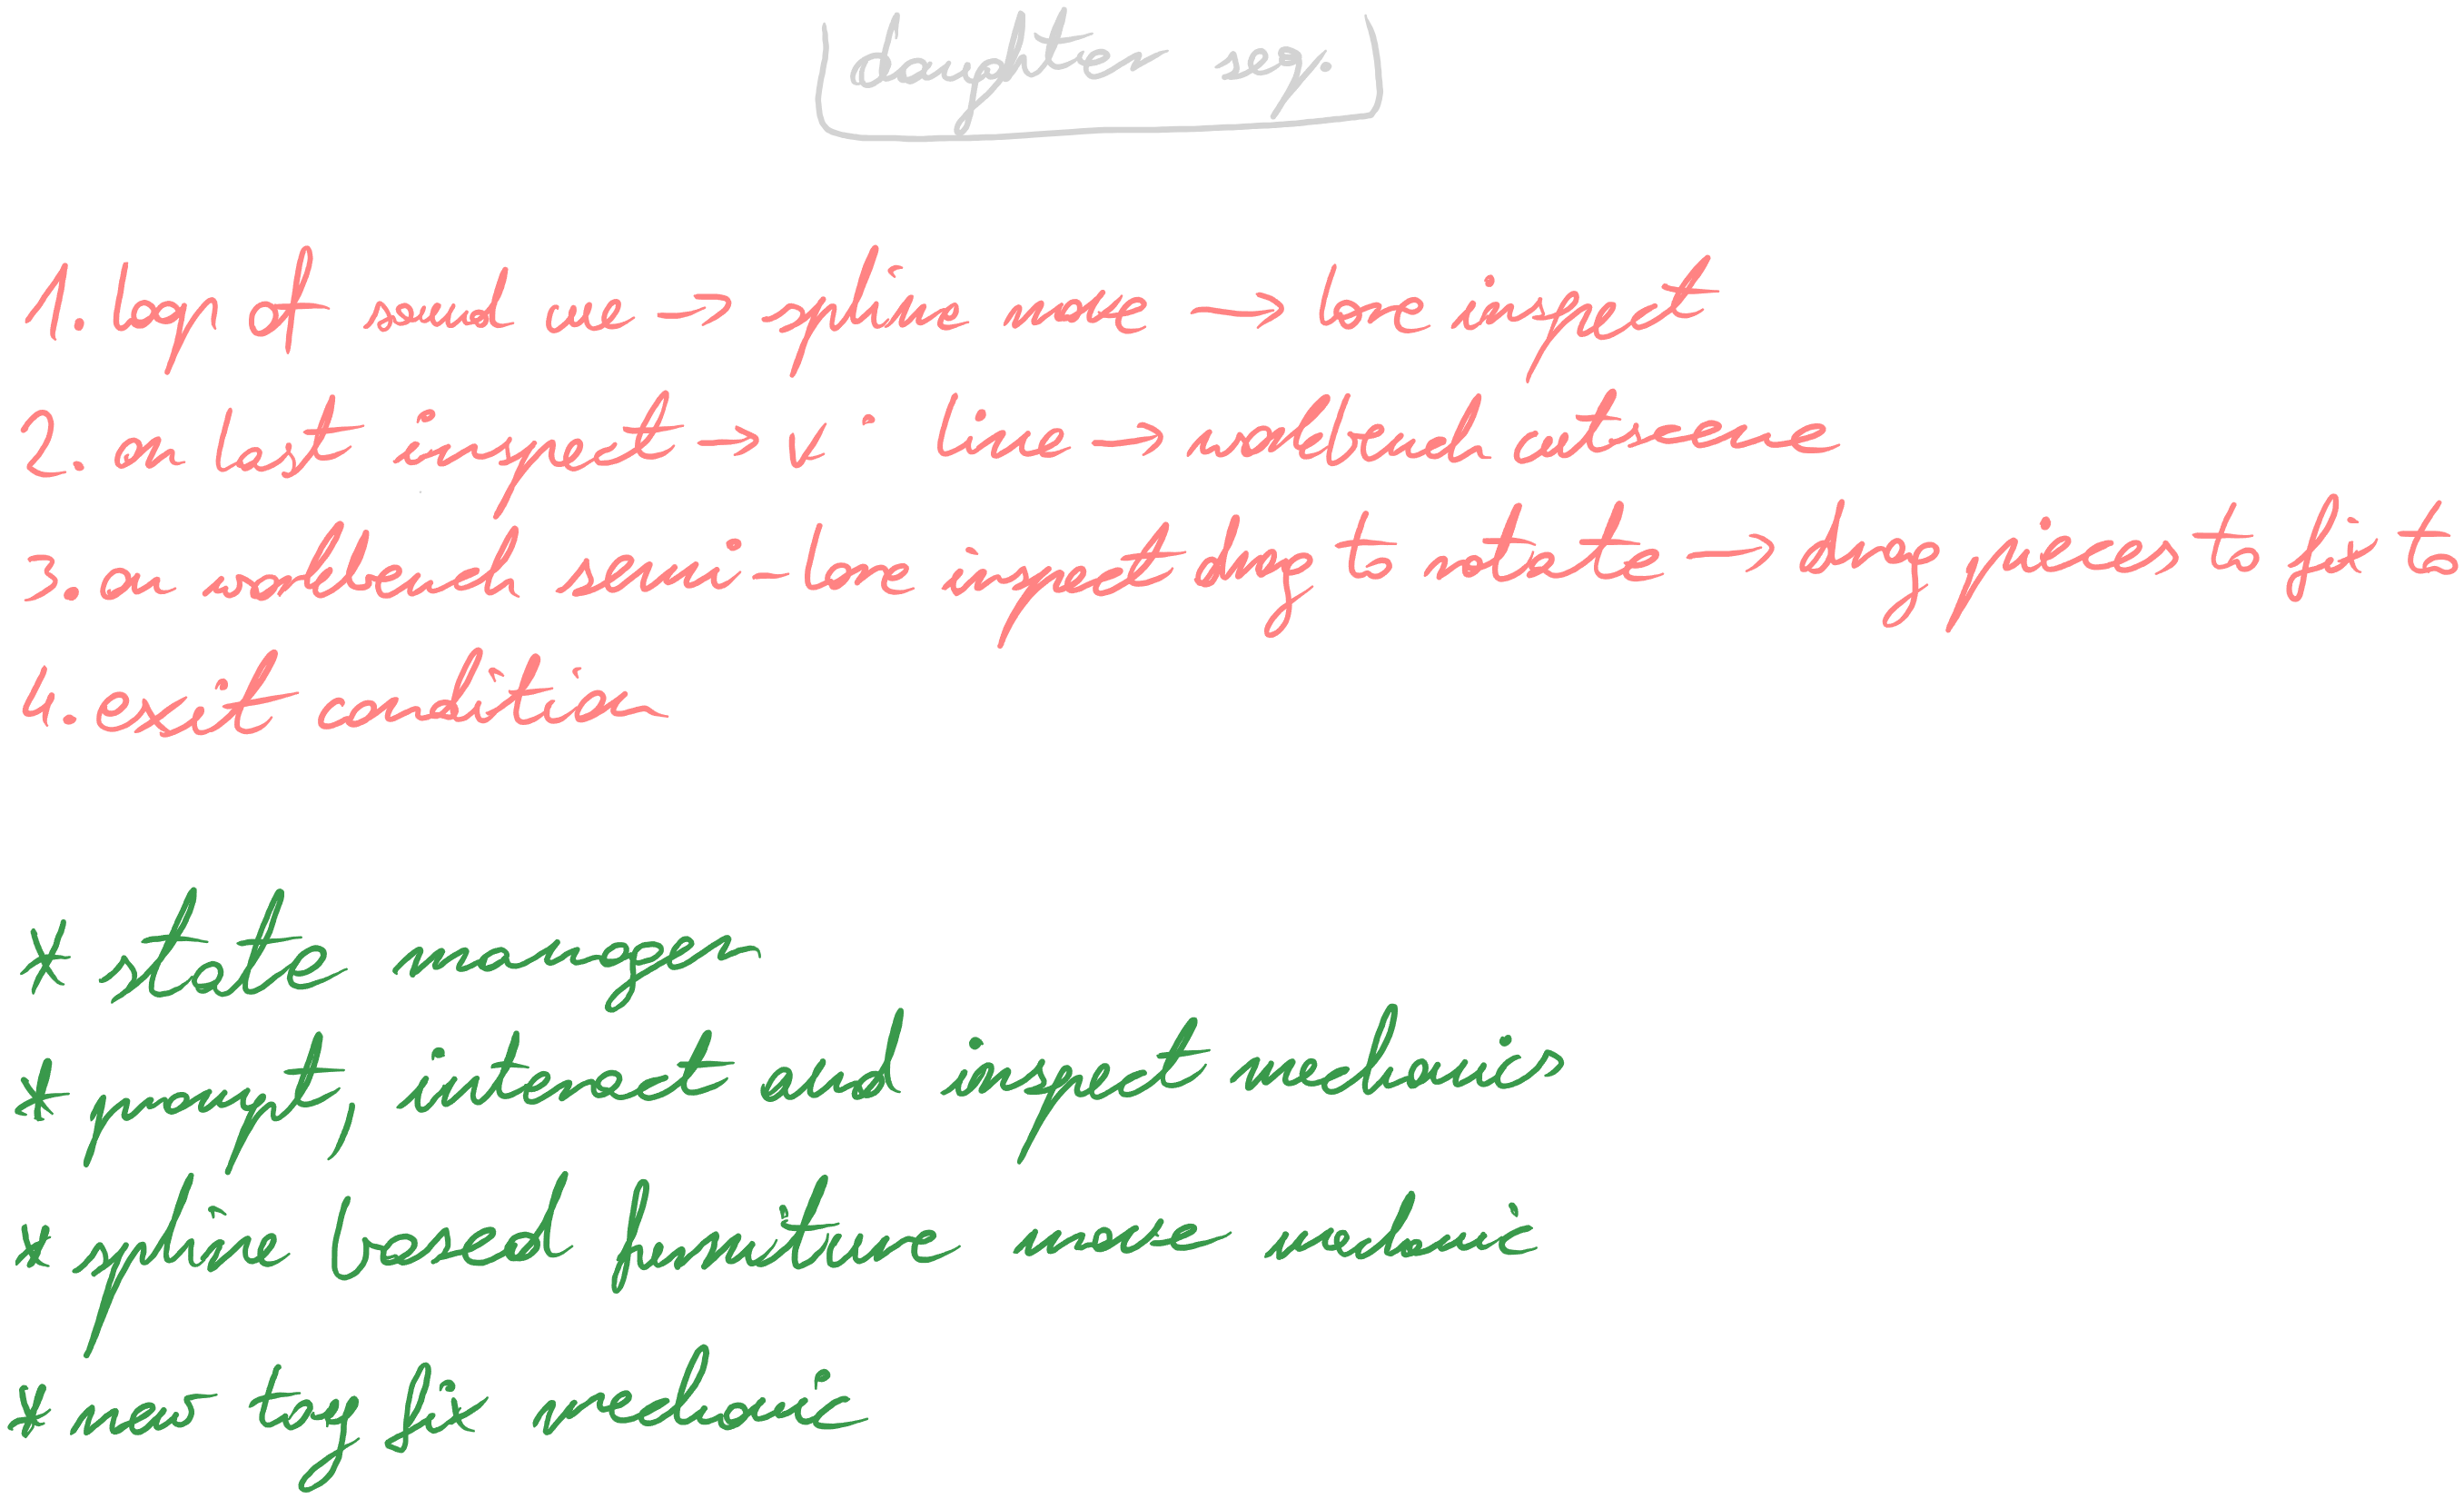
As always, I started out by thinking through the problem and jotting down a quick plan or TODO list, over the course of making the puzzle it of course became more detailed:
Temporary 3D Models
Keep in mind that the IRL pipeline (documented in the next devlog) was pretty much being developed and tested on this model!
Similar to other sequences I then moved on to temporary 3D model creation so I at least have some initial, representative models to play around with. This started with gathering references:
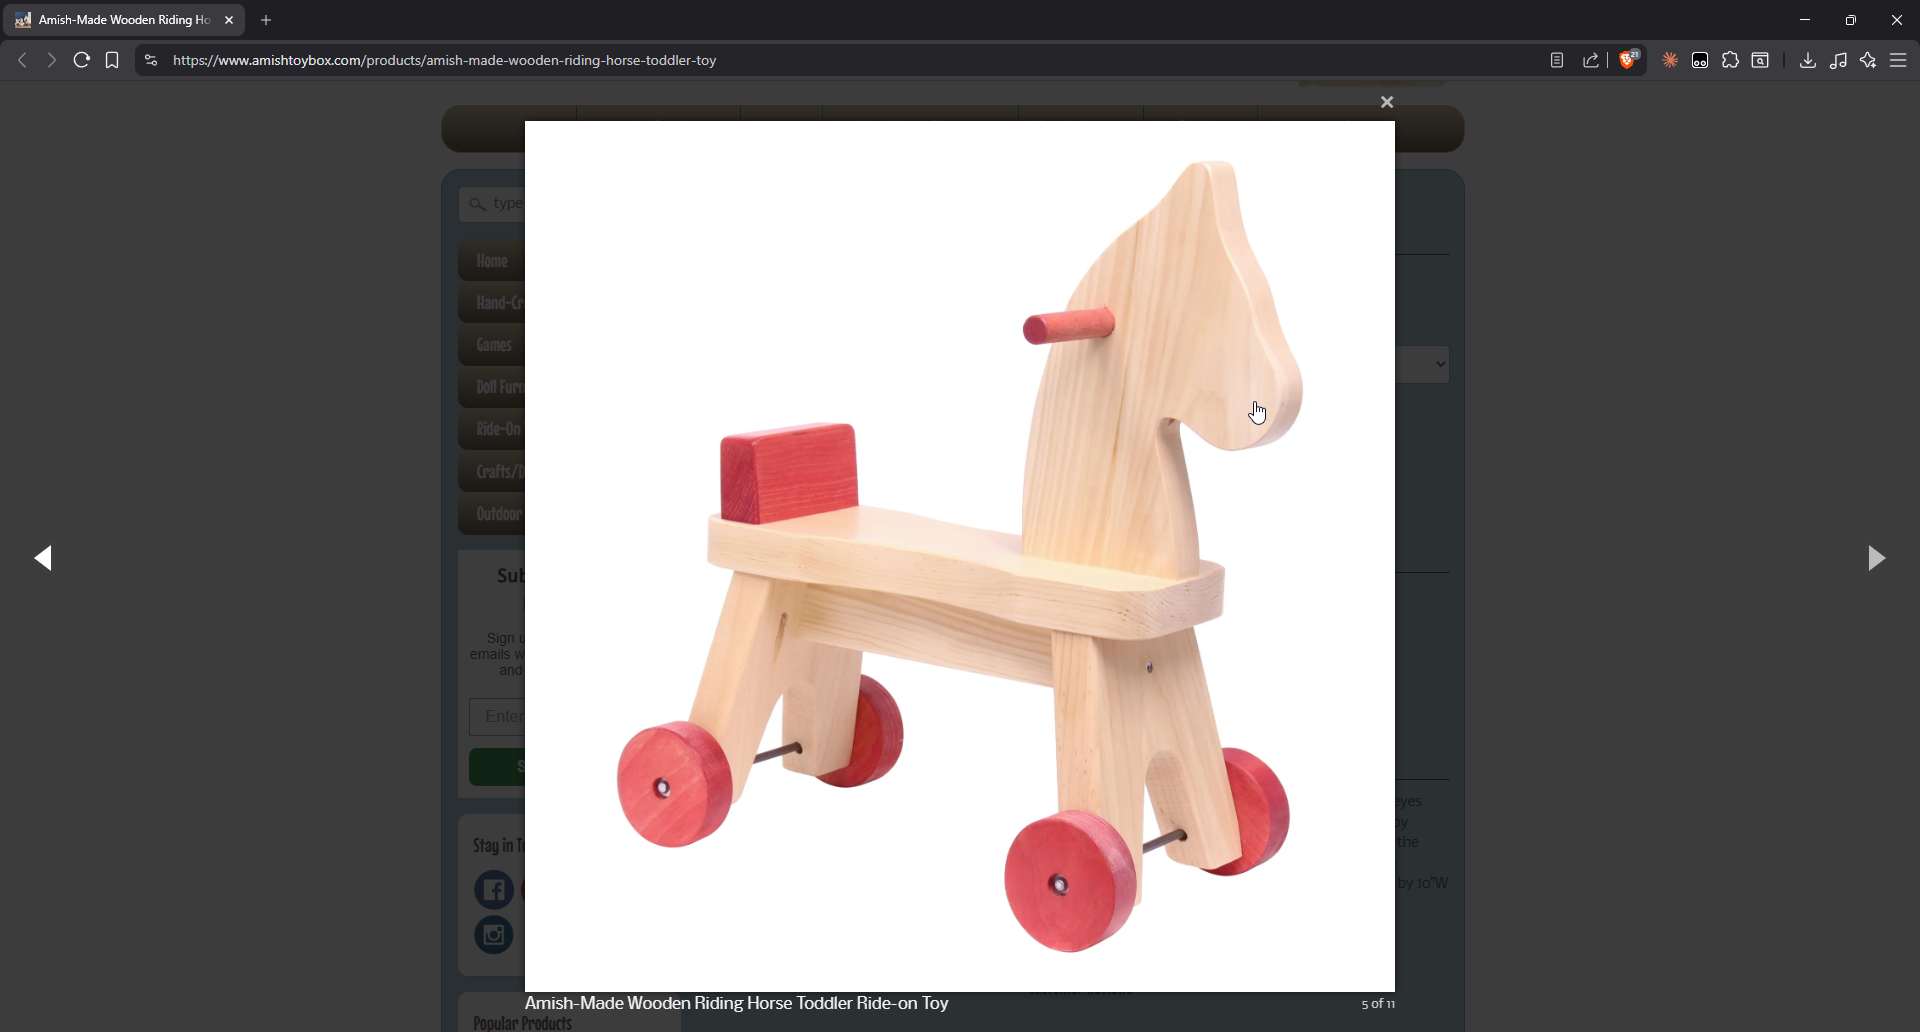
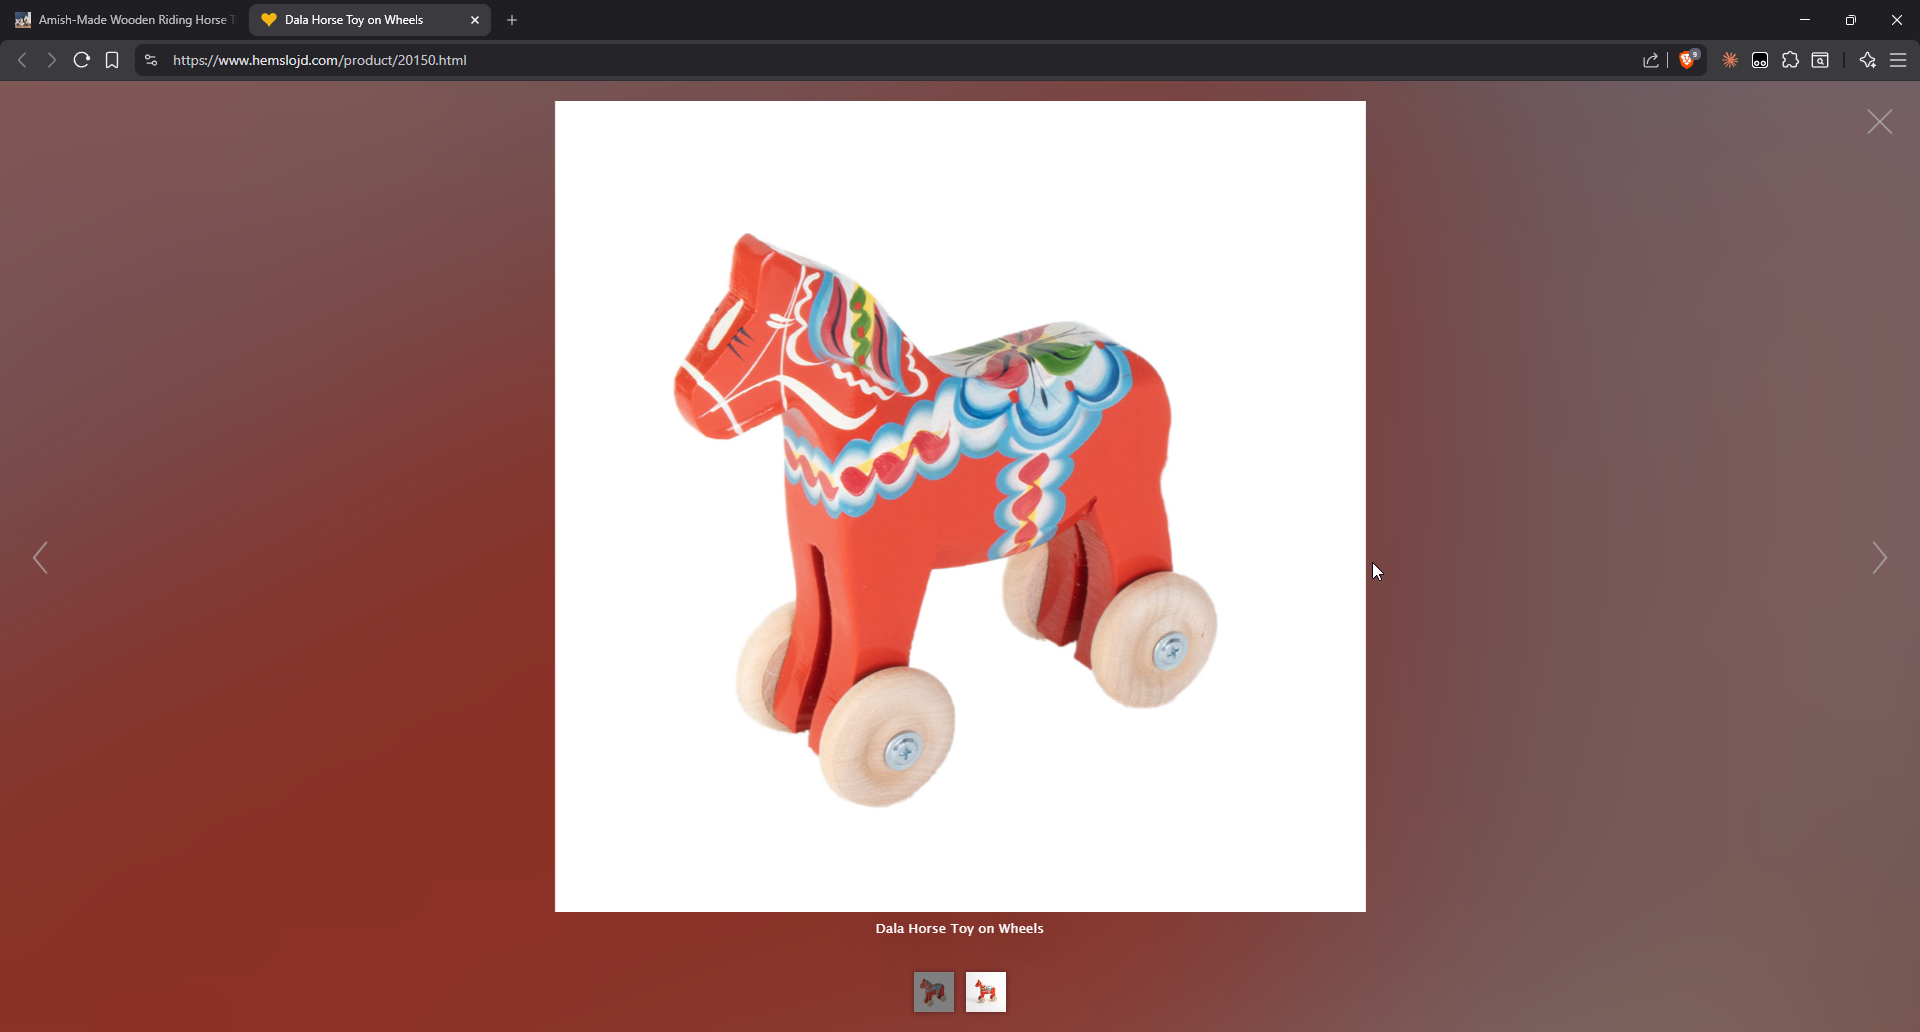
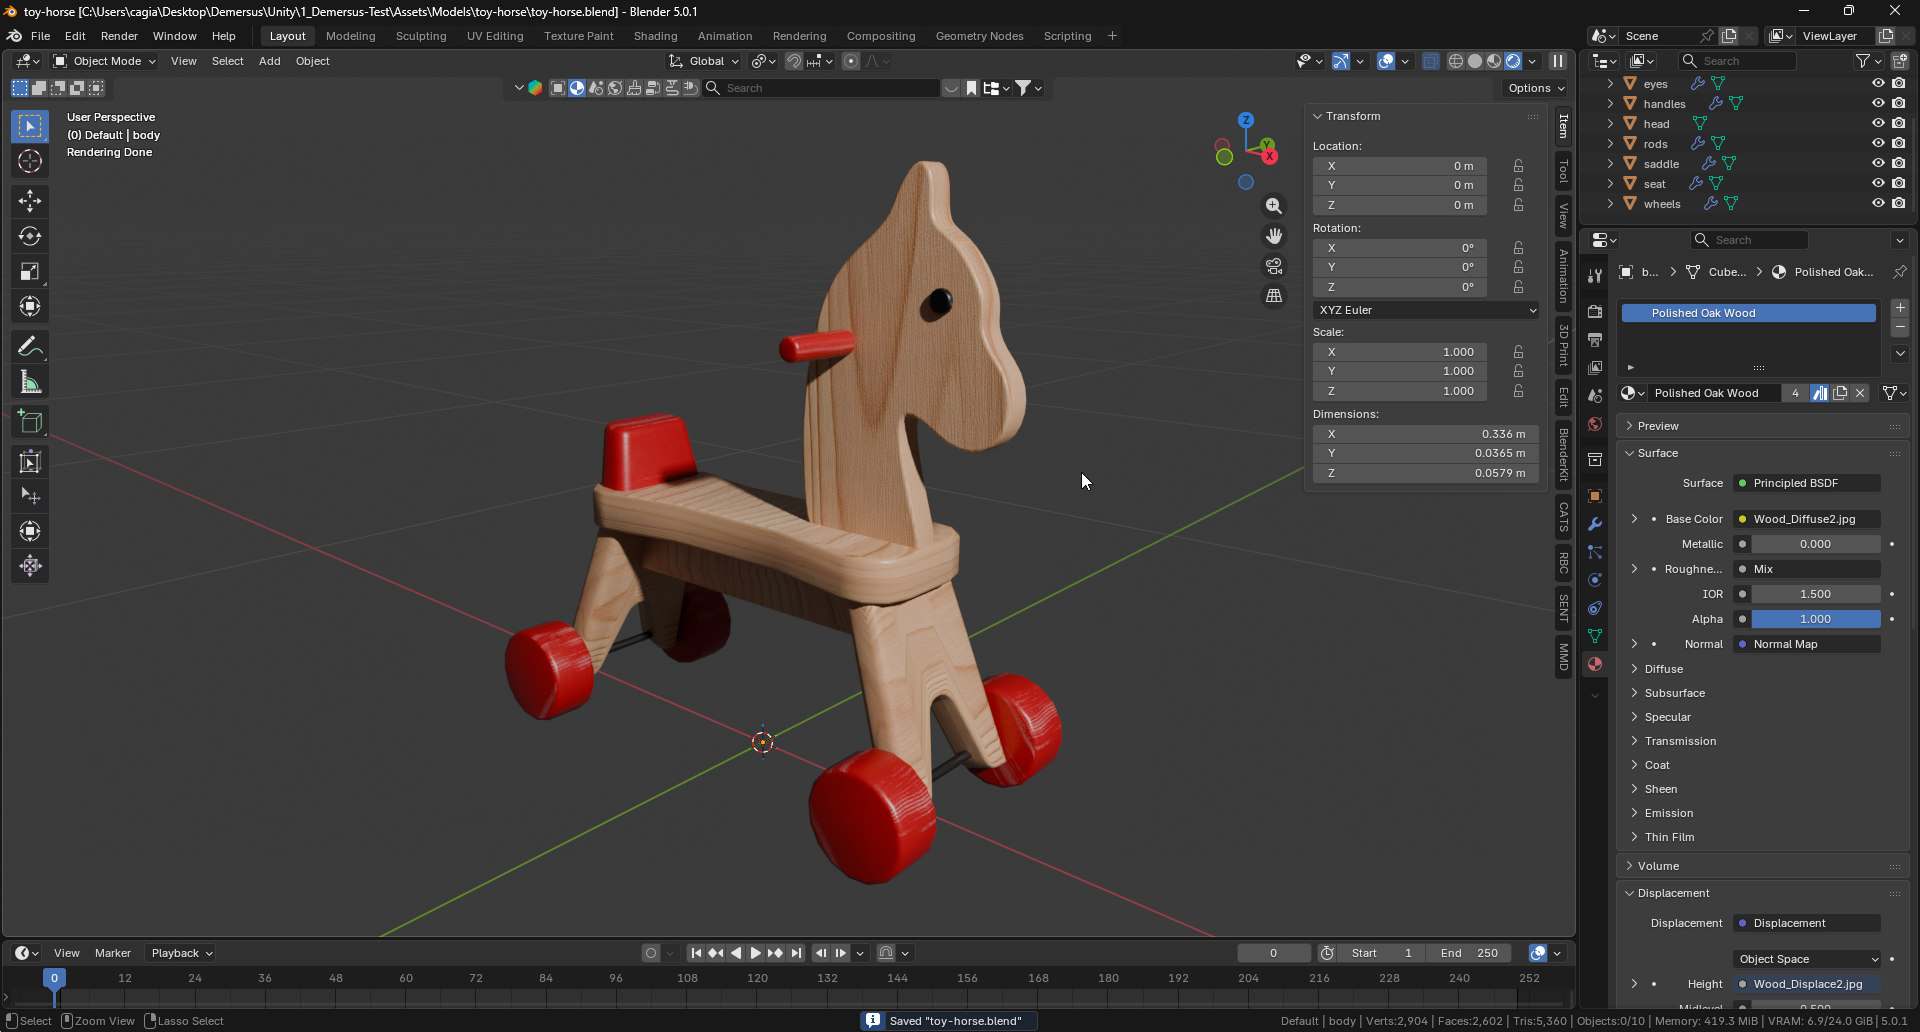
I quickly did some low topology, high (enough) detail modeling in Blender and did an initial application of materials from BlenderKit. The head was done quickly and easily using a Bezier Curve and extrusion and the model was design from the start with being split into parts in mind:
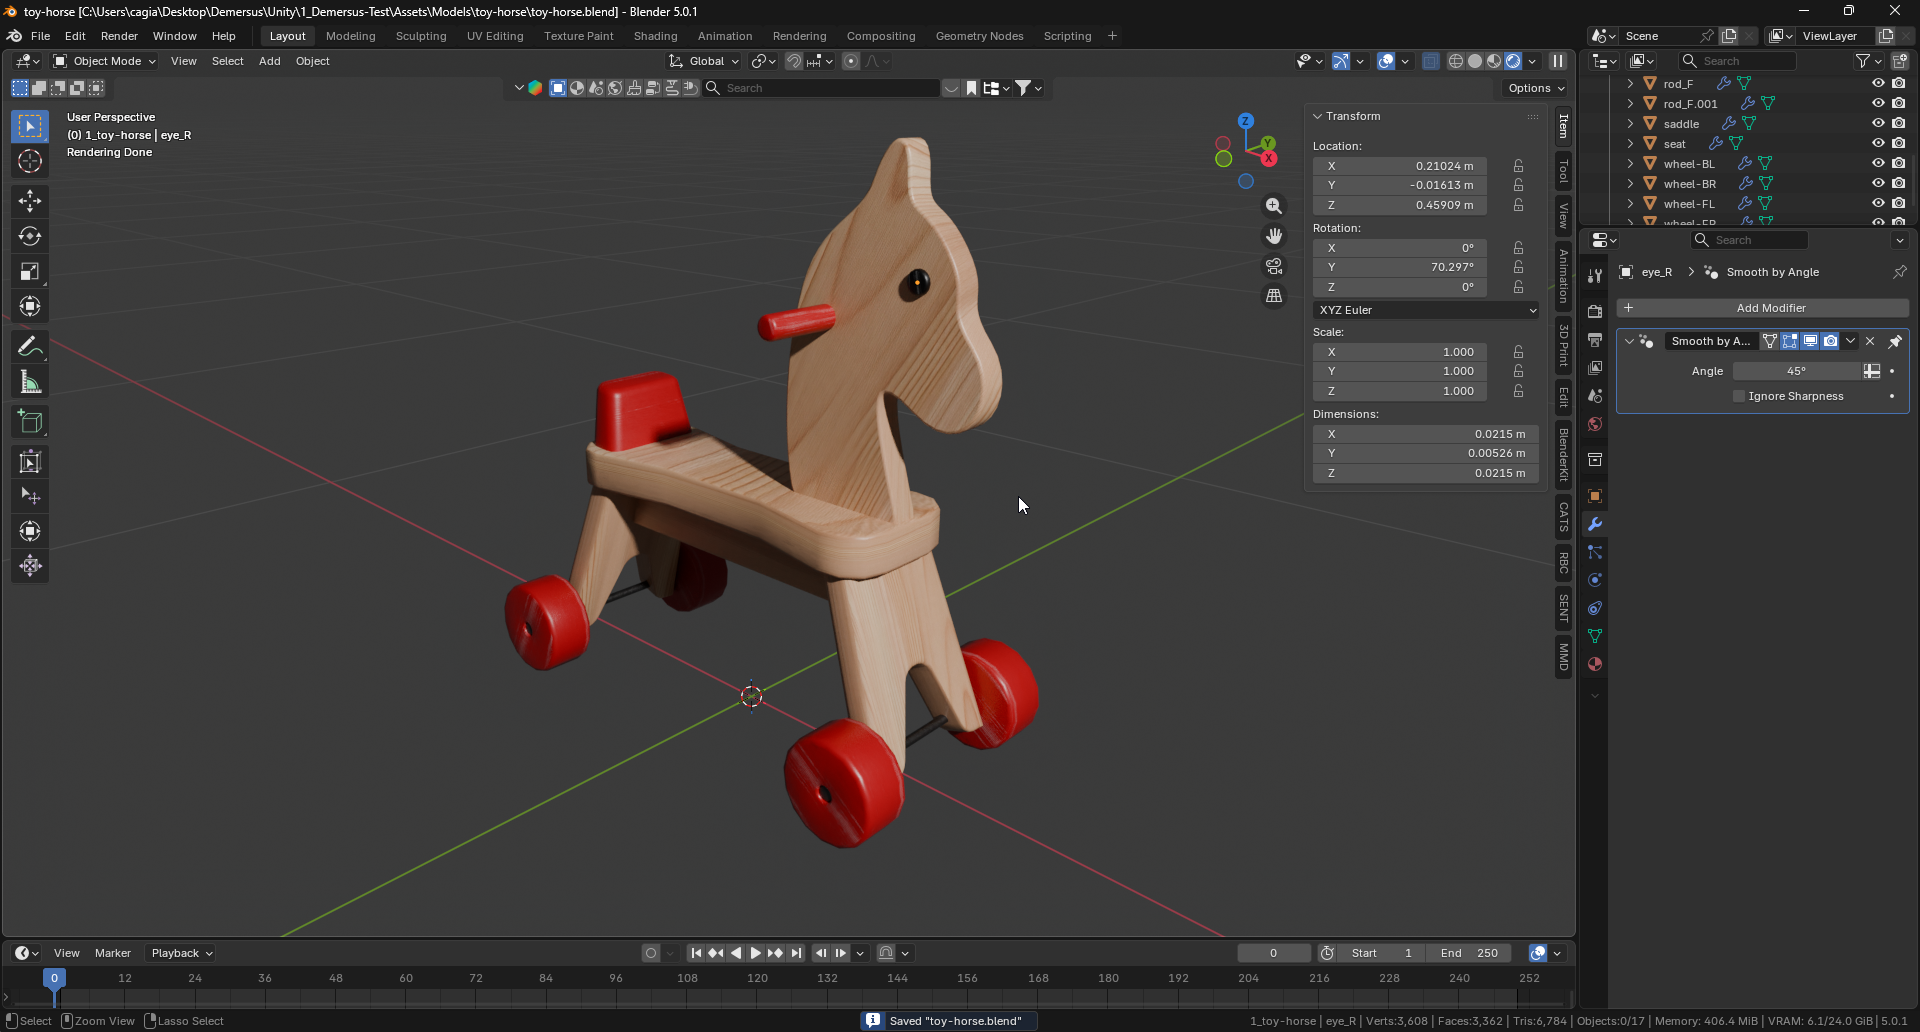
Next I added some more details, did the initial UV unwraps (here was where I tested a bunch of different approaches) and fixed up some small material issues:
After that I didn’t bother with making any temp ’trinkets’ / trash models as for now, primitives will entirely suffice for what I need them for.
Starting the Hide ‘N Seek Puzzle
I decided to go with the Hide ‘N Seek puzzle first as it seemed easier (which unfortunately turned out to be very true). I did some initial environment setup so I have a few hiding spots to work with and re-used the phone puzzle table for the horse puzzle workbench.
Implementing Hiding Spots
In order to do each hiding spot, I started out with basic player position and gaze detection combined with the key prompt based on previously made prefabs. I also added an early sliding animation for the trash using a Bezier Curve:
Unfortunately an issue I run into when working on the Bezier sliding animation was a physics glitch. When the trash would move along its curve (with a collider on it) and end up pushing into the player, the player would sink into the ground.
I did some digging and found out that the root cause is actually a known Unity quirk
with the
CharacterController
(basically it has issues if all other objects beside it aren’t static). This lead me
to blocking player input whenever a piece was in motion (bit of a band-aid fix but it works).
The thing about the CharacterController is it pretty much only resolves collisions based on
its own movement, meaning if something else moves into it, the collision response is
essentially undefined (I had a very similar issue when working on the
Lore Object inspect
mechanic
.
When I was done with that, I implemented Lore Object pickups and made all of the hiding spots work:
Recording Foley and SFX Tests
The next thing I wanted to tackle were the SFX. The first ones I took care of where the starting voice line and laughs for the ’echolocation’ part of the puzzle. Those were quickly taken from the internet as temporary assets (they will be done by voice actors later on):
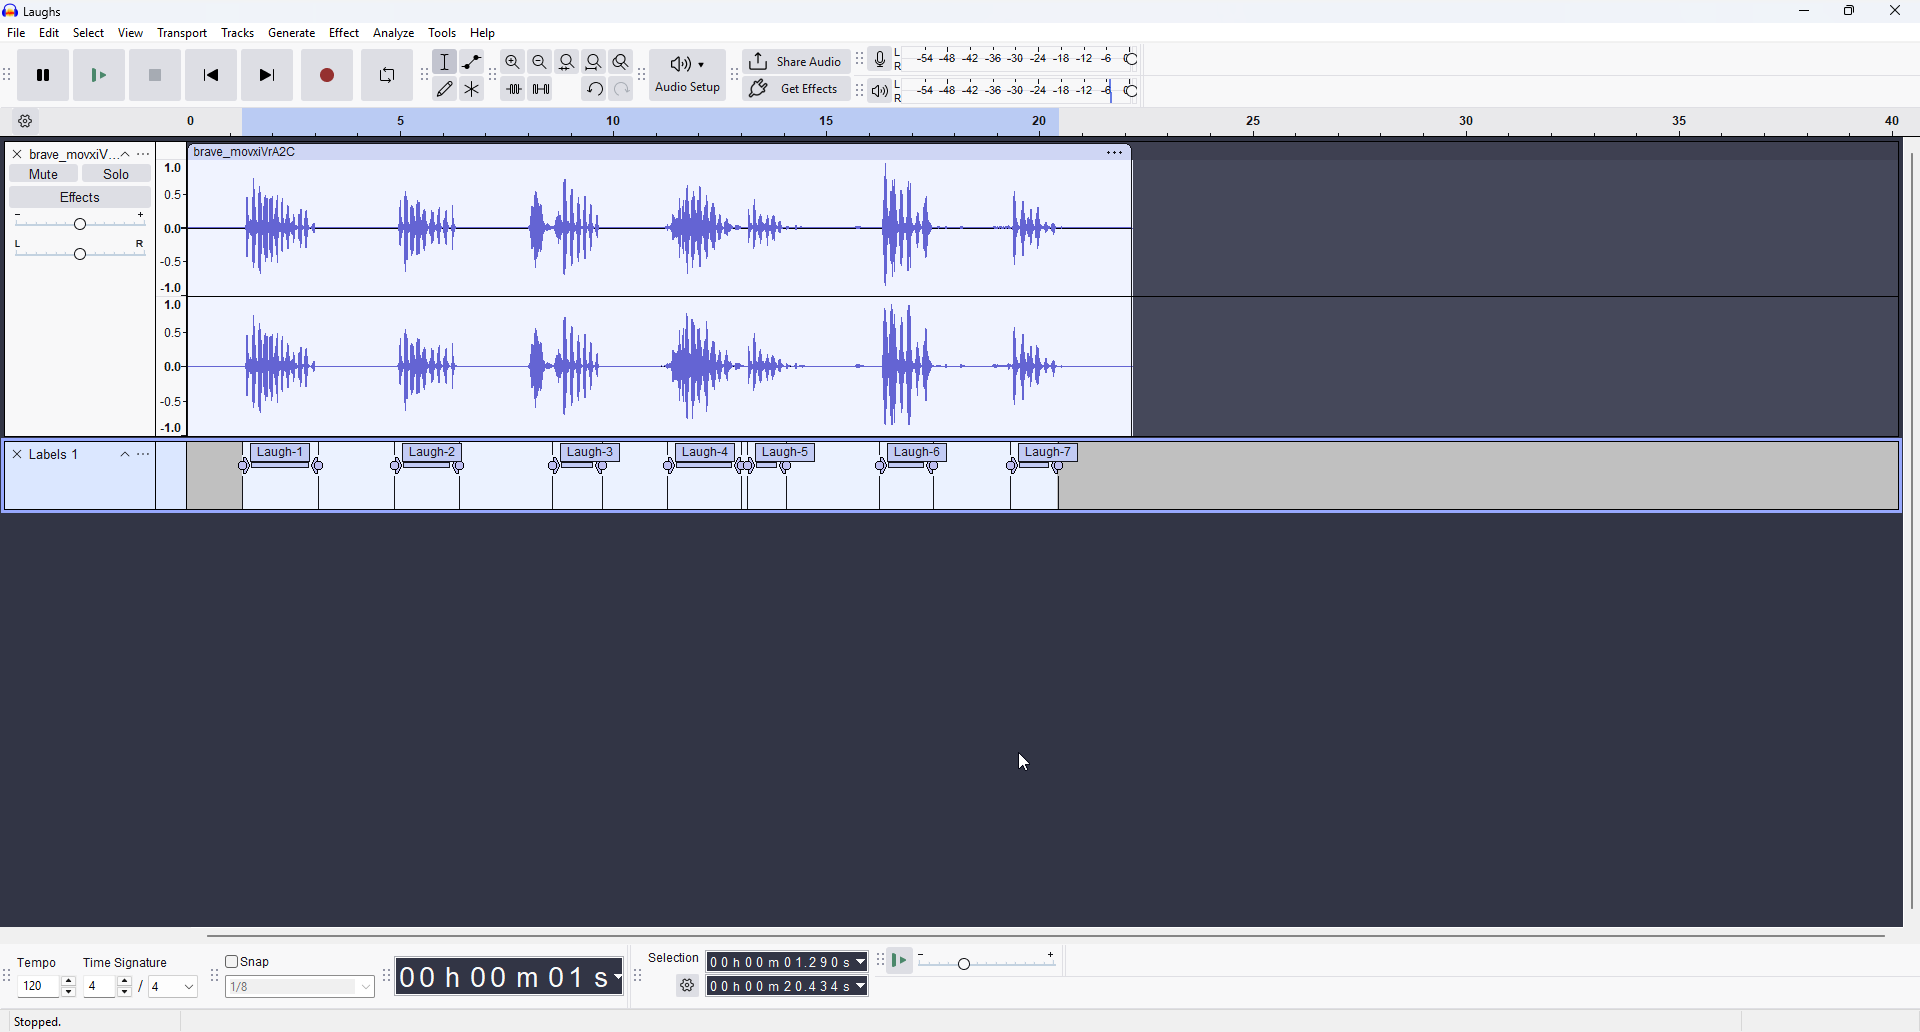
Next I wanted to recreate that almost nostalgic sound we all know of something being moved on the attic or basement floor, when you can hear all of the dirt and gravel moving underneath it, so that’s what I did:
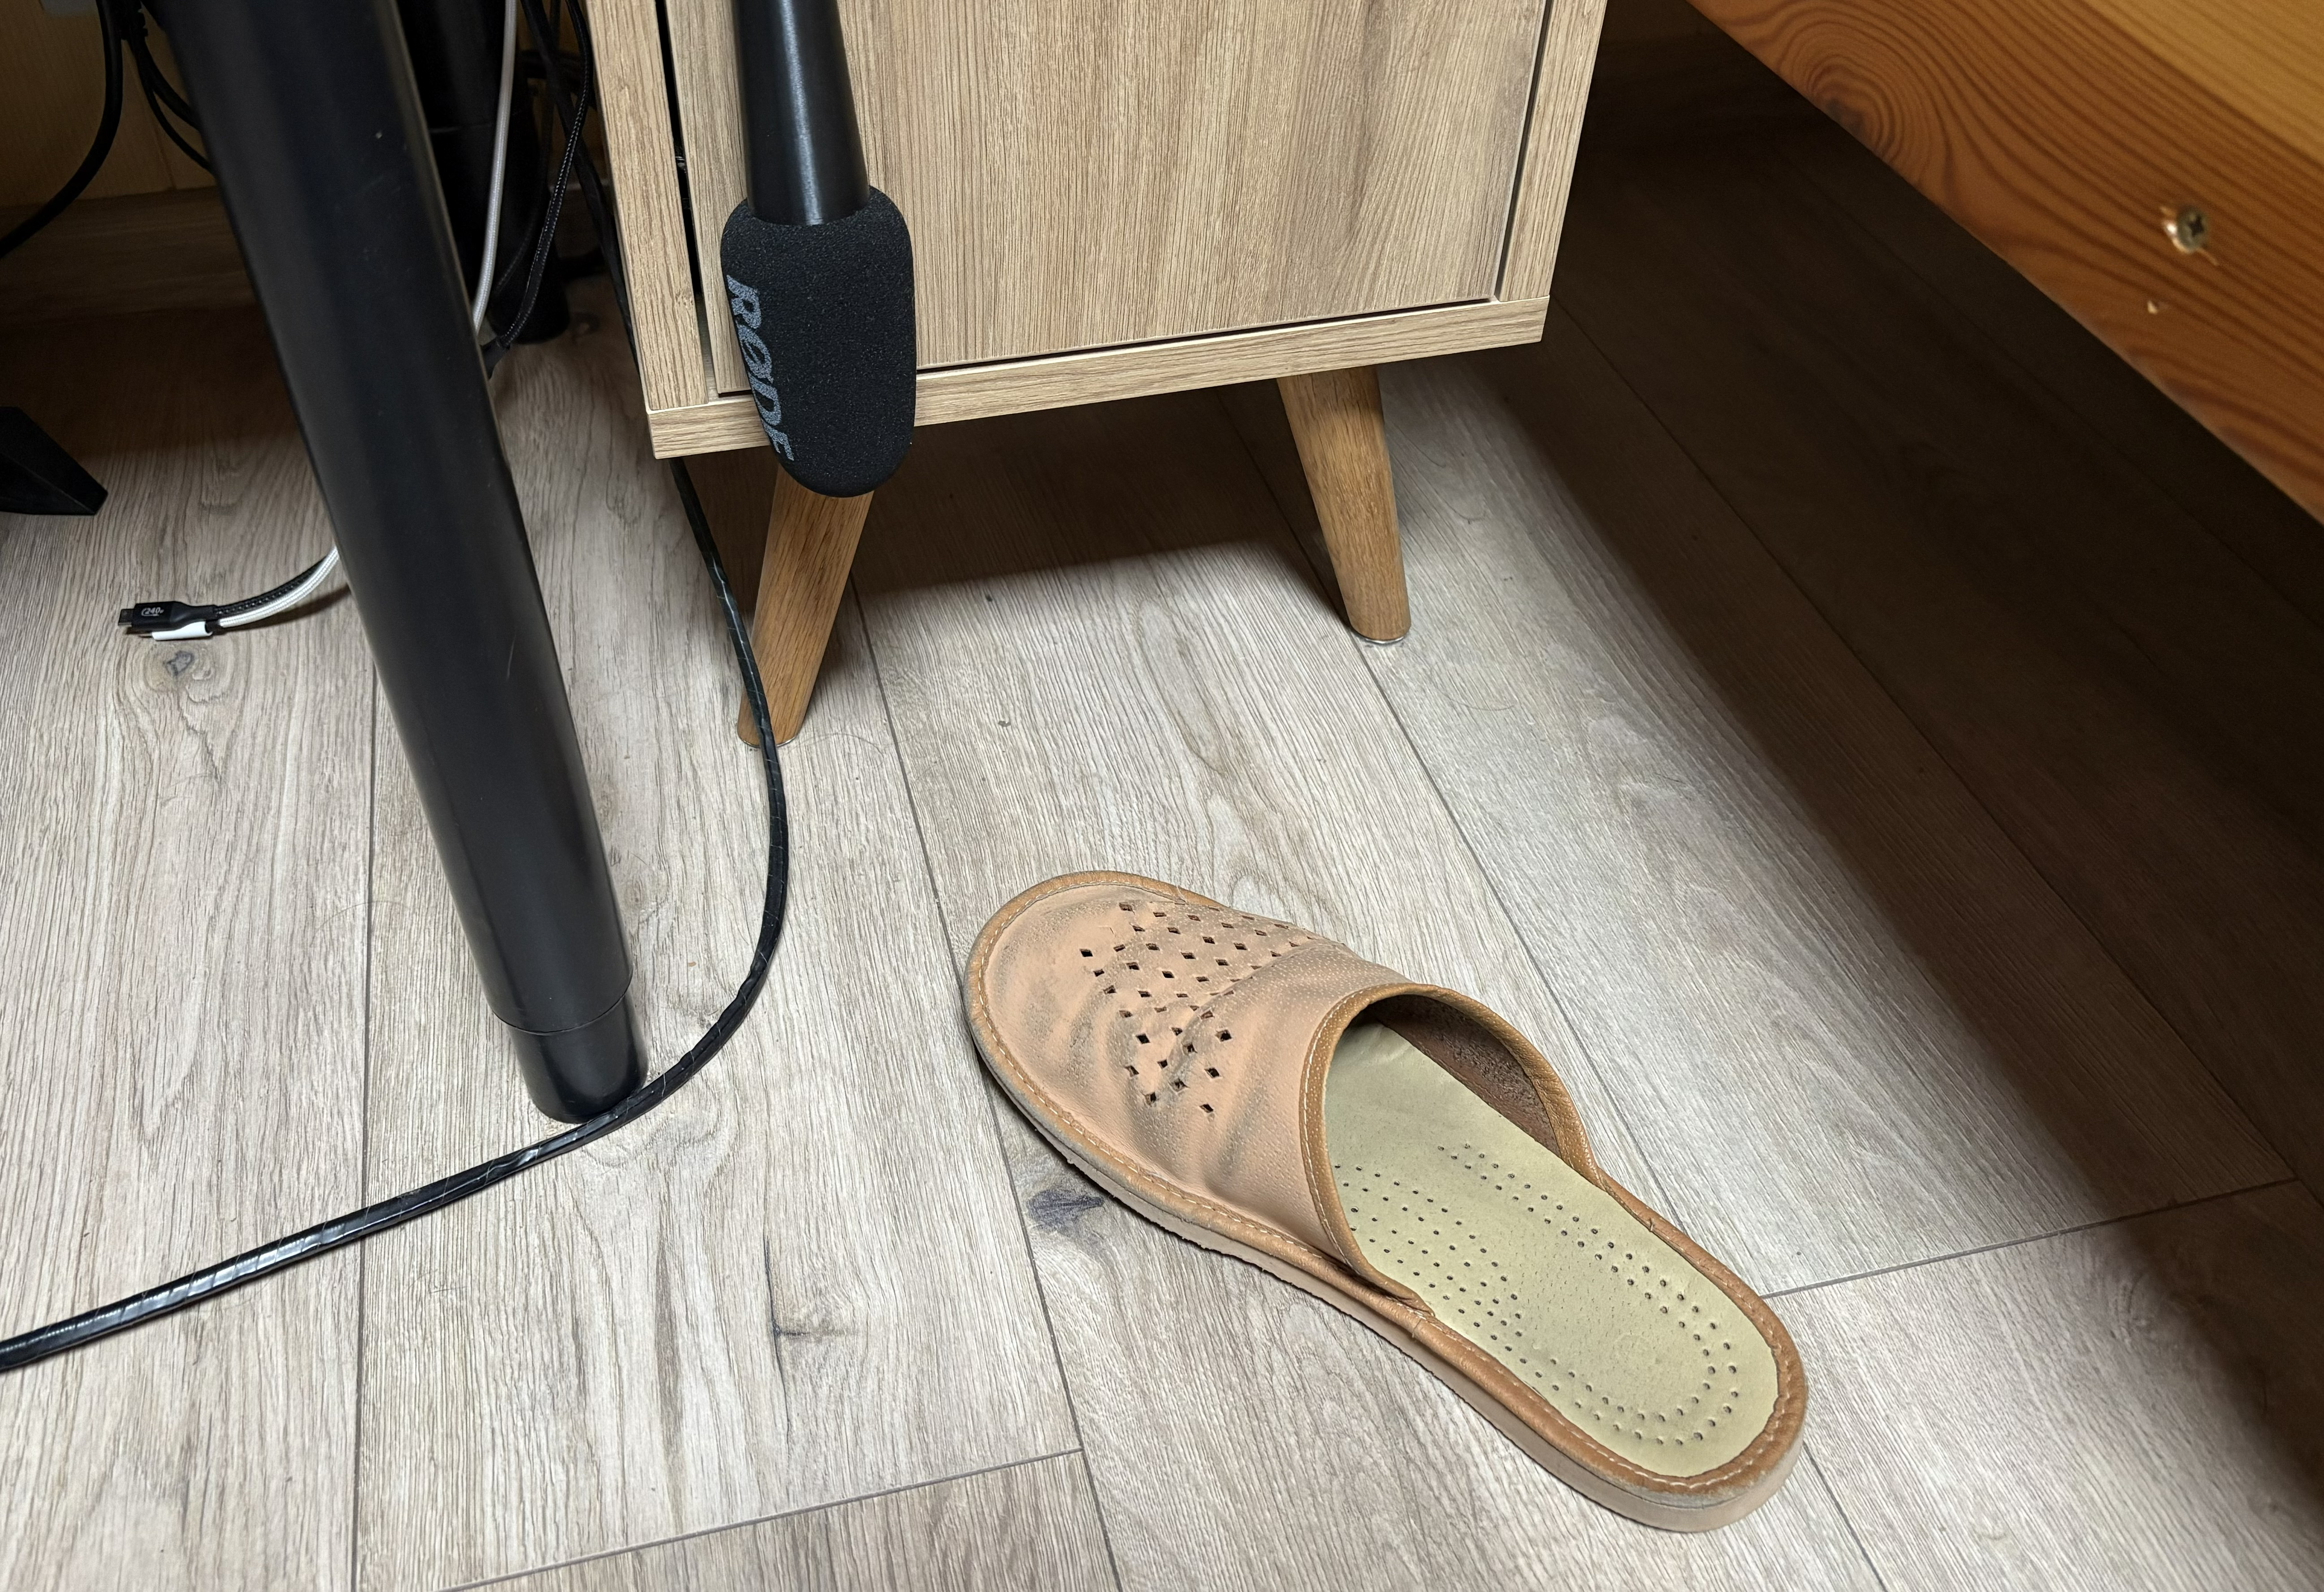
Then I recorded some wood tapping noises for the horse puzzle, later down the line:
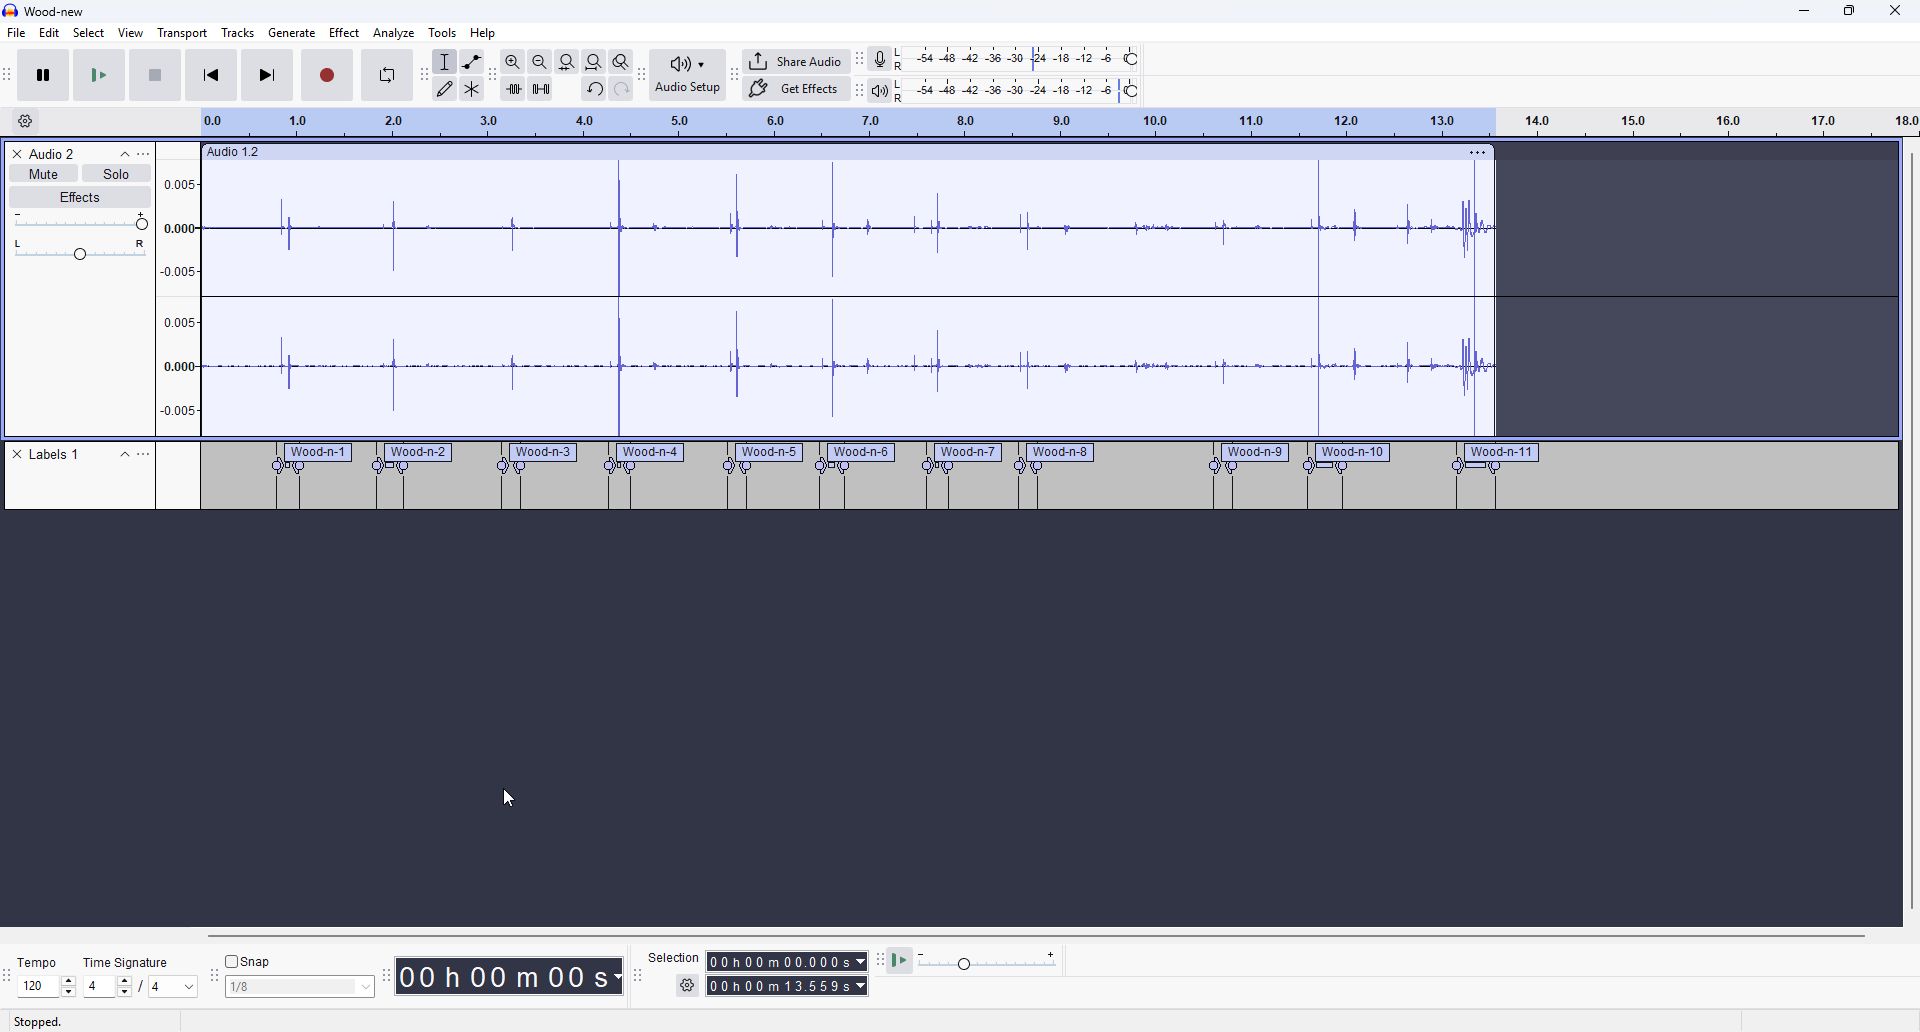
After prepping, labeling, and importing everything into the engine I did a bit of testing and at first had some issues with the spatiality of the sound, I messed around with the 3D Sound Settings (such as Doppler Level, Volume Rolloff, Min/Max Distance and so on).
That helped a bit but I was still having slight issues because of the Audio Reverb Zone which I’ve been adding to all sequences for improved ambiance and making everything sound a bit more realistic. I did however manage to get it to work well enough after messing a bit more with (mostly) distance settings.
Hide ‘N Seek Puzzle Main Mechanics
I moved on to implementing the core of the Hide ‘N Seek puzzle, I added randomizing the hiding spot, out of a few pre-defined spots, ’luring’ the player in with a randomized laugh / giggle SFX (both in terms of sound file and timing), implemented Lore Object inspection reporting for moving the rounds forward, a doorway trigger for starting the game, the above mentioned SFX and finally some debug displays:
Timeline Transition
Something I wanted to do at the end of the Hide ‘N Seek puzzle was a smooth transition (basically a cutscene) using Unity’s Timeline system I previously mentioned here .
The idea is to do mocap where the protagonist lifts up the toy horse from the floor, carries it to the workbench, places it on there and turns on the light. This is supposed to smoothly transition the player over from the first (Hide ‘N Seek puzzle) to the second (Toy Horse Puzzle).
Because of the fact, that the mocap pipeline is not finished just yet and it’s not worth it for me to record the animations when all of the assets and environments aren’t finalized, I just did a temporary timeline by hand of the toy horse gliding into position:
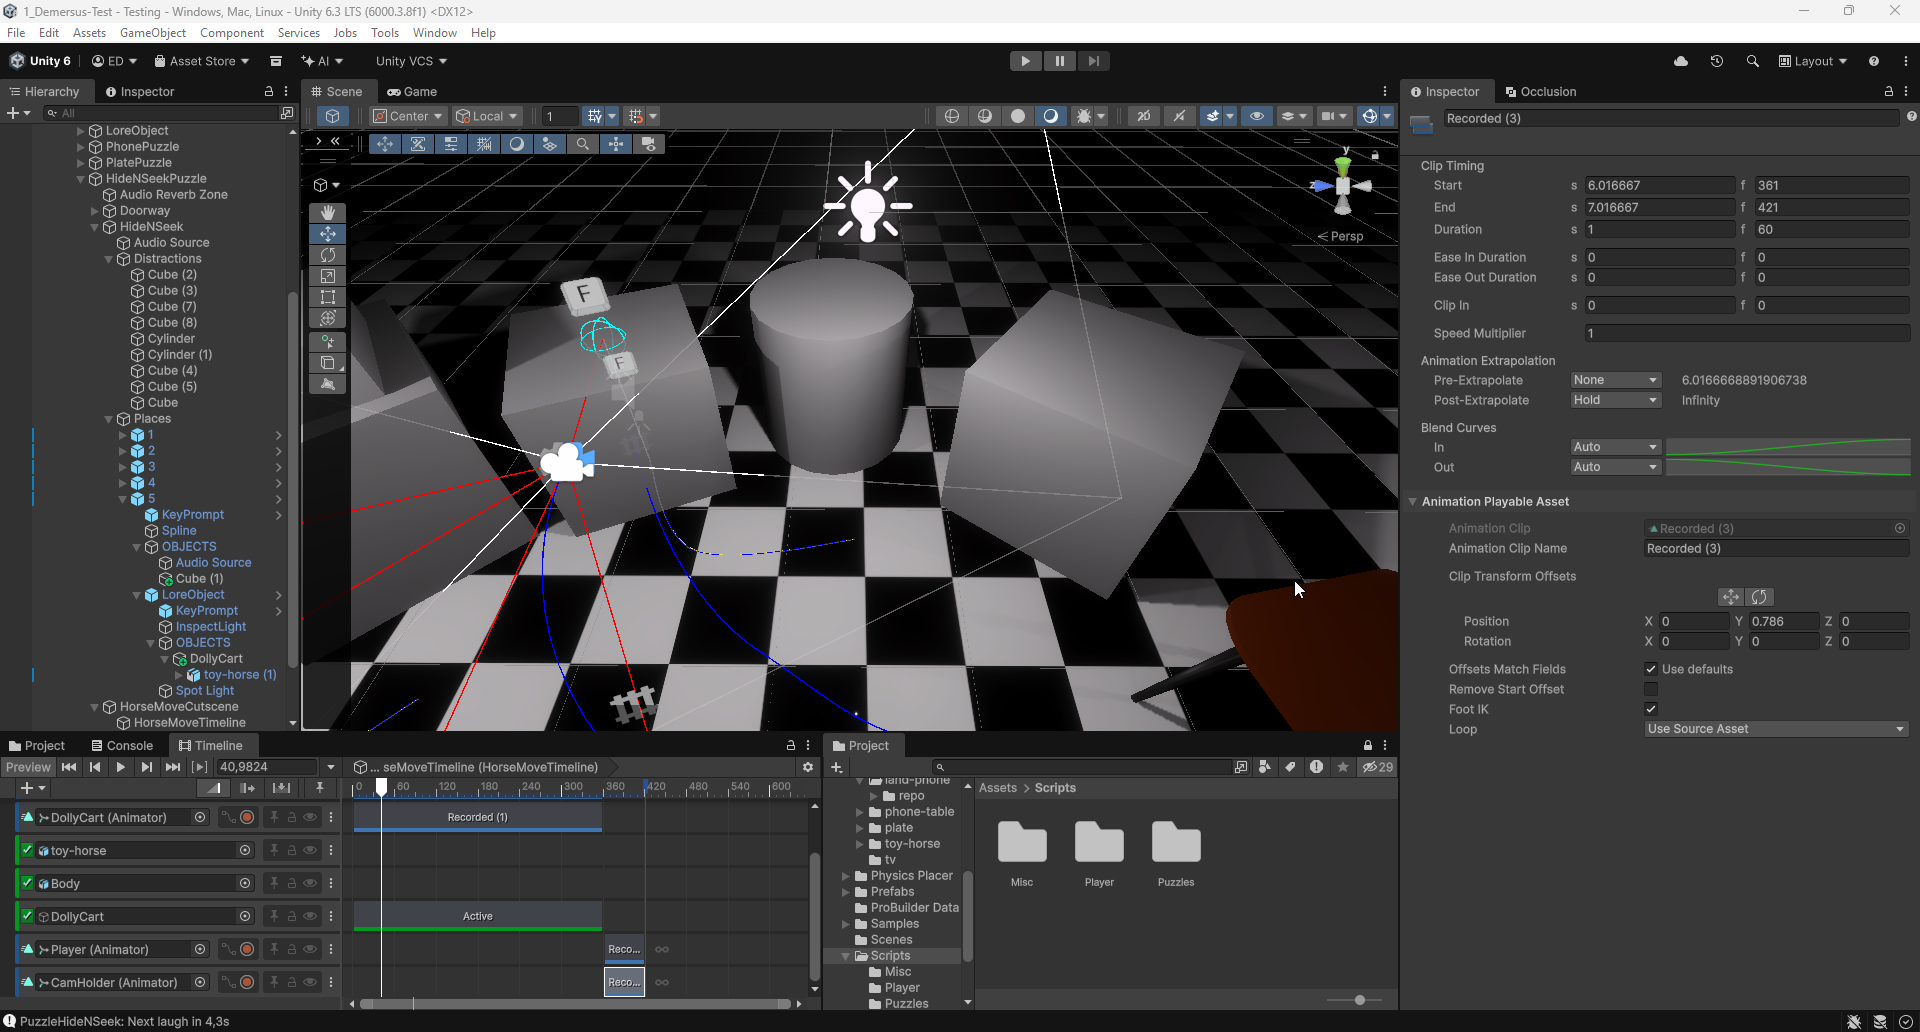
Something that helped me a lot along the way was this official Unity Timeline tutorial , which I highly recommend. There were some issues I’ve stubbled on however, one of them was having a smooth transition between the ’timeline’ and ‘puzzle’ camera, and the other (a bit more complex) a bit of friction with ‘pausing’ the player controller, moving it to a different spot using the timeline and having it keep the position and rotation offsets after it finishes.
The issues was with the timeline was moving the player externally but it was still keeping it’s state in internally, making it snap back upon being re-enabled after. To fix it I had to:
- disable the rotation during the timeline (a flag was added for that in the player controller)
- re-sync internal state with external when timeline ends (a syncing function was added for this purpose)
When the timeline finishes, the rotations (that was the main problematic one) get’s converted from euler to the expected range and synced and the player controller rotation gets re-enabled again! Here is how all of that looks in practice:
Proper Toy Horse Model Bake
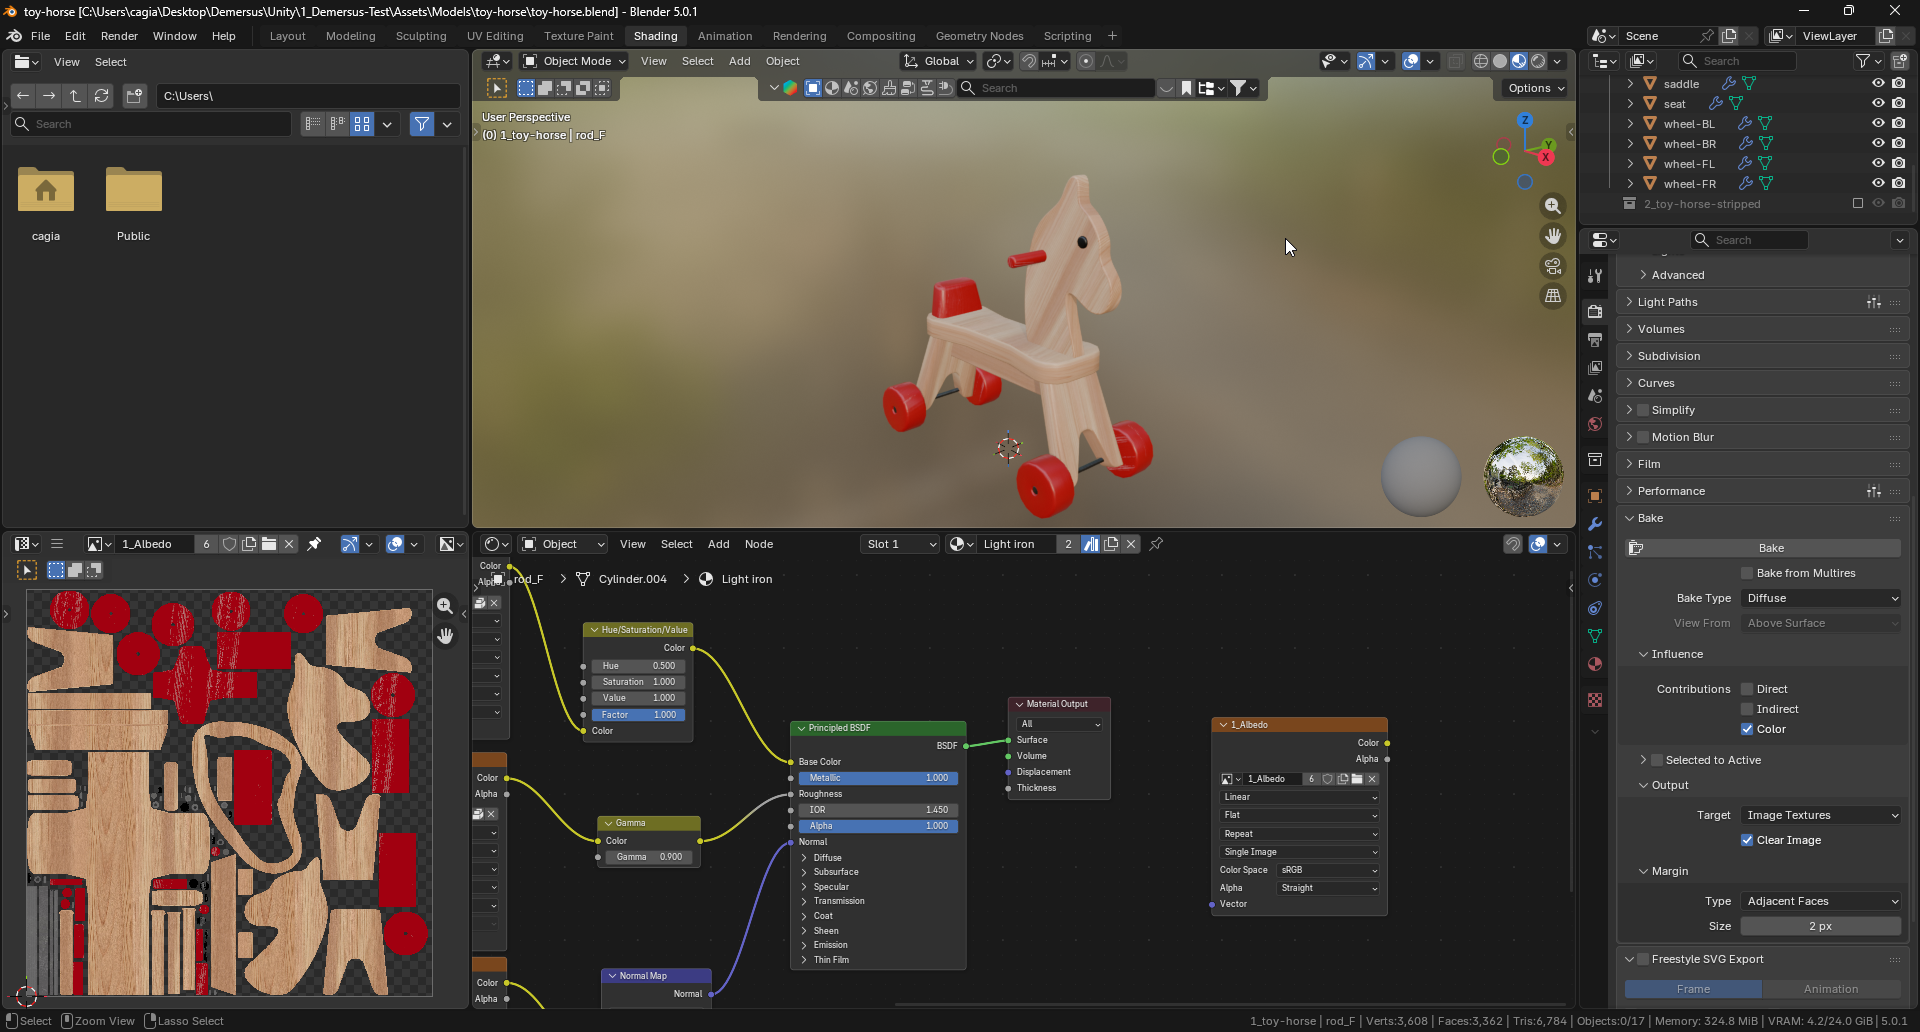
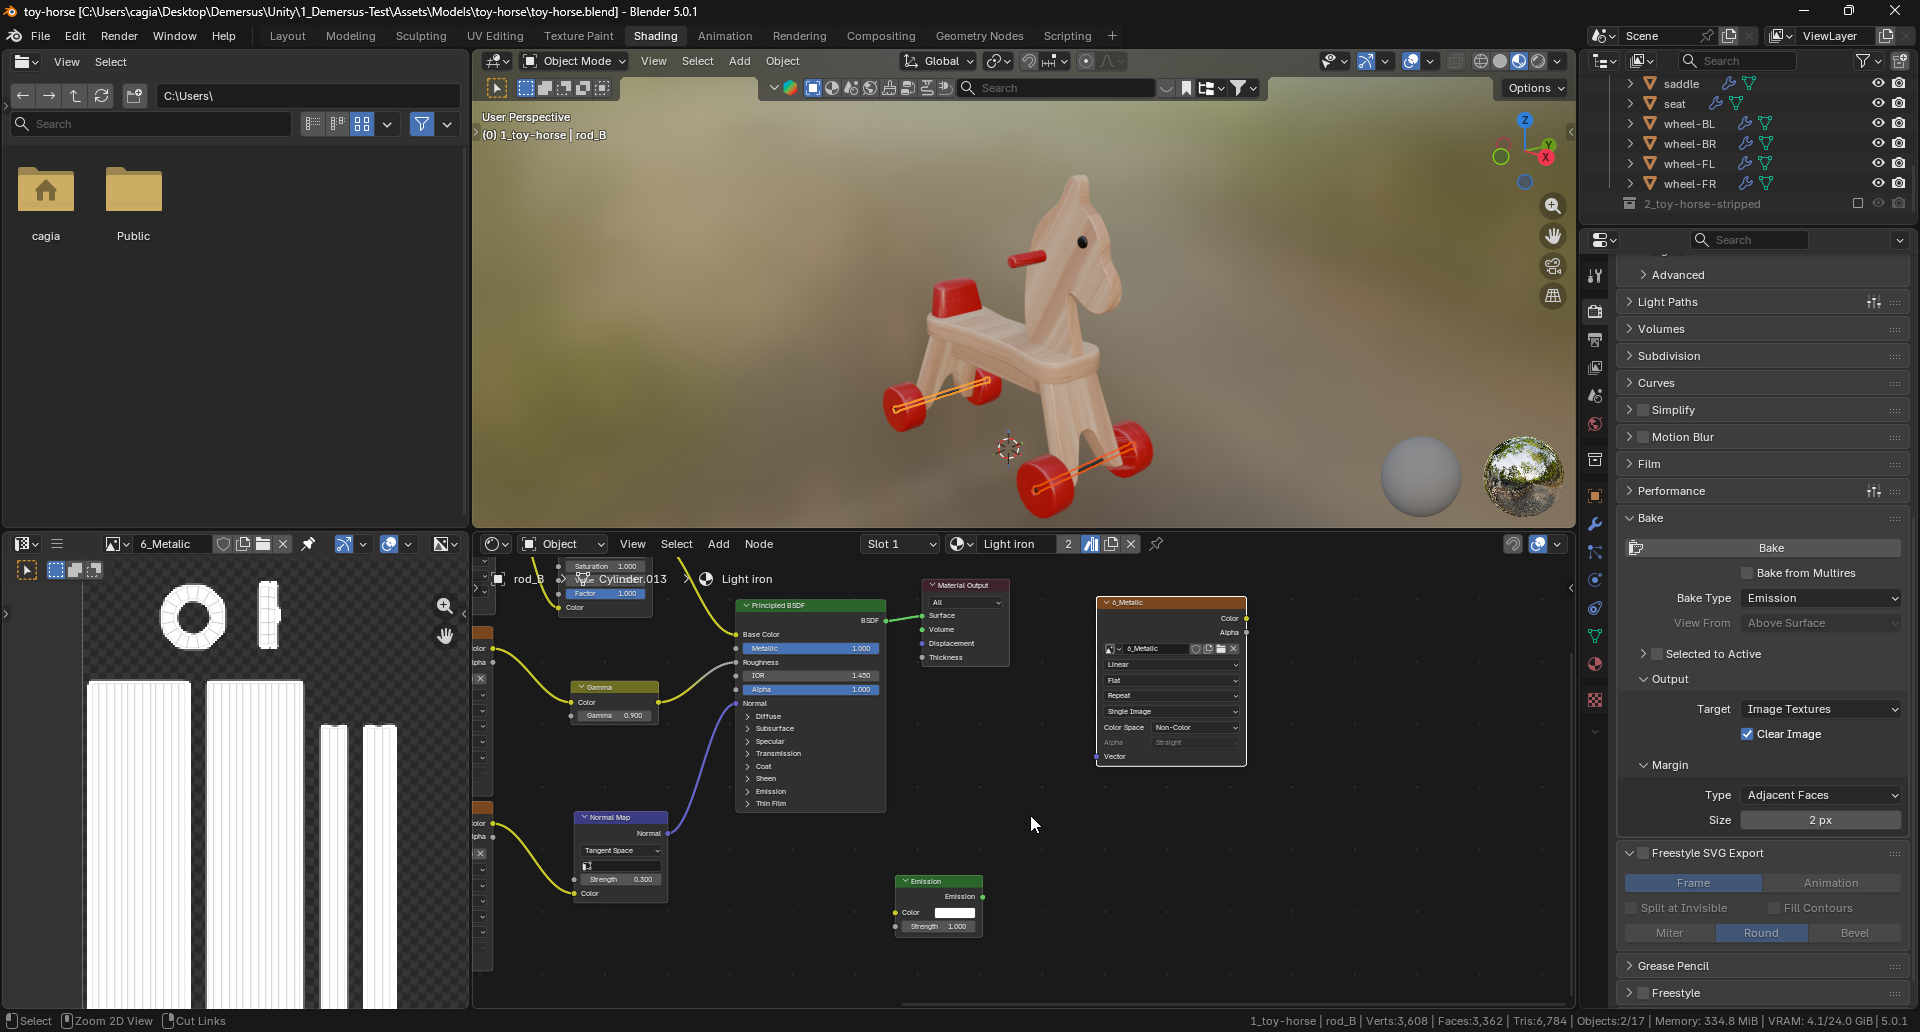
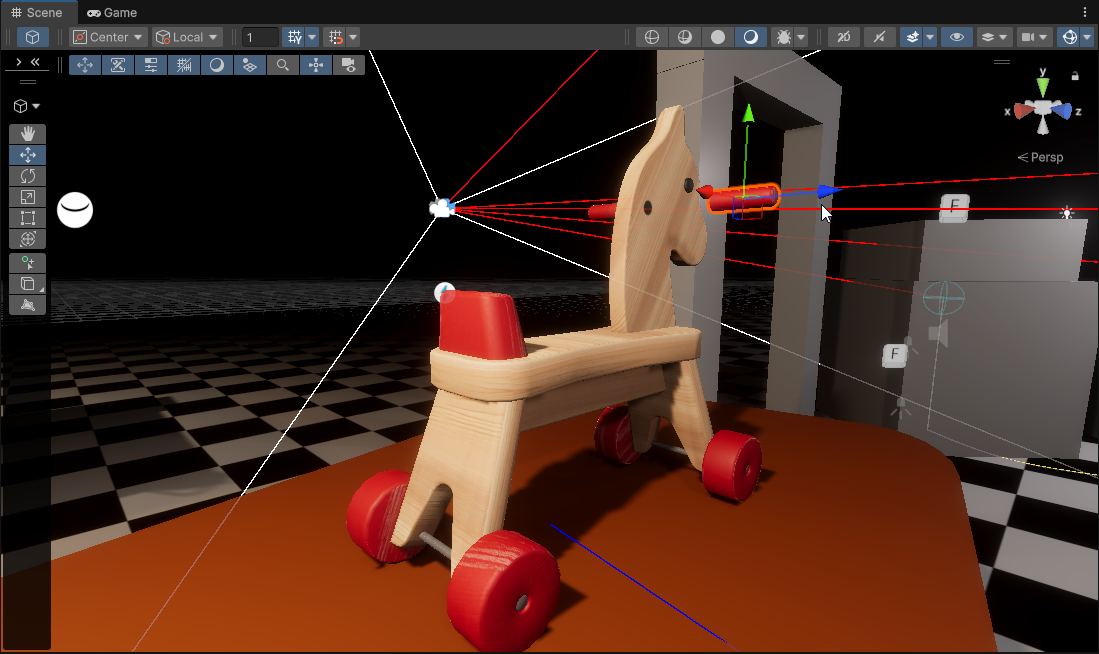
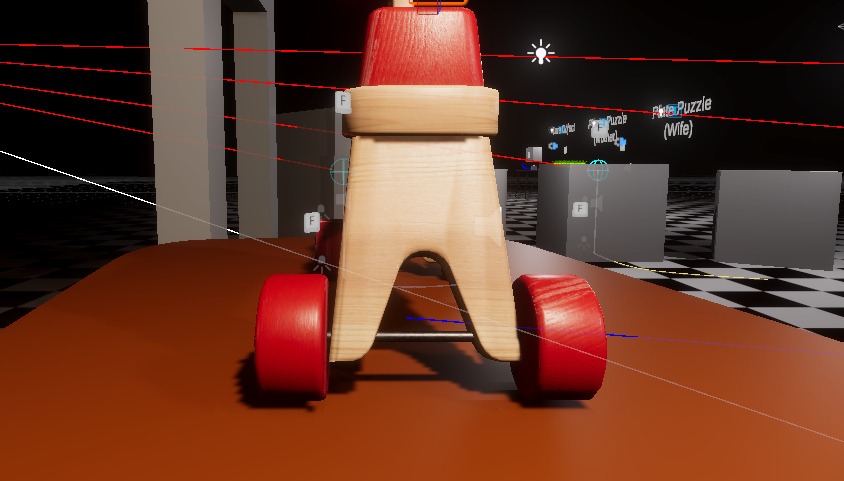
Something I mentioned in the Temporary 3D Models paragraph was the fact that the IRL pipeline was pretty much developed using this toy horse asset, here is some progress showing proper texture bakes into atlases (including a metalic test):
Toy Horse Puzzle Mechanics
I’m pretty confident in stating that this one is probably my favourite puzzle out of all of the ones in the game. Though, to be perfectly fair, the complexity and amount of issues I had to fix, might have something to do with that ;). But, jokes aside I really like the look and feel of this one, I feel like the fact that the deeper we are in development the better we’re doing and our results turn out nicer too (let me remind you that this is our second video game and first 3D one):
Rotation and Warping
Something I though was easy enough to start with (subtle foreshadowing), was the rotation of the horse along it’s Y axis.
The idea was for the player to be able to rotate it around like on a turntable and place all of the missing parts back on (this seemed like a better approach than a more general one, like in the Lore Object inspect as that way its more realistic and shows the heft of the toy horse better).
The first issue I run into was just a silly mistake that quickly got resolved:
The drag-to-rotate works by capturing the mouse delta on the X axis during a drag and converting it into rotational velocity. Instead of directly rotating the horse by the delta amount, the velocity is applied each frame as a continuous rotation, then damped toward zero after release. This gives the horse a more natural, smooth feeling. Flicking the mouse will cause it to keeps spinning for a bit and, then gradually settling to a stop. A nice side effect of this is that if the mouse hasn’t moved past a small enough threshold between press and release, it’s treated as a click rather than a drag, so the same input system handles both rotation and parts.
The next issue I had to take care of however, threw me a bit of a curve ball. It was very strange as the horse model just look off, like the perspective was switched on it or something:
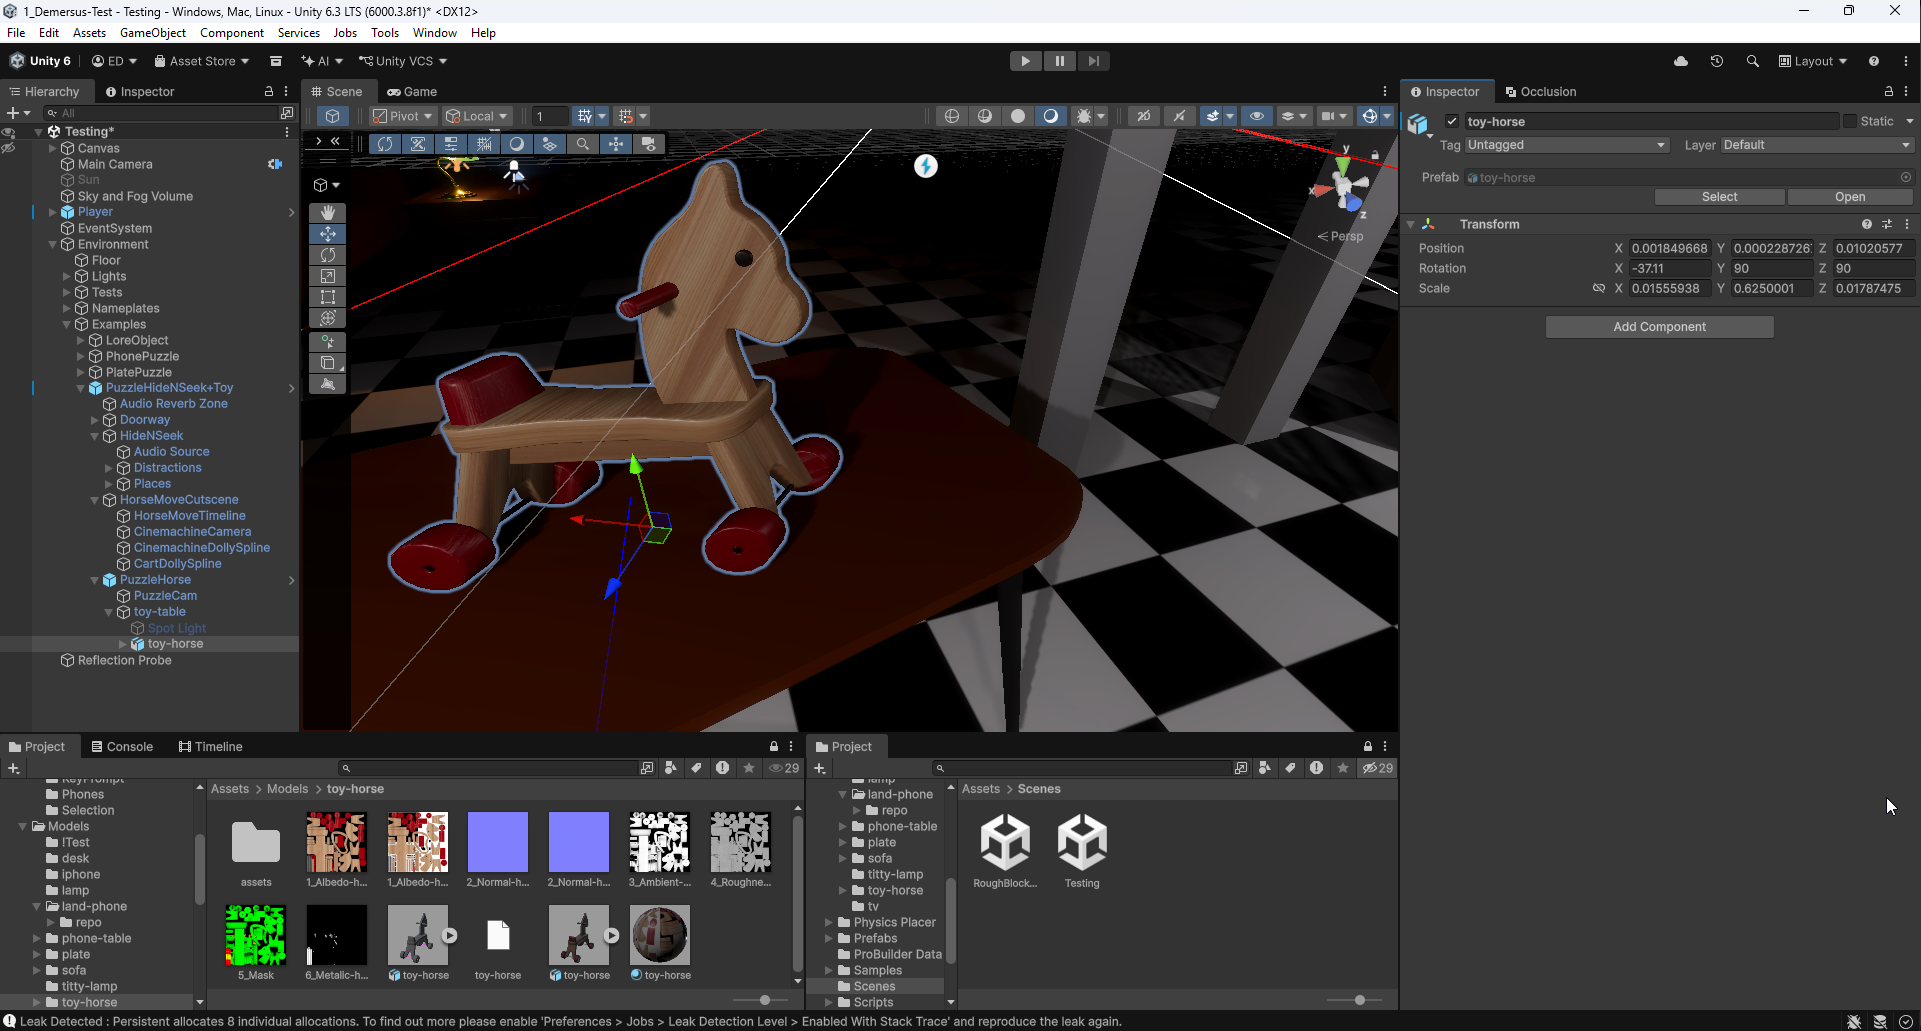
After doing some digging I found that the culprit was non-uniform scale somewhere in the
horse’s transform hierarchy. Basically, when you drag a model into a parent object, Unity
preserves the world-space scale by recalculating the local scale based on the new parent.
Meaning, if the parent has a scale of, say, 1, 2, 1 (and the table’s scale was changed
in the scene), the engine will compensate by setting the child’s local scale to something
like 1, 0.5, 1 and, that’s exactly where things went wrong.
However, the real problem kicks in when the parent also has some sort of rotation applied. The above mentioned issue, combined with a rotation produces a ‘shear matrix’, which is something that supposedly Unity’s TRS (Translation/Rotation/Scale) system has big issues representing cleanly. The result is mesh warping and ‘perspective’ issue seen above.
The proper fix for that would be obviously having the FBX of the table be a proper scale
before exporting it from Blender (of course remembering to Apply Scale too). This
writes the scale directly into the mesh vertices so the object exports with a clean 1, 1, 1
scale, meaning Unity would have nothing to compensate for. Keep in mind however, that
this setup is temporary so that’s why that wasn’t done.
Approach To Disassembling
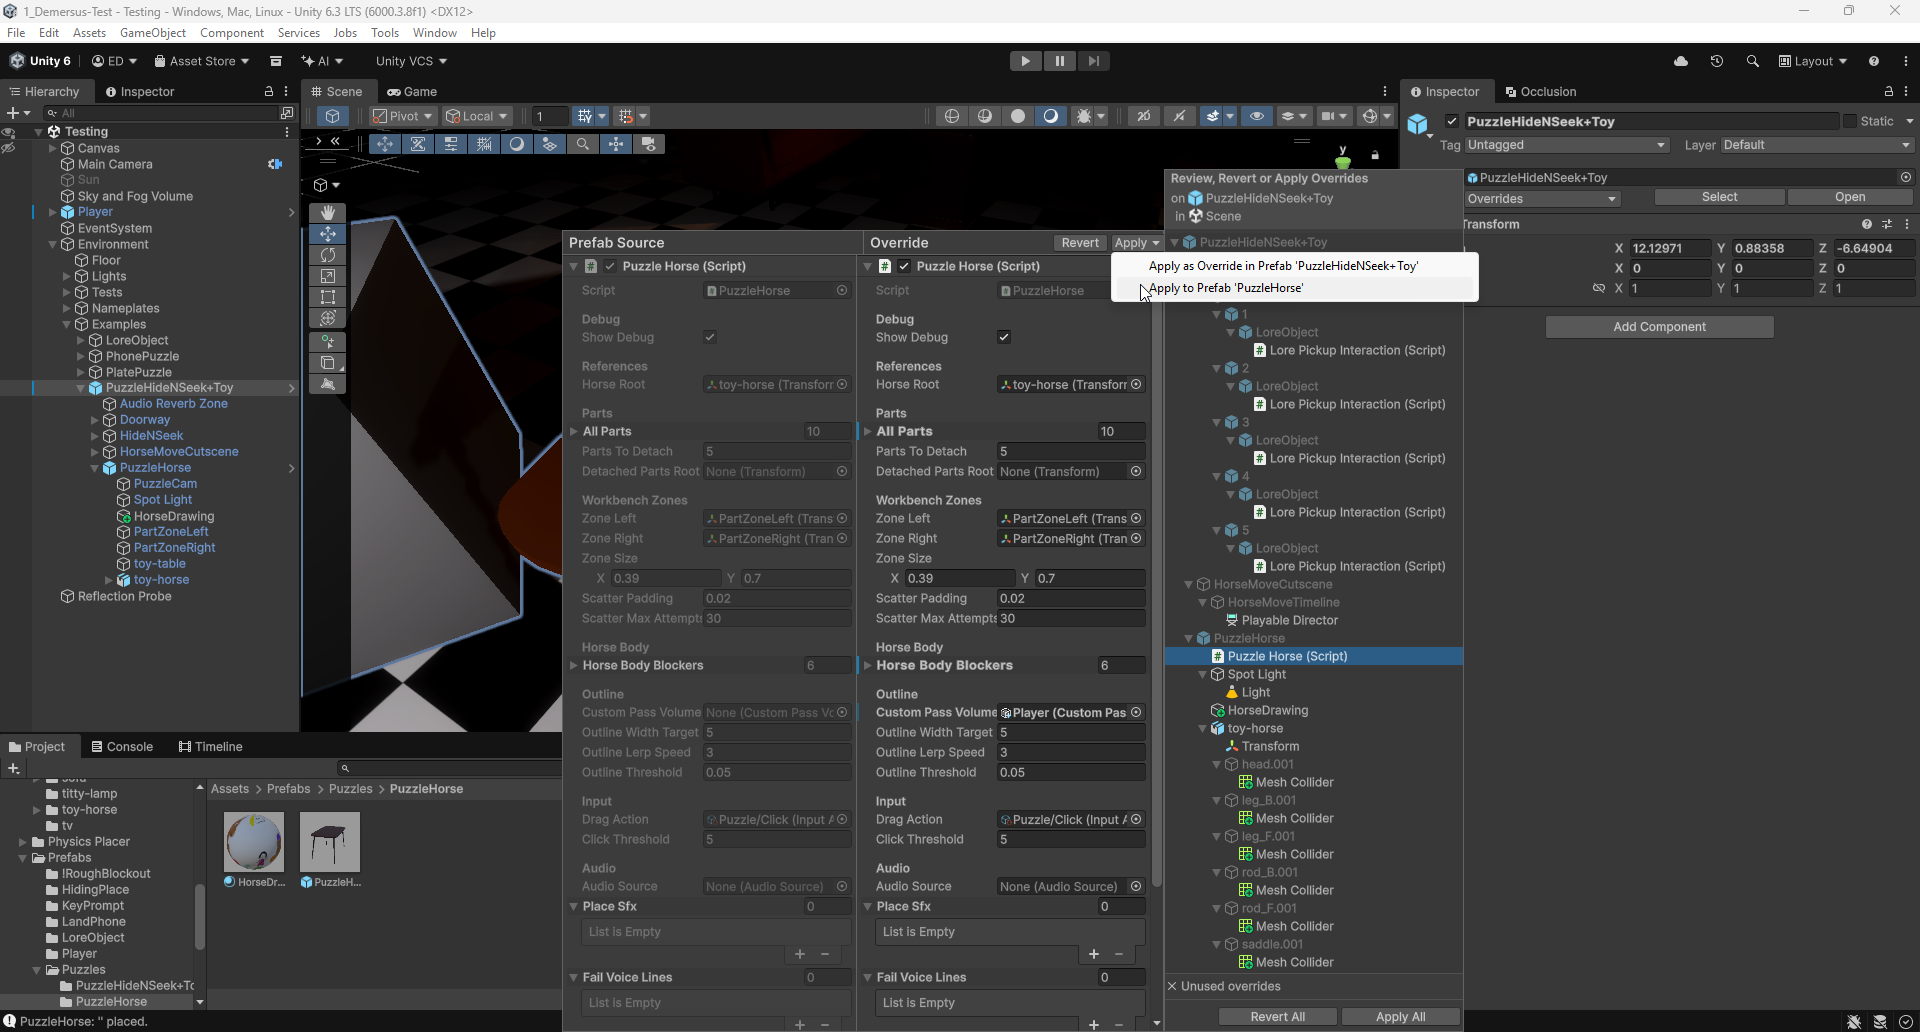
The next thing I tackled was ‘disassembling’ the toy horse. As I wrote previously , the model was design with this in mind so all of the parts were created as separate bodies and just positioned correctly.
I spent quite some time trying to figure out how I want to go about being able to disassemble and assemble the horse. I first tried to do something in code with calculating the best face to place each part on, but that had a bunch of problems, and didn’t really allow for easy customization of how each piece is supposed to be placed on the workbench.
The second approach I took was blendshapes or
Shape Keys
.
The idea was for each part to have a Placed blendshape that would place it at origin in
the pre-defined orientation. This seemed to work okay, until later down the line when I
was implementing bezier curve animation for parts to be put back on to the toy horse.
You can imagine how the transition and origin mismatches would be impossible to work around
and only allow for some sort of immediate snap effect or BS transition with some flare:
Not to mention a bunch of stupid issues I had to figure out in order to get the blendshapes
to actually export from Blender properly in the first place as that turned out to be its
own rabbit hole. Turns out, that without an armature, Unity imports meshes as a regular
Mesh Renderer instead of a Skinned Mesh Renderer and, blendshapes require the latter
to function. A band-aid fix I found was adding a dummy bone and parenting all of the meshes
to it, which did work, but felt unnecessarily messy. The actual culprit however, was much
simpler. Turns out the Apply Modifiers option in Blender’s FBX exporter interferes
with Shape Keys and needs to be set to OFF. Once that was taken care of, the blendshapes
came through fine, without having to mess around with armatures and such. All of that
fiddling turned out to be for nothing, though as like I stated above, the approach was
fundamentally flawed from the start:
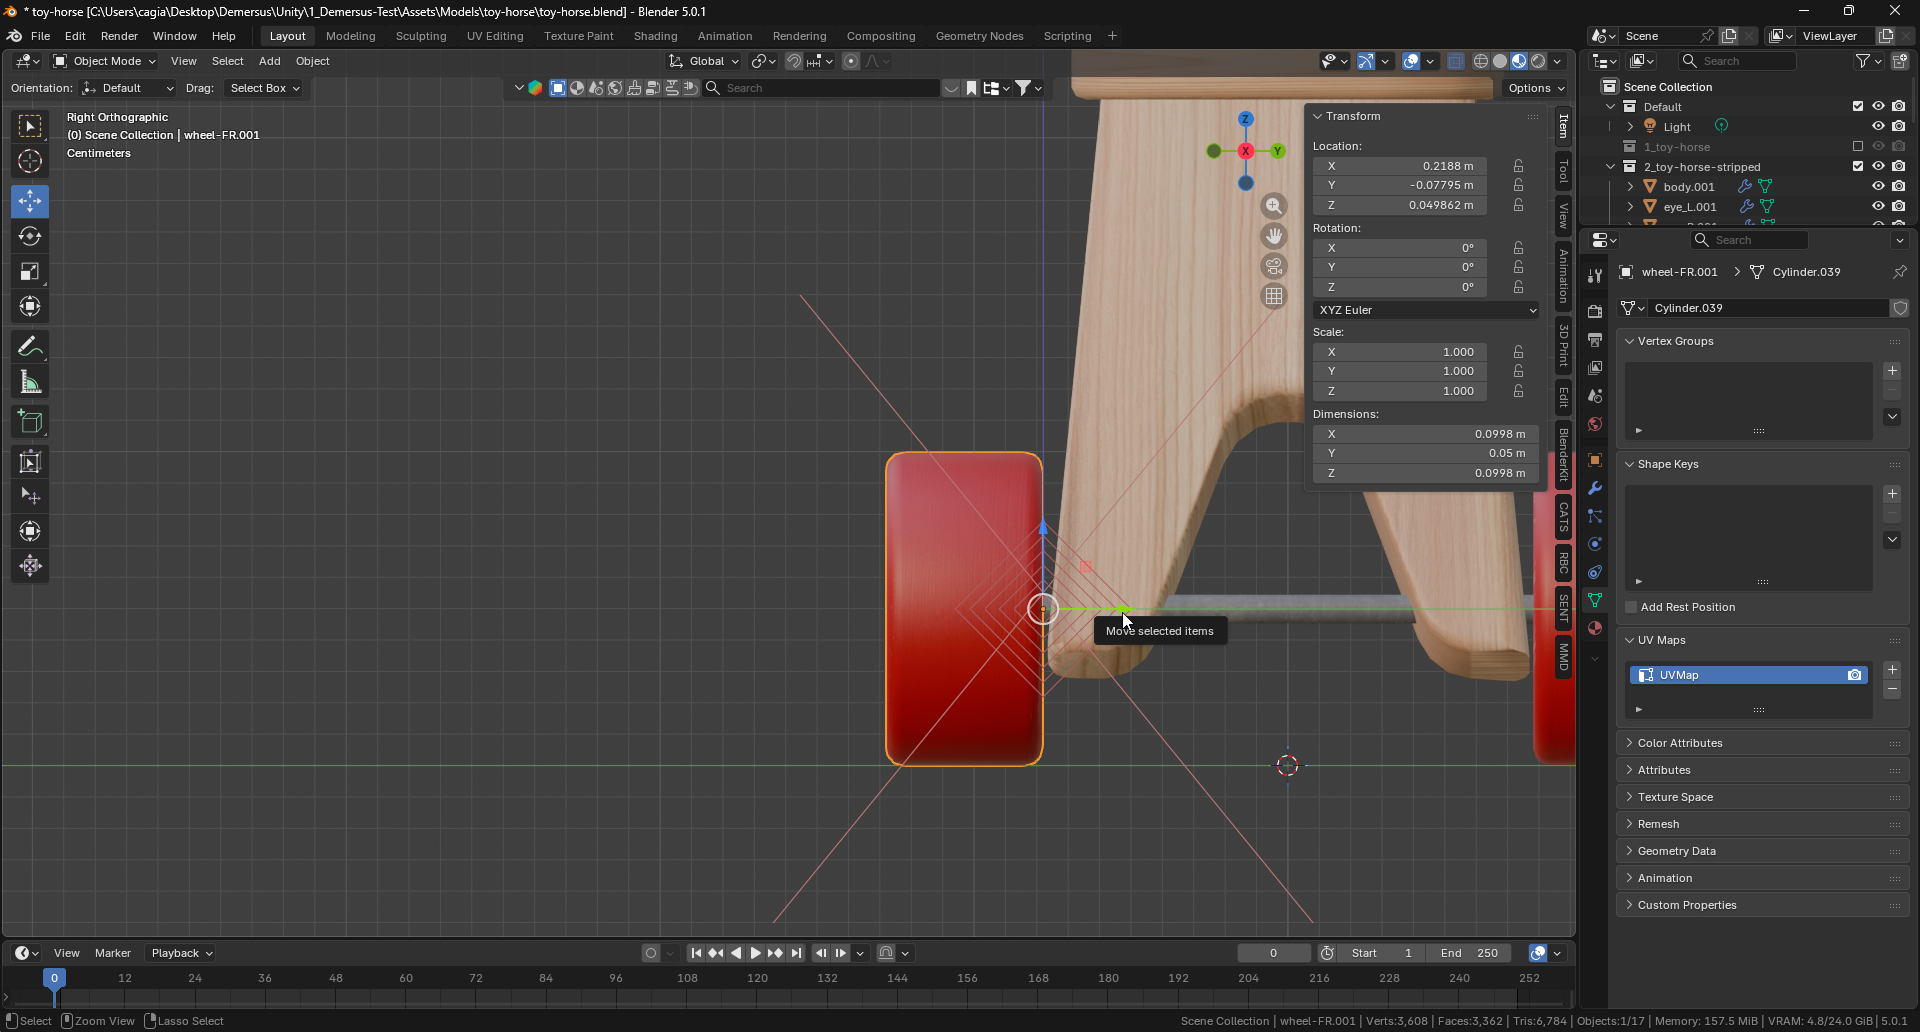
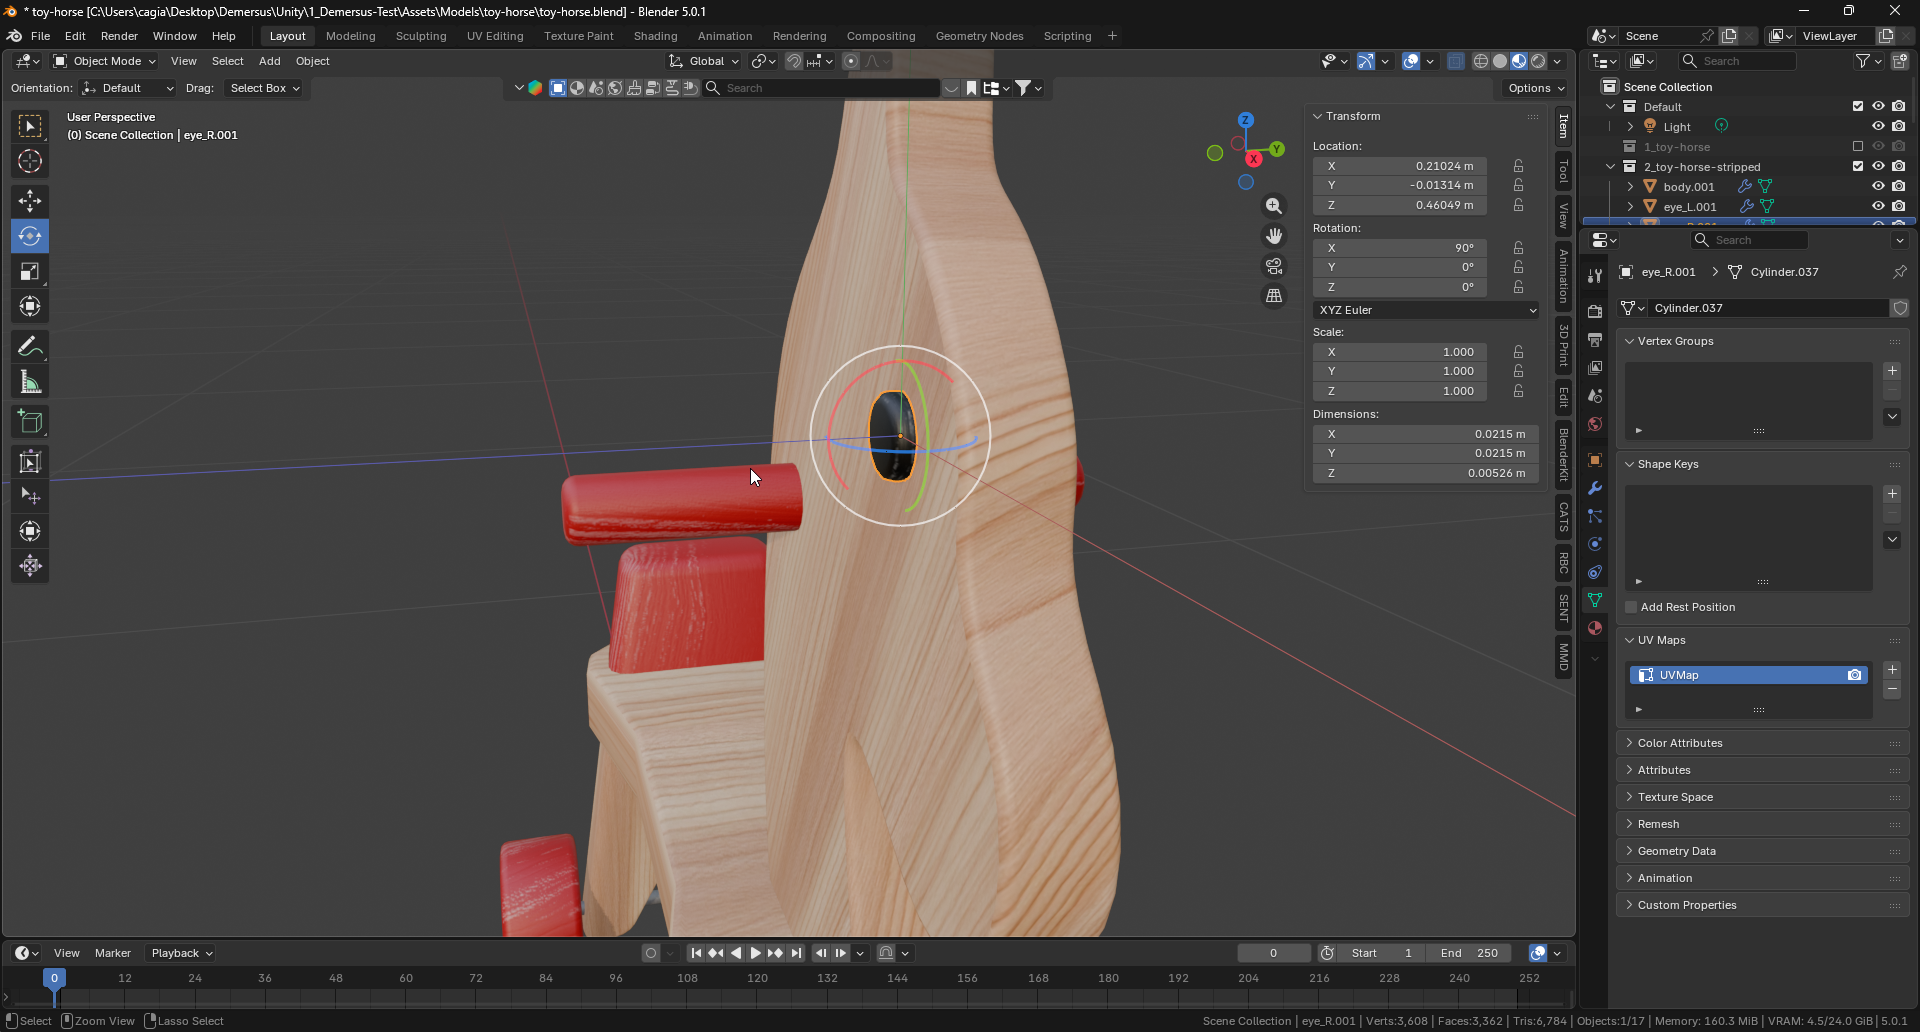
Now, as they say “Third time’s a charm” (and in this case, luckily it was). The third approach I tried was way simpler and more effective compared to the two previous ones and basically consistent of changing the positions and rotation of the origin points of the bodies in a way, where of if placed on a flat surface in Unity using the origin they’d be orientated properly as defined by me in Blender ( useful tip, you can move and even rotate the origin point in Blender ):
Assembly Mechanic
The horse puzzle follows a similar click to select & click to place model that was used
for the plate puzzle, but with a few changes. Instead of individual piece raycasts, I do a
front-to-back raycast pass on click (the first collider hit determines what happens.
If a horse body blocker collider is hit first, the ray cast breaks entirely, so nothing
behind another piece of the horse can be selected. When no part is selected, a hit on a
detached piece toggles selection. When a part is selected, the pass looks for a HorseSlotMarker
on the hit collider (the slot is a runtime-generated mesh collider built from the piece’s
original MeshFilter data, combined and transformed into the horse’s local space so it stays
aligned no matter how the horse spins).
Once a piece is set to be placed, the animation coroutine locks its state immediately, colliders and slot are destroyed so it can’t be re-selected mid-flight, and the horse is being prevented from spinning during the sequence. The dynamically animated flight path is done using a Cubic Bezier with four control points: the piece’s current position, two upward points (both offset by a configurable value), and the target position at the original parent transform. The position is animated frame-by-frame with the eased curve value, while rotation uses a Quaternion Lerp between the piece’s current rotation and its target. The SFX get’s played with a set delay. Then, once the animation finishes, the piece is re-parented to its original parent and snapped to the exact local position/rotation values to eliminate any accumulated drift from the animation loop.
Highlighting the selected part is handled using the
previously used
outline
Custom Pass Volume
via a single Selection layer where only one part at a time gets put on to. This approach
avoids the multi-puzzle outline conflicts I ran into previously (this is also accompanied
by proper transitions to keep a consistent, polished look and feel). Hover works the same
way, just with a second raycast in Update that updates the outline width using Lerp to
fade in on new parts, and fade out when switching away.
Re-imagining The Toy Horse
Something that I quickly noticed after play testing the toy horse puzzle is that the horse’s design was too generic and the parts were hard to differentiate. This made the user experience pretty poor as you can’t really do it right as you’re unable to know where a piece actually goes (this would make the user have to check test each option).
This pushed me to re-imagine the horse’s look resulting in a big change to the texturing (mostly via Texture Painting in Blender). I started by adding more materials and therefore more colors:
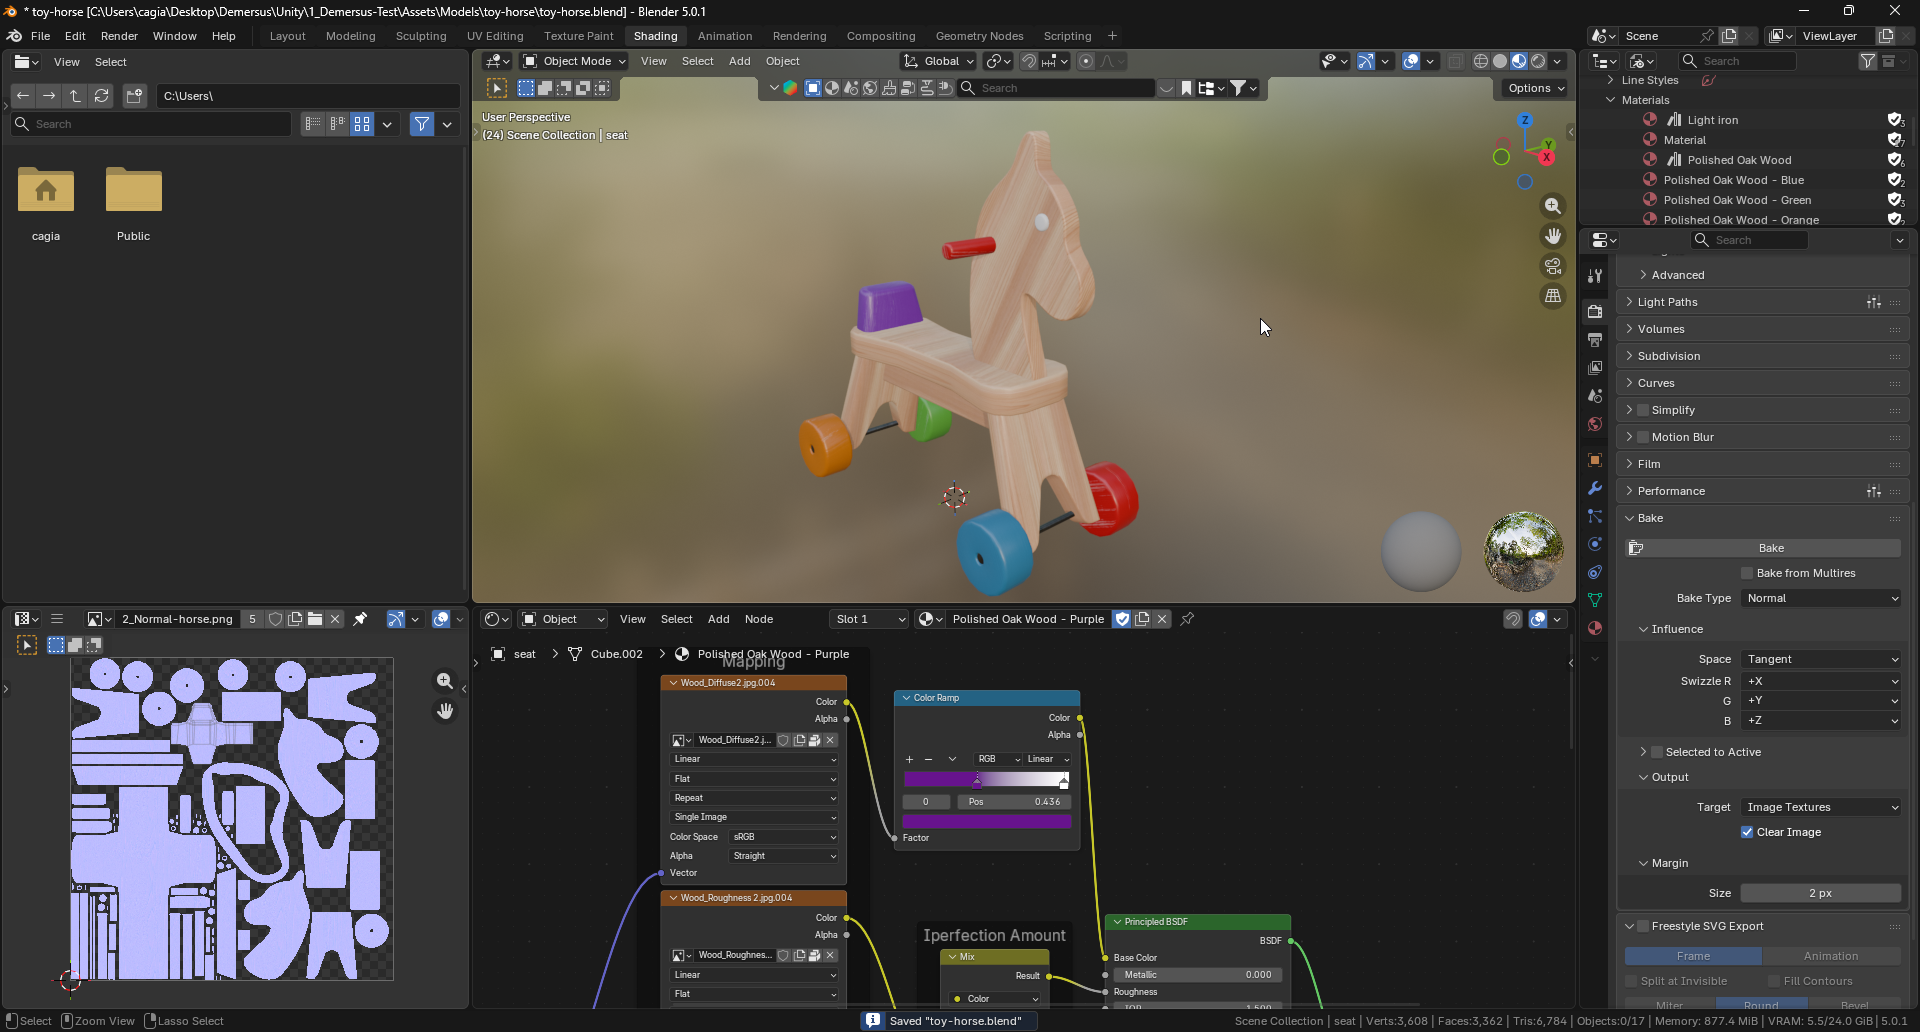
Then I baked the albedo again, applied the texture to the export model and did a second pass via Texture painting adding in the details:
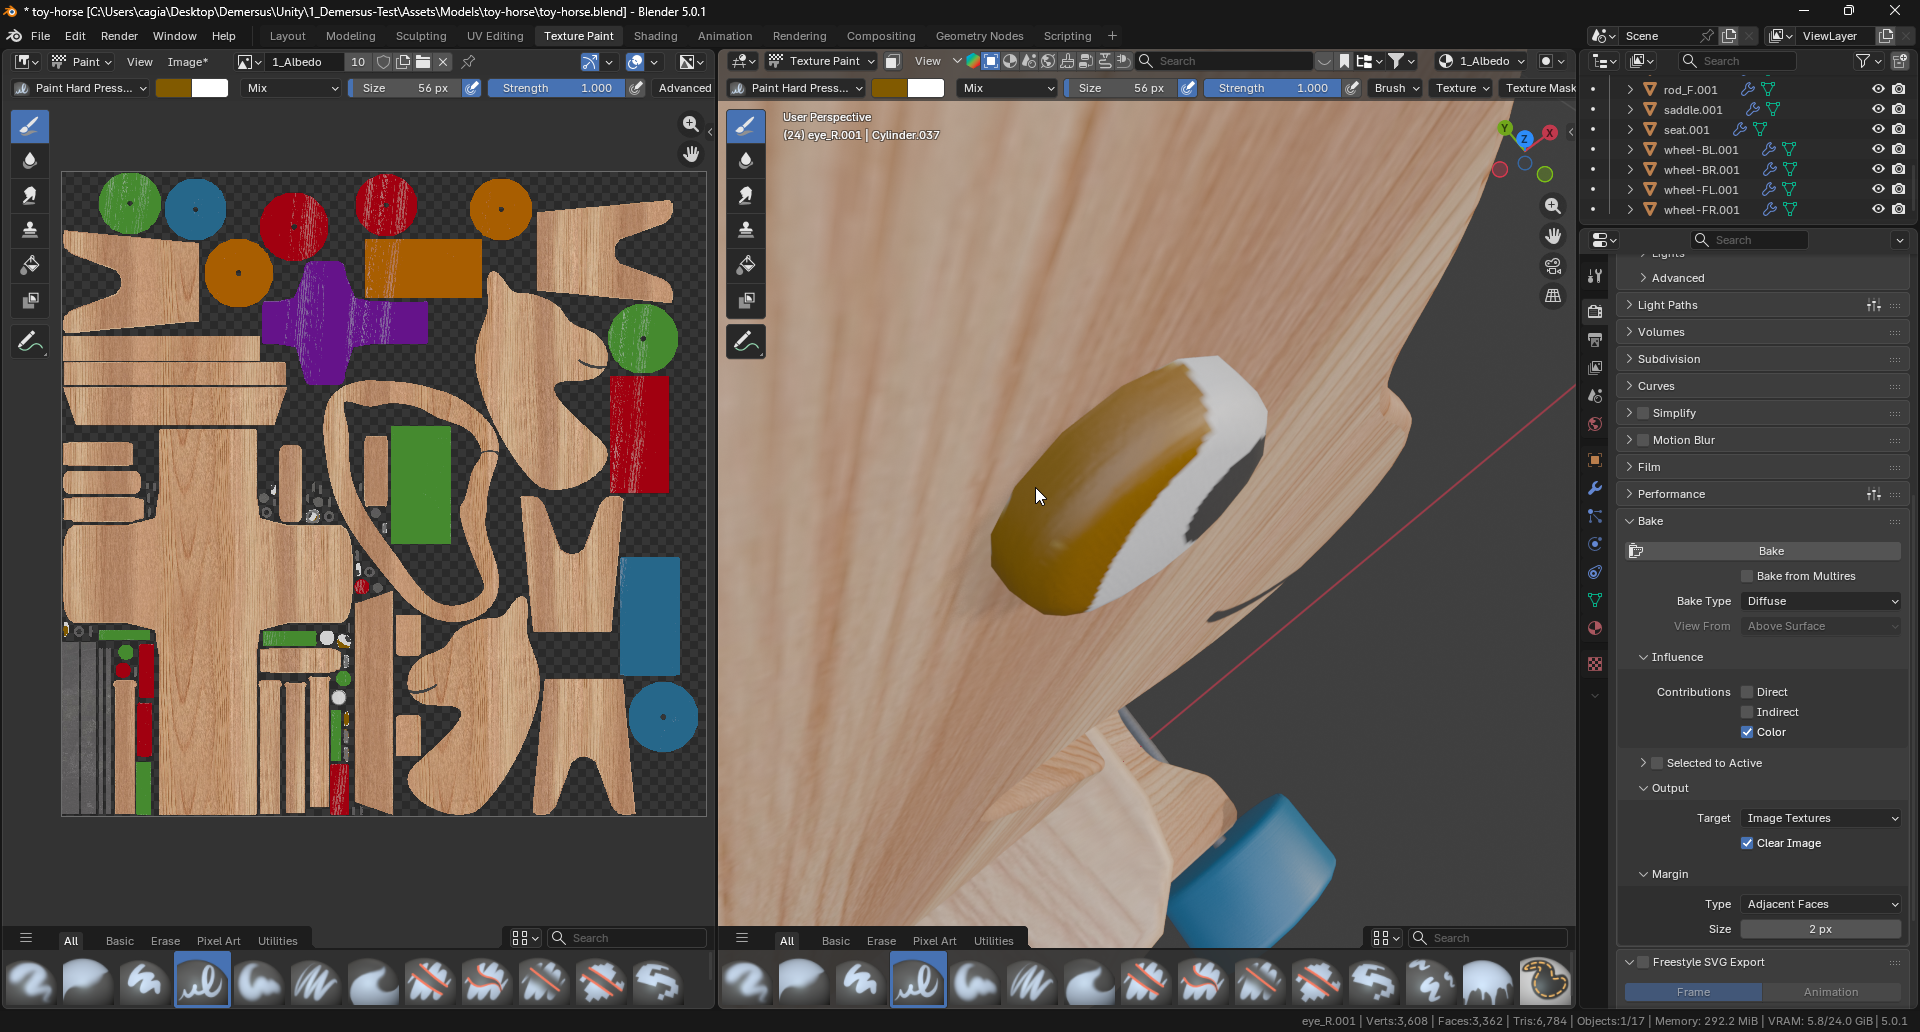
This is a before and after comparison of how both looked in game after baking and exporting the re-imagined model:
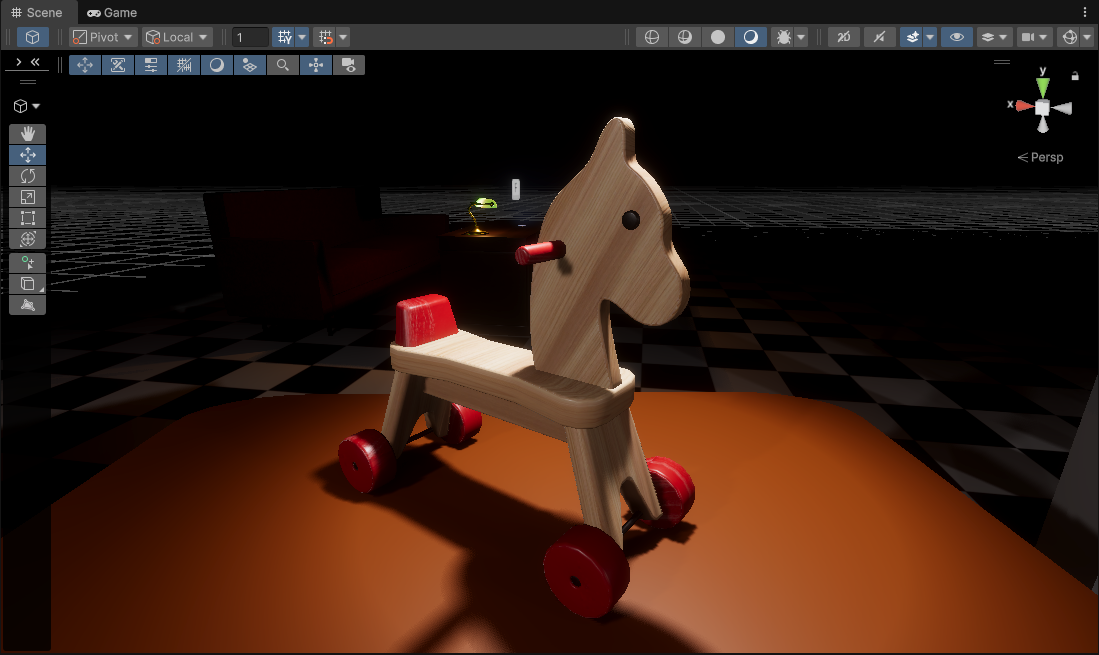
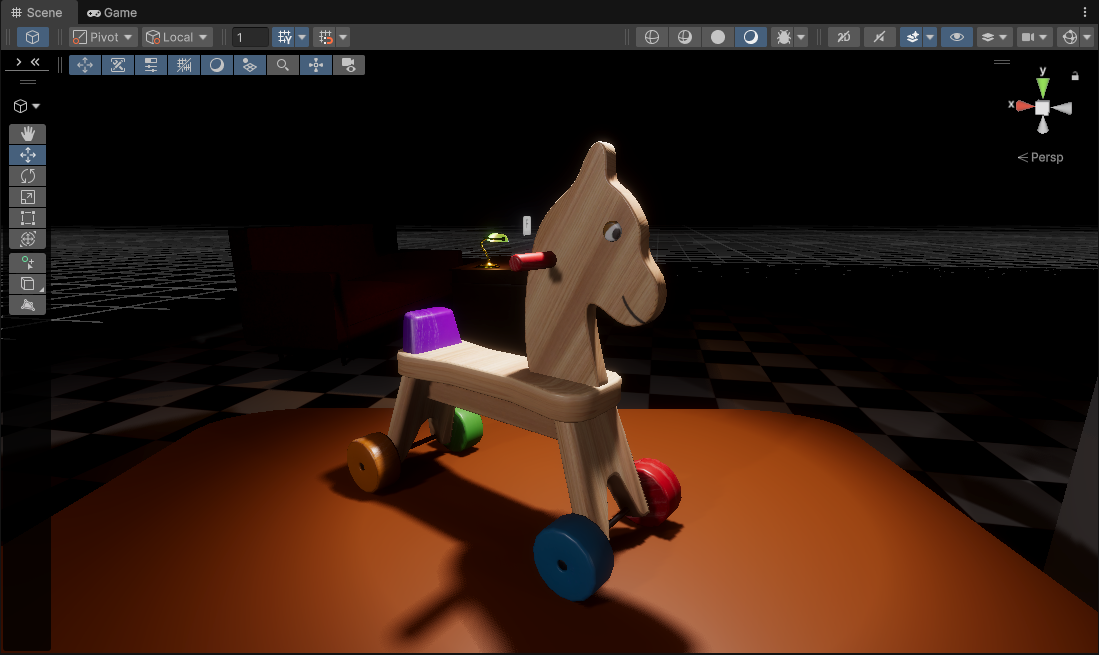
Making Of The Toy Horse Drawing
With the re-imagining of the toy horse design, came the need for some sort of guide for it. My bud and I came up with the idea of having one of the items found in the Hide ‘N Seek be just that, a drawing made by the daughter of the horse before it was broken.
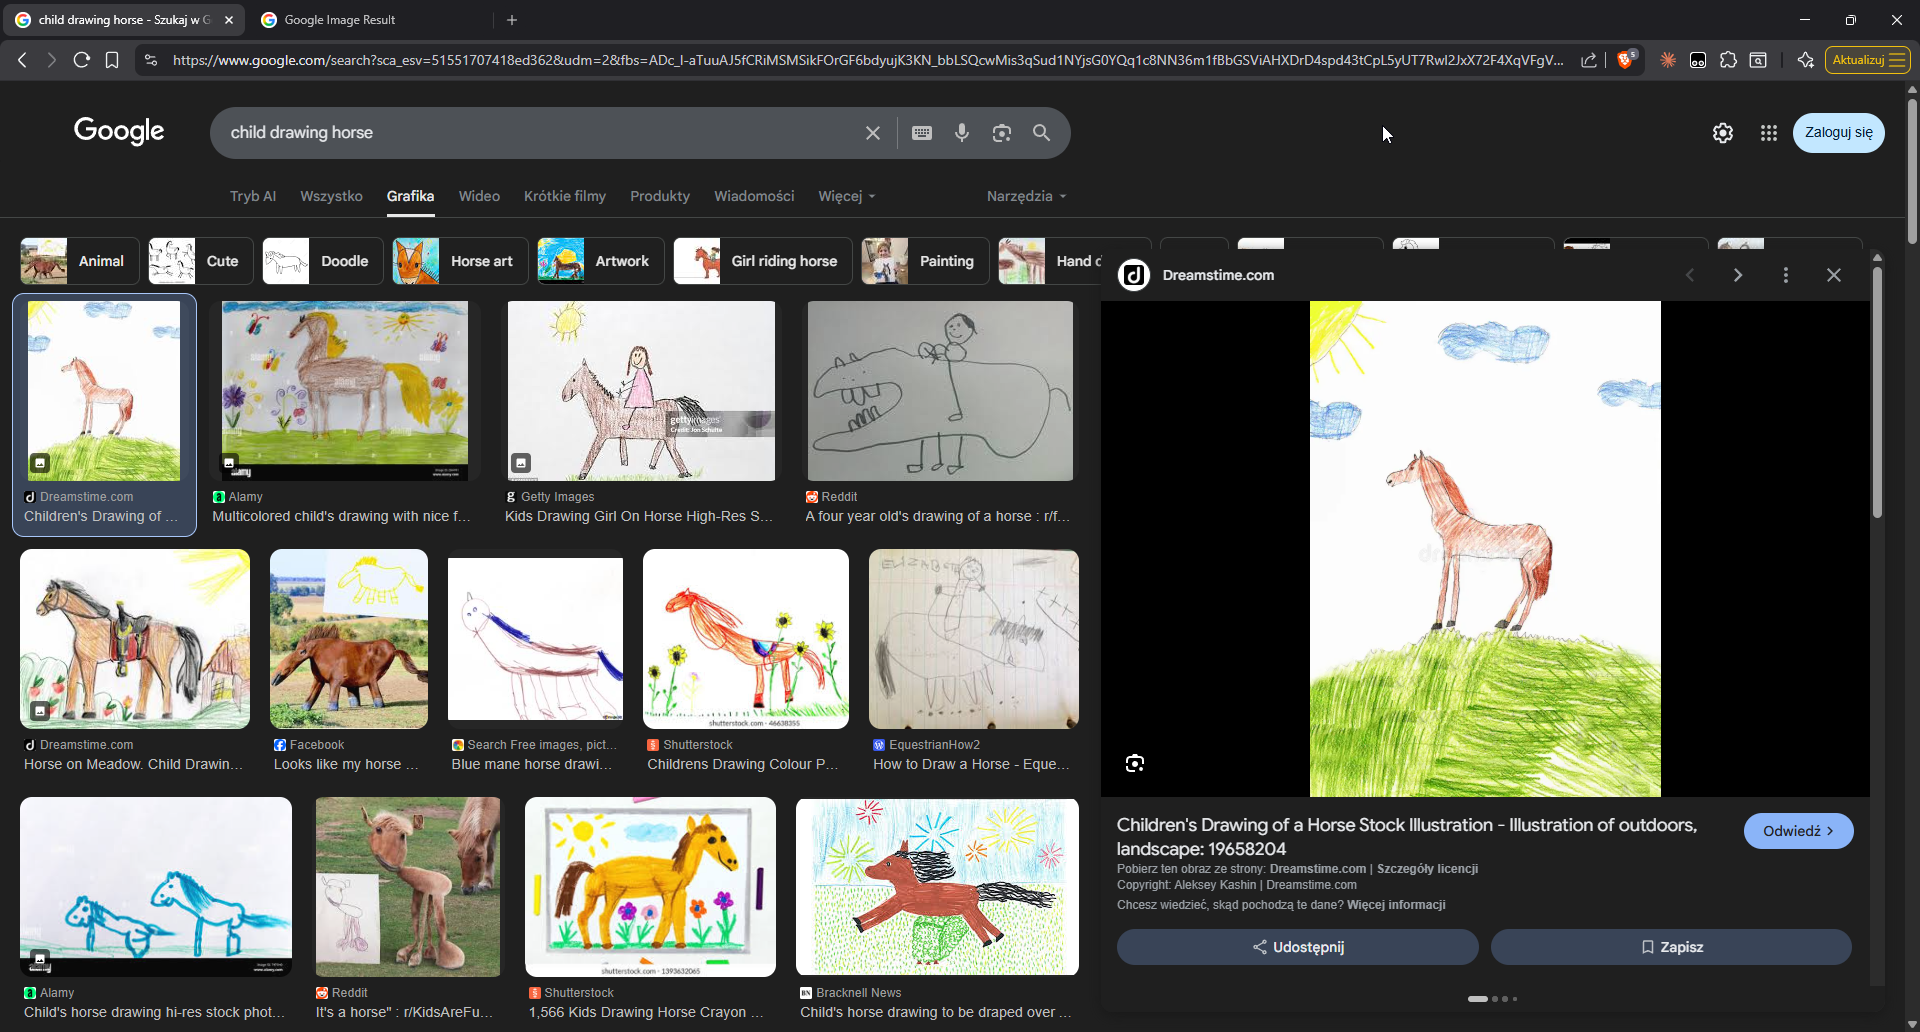
I started out by looking at references / getting inspiration from children crayon drawings:
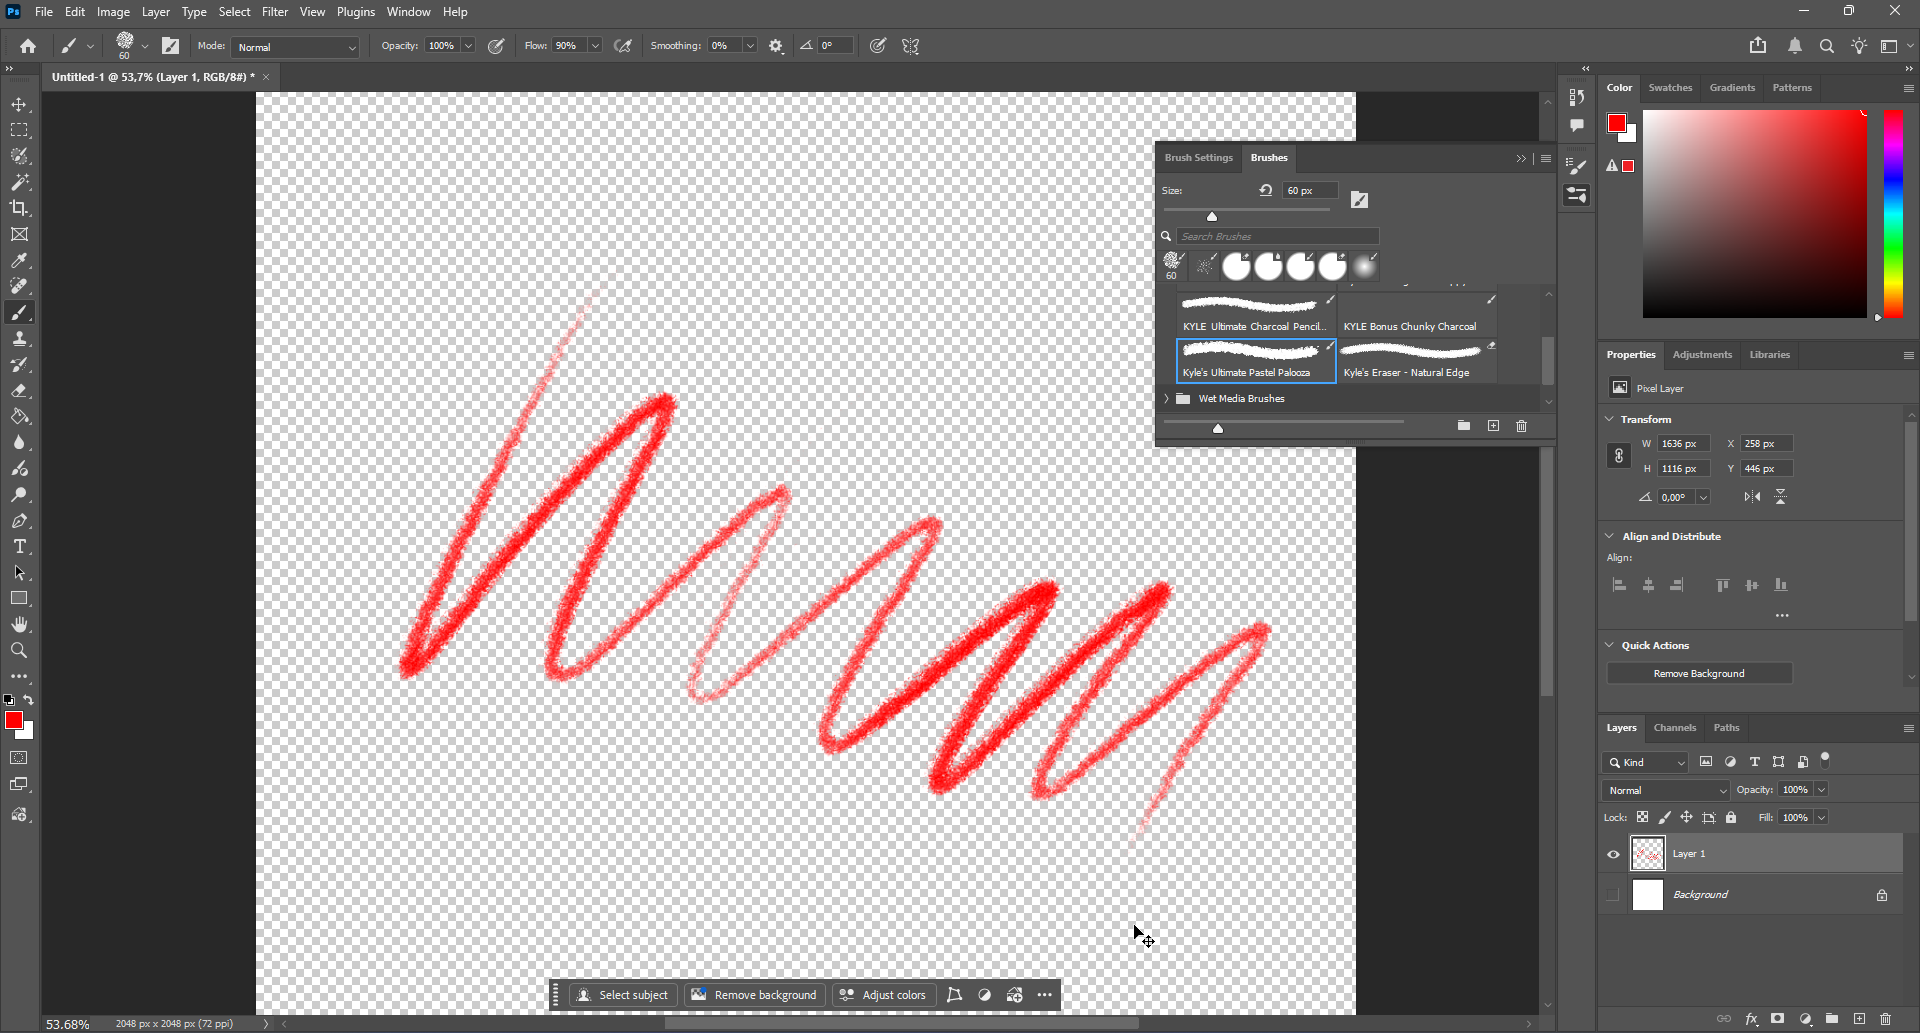
Then I hoped into Photoshop and begun by looking for a brush that would mimic the look of a crayon well enough:
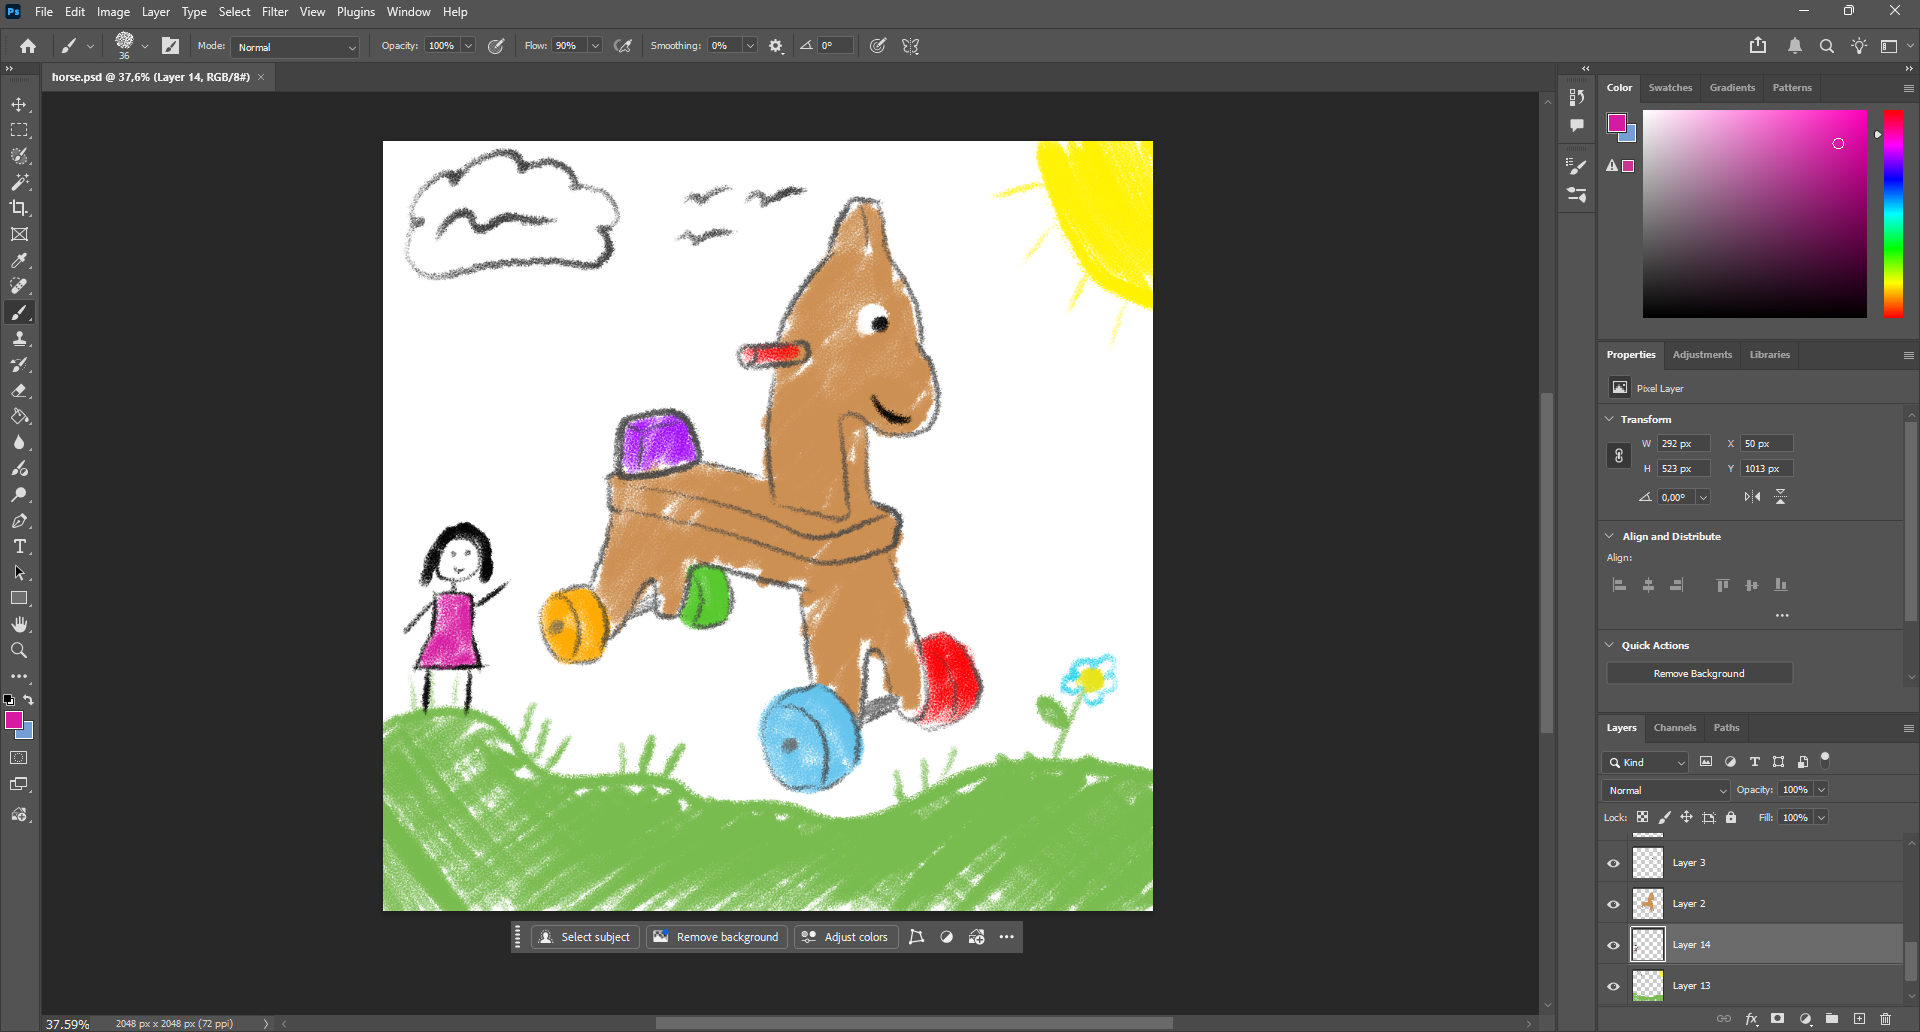
Next, I imported a screenshot of the toy horse model in Blender and traced over it using my graphics tablet, I then added some details to make it more childlike and this is how it came out:
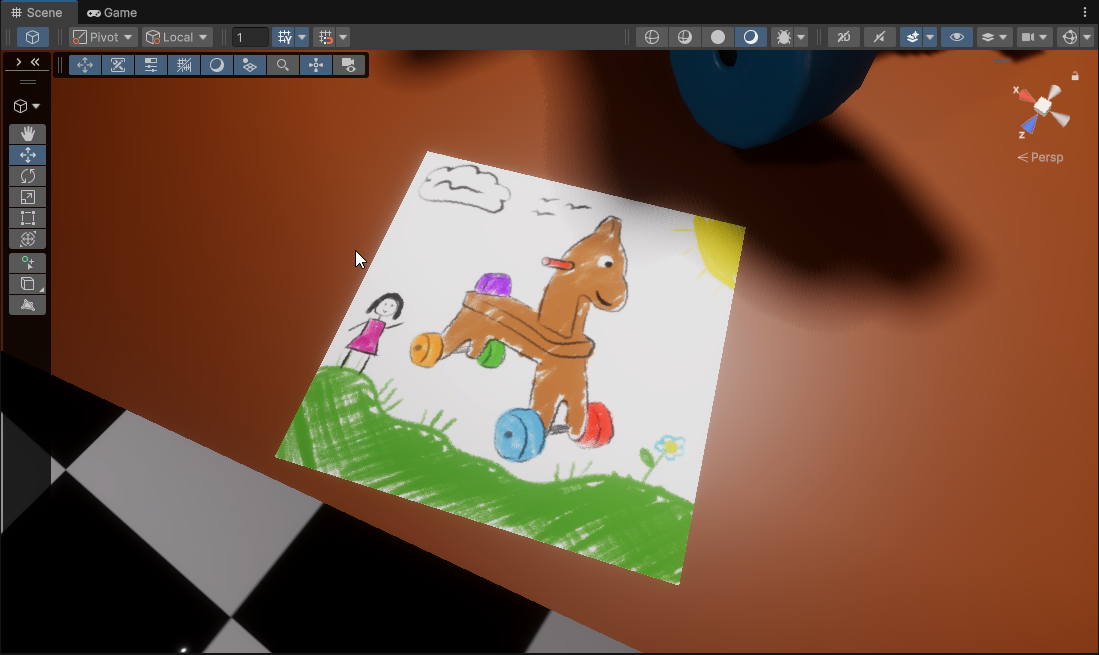
Then I did an initial, rough import into Unity (using a Quad ):
Finally, came the finishing touches. I imported the image into Blender, created a plane, subdivided it a bit, displaced some vertices and then applied a BlenderKit paper material. Even after a bit of tweaking I wasn’t fully satisfied with it, so I messed around with the nodes a bit and got it to a point I found satisfactory:
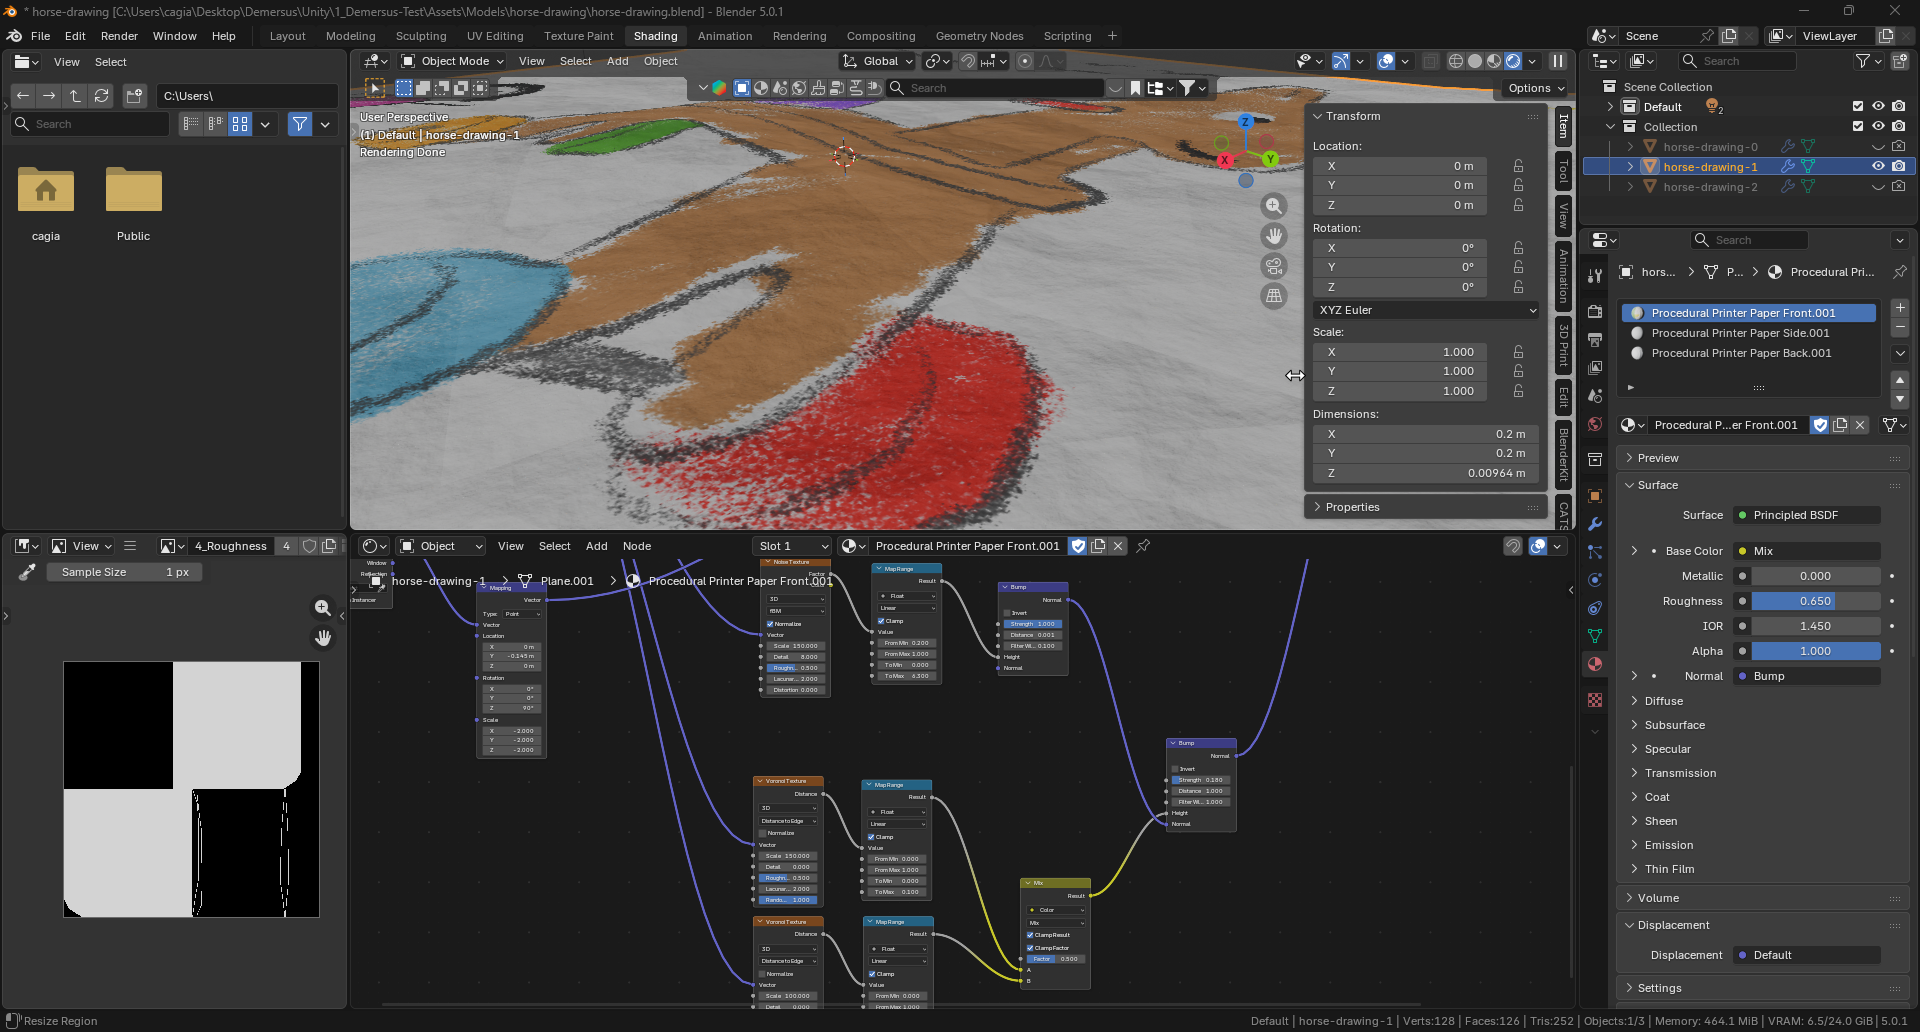
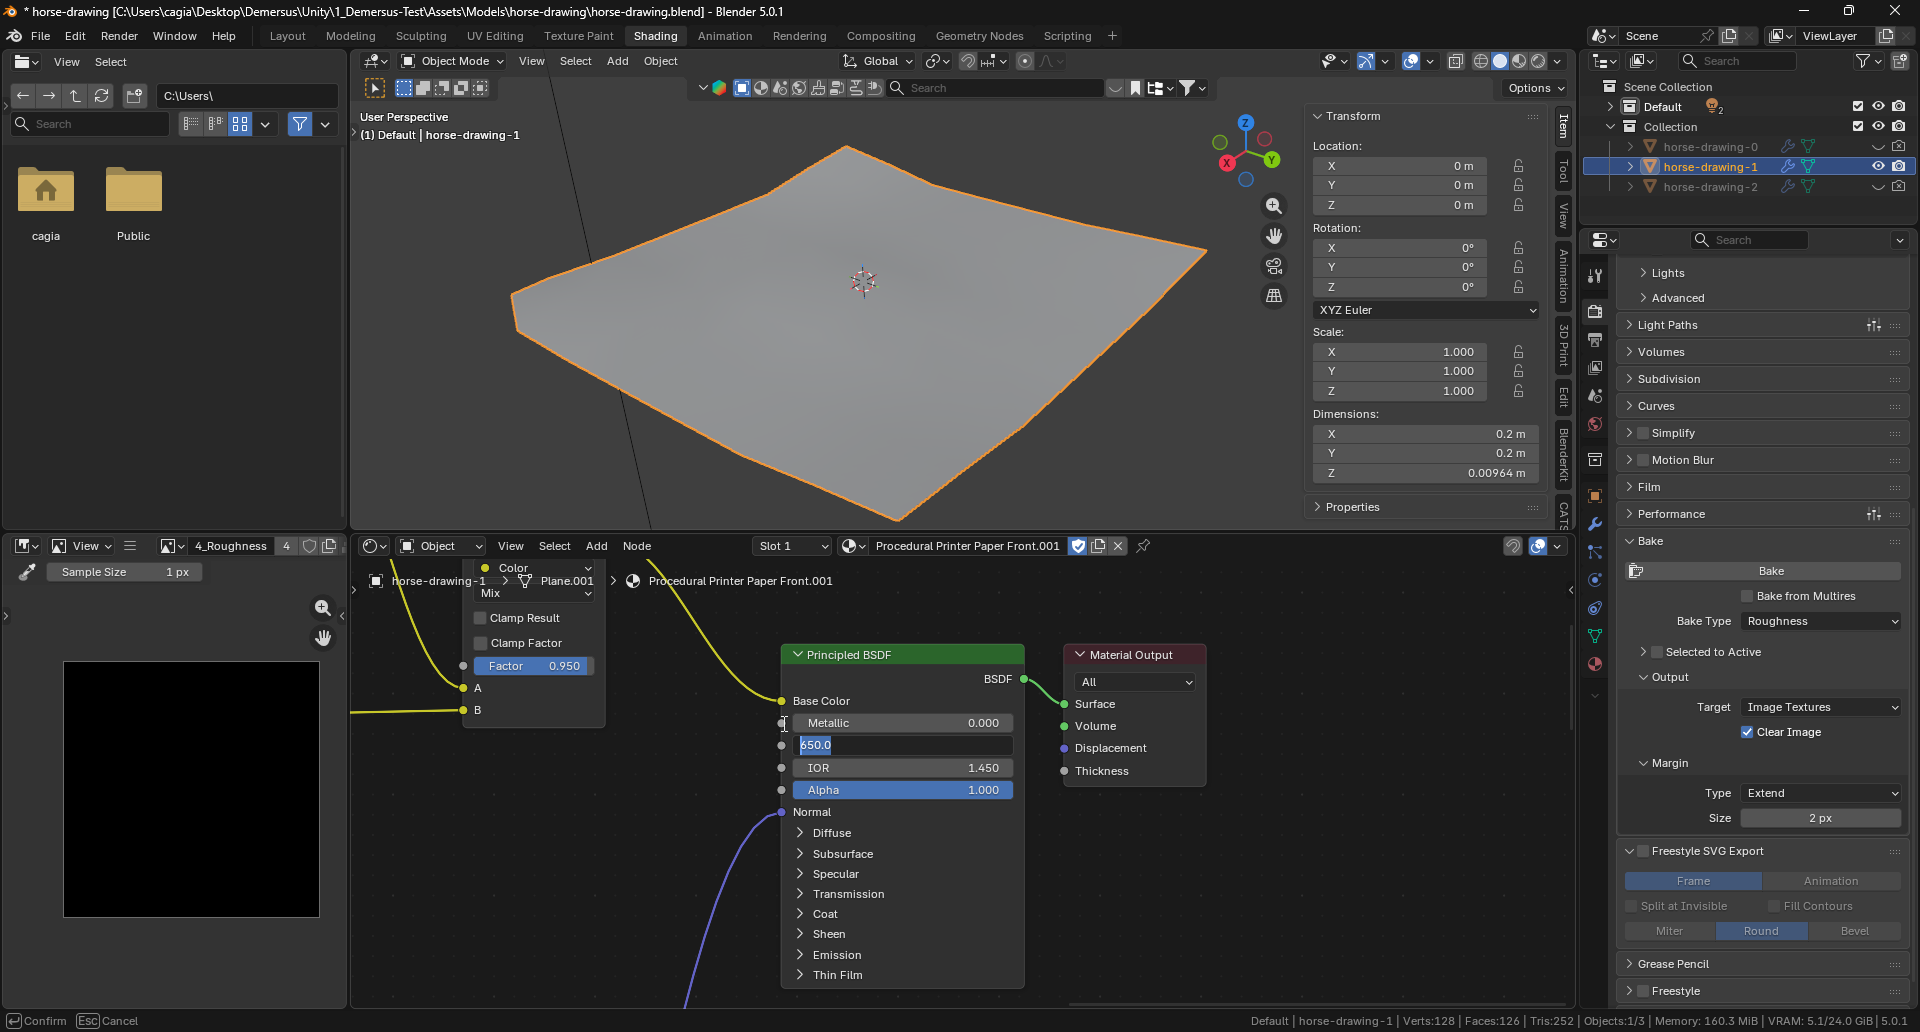
Next I moved on to baking it (early IRL pipeline) and exporting properly to Unity. I
did however run into an issue with the roughness, as it made it look fine in Cycles
Blender but really wet (or like a plastic candy wrapper) in Unity. I found that
there is no roughness map and instead just a hard coded float for it, so I just turned
it down to 0 (as that’s what I found looking best). This of course also lead to no more
roughness baking as there wasn’t any after this point:
Here is how it turned out in Unity:
Fixing Toy Horse Puzzle Issues And Finalizing
This is the last step of implementing this puzzle and that didn’t make it any easier, perfecting things is always hard but among other things, proper scattering of the parts was quite a bit to deal with…
The Part Scatter Problem
The part scatter system is responsible for randomly placing the detached toy horse parts in the two zones defined on the workbench. These zones sit on the sides of the toy horse, they serve the purpose of being designated areas for the broken off pieces to be put in. Each piece also gets a randomized rotation when being placed, so there is a bit more variety from run to run and so they’re not all perfectly aligned. Sadly, the scattering took a few attempts to get right.
The initial approach had a fundamental flaw as it sampled random positions using the raw world coordinates, which for some reason broke things when a zone was rotated. On top of that, it never properly accounted for the piece’s physical size, so a pivot point could land near the zone edge while the actual geometry went over the border.
The fix was rethinking the placement algorithm from the ground up. The key insight was to first, place the piece at the zone centre (with its randomized rotation), measure its actual footprint, then use that information to shrink the valid sampling area upfront (meaning any position sampled within it is guaranteed to stay inside the zone), this makes it so, no boundary checks are needed later. Random placement attempts then only need to worry about overlapping already-placed pieces. However, if all of those fail, a grid scan over the same safe area kicks in as a fallback, with the zone centre itself as an absolute last resort. Now, all footprint measurements and overlap checks also share a consistent zone-local coordinate space (projecting geometry into the zone’s own axes rather than world axes), so everything stays correct no matter how the zones are rotated in the scene.
Finalizing Everything
This is the part where I took time to implement the win condition, exiting and re-entering mid game (so the player can for example, go and investigate the drawing or just explore for a bit), proper player position plus gaze detection and the Key Prompt (in the video you can also see parts going through the body which I addressed later):
After that I moved on to refining the UX a bit, I’ve implemented pre-placement alignment. Before a piece gets put back onto the horse, there’s a check that runs to see how far the target side of the horse is from the piece sitting on the workbench. If the angle is large enough (for example the correct side is facing completely away from the part), the horse auto-rotates so that the right side is already turned towards the part. It only does this if the piece is outside of the expected sector though, if it’s already roughly in the right place, its skipped. This also takes care of parts clipping through the body, and makes the puzzle feel a bit more polished over all:
And finally, the last thing I implemented was making the broken off parts show up on the workbench right from the start of the puzzle (rather than appearing once the cutscene happens). This also means that I had to take care of removing the same parts on the duplicate toy horse used in the Timeline cutscene (otherwise the transition would show a fully intact horse, which obviously wouldn’t match). The tricky part was finding the equivalent parts on the duplicate, since it’s a separate instance of the same prefab. The first approach was locating them by building transform paths (this turned out to be unreliable), so I switched to a scoring system where I search all transforms under the duplicate horse’s root, rank candidates by how many ancestor names match the known part, and use sibling index as a tiebreaker. (essentially using the known structure of the main horse to find the equivalent part on the duplicate:
Final Result
After all of that, here is how the entire sequence (Hide ‘N Seek and Toy Horse) turned out from start to finish:
More IRL Asset Tests and Pipeline Work
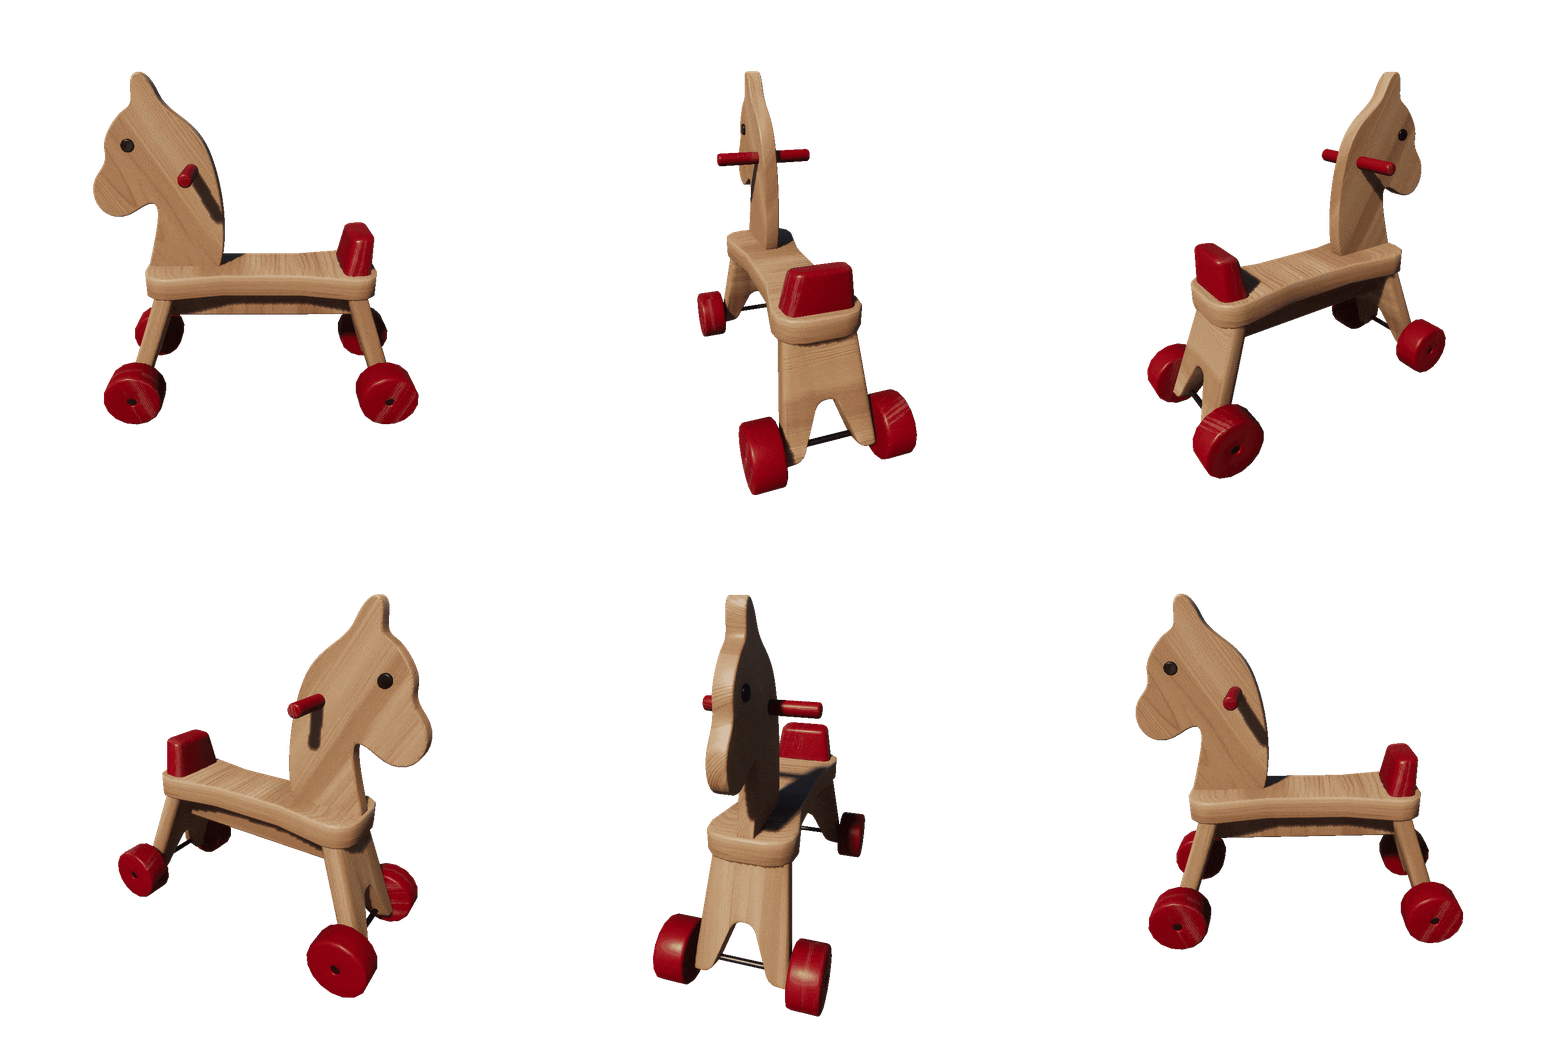
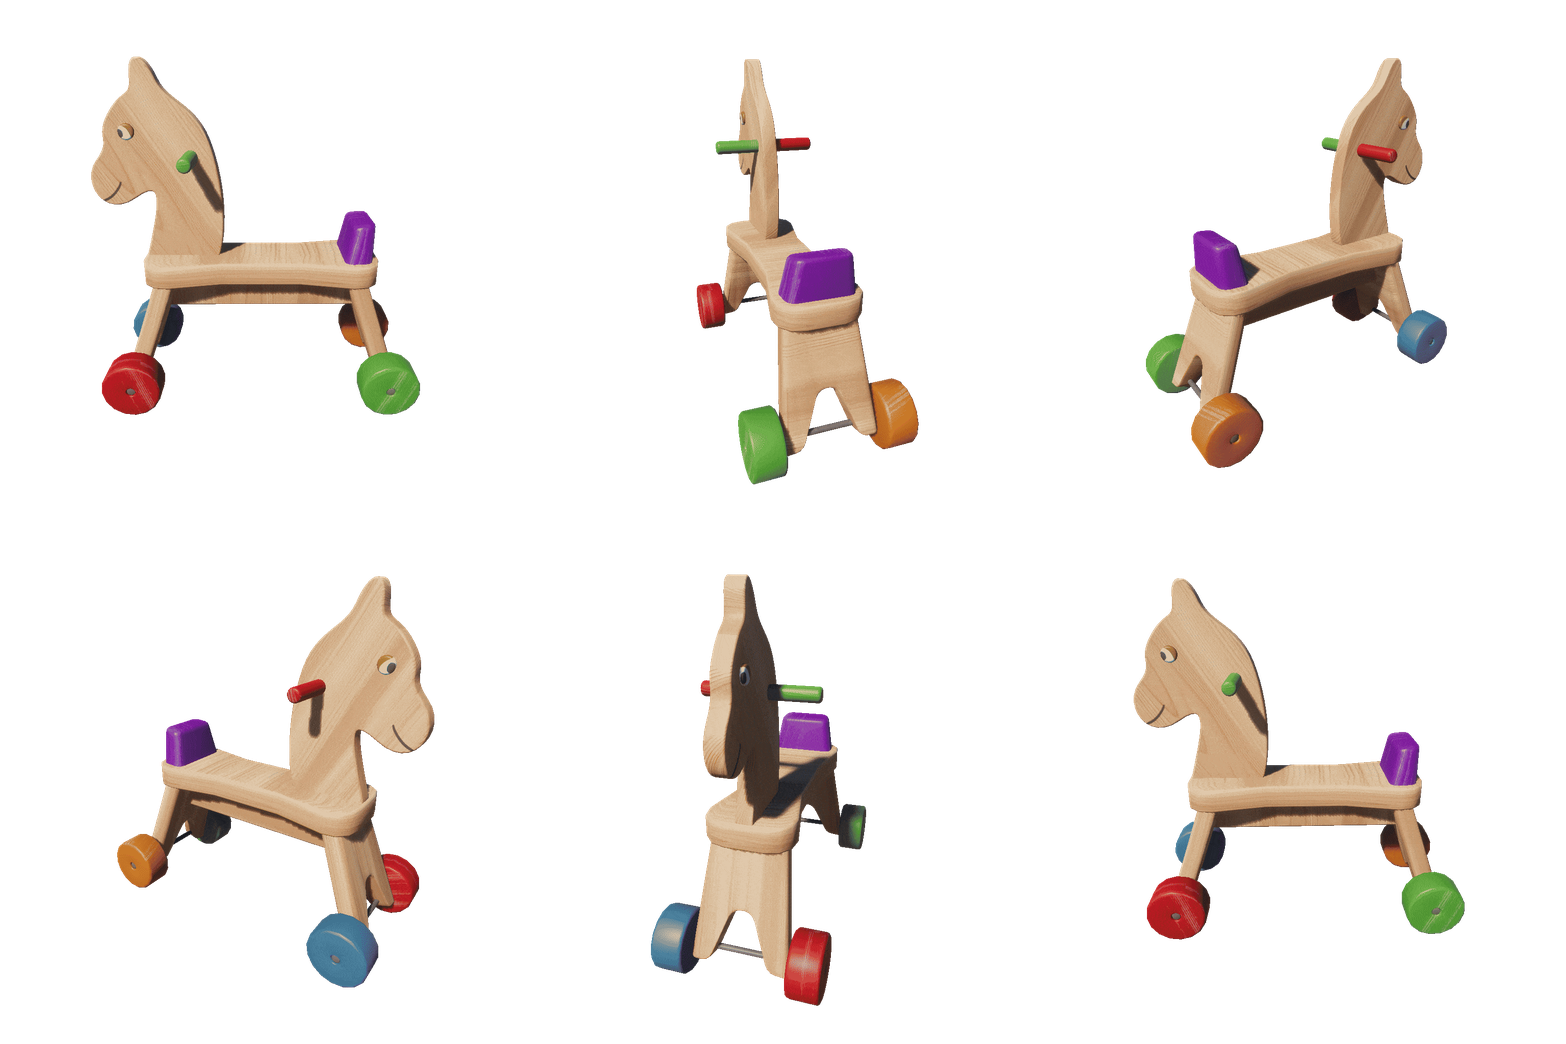
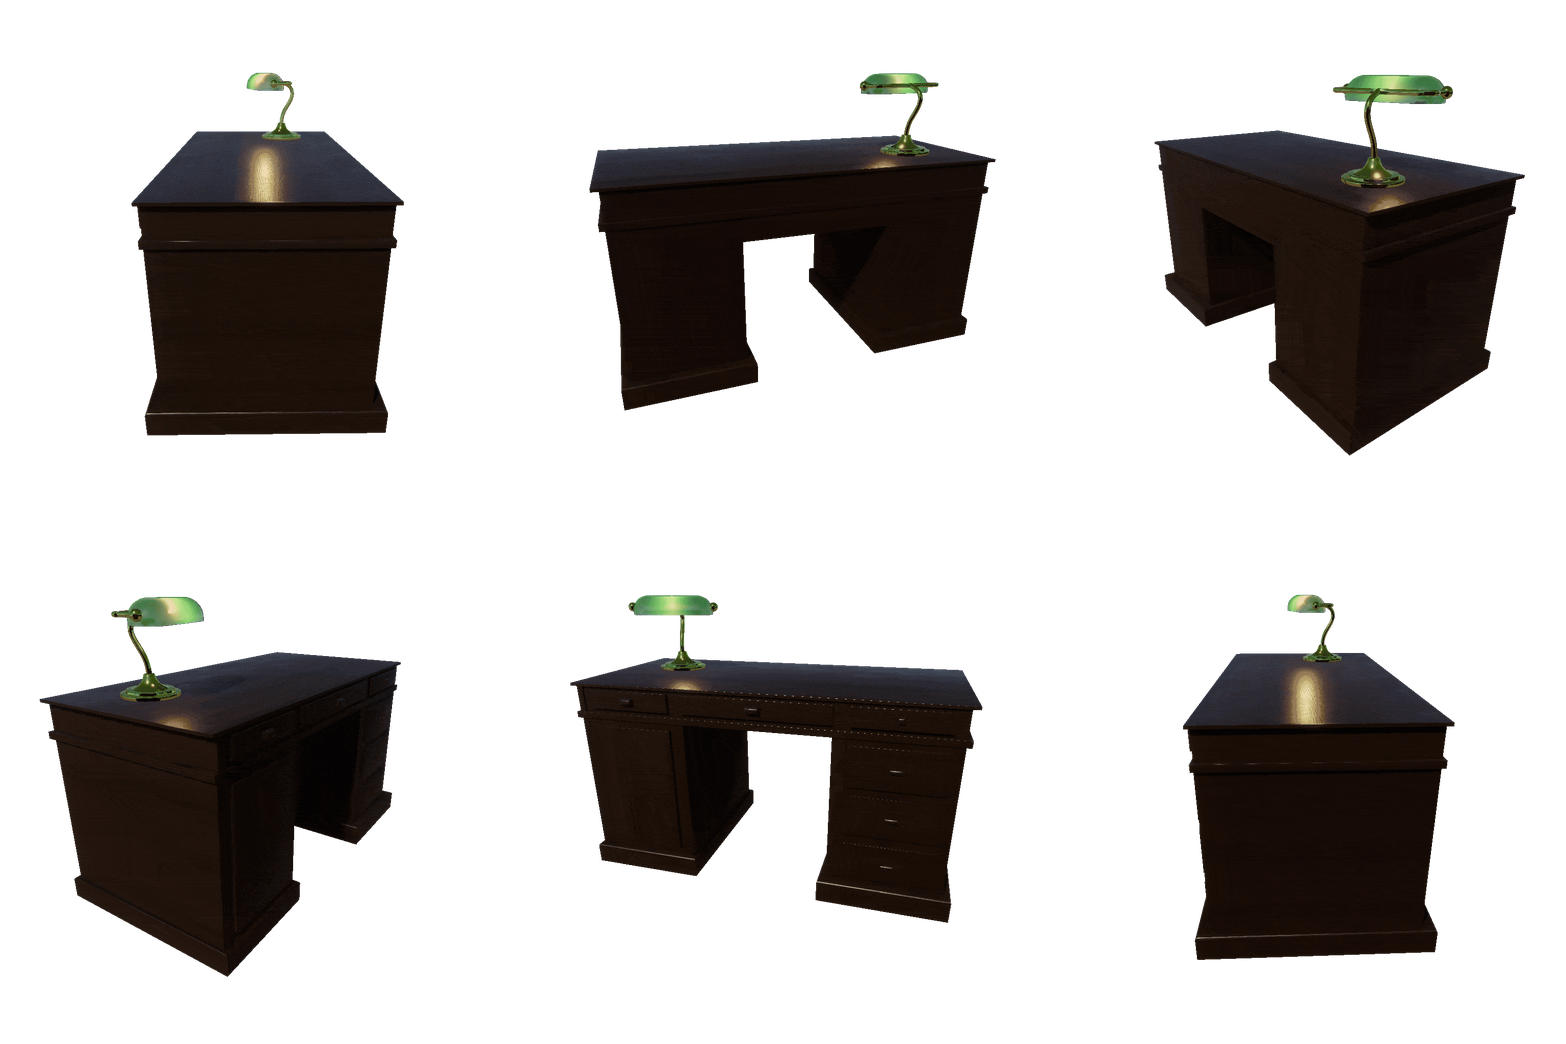
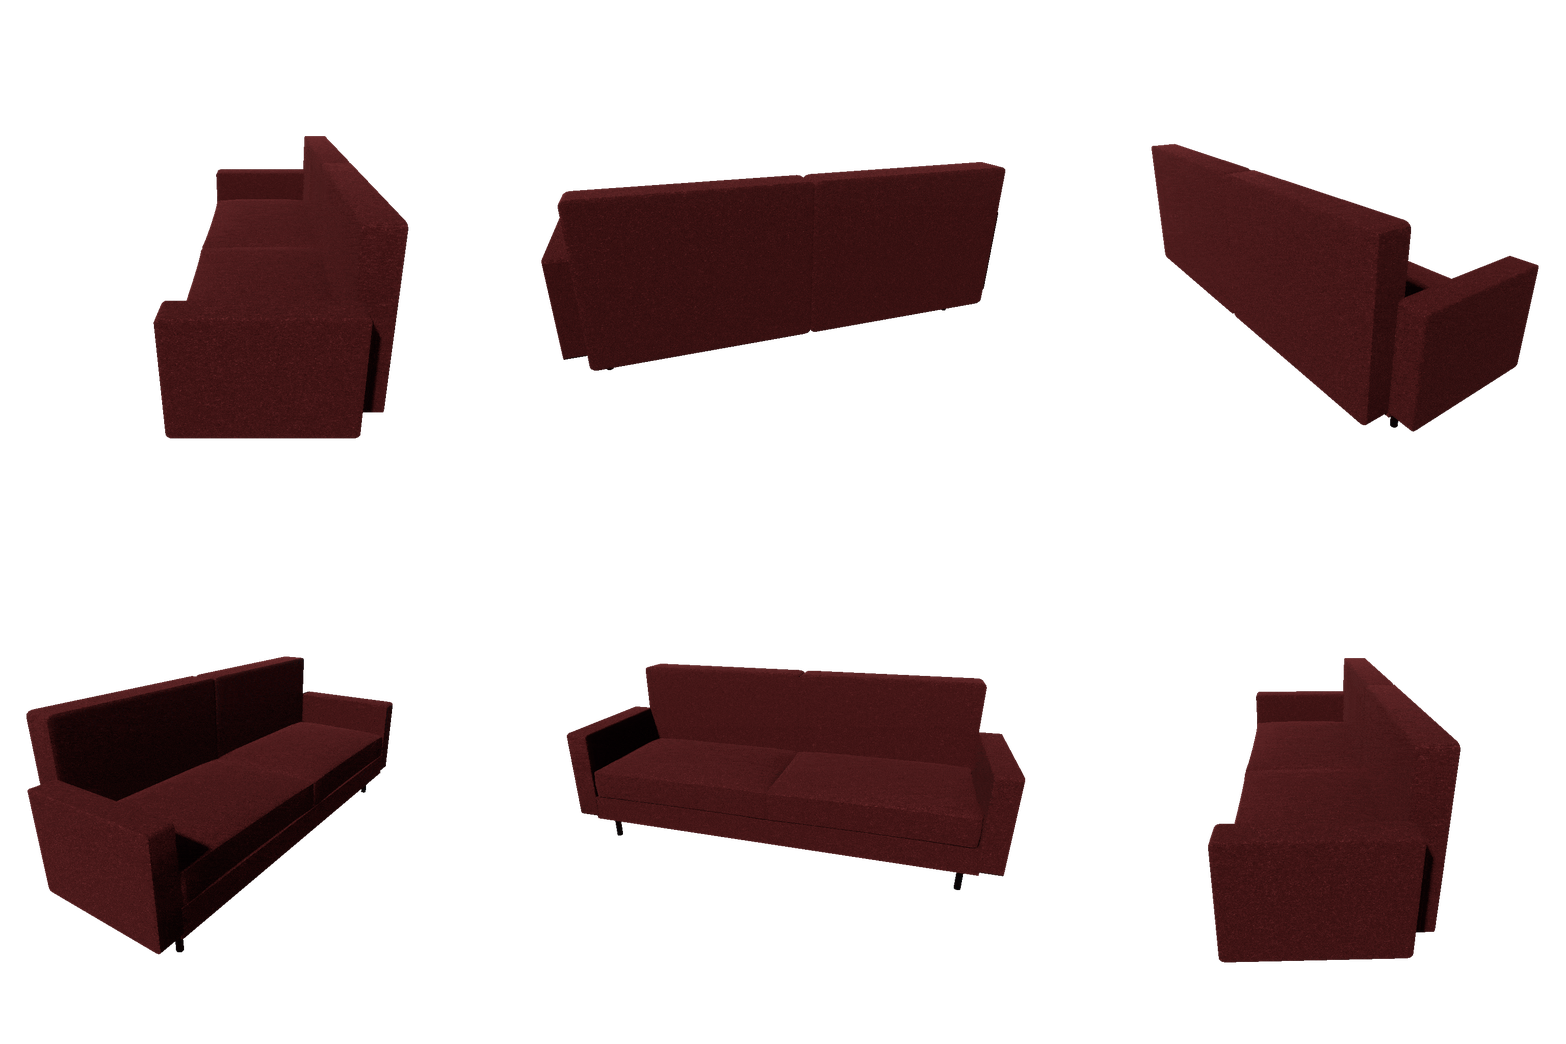
Recently, both me and my bud have been working tirelessly to finalize the IRL pipeline. Me more on the testing, technical and documentation side and him on creating the initial models and doing testing of his own. At this point, the pipeline is pretty much dialed in and will be documented in the upcoming devlog. For now however, here are some results of that.
The models shown are all created in-house using Blender, with textures from BlenderKit, they are optimized for in-game use, baked using our IRL pipeline and are showcased in Unity via the HDRP pipeline:
Finger Mocap Concept
Something we’ll have to tackle in the very first cutscene of the game, is very detailed finger motion (the protagonist will be loading a revolver).
This got me thinking and I came to the conclusion that doing the animation manually, would be very time consuming and most likely wouldn’t turn out too great as neither of us are animators. What about the Valve Index Knuckle controllers in that case? They have finger tracking .
Well yeah, but it looks pretty robotic and unrealistic and doesn’t really capture that much detail. Then it hit me, the Quest’s built in, camera based finger tracking! Although, it leaves a lot to be desired and has many issues (which is why I daily the Index Knuckles), for this purpose it seems like it’s a perfect fit. I did a very very rough test, just in the Quest’s menu and it turned out really promising:
Luckily, the software I’m planning to use for out motion capture using VR + FBT hardware, Mocap Fusion allows you to use Quest’s built in, optical finger tracking feature and it looks really impressive (even without cleanup):

Clay Asset Color Test
When creating the vision for the clay world, we had to perform two tests, one of which being the fingerprint / texture scale (which hasn’t been done yet) and the second, the color test.
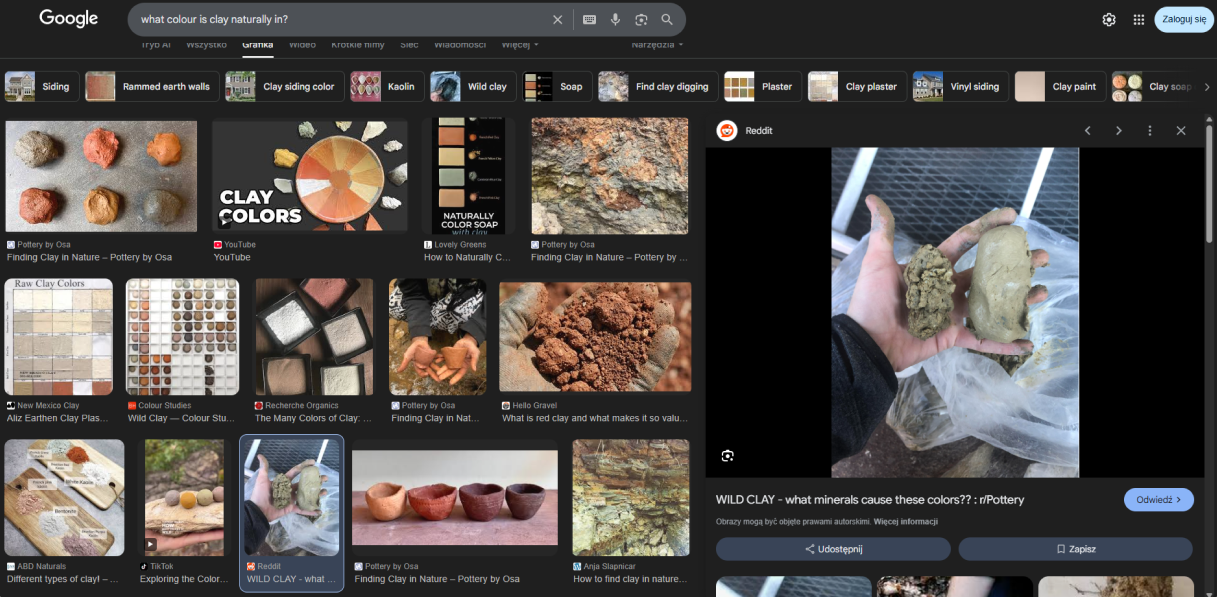
What I mean by color test is what kind of color pallet of the materials will be used when creating the clay assets, my bud proposed a more colorful pallet that would make it look more like play-doh or other plasticine, whilst I proposed a more natural one:
He did a quick test, by painting over a screenshot of the rough level layout both ways, and we decided that moving forward with the natural pallet will be better over all:
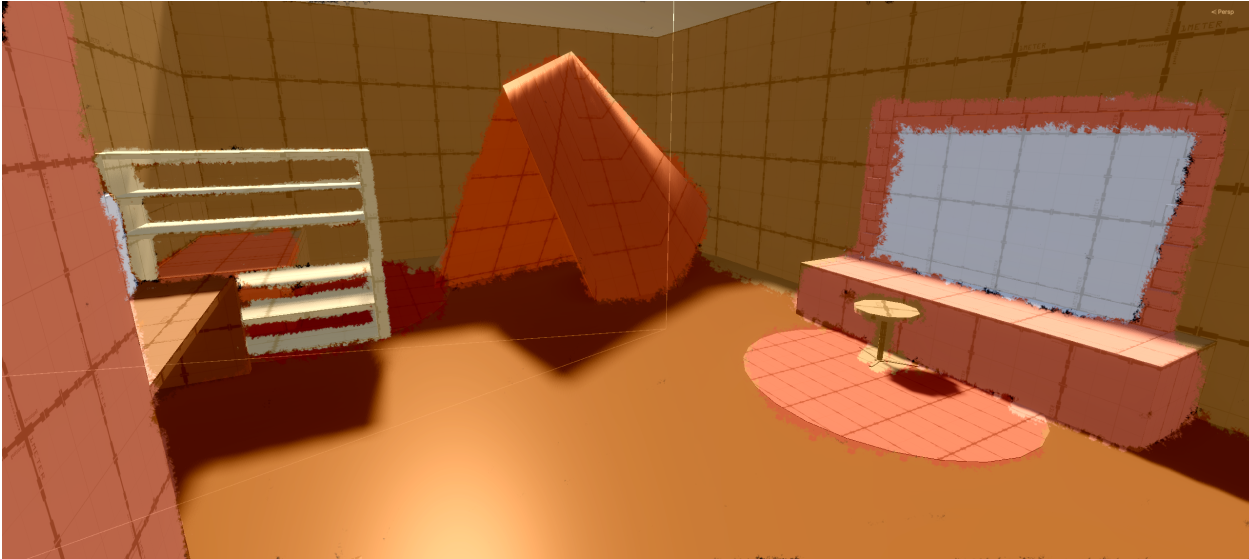
From all available materials included in the Clay Doh add-on we think these two will do best as they look pretty close to real clay and are not image bused, thus offering color changing capabilities. This means we can get a consistent but variedlook of the clay assets (similar to what’s shown above):
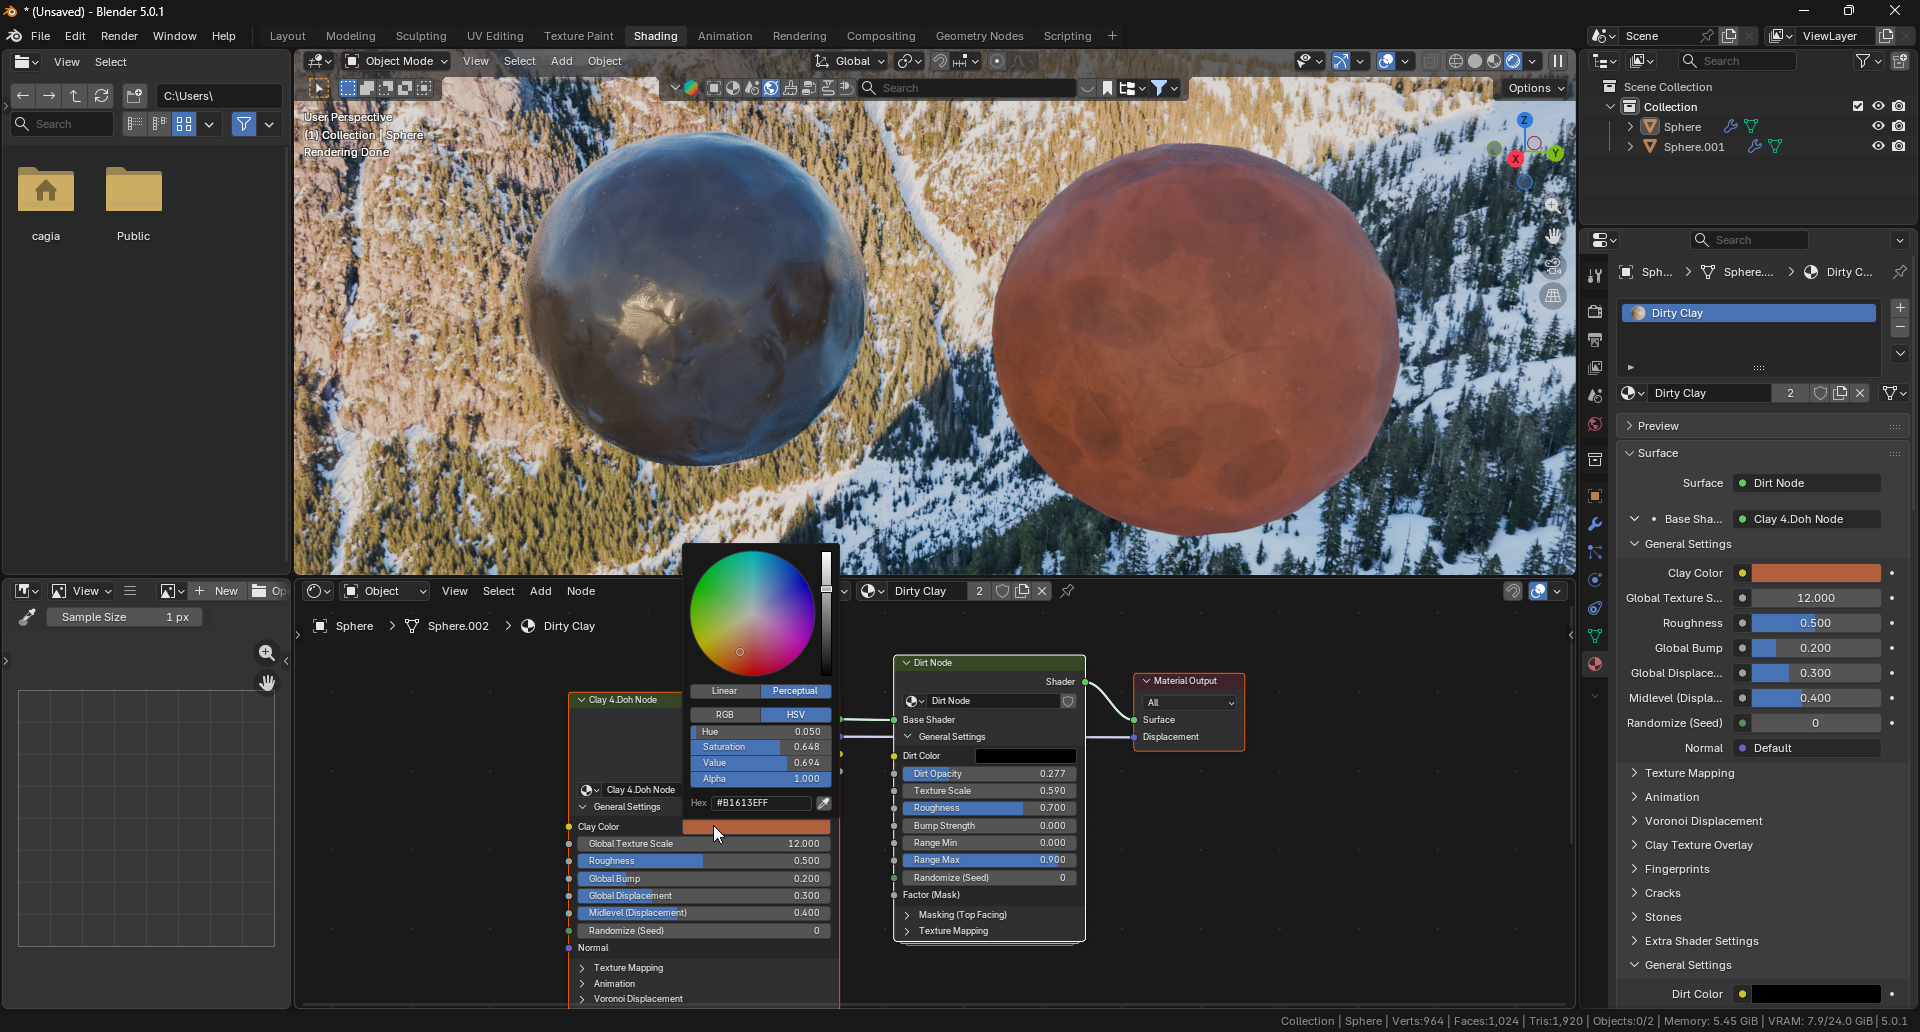
We still have yet to do a ‘scale test’ to see what material configurations look best for each type of asset (this will be done soon, when we have more assets available).
Rough Layout Improvements
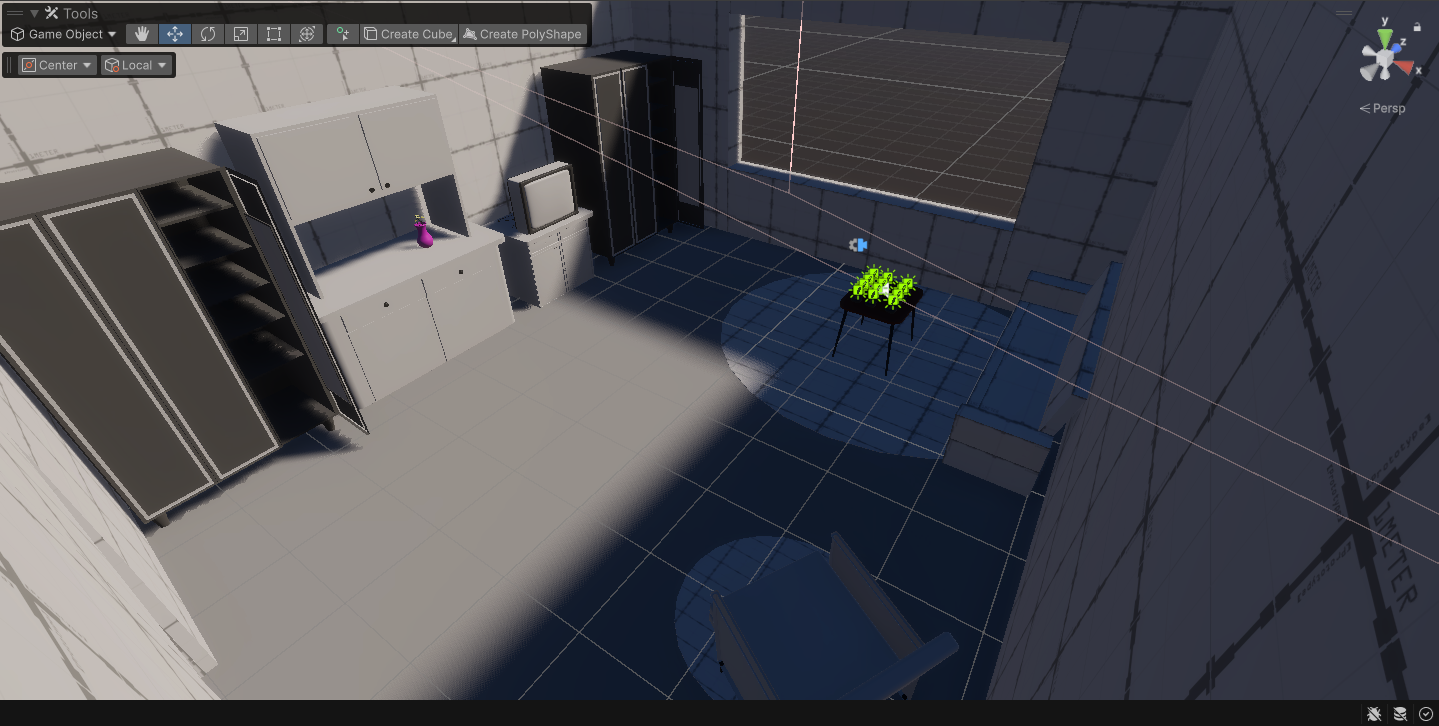
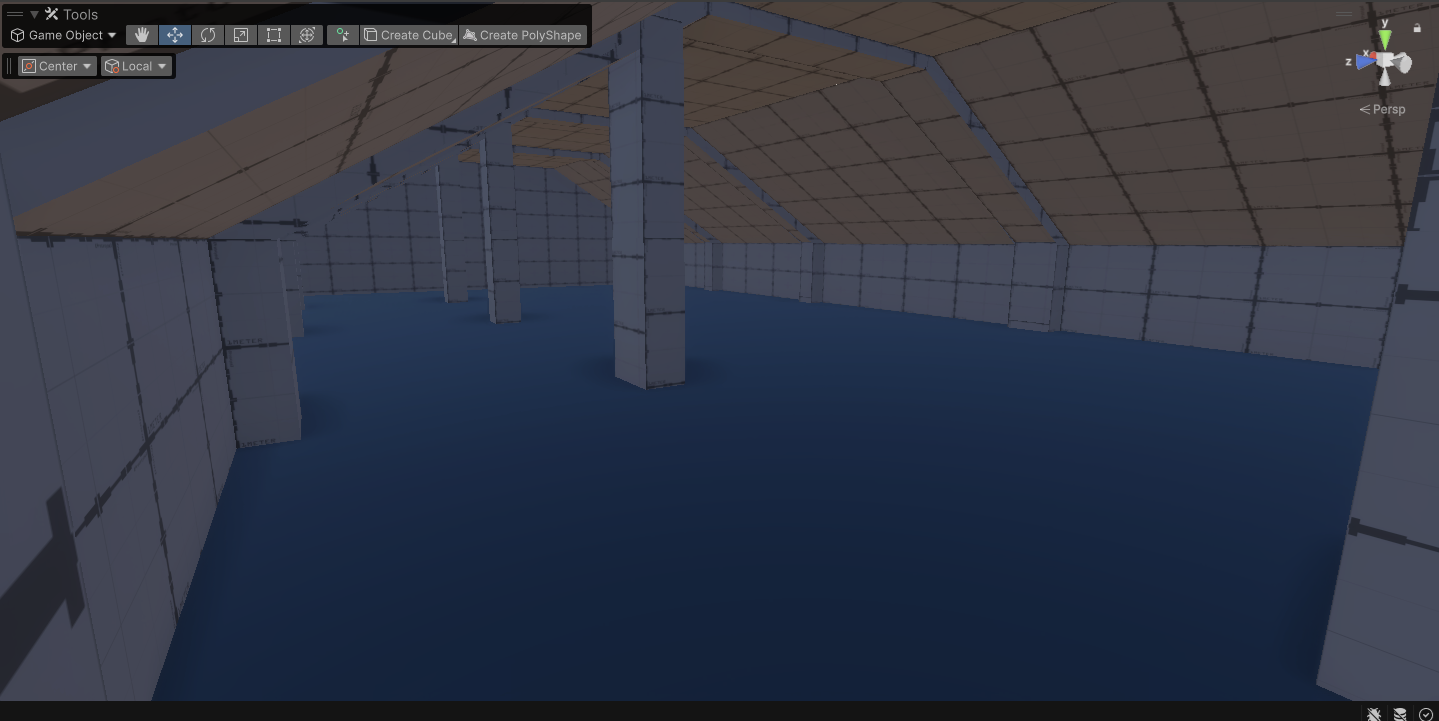
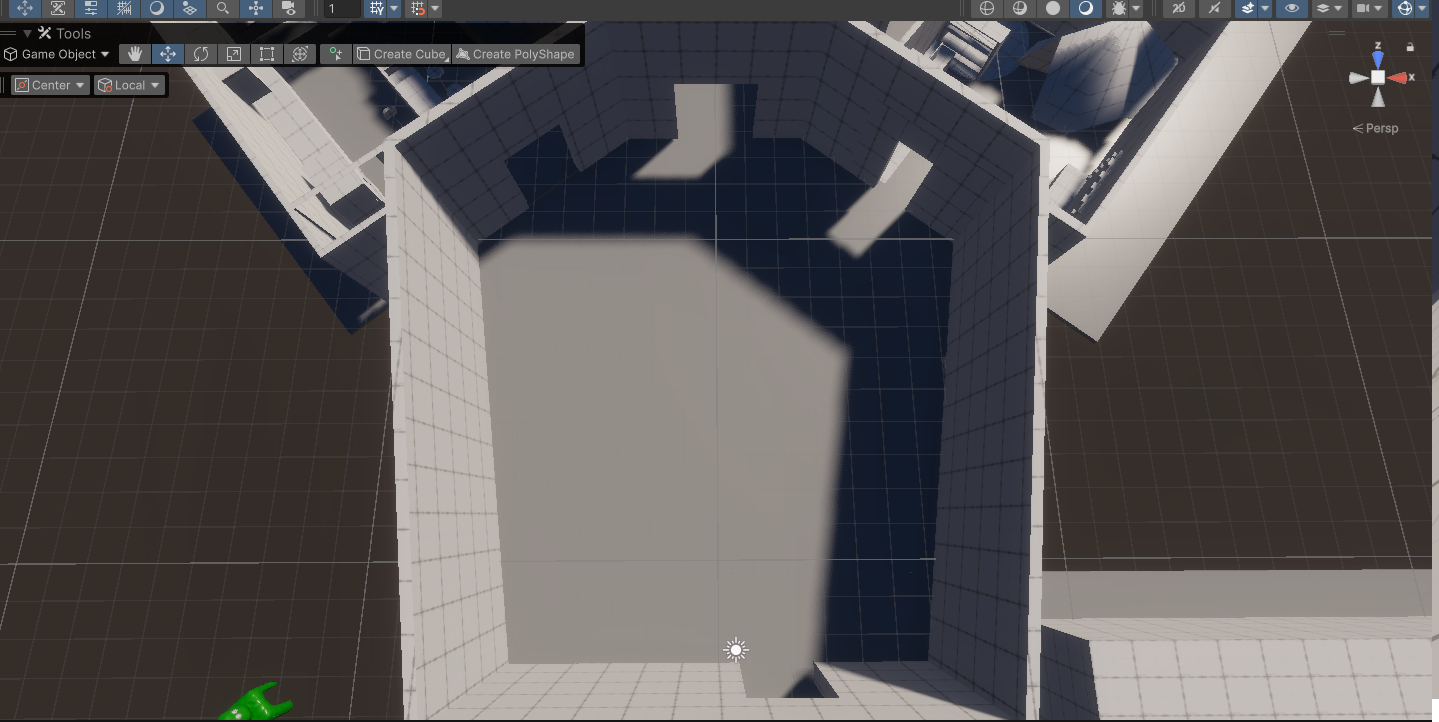
My bud also did some work on improving and revising the rough layout, improving things such as scale, furniture placement and so on, here is how that looks:
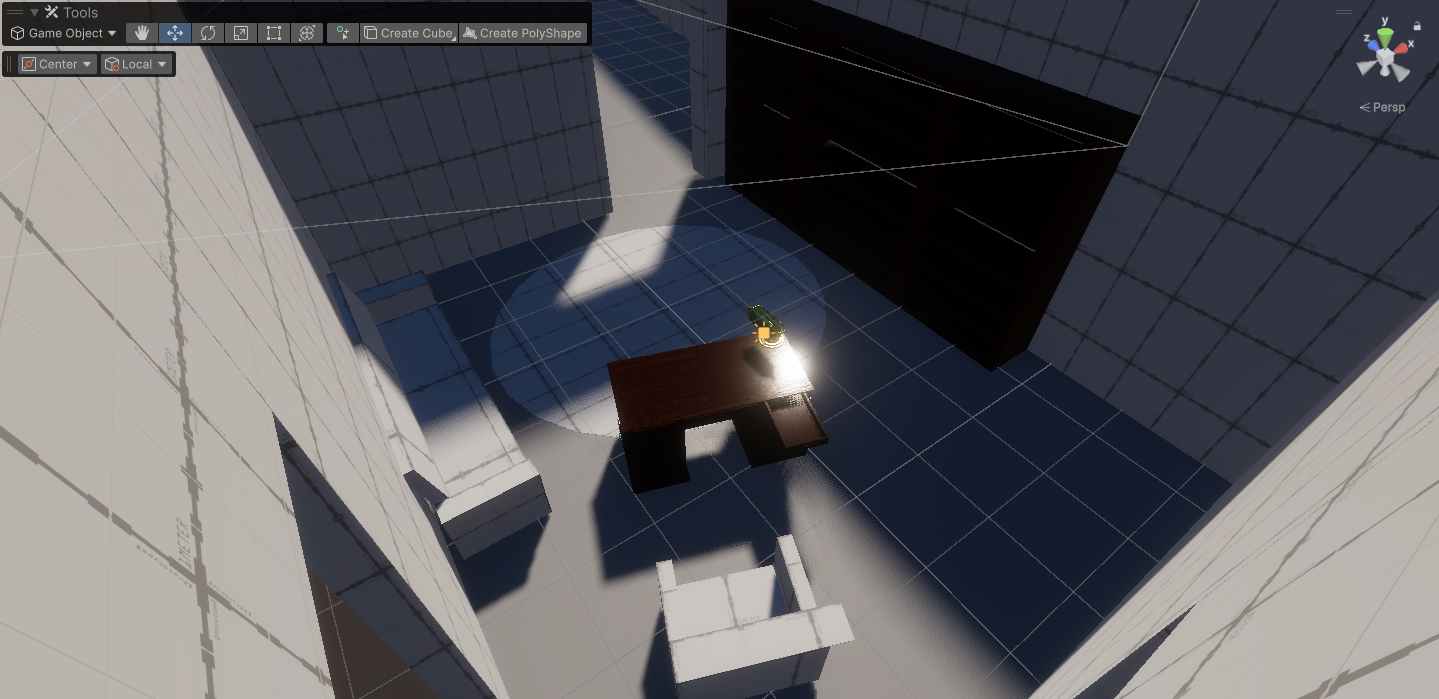
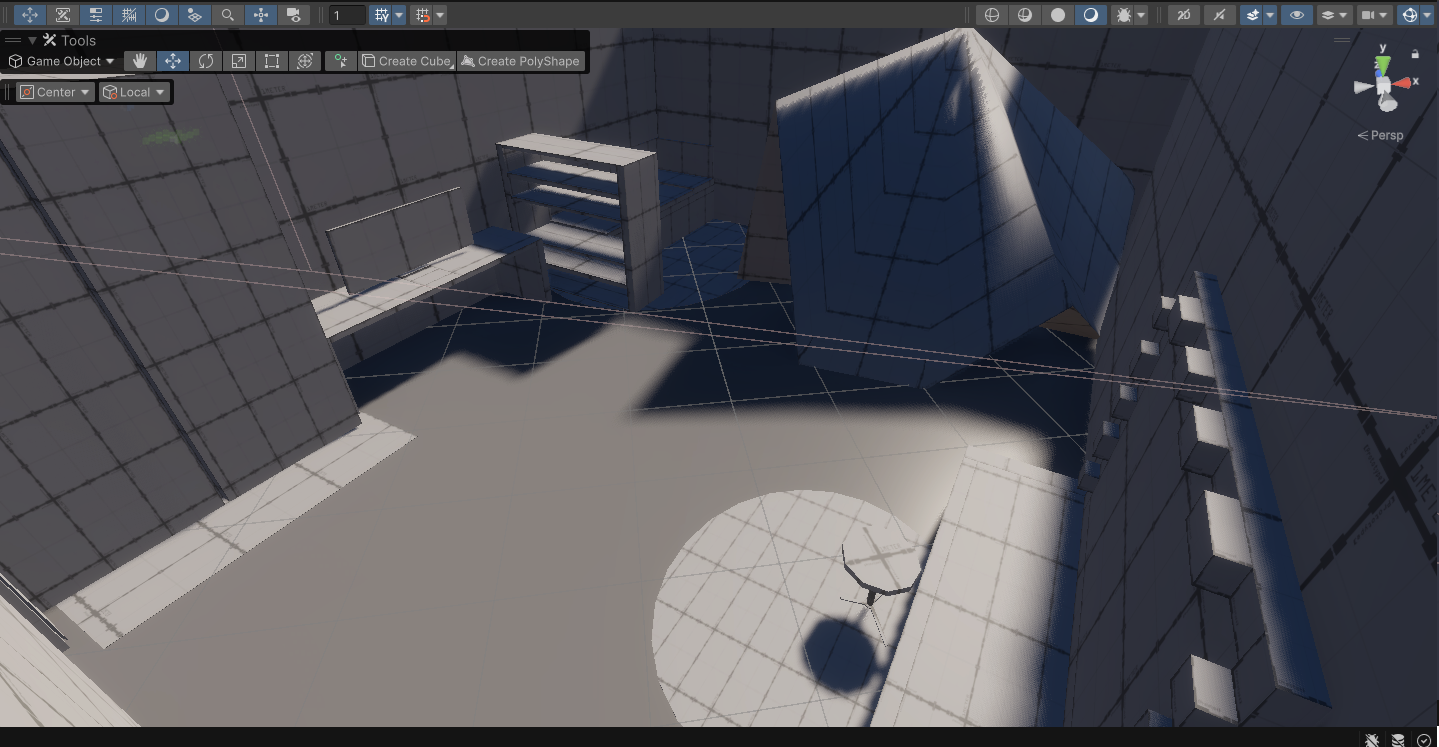
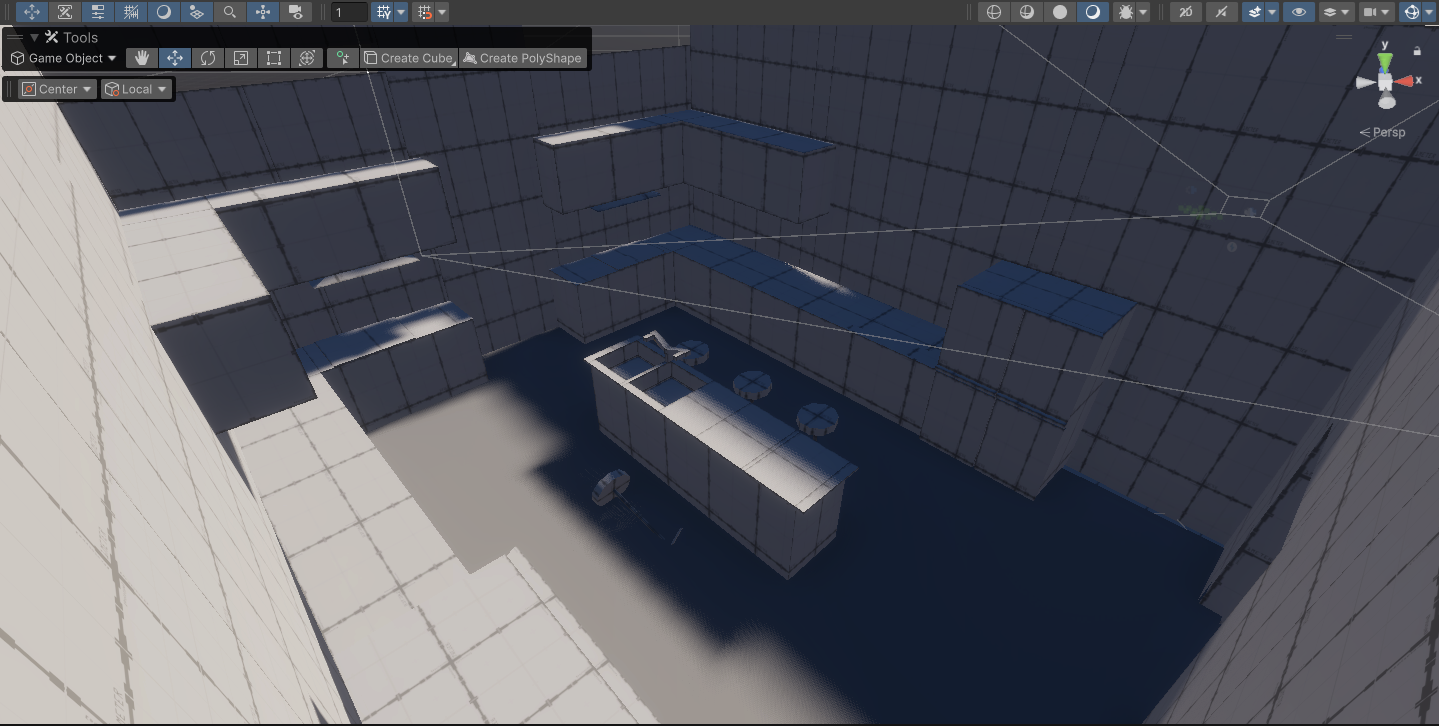
Moving to a Linear Approach
As you might have noticed there is quite a big range in complexity and length of the sequences, admittedly this is a planning oversight on my part. But, this is where we are now, and therefore I think it’ll be beneficial for the gameplay to replace the initially planned non-linear approach to the sequences with a defined order (for example signified by sounds and spotlights above the ‘current’ door you’re supposed to go into).
This change should ensure a more balanced and interesting curve of the gameplay. For the most ’effective’ outcome, I’ve decided to go with this order:
- Daughter
- Wife
- Mother
One More Thing
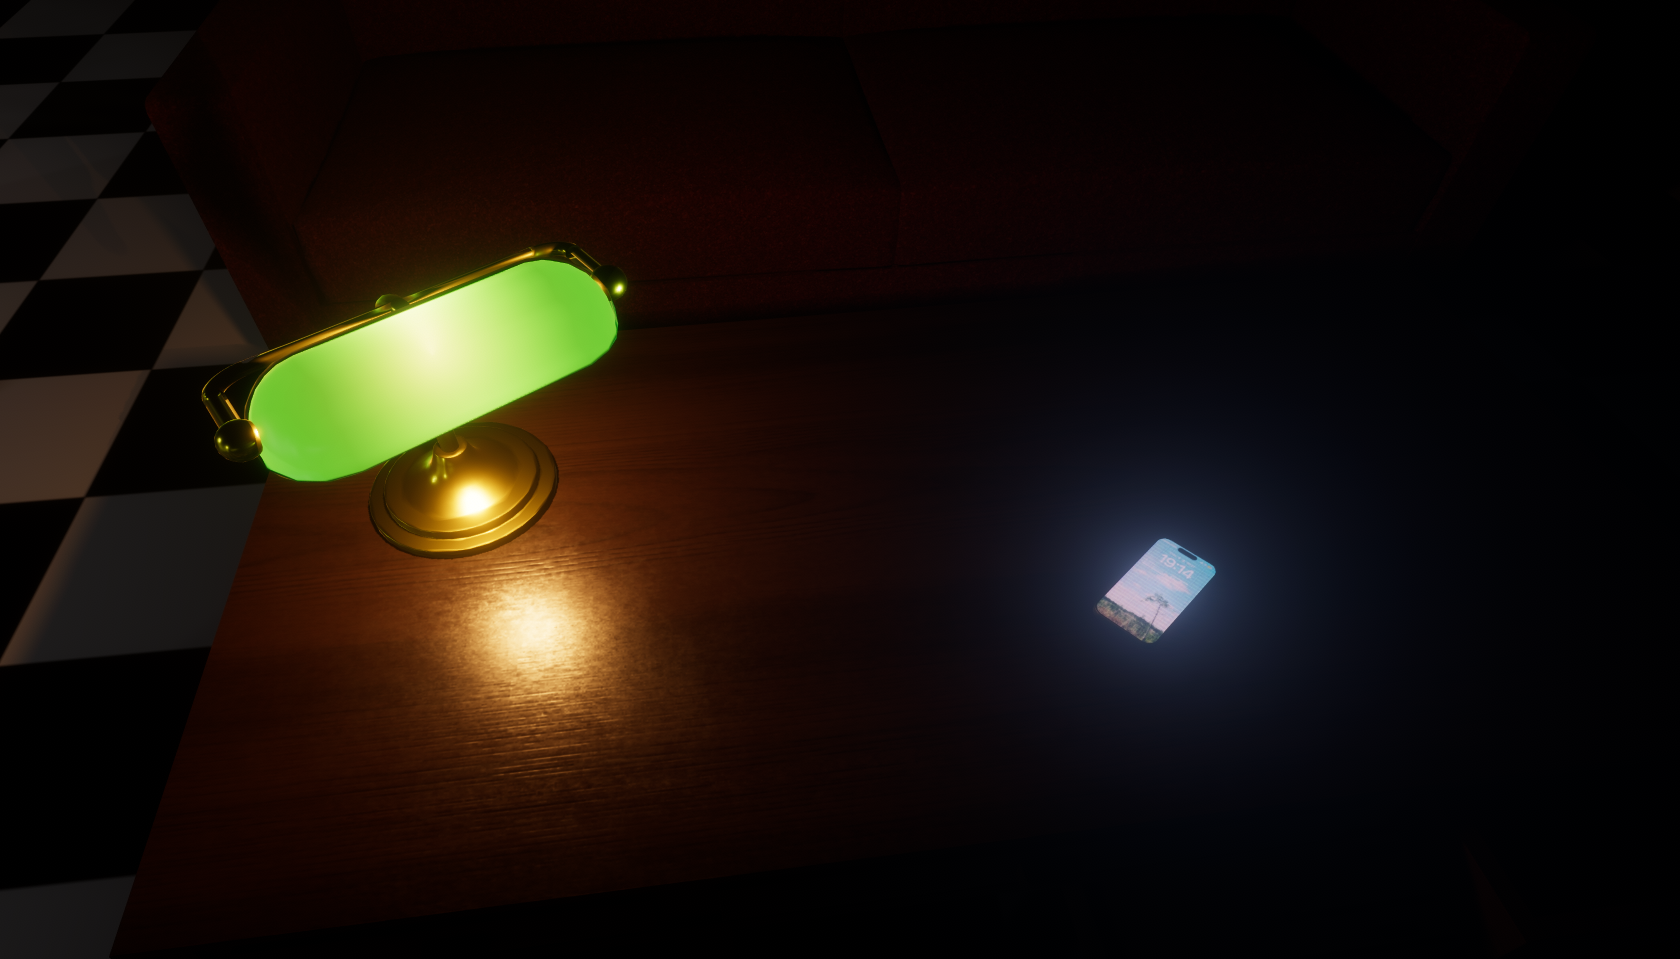
Before I close off however, I’d like to share a little sneak peek ;)
What’s Next?
While my bud is working hard on creating the 3D models, I’m still chipping away at the remaining pipelines, documentation, devlogs and a few other things. When I finalize the mocap pipeline, the both of us we’ll move fully into the asset creation phase, which I do have to admit, is quite a bit behind schedule. However, I suppose that’s just how game dev works.
In other news, both my Synology NAS’s HyperBackup and network rack’s UPS recently failed, so I had to deal with all of that as well: